Iridient X Transformer: what can you expect from this tool that converts RAF to DNG
(Edit: After the publishing date of this article, the Beta 2 version of the Iridient X Transformer was released with many fixes, including some aspects mentioned here. So, while reading this review, please note that it refers to the first version.)
When I moved from the Canon DSLR system to Fuji I wrote an article about my new post processing workflow of the photographs I’m doing. After testing some softwares – suggested by other Fuji camera users – in the end I continued using the Lightroom, even though I know it has a difficult relationship with the fine detail of the RAF files – when we abuse the ‘Amount’ of the ‘Sharpening’ option, the so called ‘worms’ that everyone complains about, or the ‘paint’ effect, starts to appear. But I will not dwell on this subject, already so much discussed and debated on the Internet.
Please, click to enlarge the pictures.
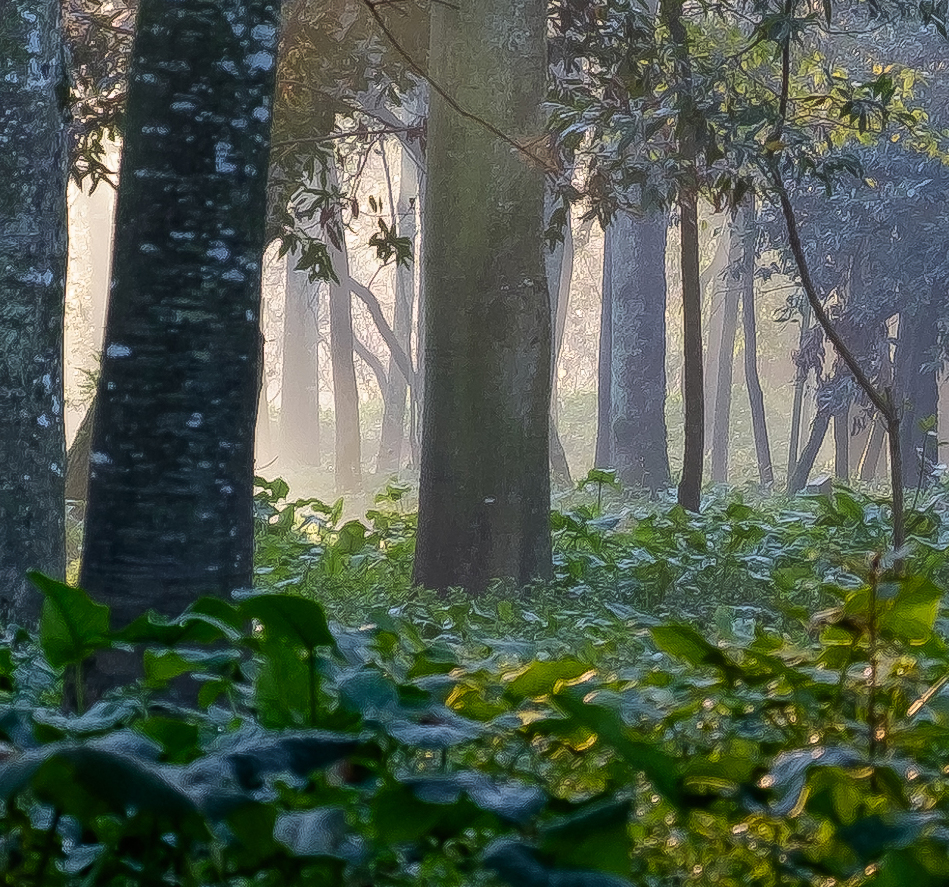
Sharp values in Lightroom: ‘Amount: 85’, ‘Radius: 1’, ‘Detail: 100’, ‘Masking: 25’
However, a few days ago a new tool that caught my attention: the Iridient X-Transformer. For now in Beta stage and Windows version only (Mac users will have to wait a few more days – it will be released this month).
In a very simple way, what Iridient X-Transformer does is, using the technology from the Iridient Developer, converts the RAF files to DNG. And almost the entire Internet knows that Iridient makes the demosaic of Fuji files like no other.
Okay, but is it worth spending about $ 30 on this tool? Yes, and maybe not. Only you can reach that conclusion, not me.
You can start by downloading the beta version of Iridient X-Transformer 1.0 from here. Obviously, this is a demo version that places watermarks on the converted files.
Usually, I process my photos on a Mac. When using this tool, I have to use another operating system to convert the RAF. When the Mac version comes out, the workflow will be a bit smaller.
As software in Beta stage, this Iridient is not immune to errors, small bugs. But, in a general way, it behaved very well. Except that, to convert a considerable number of files, brutally slowed the speed of my PC. And we’re talking about a reasonably well equipped machine. Here’s the first note: Do the conversions when you least need the computer, or you won’t be able to do almost anything if you want to work while you’re converting.
That said, let’s go to what matters and what everyone will be waiting for: what results do we get from using this Iridient X Transformer? Let’s see next.
After we start this tool we have a series of options that we can adjust to taste. But nothing better than to start working with the definitions that the author of Iridient thinks are the most balanced. That is, in the ‘RAW Options’ tab, almost everything in ‘Default’.

After finishing the conversion of the chosen files, I imported the DNGs and RAFs into Lightroom. An interesting alternative is to integrate, as if it was a plugin, the Iridient in Lightroom – in this article you will find all the necessary steps.
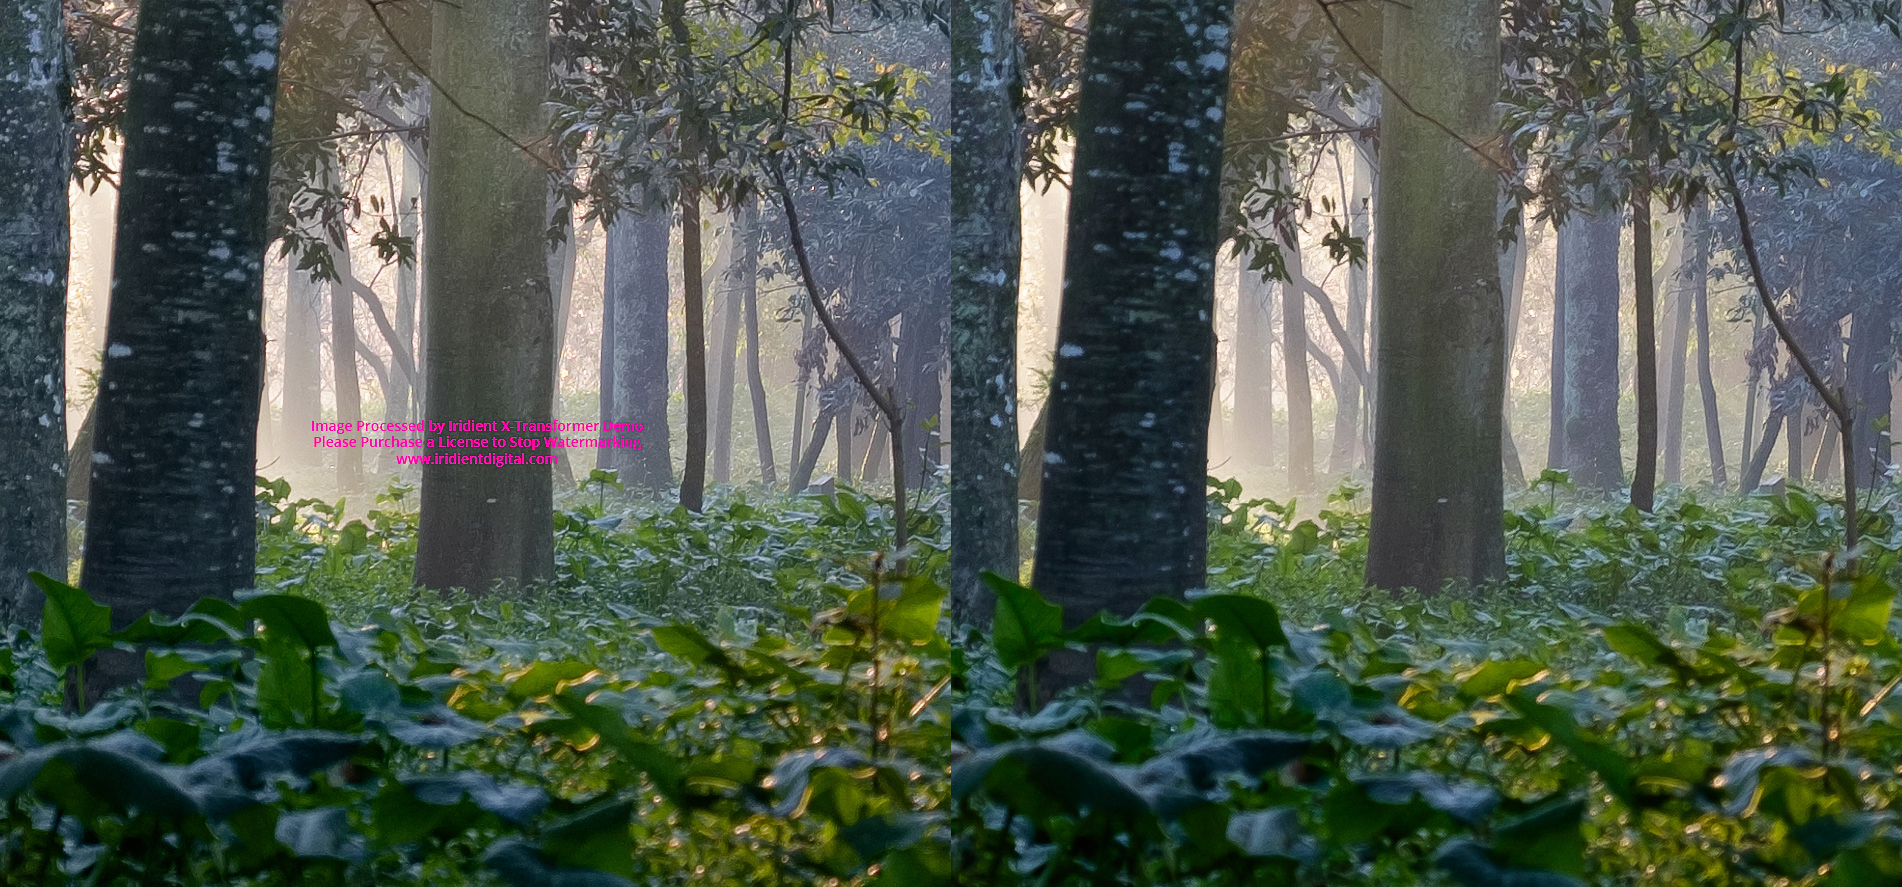
Increasing to 1:1 in Lightroom the differences are notorious and abysmal. Iridient DNGs come much more detailed than RAF imported directly into Lightroom.
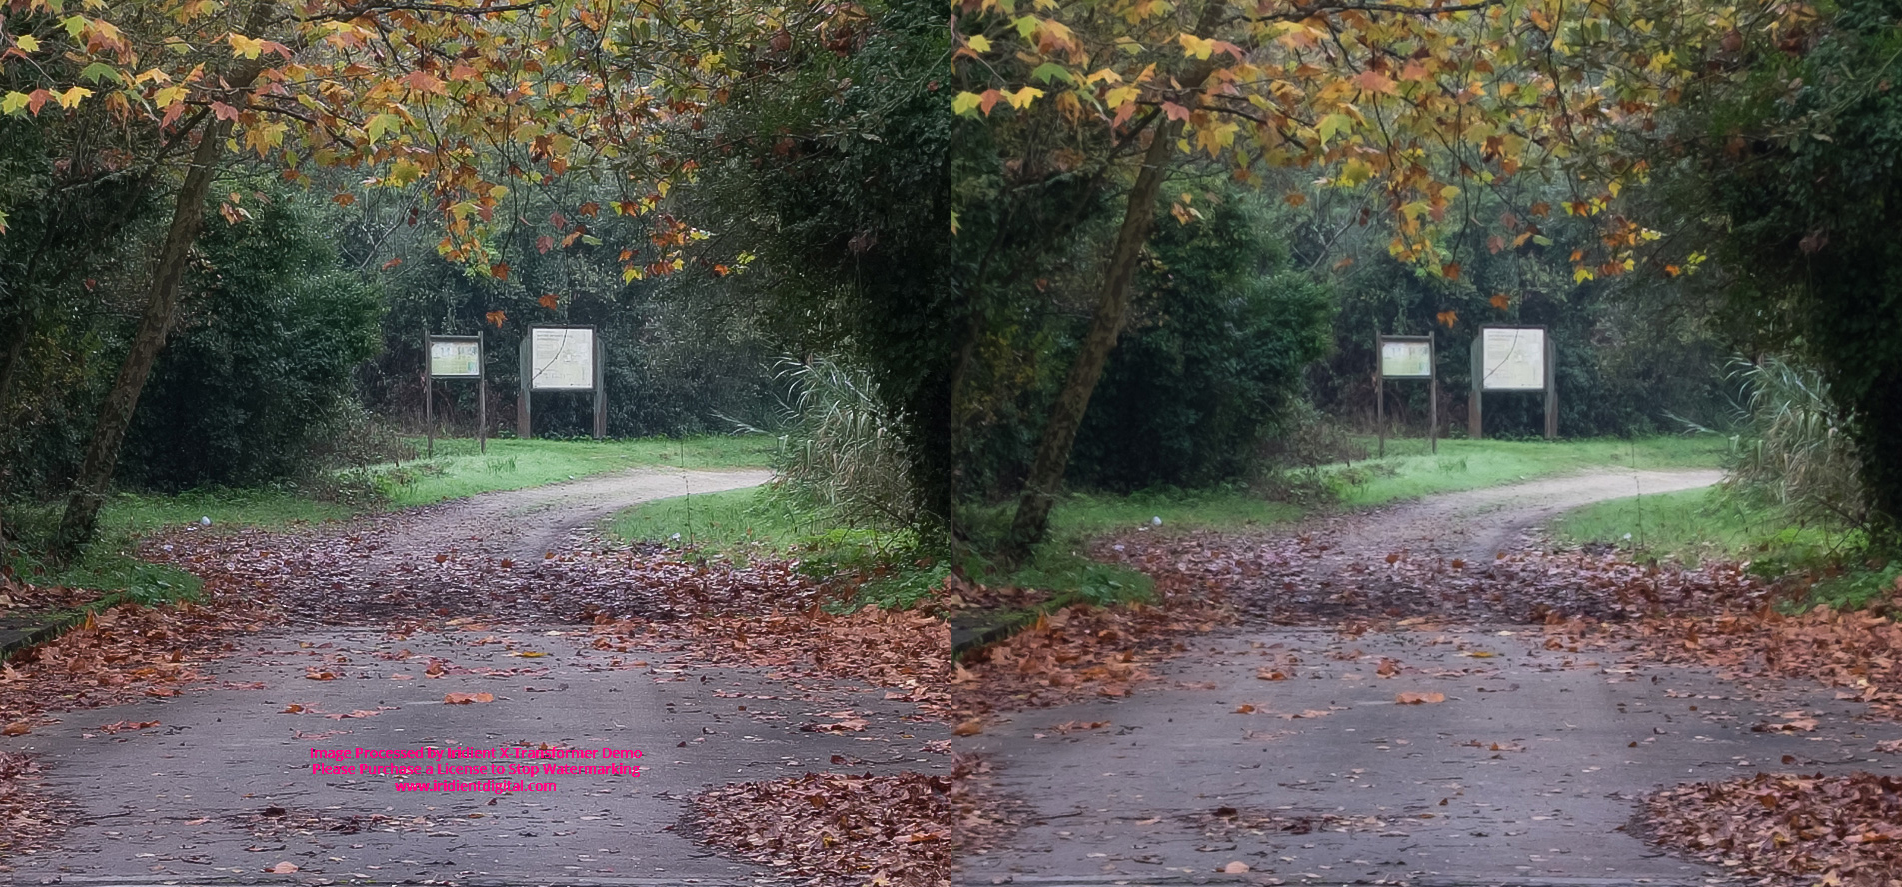
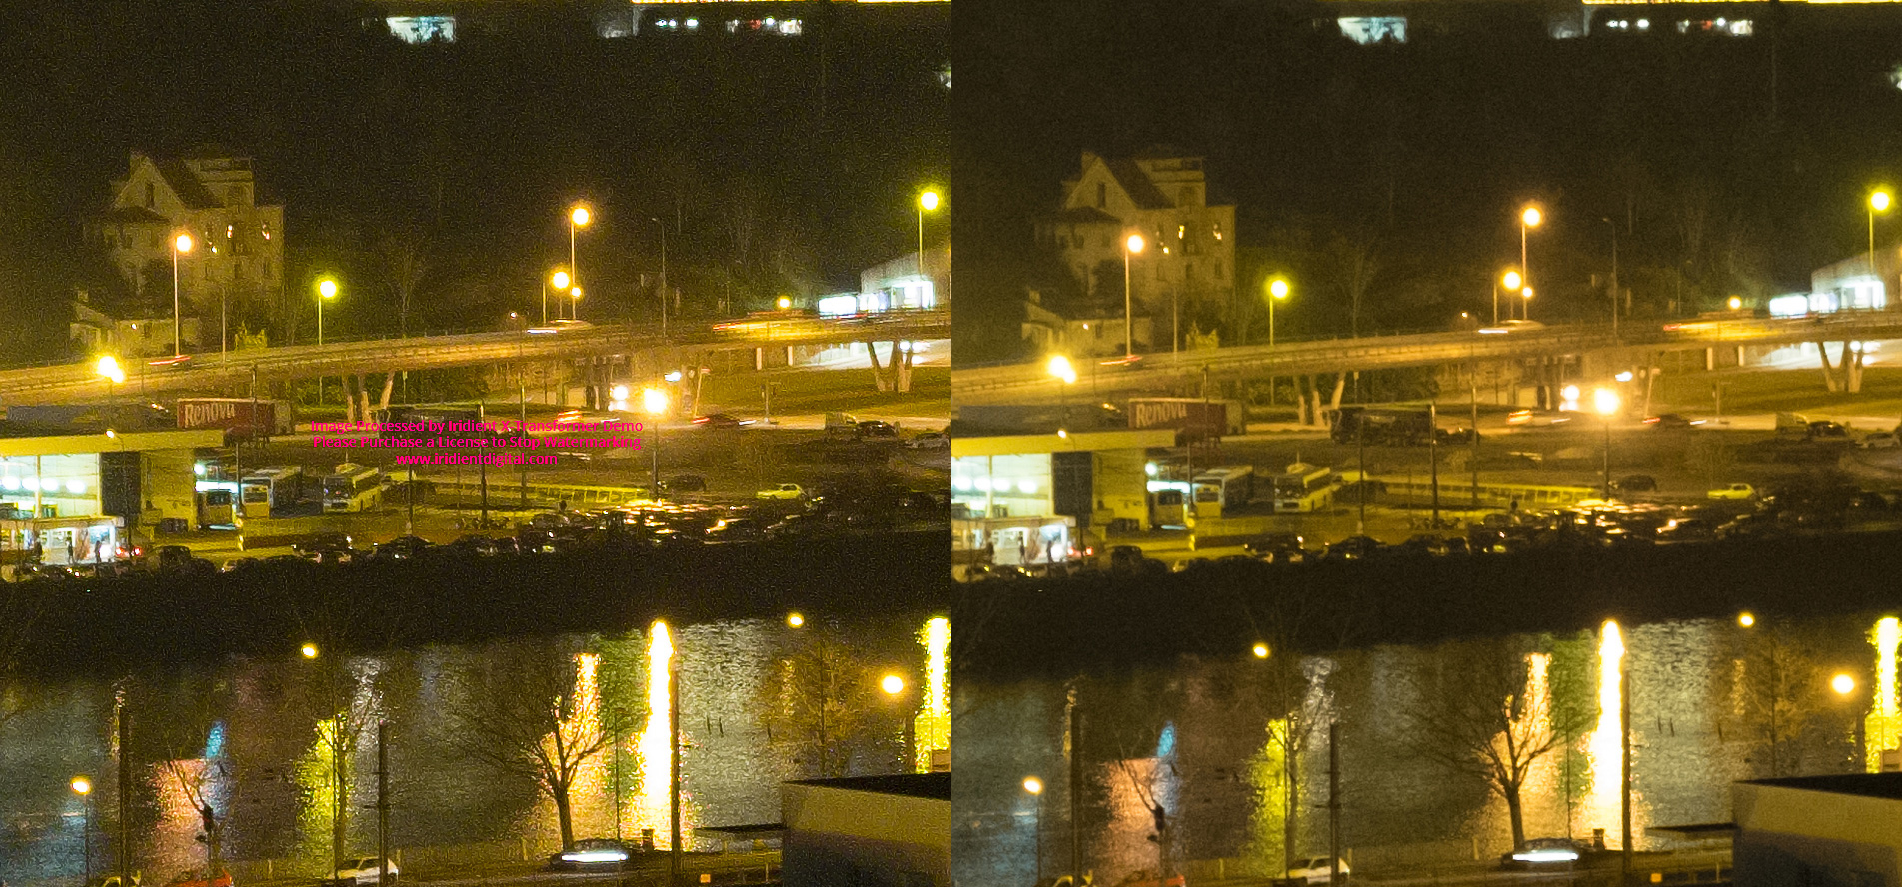
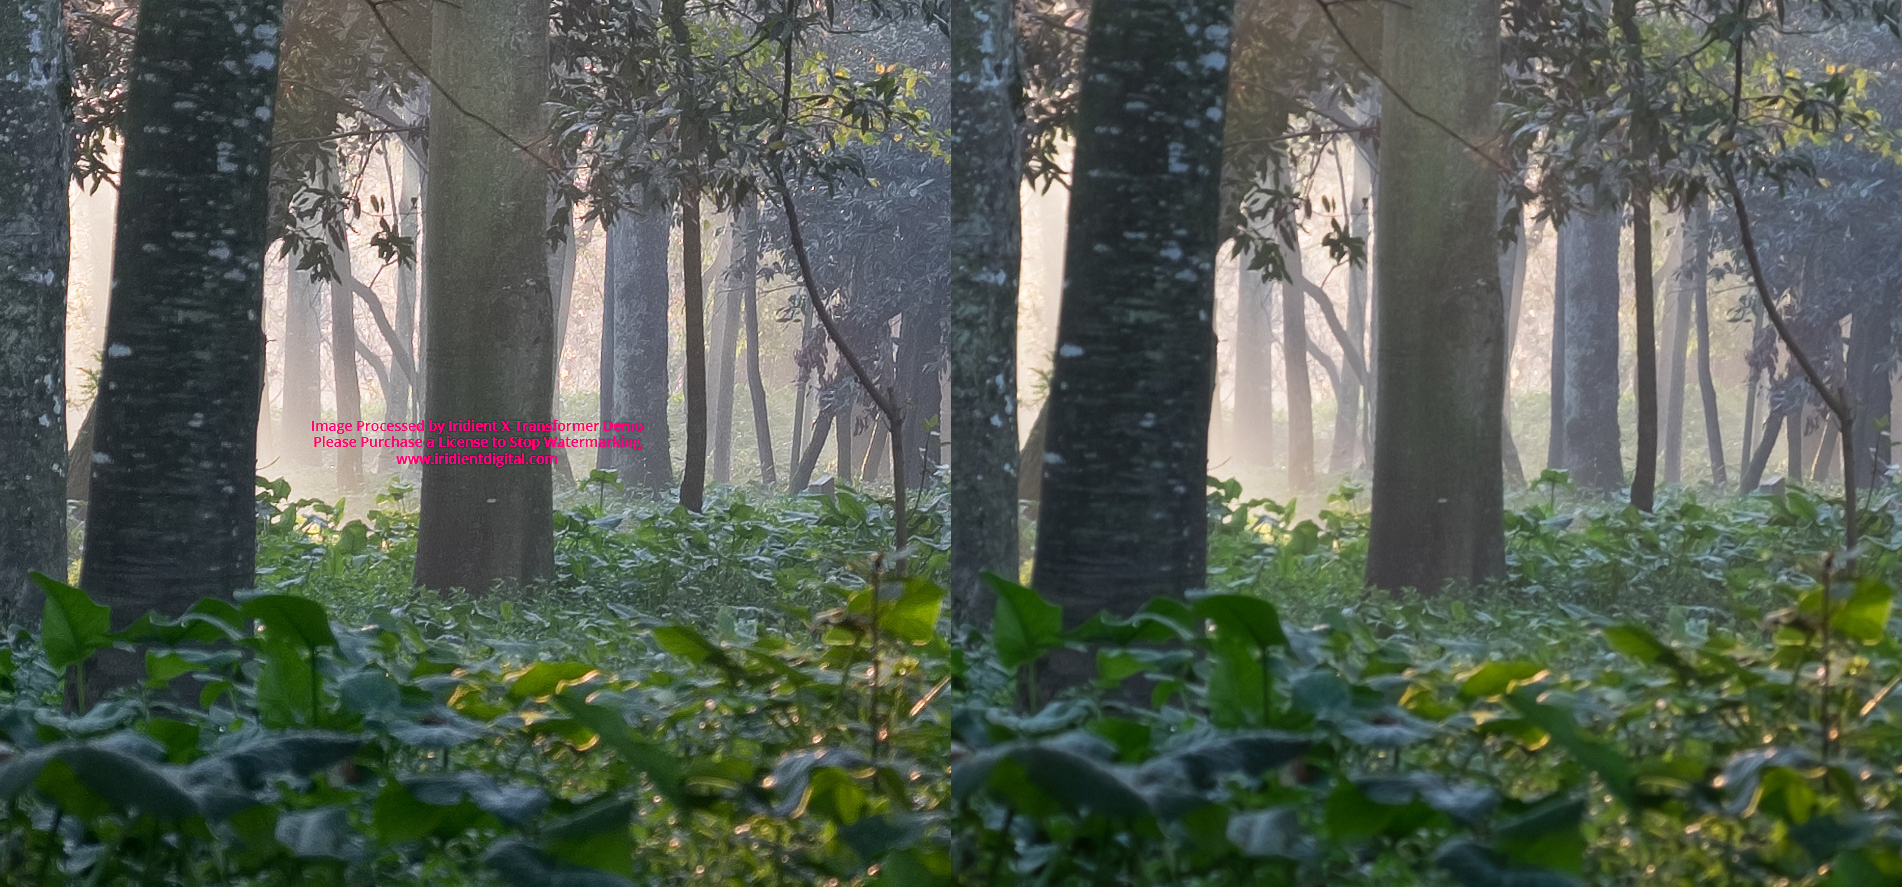
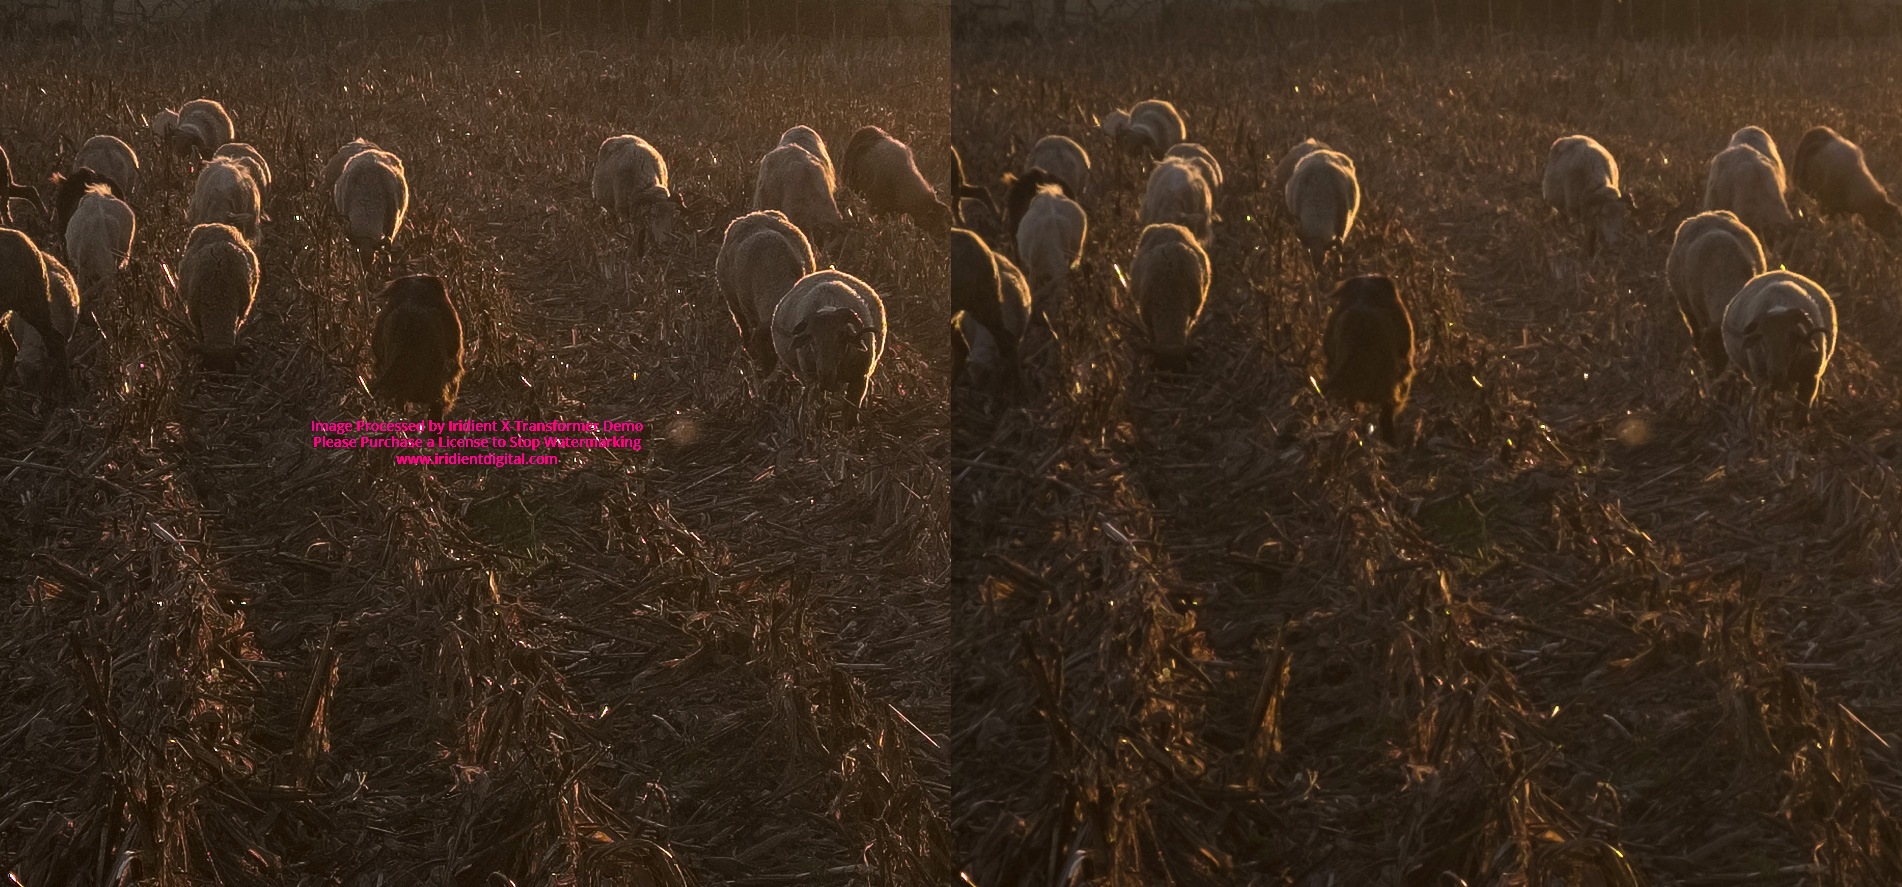
However, I note that, in the night image, with ISO 3200, unaesthetic artefacts (worms) appear. And this happens with any photo that has a slightly higher ISO. In this case Lightroom presents the cleanest images, only noticing the grain (actually nice in the case of the Fujifilm cameras) of an image with higher ISO.
The next step I gave on the Iridient was to move the ‘Sharpening’ item to ‘None’. And, again, import and compare the images with RAF imported directly, and without any editing, into Lightroom.


This way, the difference in the detail from Iridient DNG files in relation to RAFs is already smaller, but still (slightly) noticeable.
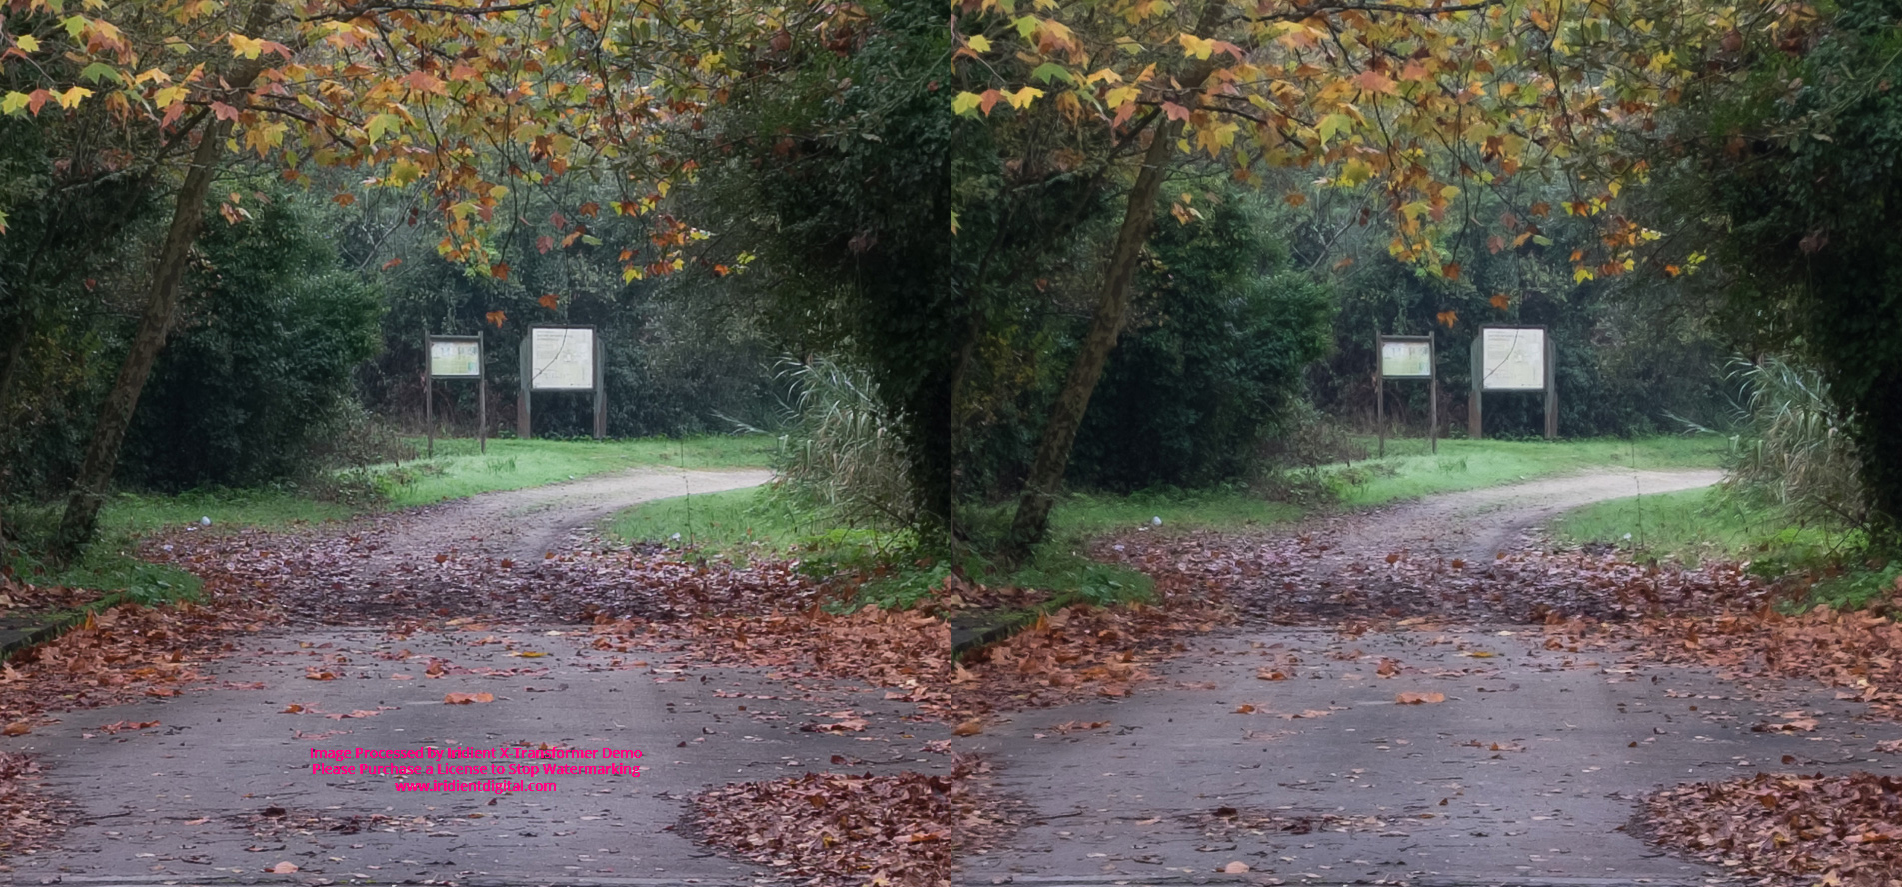
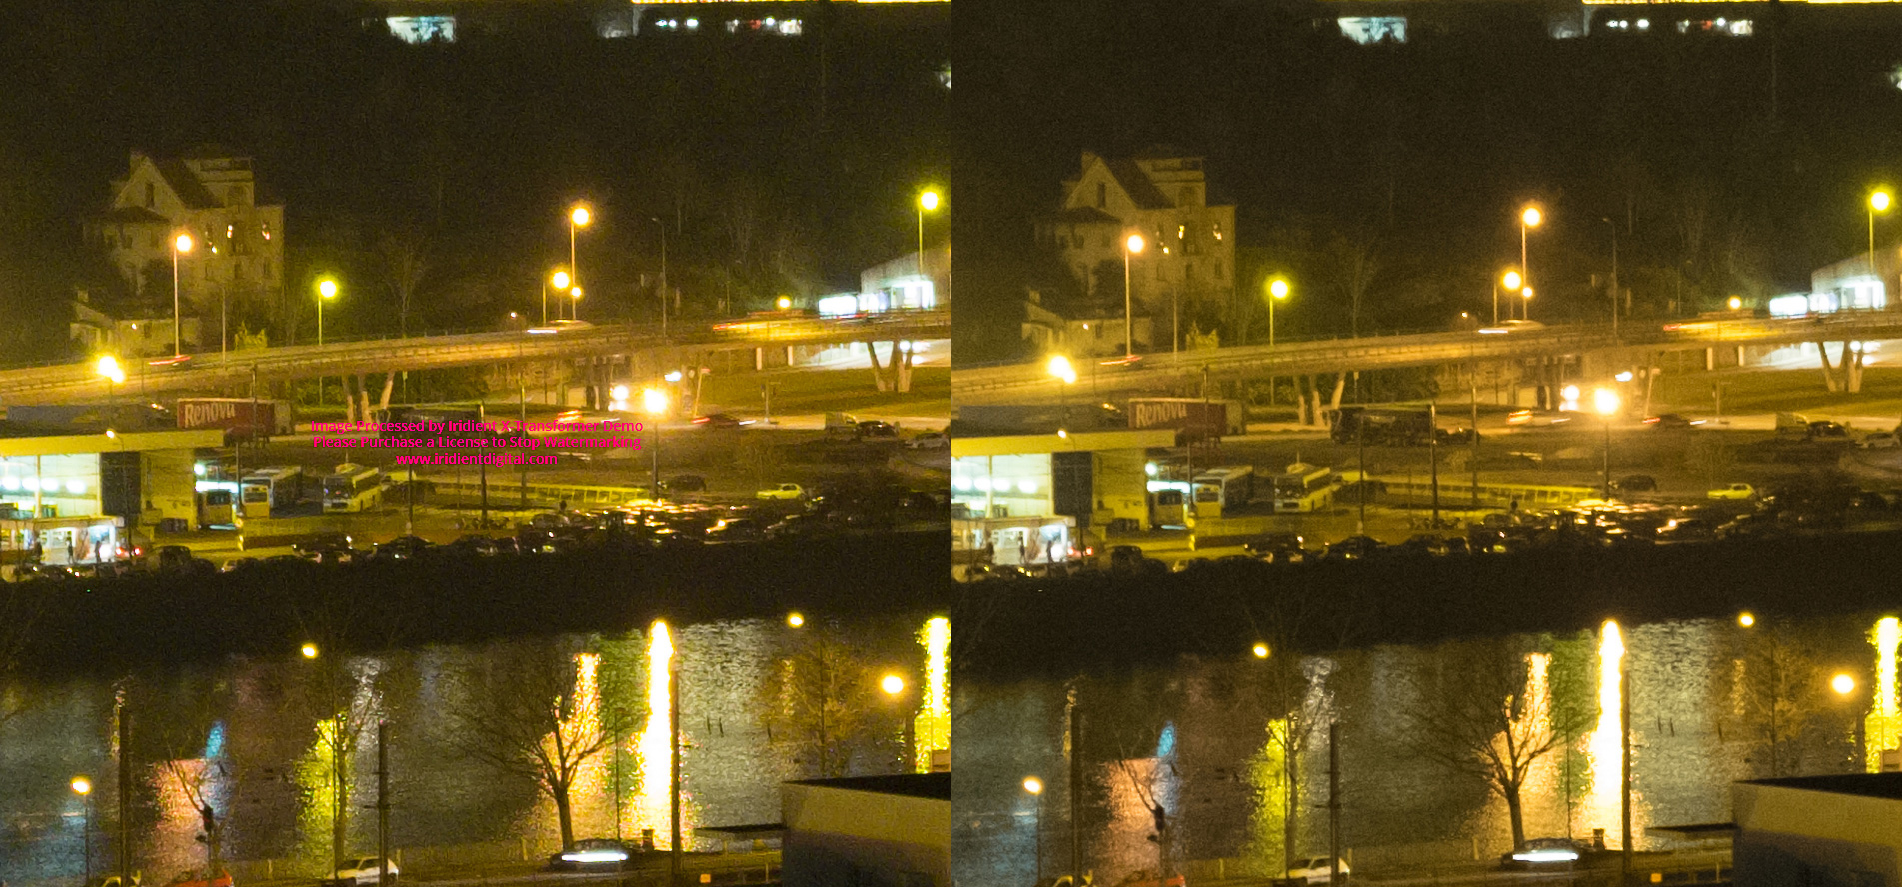
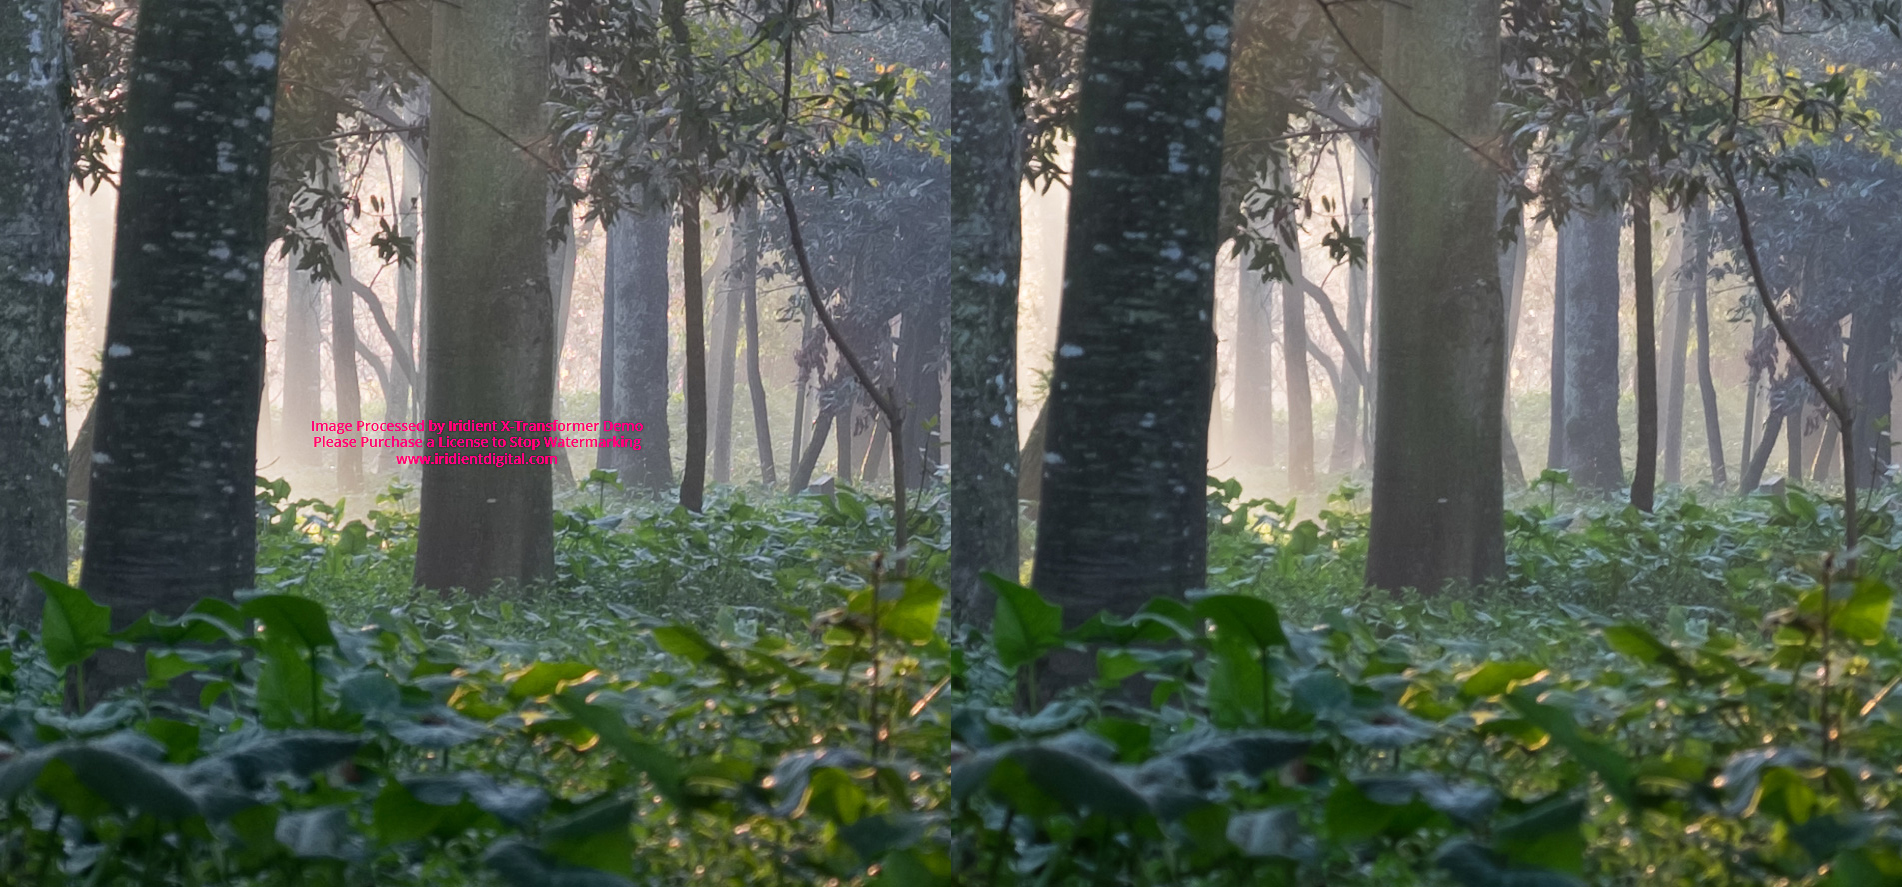
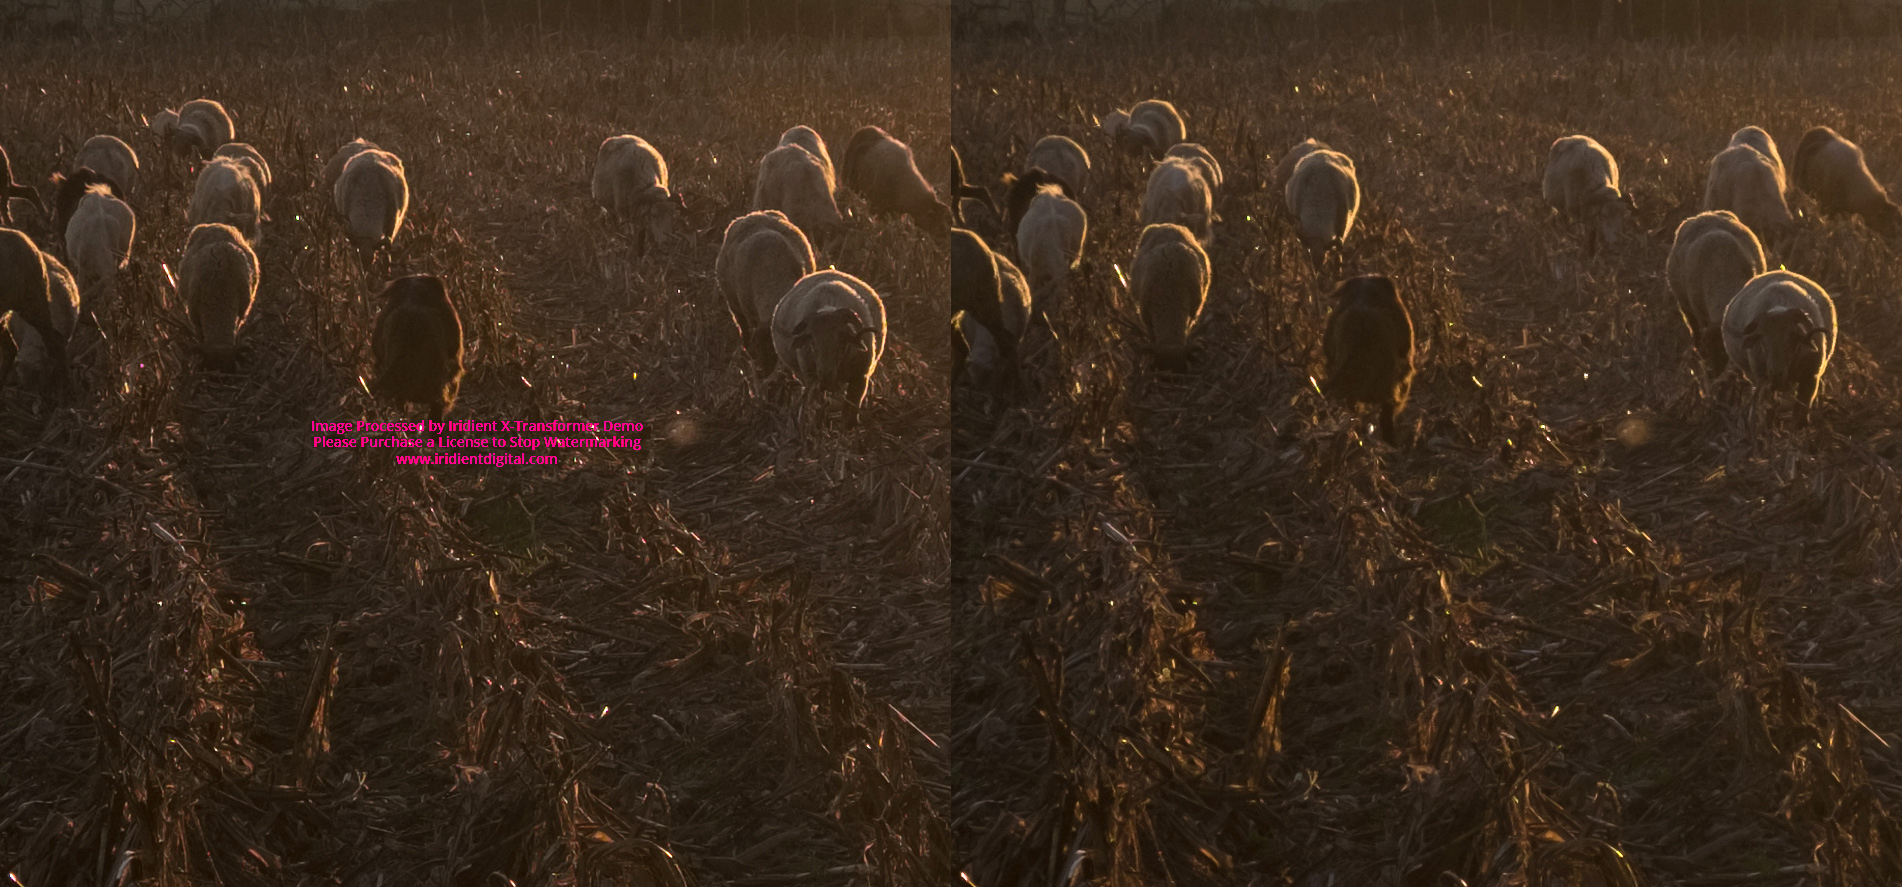
I re-imported the DNGs with sharp in ‘Default’ in the Iridient and I have now introduced the JPGs created in camera (I usually shoot RAW + JPG), having adjusted in Lightroom the DNG and RAF ‘Profile’ for the type of film simulation I used In the JPG. Even here the work of the Iridient is spectacular, showing detail once again superior to either the JPG or RAF. I did not like, once again, the work on converting the night image with ISO 3200, where worms are very noticeable.
DNG Left, JPG Center, RAF Right
> Click the right mouse button here and open the image in a new tab

> Click the right mouse button here and open the image in a new tab

> Click the right mouse button here and open the image in a new tab

> Click the right mouse button here and open the image in a new tab
Finally, I selected one of the photos and tried to adjust the sharpness of the RAF file in Lighroom so that it was closer to the DNG converted in the Iridient. It improved, but with the gradual increase of ‘Amount’ and ‘Detail’ began to emerge the ‘painting’ effect. Anyway, the file converted by Iridient always presents the small details better defined and natural.
(My) Conclusion:
Iridient’s work is fantastic when it comes to extract the best RAF files have to offer, especially if the ISO value is less than 800, or at most 1600, where Lightroom is notoriously better.
Anyone who shoots landscapes will now have a strong ally, getting photographs with more and better detail, even in relation to the JPG produced in camera (which is very good).
Using Iridient X-Transformer as a Lightroom plugin is a good idea, but for now only to those who use the Windows operating system. I, as usually process the photos on a Mac, will have to convert in the PC first. It’s another step in the workflow, but that will give me some extra quality to the final result.
Converting and importing DNGs into Lightroom means that you can continue to use the film simulations offered by the Adobe program. The whole process of editing a DNG can be the same as what you would do in an RAF, whether at the level of exposure, shadows, highlights, etc…
Obviously, I advise you to try this Iridient very well and with many photographs. Do not buy the license in a hurried way, because the tool may not adapt to your workflow and you may conclude that, once the photos on paper, the differences after all are not so many. Try it and try it one more time.
I generally liked this tool a lot and will include the same in my workflow, being careful not to use it in high ISO image conversion – at least until the author improves this aspect.
Even though I was in the beta version I did not see any major errors, it just consumes a lot of computer resources and when we import a DNG from an image portrait oriented into Lightroom, we’ll have to rotate it.
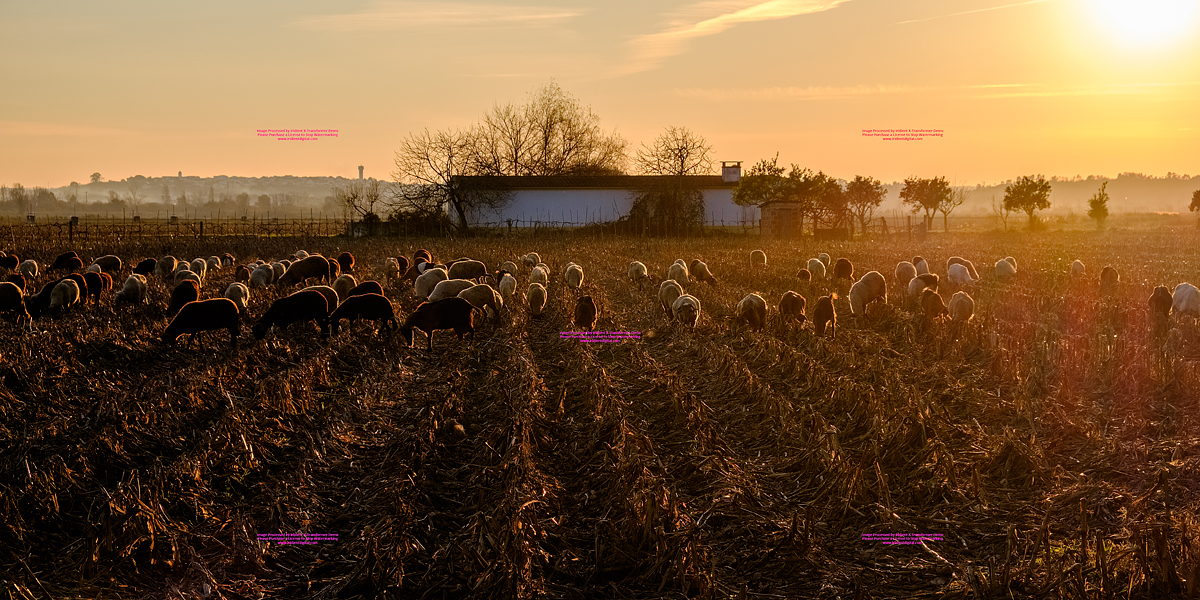
Processed photos in the Lightroom from DNG files converted in the Iridient X Transformer

Co-Editor and co-founder of the Fuji X Passion project. Portuguese photographer with passion for landscape photography.




Jeff
January 18, 2017 @ 5:00 pm
The rotation will be fixed in the next release (as answered by Brian himself).
Try using LOW instead of Default for your high ISO images. The noise will be much better and you’ll still get a sharper image than Lr.
What would make this tool almost perfect is if we could set the settings based on ISO. Say anything greater or equal to ISO 1600 could automatically use the LOW setting, anything below 1600 could use the Default setting.
That way, batch processing would work well.
Graeme Taylor
April 25, 2017 @ 2:35 am
I suggest sharpening should be set at ‘none’ it gives the best high iso result for me anyway. I can always sharpen it later.
Stuart Peel
May 7, 2017 @ 8:30 am
If you are using LIghtroom, you can sort the images in Library: Metadata > ISO and then batch each group with Iridient from within LR. Not quite as elegant as automation, but it works!.
t_linn
January 19, 2017 @ 3:11 am
Nice post, Mauricio. $30 seems like a bargain and I really appreciate the fact that those using an LR workflow can maintain it. (One small note: You are using the word “notoriously” when I think you want to use the word “noticeably”. No big deal.)
Robert Doeleman
February 3, 2017 @ 4:50 pm
Any news this also being available on OXS within a certain time?
David Thompson
March 1, 2017 @ 4:01 pm
Robert, I e-mailed the developer as I am interested in this too and the launch is imminent. I have the site bookmarked and check every day as I am really impressed by the MAC full version. I think it will be coming out as a Beta 2 version when they update the PC one.
David Thompson
March 1, 2017 @ 4:04 pm
Really useful review Mauricio as I am now looking at using this in my workflow as a landscaper once the MAC version is released. Much appreciated.
Mauricio Reis
March 1, 2017 @ 4:17 pm
Thank you David. I’m waiting for the Mac version too but, meanwhile, I’m using the Windows version.
Andre Vallejo da Silva
May 14, 2017 @ 6:34 pm
To be honest, I downloaded the released Mac version and tried with a few different rafs. Set the sharpening to none, and sharpened both images, the original and the watermarked one with the same settings in LR…Looking at 50% and 100% I can barely tell them apart…it seems to me the only real world difference is that you can presharpen your Raf with IXT, but that’s all it’s really doing…
ELLIOT STERN
June 10, 2018 @ 5:07 pm
I realize I am getting to your very detailed article late. I do own Adobe Lightroom and Photoshop and Mobile as well as Alien Skin X3 and a few others. Buying software has become as complicated as buying a camera bag. Once you own a lot of them it becomes difficult to decide which to use.
That said I also have Xtransformer and I do notice the difference in the files. I do not shoot landscape or at least almost never but do shoot product, people, buildings, life. The current version of Transformer for the Mac produces some awfully large files and even though I have sufficient storage the program uses a lot of resources.
As this is now June of 2018, a year and half after your article, where are you with the program now and how well is it fitting into your workflow in regards to time spent and quality of image.
Thanks,
Elliot.