Action and Portraits with the Fuji X-T2
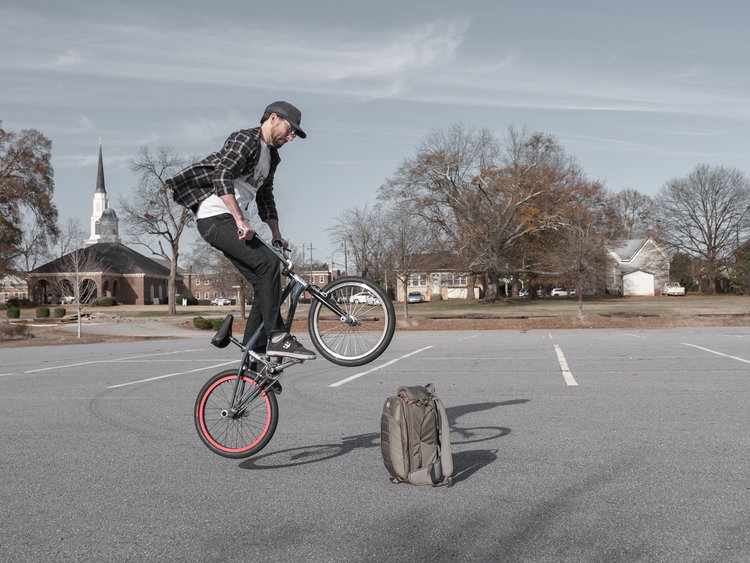
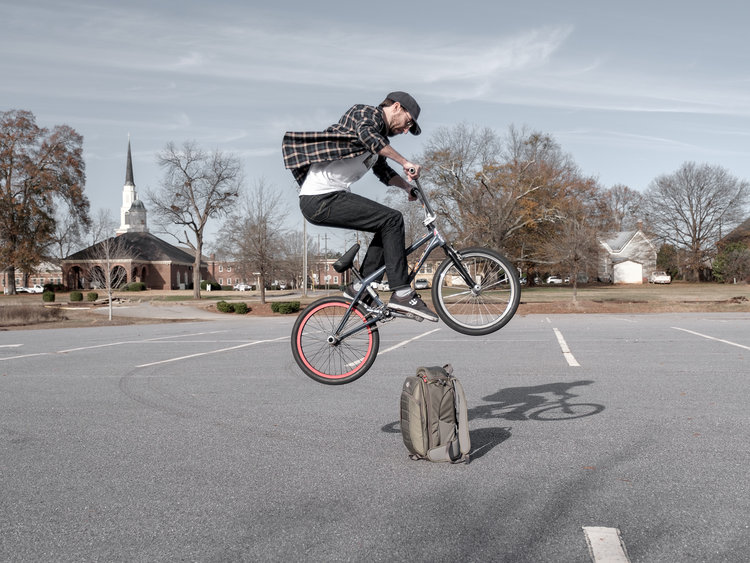
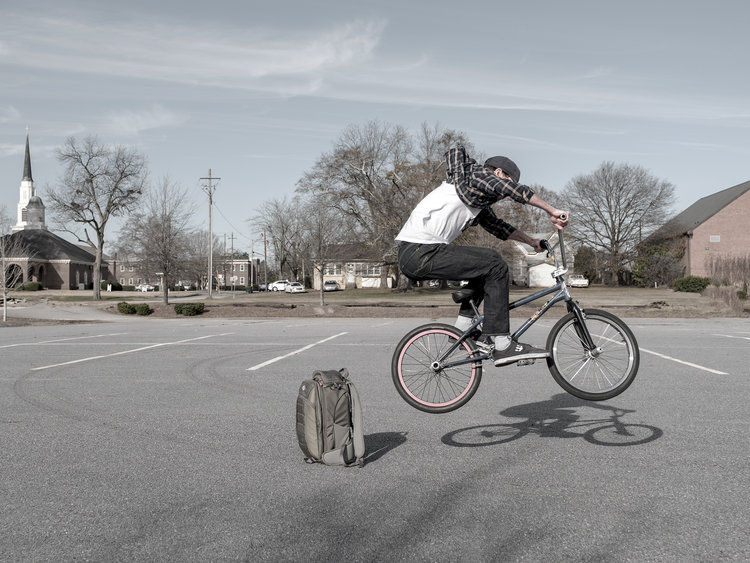
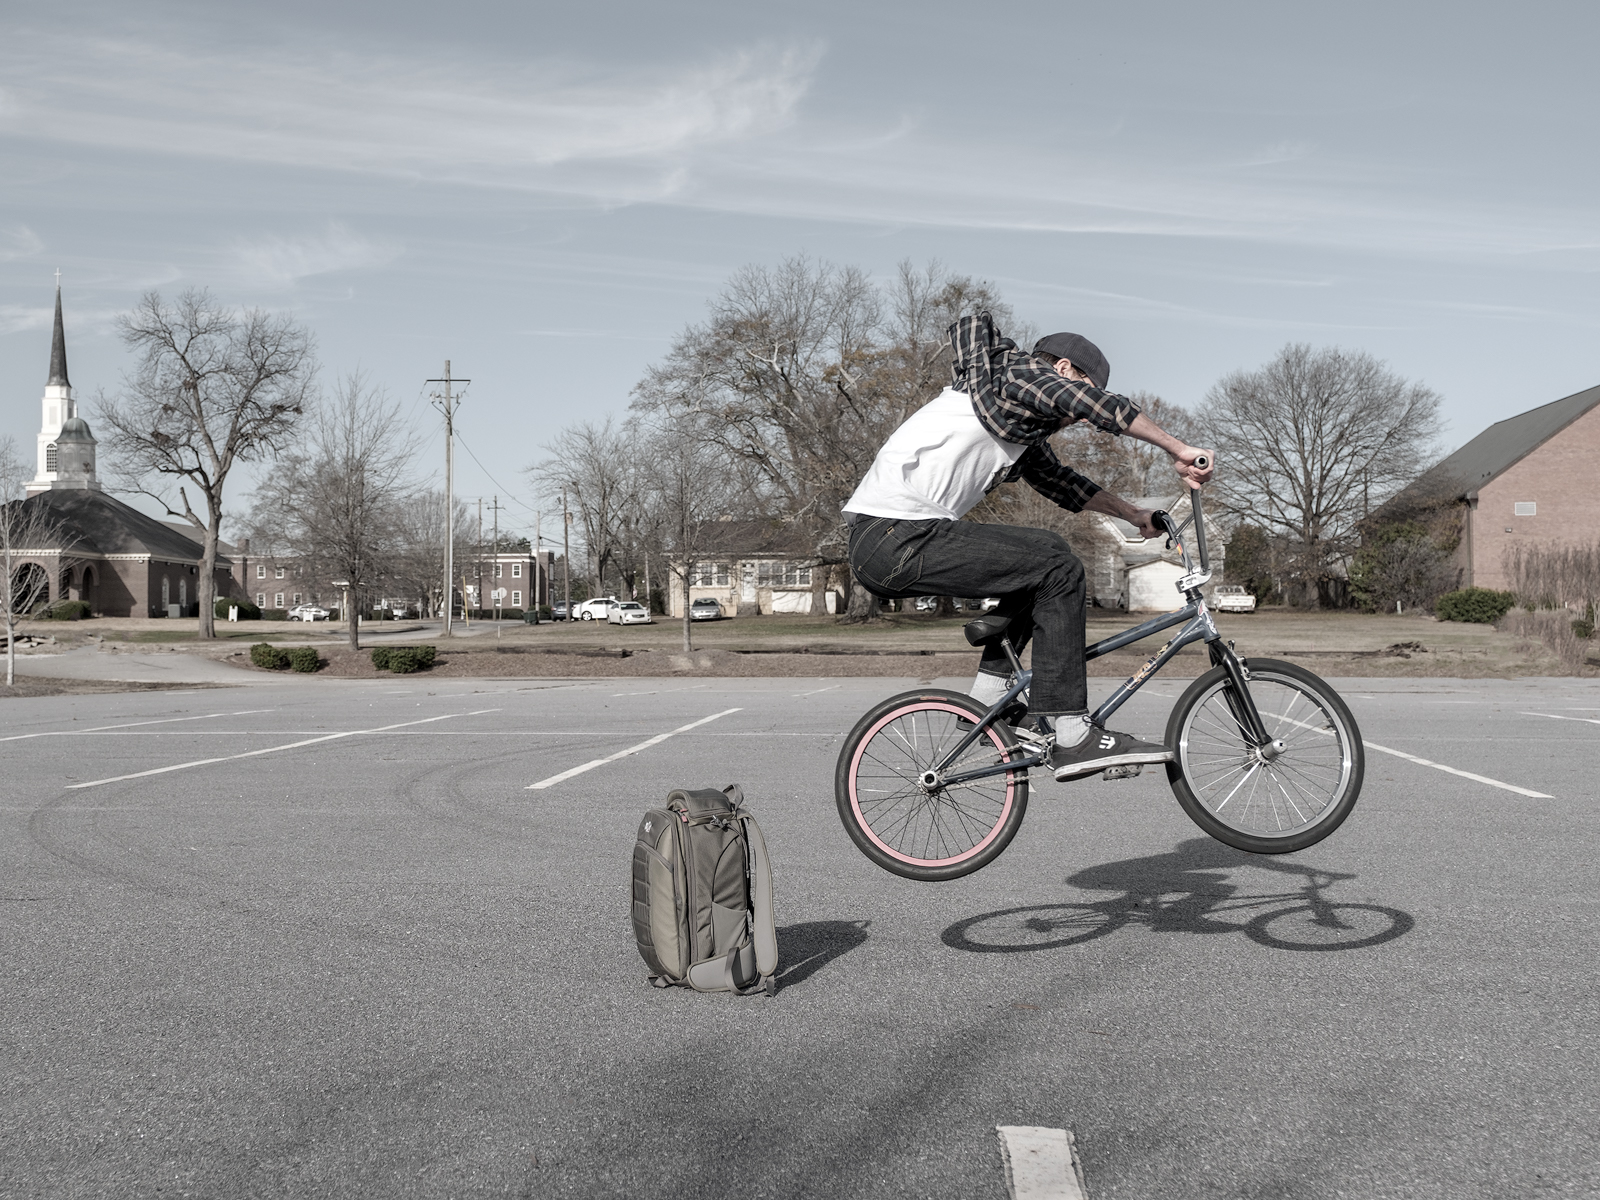
“Do you trust me”, Jody said, as I was setting up my Fuji X-T2 for a series of action shots. I said “sure”, and turned around just as Jody was speeding towards my camera bag, and with a quick upward flick, executes a perfect “bunny hop” over the top of my unsuspecting, and fully loaded bag. “Wow”, I thought, thinking I might be calling my insurance agent by the end of this shoot. Without missing a beat, I asked if he could do it again, settled into a camera position, and fired off a sequence of shots as he executed another perfect hop over my bag.
By way of introduction Jody Temple is my cousin, and a BMX Freestyle rider, specializing primarily in Street and Flatland riding. He has done this kind of riding since he was very young and oddly, this was the first time I have ever seen him wield tricks from his extensive bag of knowledge. BMX is not a sport that I have a great deal of knowledge about and I certainly do not have the lingo down, except for perhaps “bunny hop” which is a move that many riders start with. As a matter of photographic practice, I typically do not photograph action sports, preferring the more immobile subjects like landscapes and architecture. But I do like to shoot environmental portraits and I thought combining that work, with a testing of the auto focusing capabilities on the new Fuji X-T2, would make for a great time and learning experience.
The location for the shoot was the expansive Methodist Church parking lot in our “home town” of Hartwell, Georgia, a place Jody has used for practice for many years. I think environmental portrait work is place dependent and should express meaning and connection. And this location, just off the main street, and adjacent to the old Hartwell Rail Yard, was a perfect place for our shoot. The lot is flat and wide open, perfect for Flatland Riding, and allowing plenty of room for Jody to execute his tricks. I timed the shoot for mid-afternoon as I wanted a fair amount of light to push the shutter speeds. We lucked out on the sky too. Early morning clear blue skies gave way to a expanding tendrils of cirrus clouds that softened the light but still gave me the opportunity to shoot at lower ISO’s and achieve fast shutter speeds. Many photographers do not like to shoot in such contrast laden but I have found this light perfect for the X-Trans III Sensor and the best for rendering sharp images using the the camera’s hybrid AF System.
The sequence above illustrates the perfect “bunny hop” over my unsuspecting camera bag. These were the first shots I made after setting up the camera. (I have included the entire sequence below so that you can click on each image and view it in Lightbox Mode).
So, let’s take a look at my initial set-up. I was using the Fuji X-T2 without the extended battery grip, which would have given me a higher burst rate, and with slower SD Cards. I would have gotten a better buffer rate with the drive and faster cards. But I was carrying a stripped down kit on this trip and was admittedly not as prepared as I should have been. Well, I was fully prepared for portraits but not so much for the action shots. But I made it work and even with those limitations the camera performed amazingly well. My two fast lenses that I wanted to use, the XF16mm f1.4, and the XF23mm f1.4, were still at Fuji for some service work, so I used my trusty XF16-55mm f2.8. It is versatile, fast, and gave me a great range from wide to medium telephoto.
Initial Camera Settings • I made my initial camera settings based on a few assumptions: That I wanted to shoot in lower ISO’s, that I would be shooting at wider apertures, for softer DOF and faster shutter speeds; and I wanted the faster shutter speeds to freeze the action. The camera was set to AF-C (Focus Mode Selector), CL (Drive Dial Selector), CL Low Speed Burst was set to 3.0fps (Shooting Setting > Drive Setting), AF Mode was set to Wide/Tracking. AF-C and Wide/Tracking can track a subject in 3-D space, which means it is tracking the subjects distance to and from the camera as well as the left and right movement; and I set the AF-C Custom Setting to Set 2 – Ignore Obstacles & Continue to Track Subject. Setting the AF-C to Set 2 was just an assumption that it would work for continuous tracking of subject, one that I would change in short order. Shooting in Manual Mode, don’t ask me why as it is just a comfortable habit, with an ISO of 320 and an aperture of f3.2 I got a shutter speed of 1/2500 of a second.
I did not have Face Detection on as this can effect the AF-C Tracking of your subject, especially when the action is coming towards you. Additionally, I set the shutter to ES Electronic Shutter (Shooting Setting > Shutter Type) to eliminate shutter vibrations at higher shutter speeds. I could have selected Mechanical + Electronic Shutter MS+ES as well, and the camera would have chosen the shutter type. Had I shot over 1/8000 of a second the ES would have kicked in. It can take about 1/20 of a second for the ES to capture an entire image on the sensor which can cause issues with distortions and blur on faster moving subjects but I did not have any problems with the images from this shoot.
This may seem like a lot to think about and consider, but once you do this a couple of times it gets a little easier. Now let me address my use of Manual Mode. It is just a force of habit. With the aperture and ISO set, I move the Shutter Dial to “T” which allows me to simply, and quickly, adjust the exposure by using the Front Command Dial. I see the light and read it quickly using the Histogram as a guide to my exposure values. Since I have all of the AF-C functions set, I am essentially manipulating one dial for making exposures and greatly simplifying my process. This is truly one of the reasons I love shooting with these cameras.
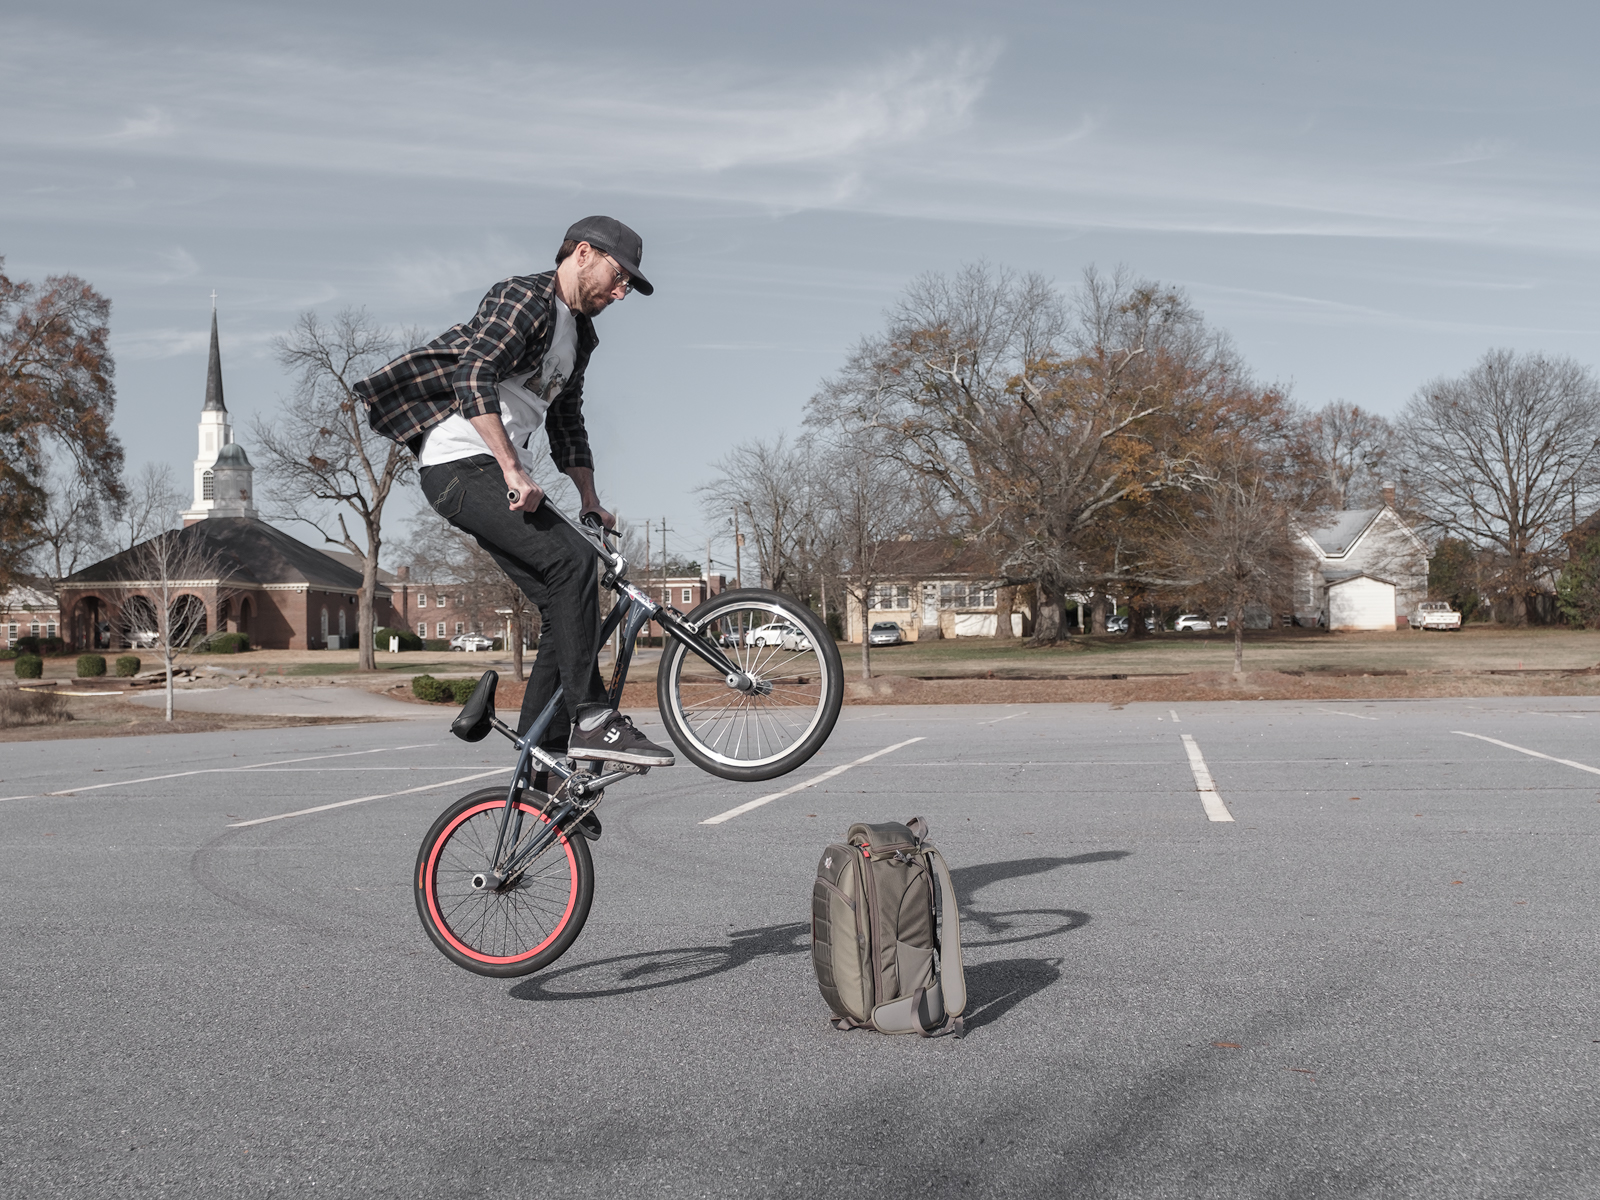
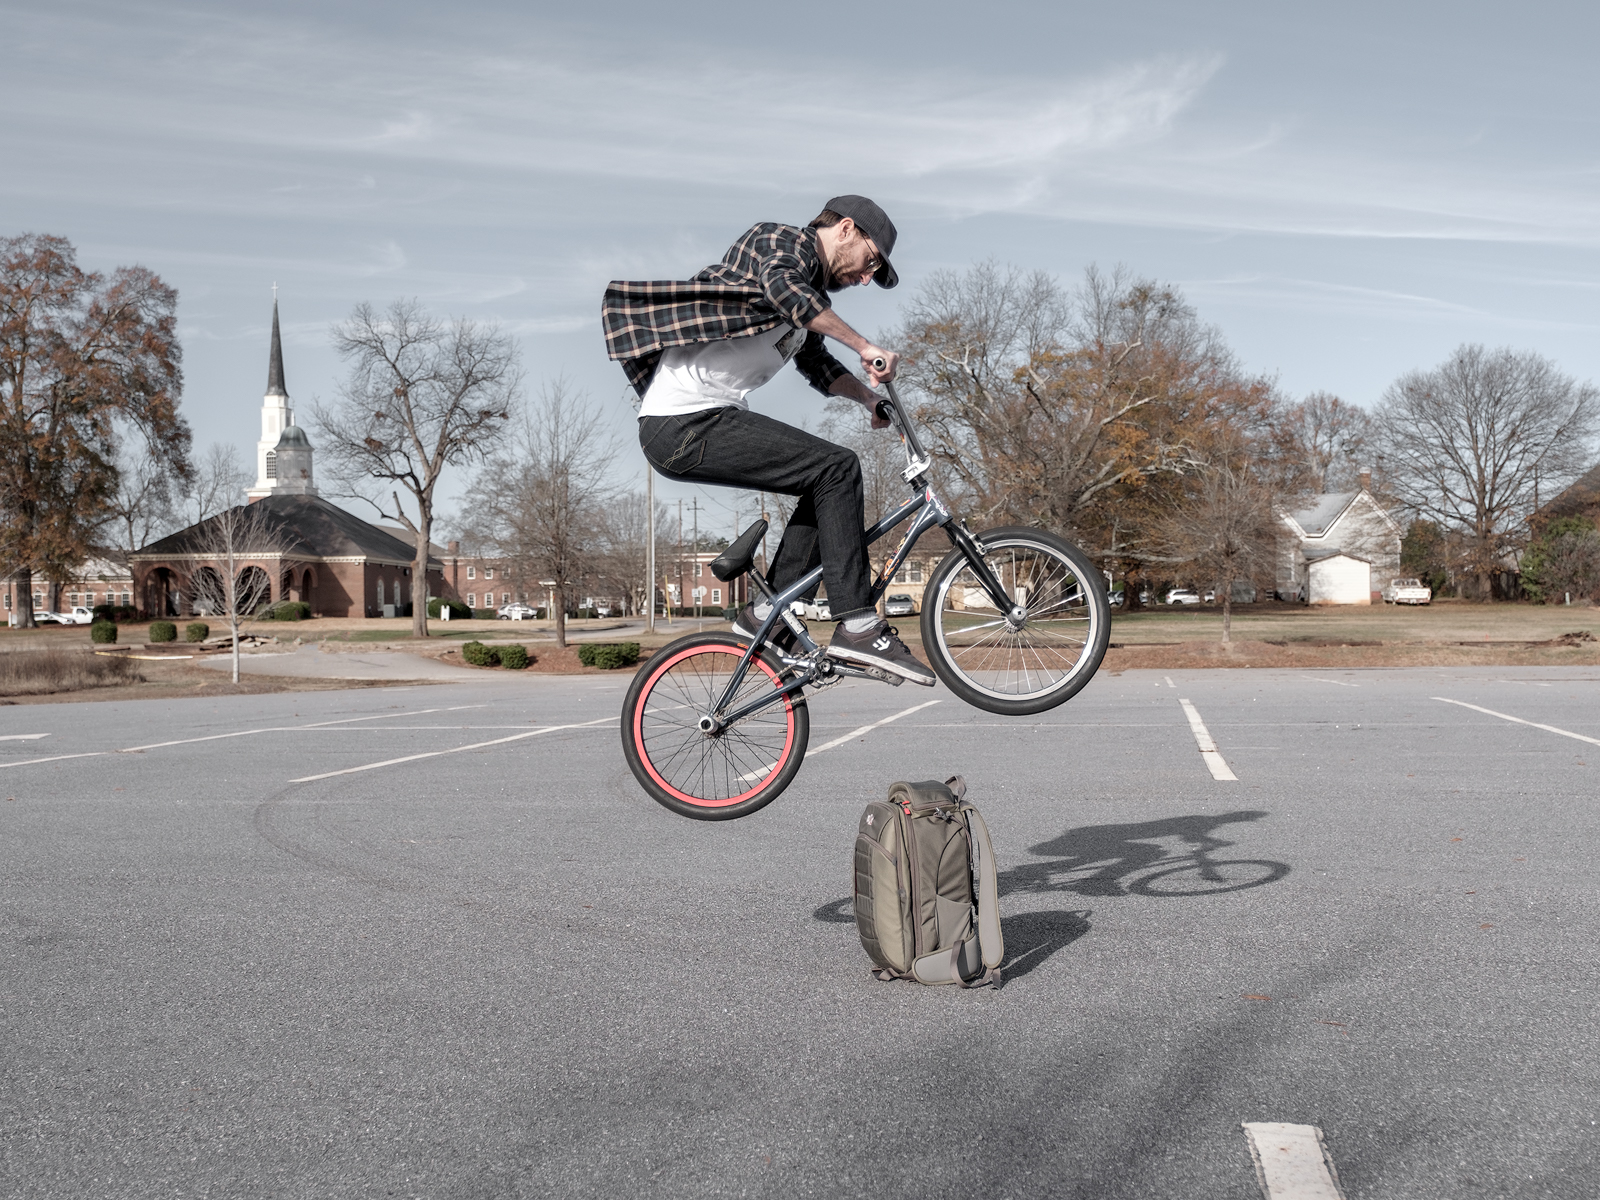
In practice, I used the Joystick to move the small lighted focus selector to one of the 91 available focus points, depressed the shutter button half way as Jody made his run up to my unsuspecting camera bag, and the wide-tracking focus points began to light up and follow along with the movement. I was also slowly panning the camera to follow the action. I tried to make sure that I kept the focus indicator within the center of the viewframe to take advantage of the Phase Detection AF (PDAF), which is fast and provides better tracking of moving subjects. At a predetermined point I fully pressed the shutter and captured a burst of images. A quick check of the results showed me a series of pretty tack sharp images. So far so good and a great start to the shoot.
But the tricks got harder and I found I was having some trouble following the sequence of moves. More than once I lost the zone of focus and the wide-tracking was not picking up all of the movements as easily as I would have thought. I will attribute some of this to my lack of knowledge as to how the tricks would be performed and the total range of movement that occurred, especially with the rotational spins. The movements were more erratic in nature and I knew I needed to make some changes in my set-up. To better understand the tricks I had Jody run through them several times so I could understand how they started and ended. Jody and I also worked to set a predictive starting point for a trick using a leaf or mark in the pavement. This made it easier for me to time my shooting sequences. I also changed the camera settings which help me greatly in achieving a better in-focus capture rate.
Final Camera Settings • The same assumptions I used to set my initial settings were still at play but I needed to see if I could do a better job on capturing the rotational tricks. I kept the camera set to AF-C (Focus Mode Selector), CL (Drive Dial Selector), and CL Low Speed Burst was set to 3.0fps (Shooting Setting > Drive Setting). But I changed the AF Mode from Wide/Tracking to Zone and I set the AF-C Custom Setting to Set 5 – For Erratically Moving & Accel,/Decel. Subject. I found this arrangement more to my liking as the Zone AF Mode gave me a larger visual target in the viewfinder to help me pinpoint, and follow the action. Additionally the Set 5 AF-C Custom Setting proved better at tracking the erratic movements. The results were an improvement and I achieved a much better rate of in-focus captures.
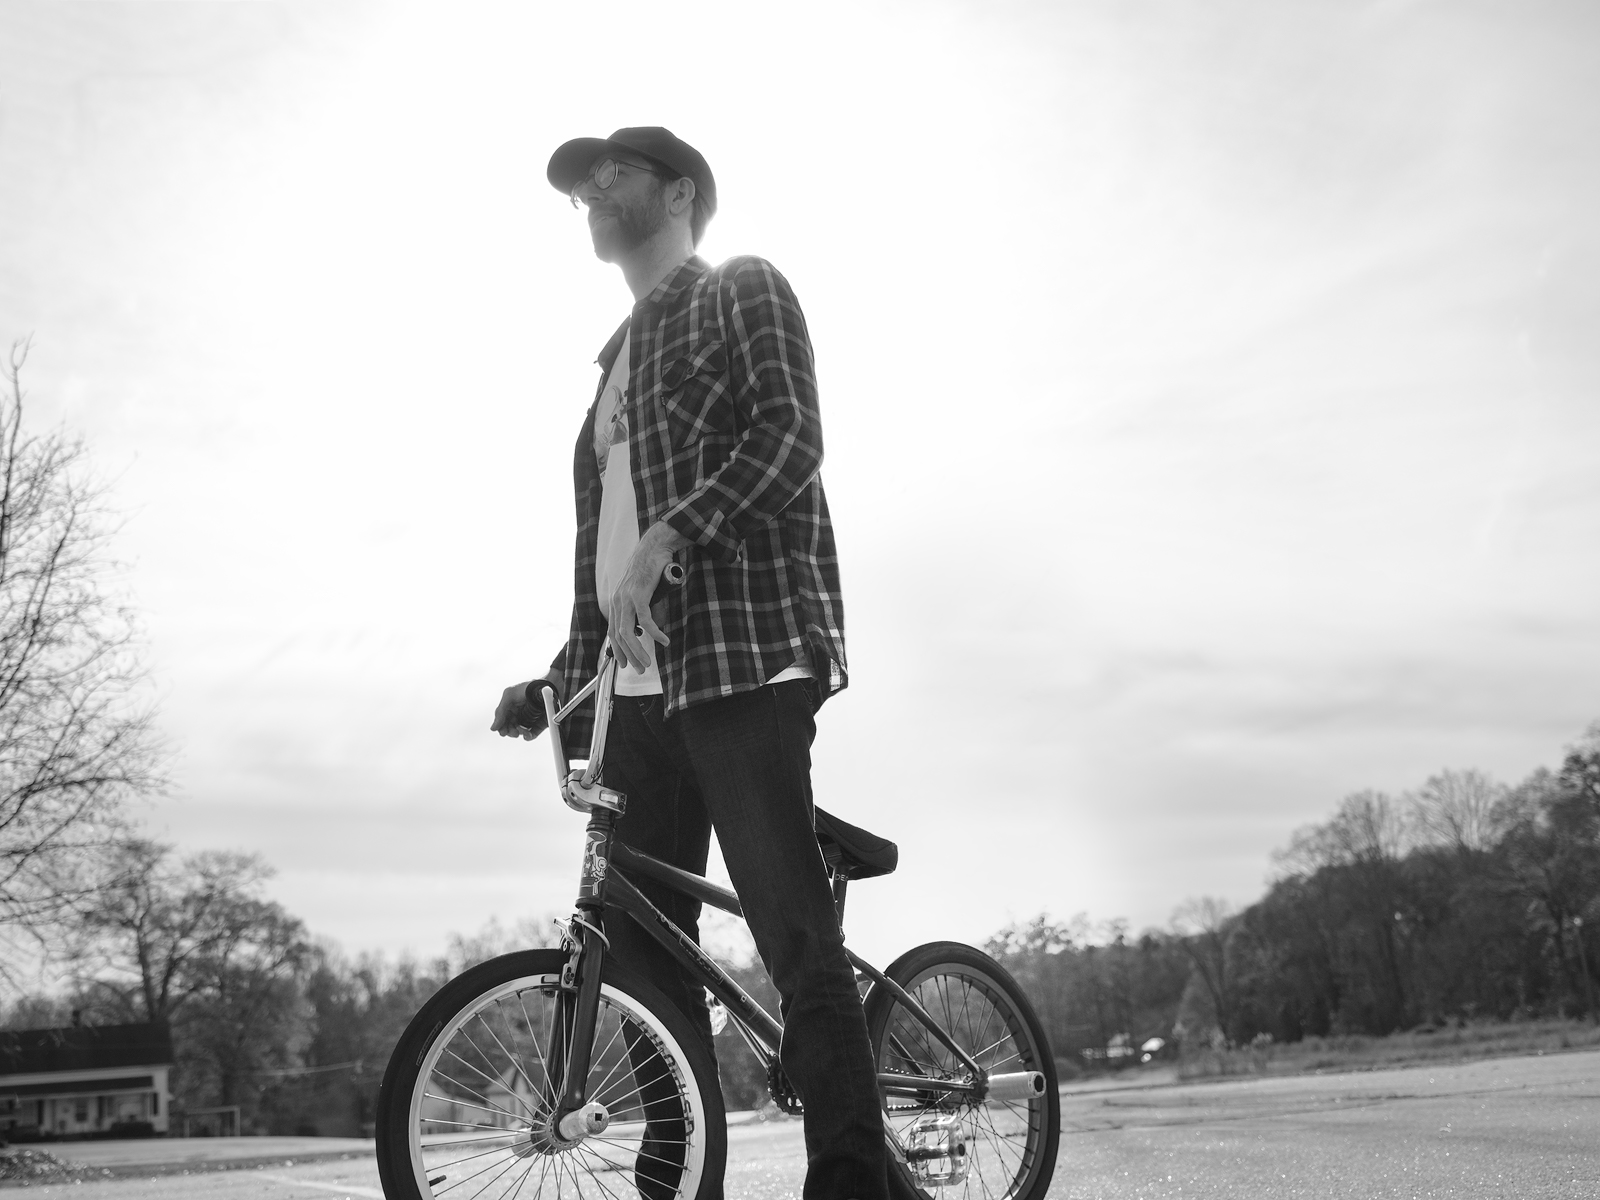
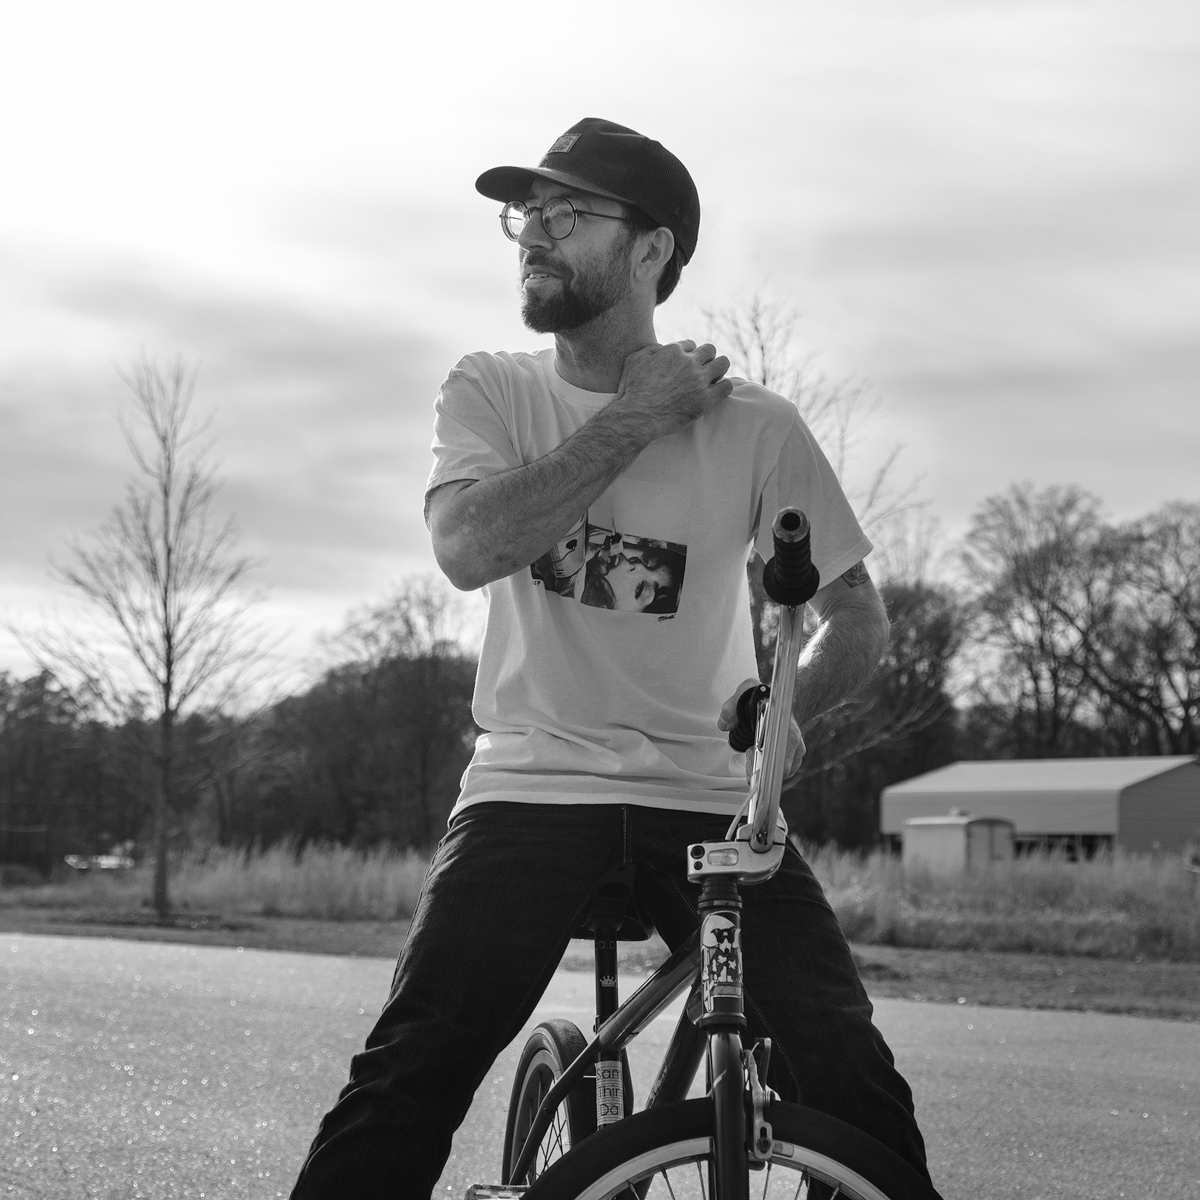
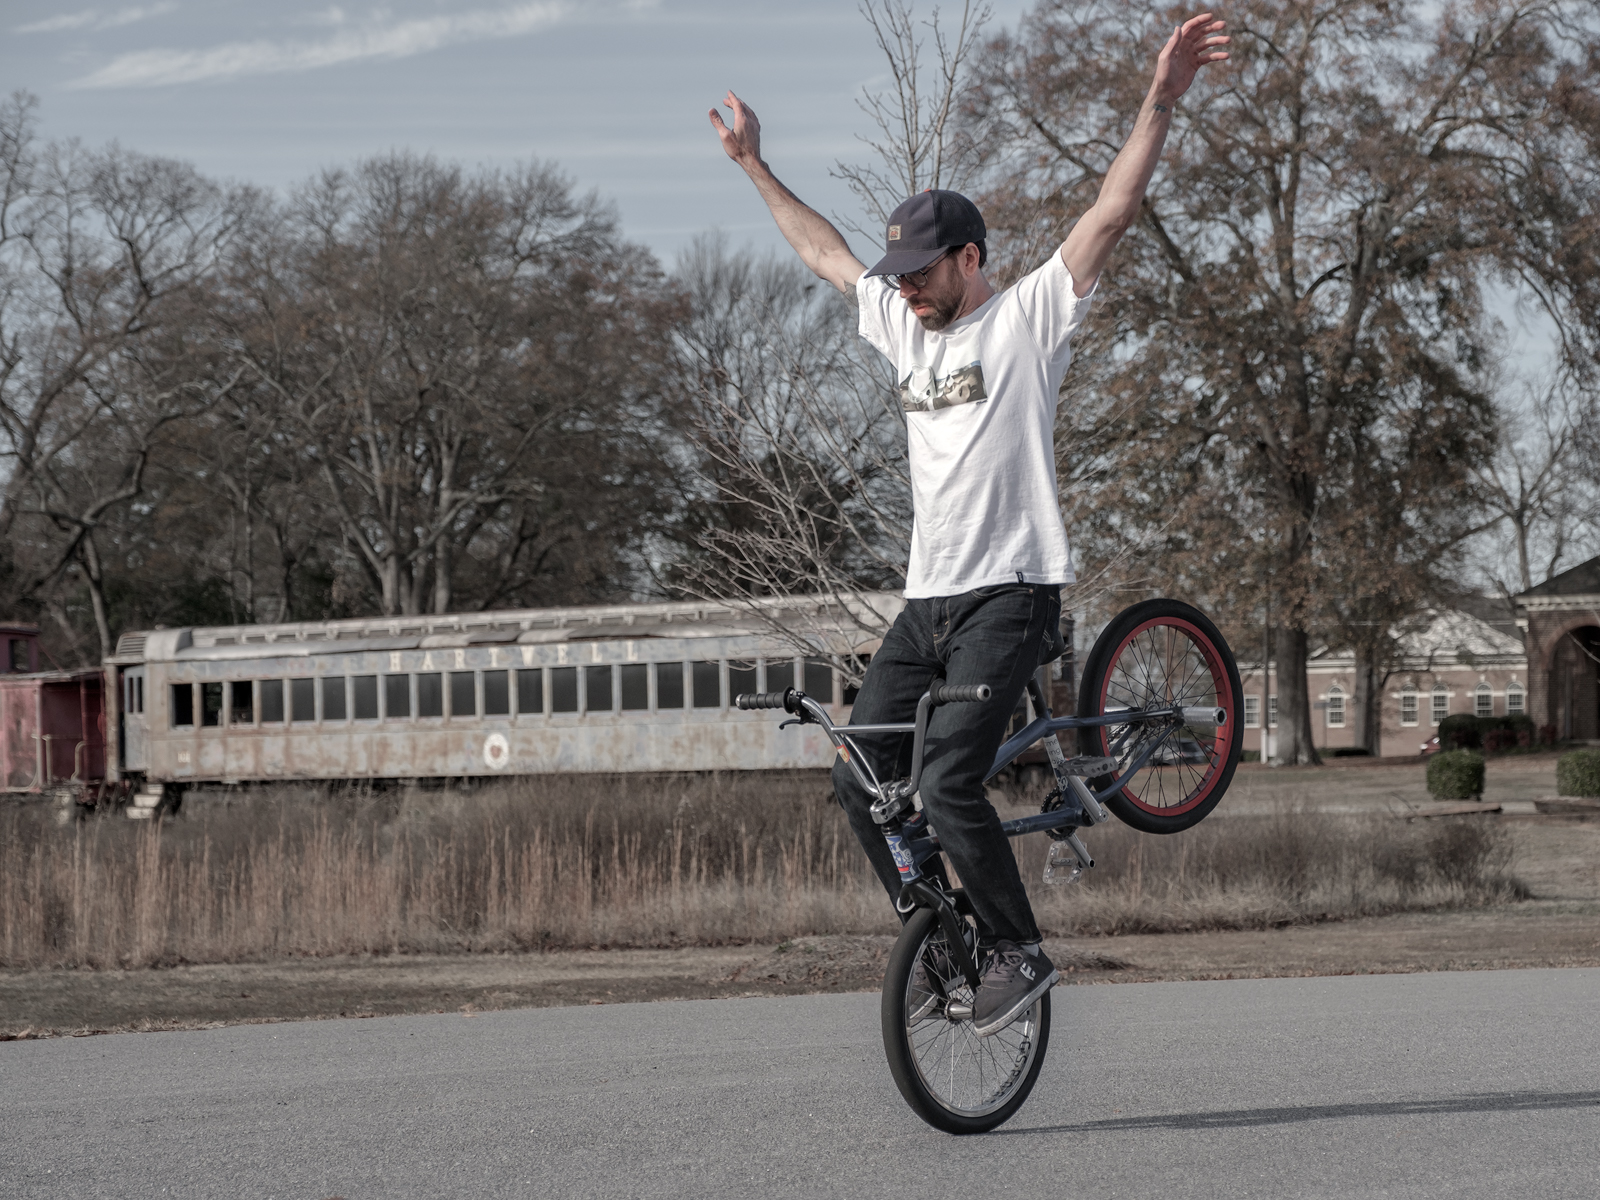
I love to shoot portraits, especially those that I will convert into black and white, into the sun. The extreme contrast affords a dynamic image that seemingly radiates with a sense of glow. I pay a good deal of attention to the Histogram when making these shots to ensure that I don’t completely blow out the highlights and have enough room to pull back on the shadows to recover details.
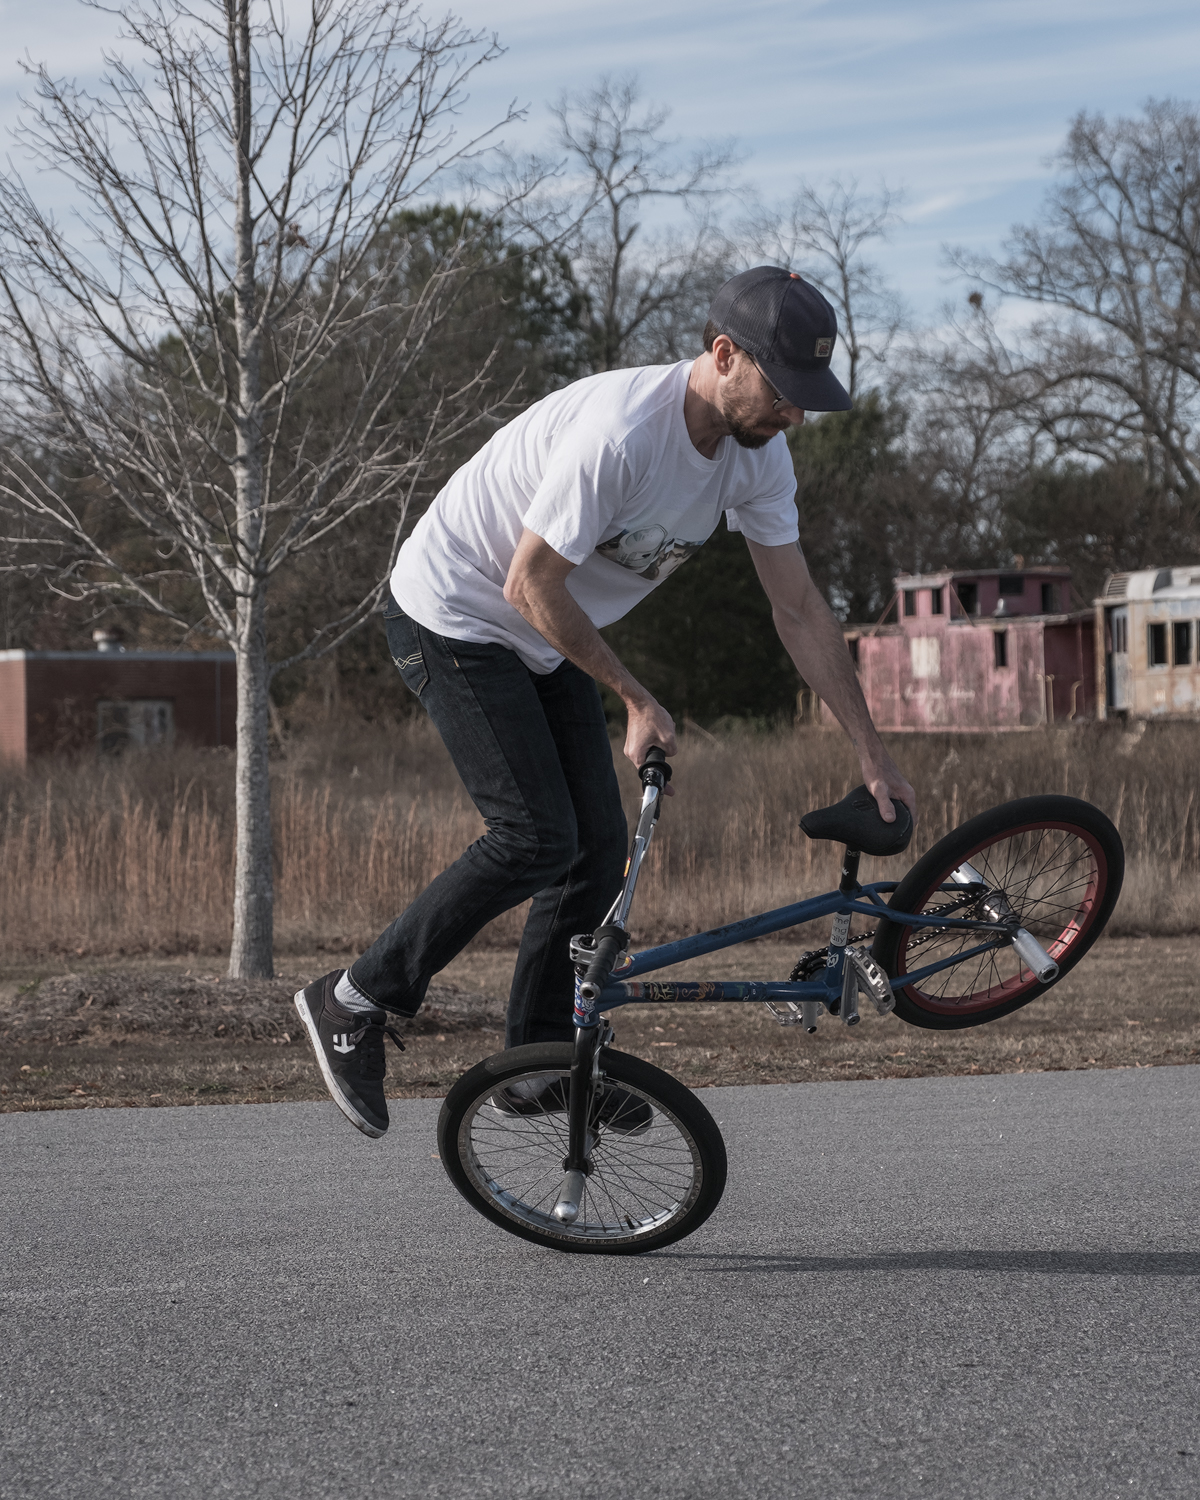
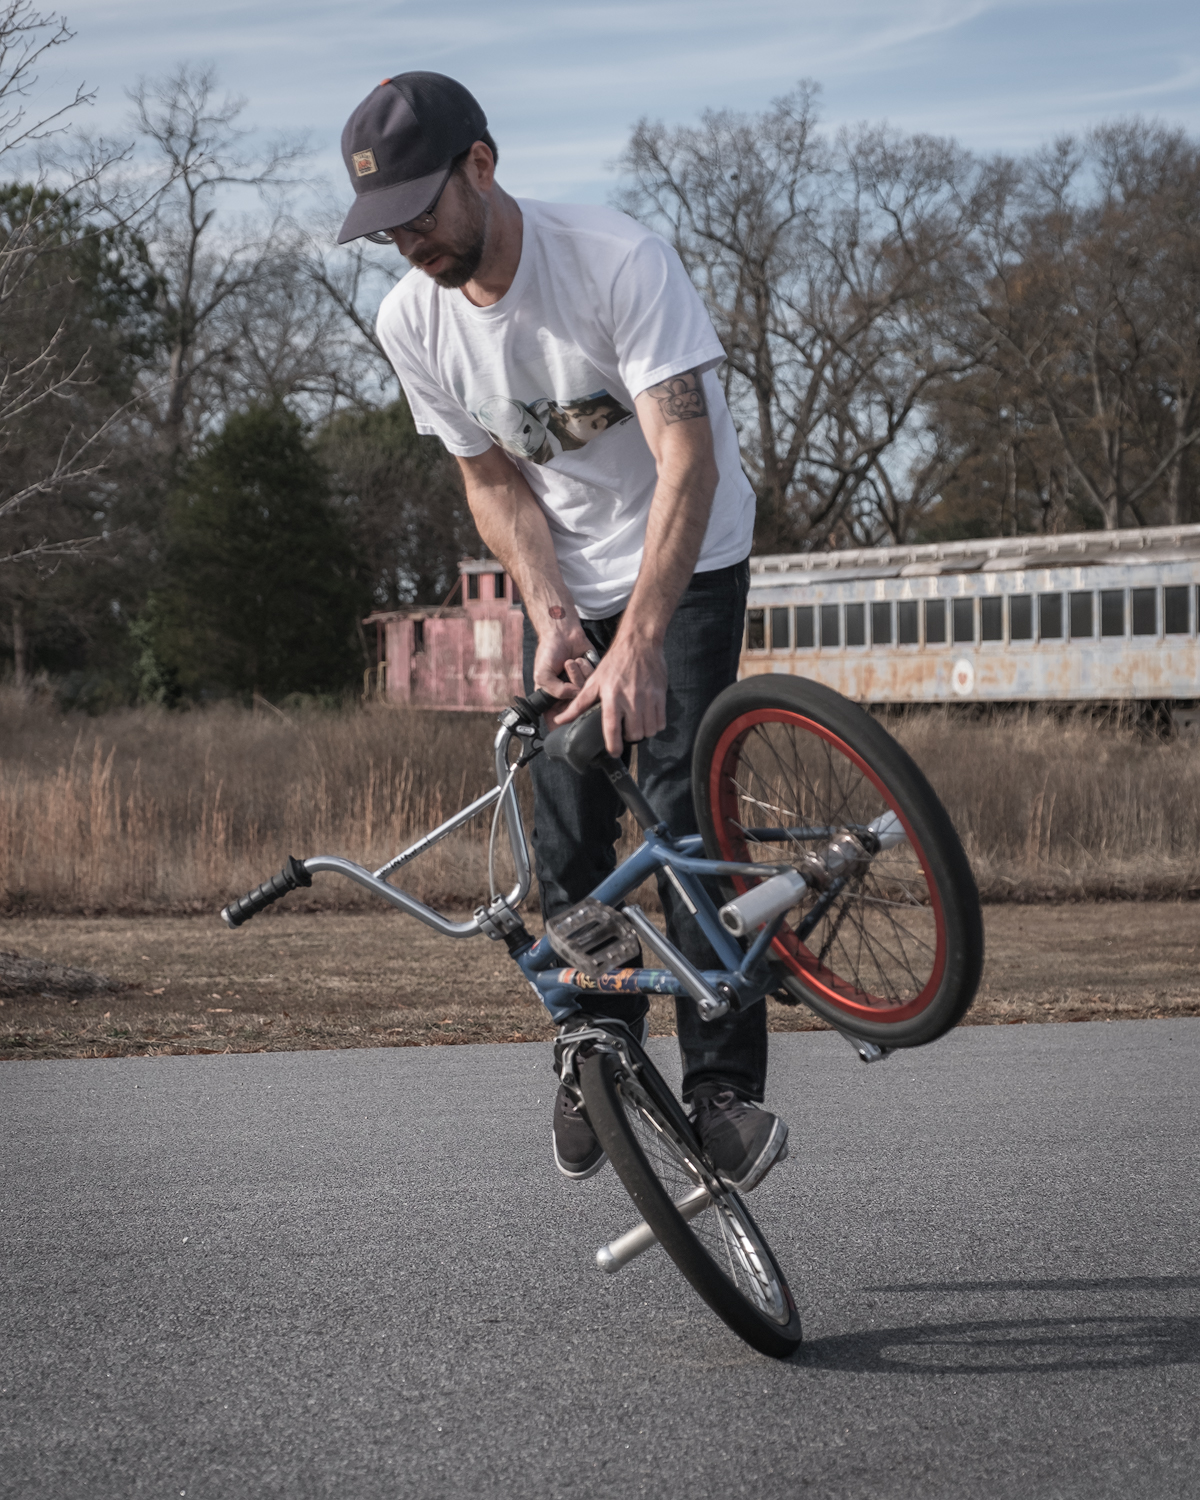
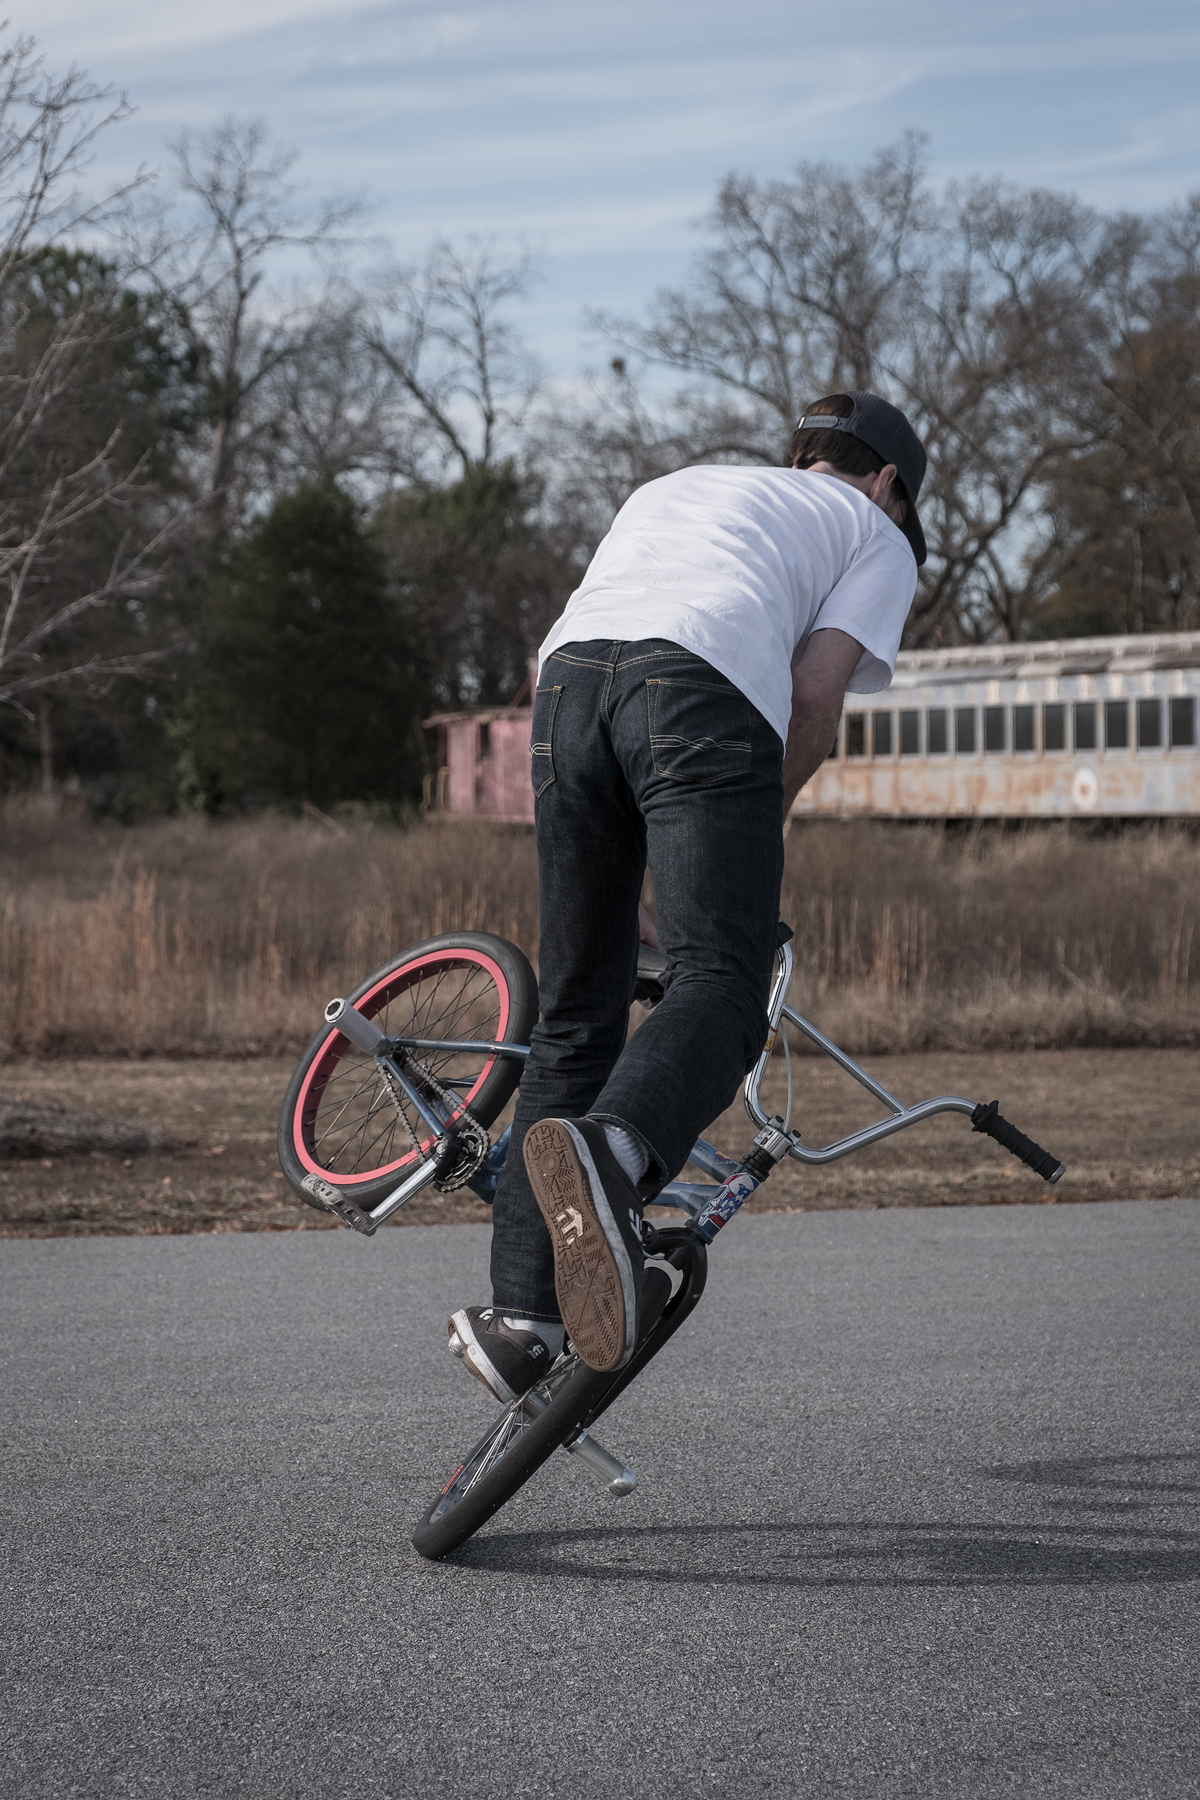
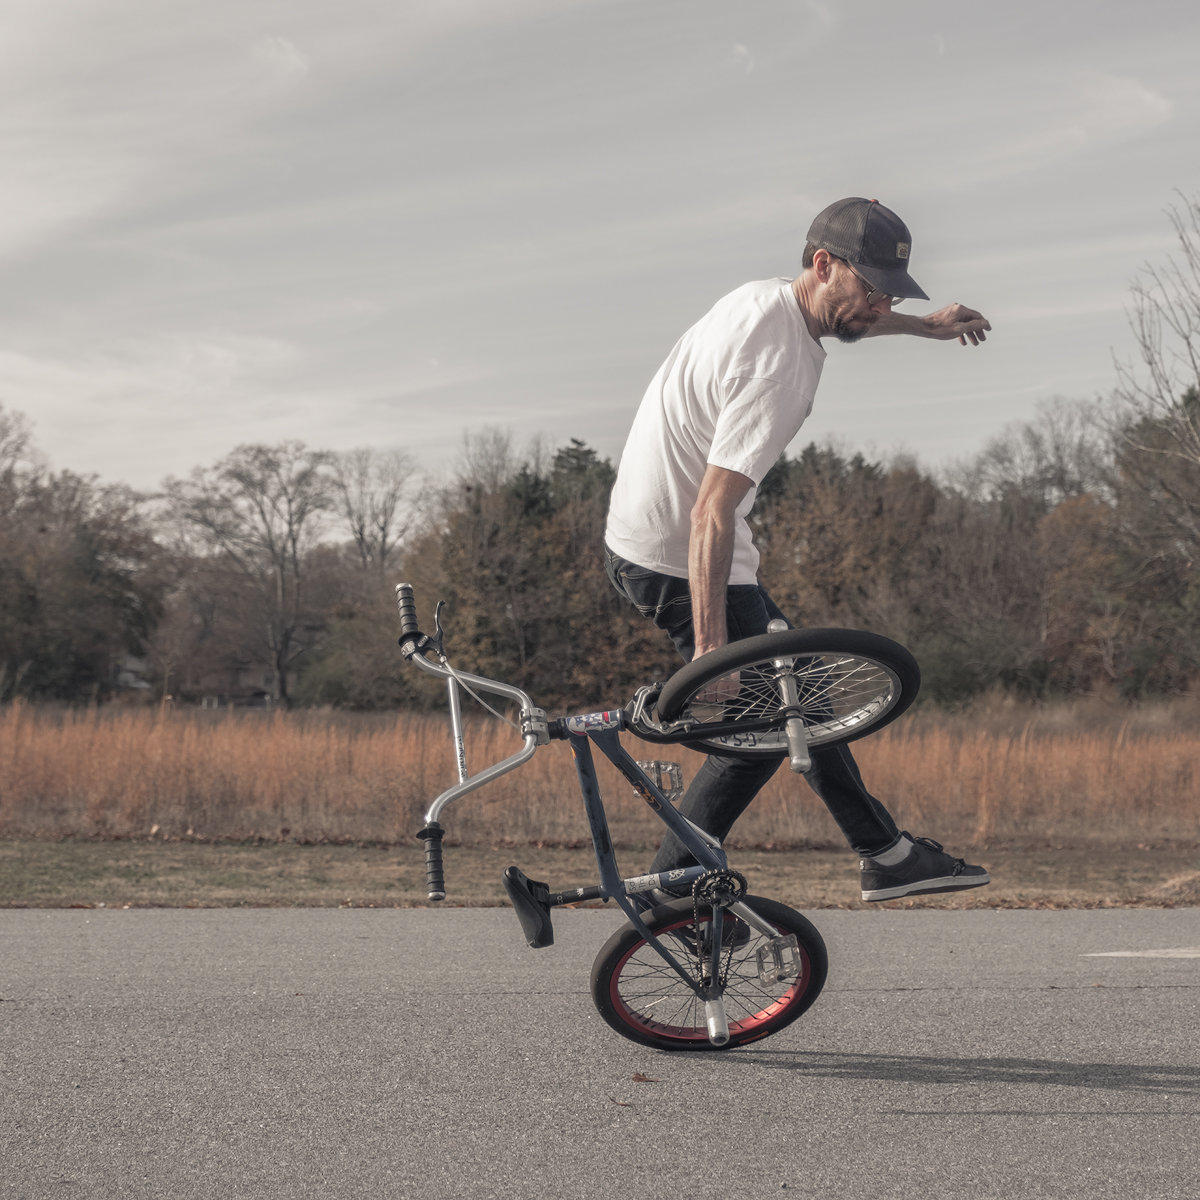
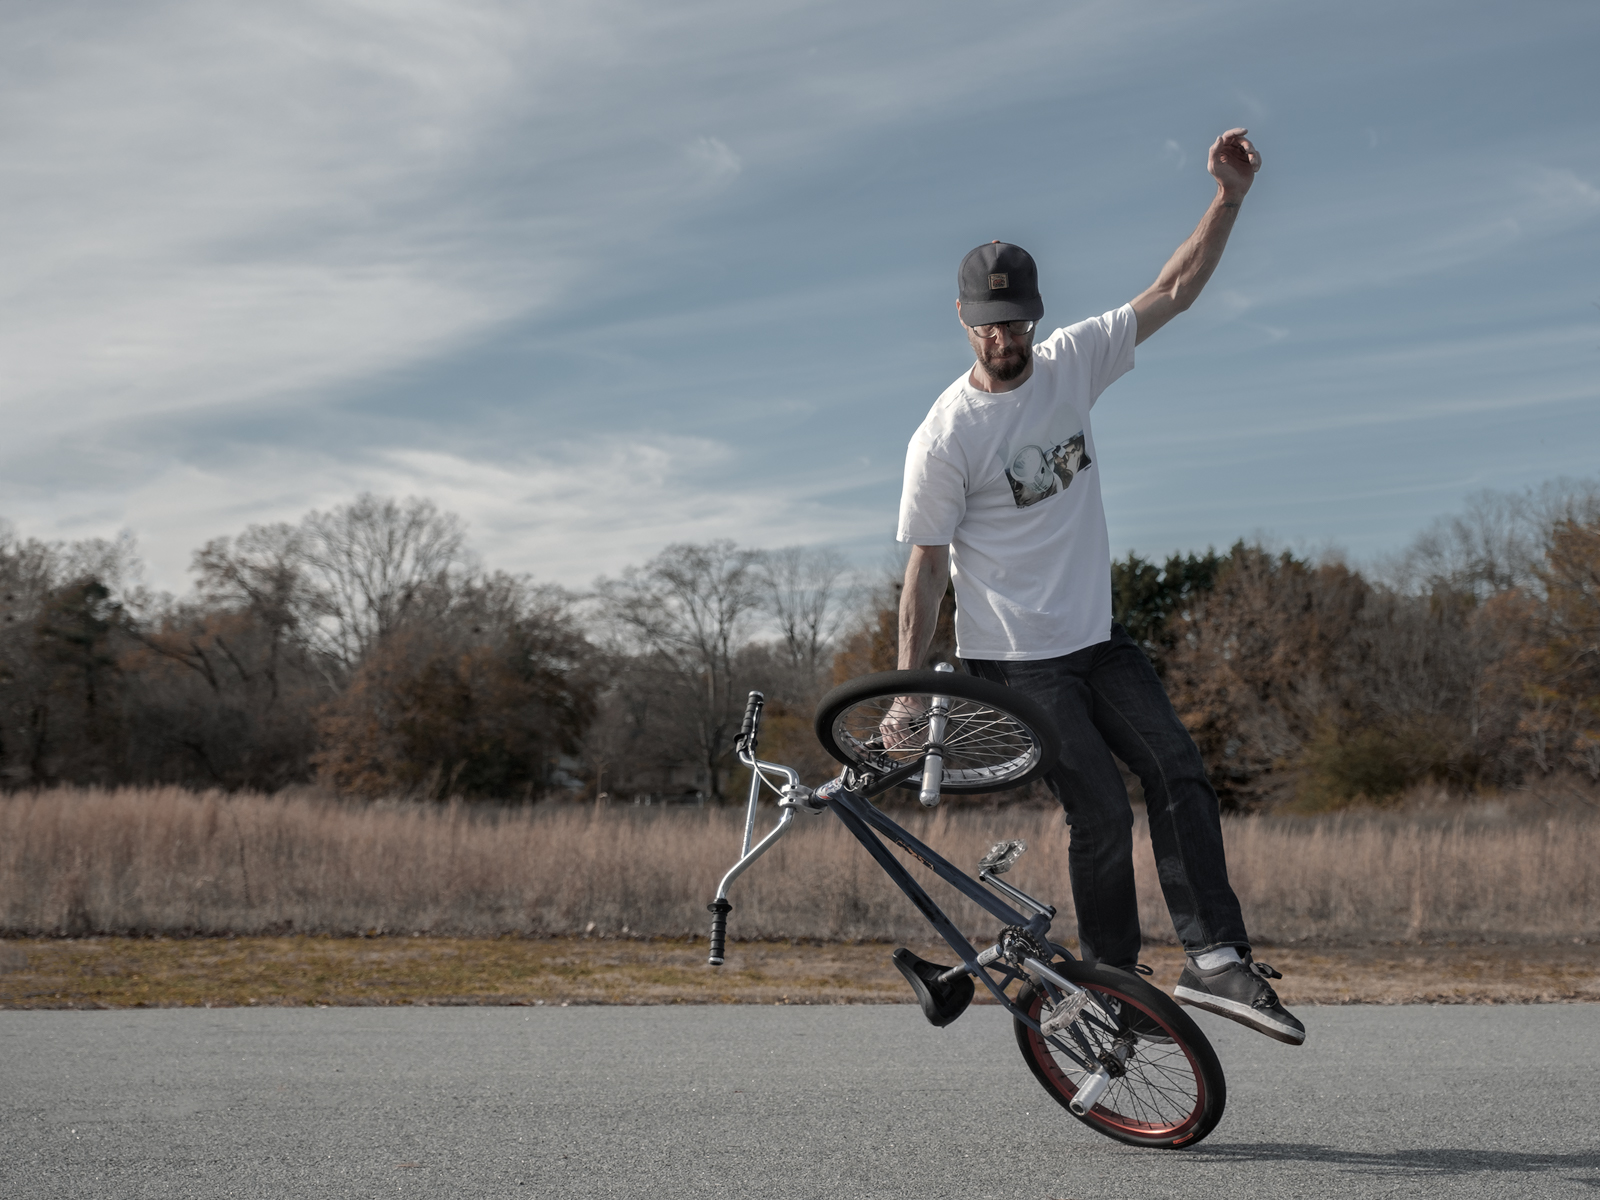
The above series of captures are from a single maneuver and illustrate just how well the AF-C Tracking and the AF-C Custom Setting worked to produce some very sharp images. The rotational movements were quite fast but the tracking and fast shutter speeds, combine with the burst rate, performed extremely well. There are areas that are not in what I would call perfect focus which I will attribute to my own panning movements to follow the action and a bit of shallow depth of field. I found that I got better at my captures when I began to disassociate myself from attempting to watch the tricks unfold through the viewfinder and started to concentrate solely on tracking them using the Zone frame.
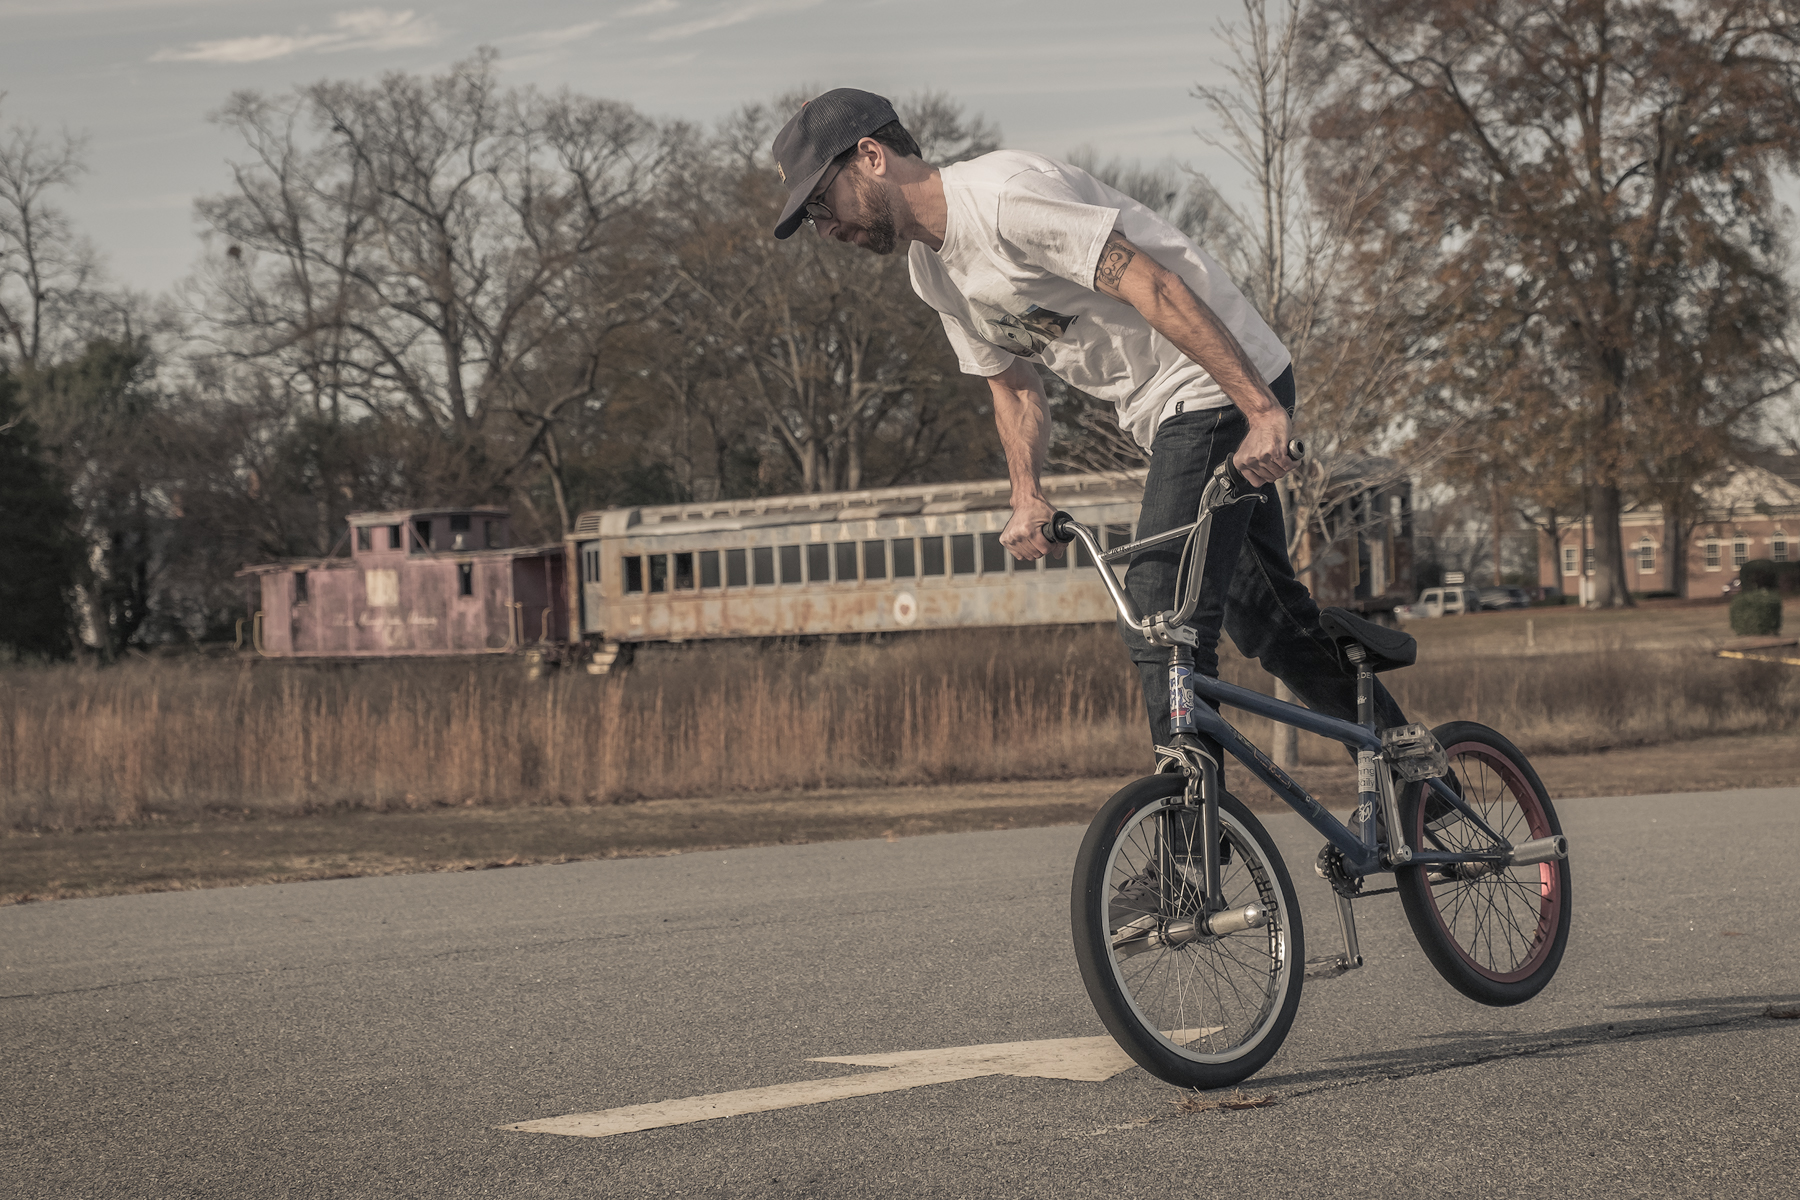
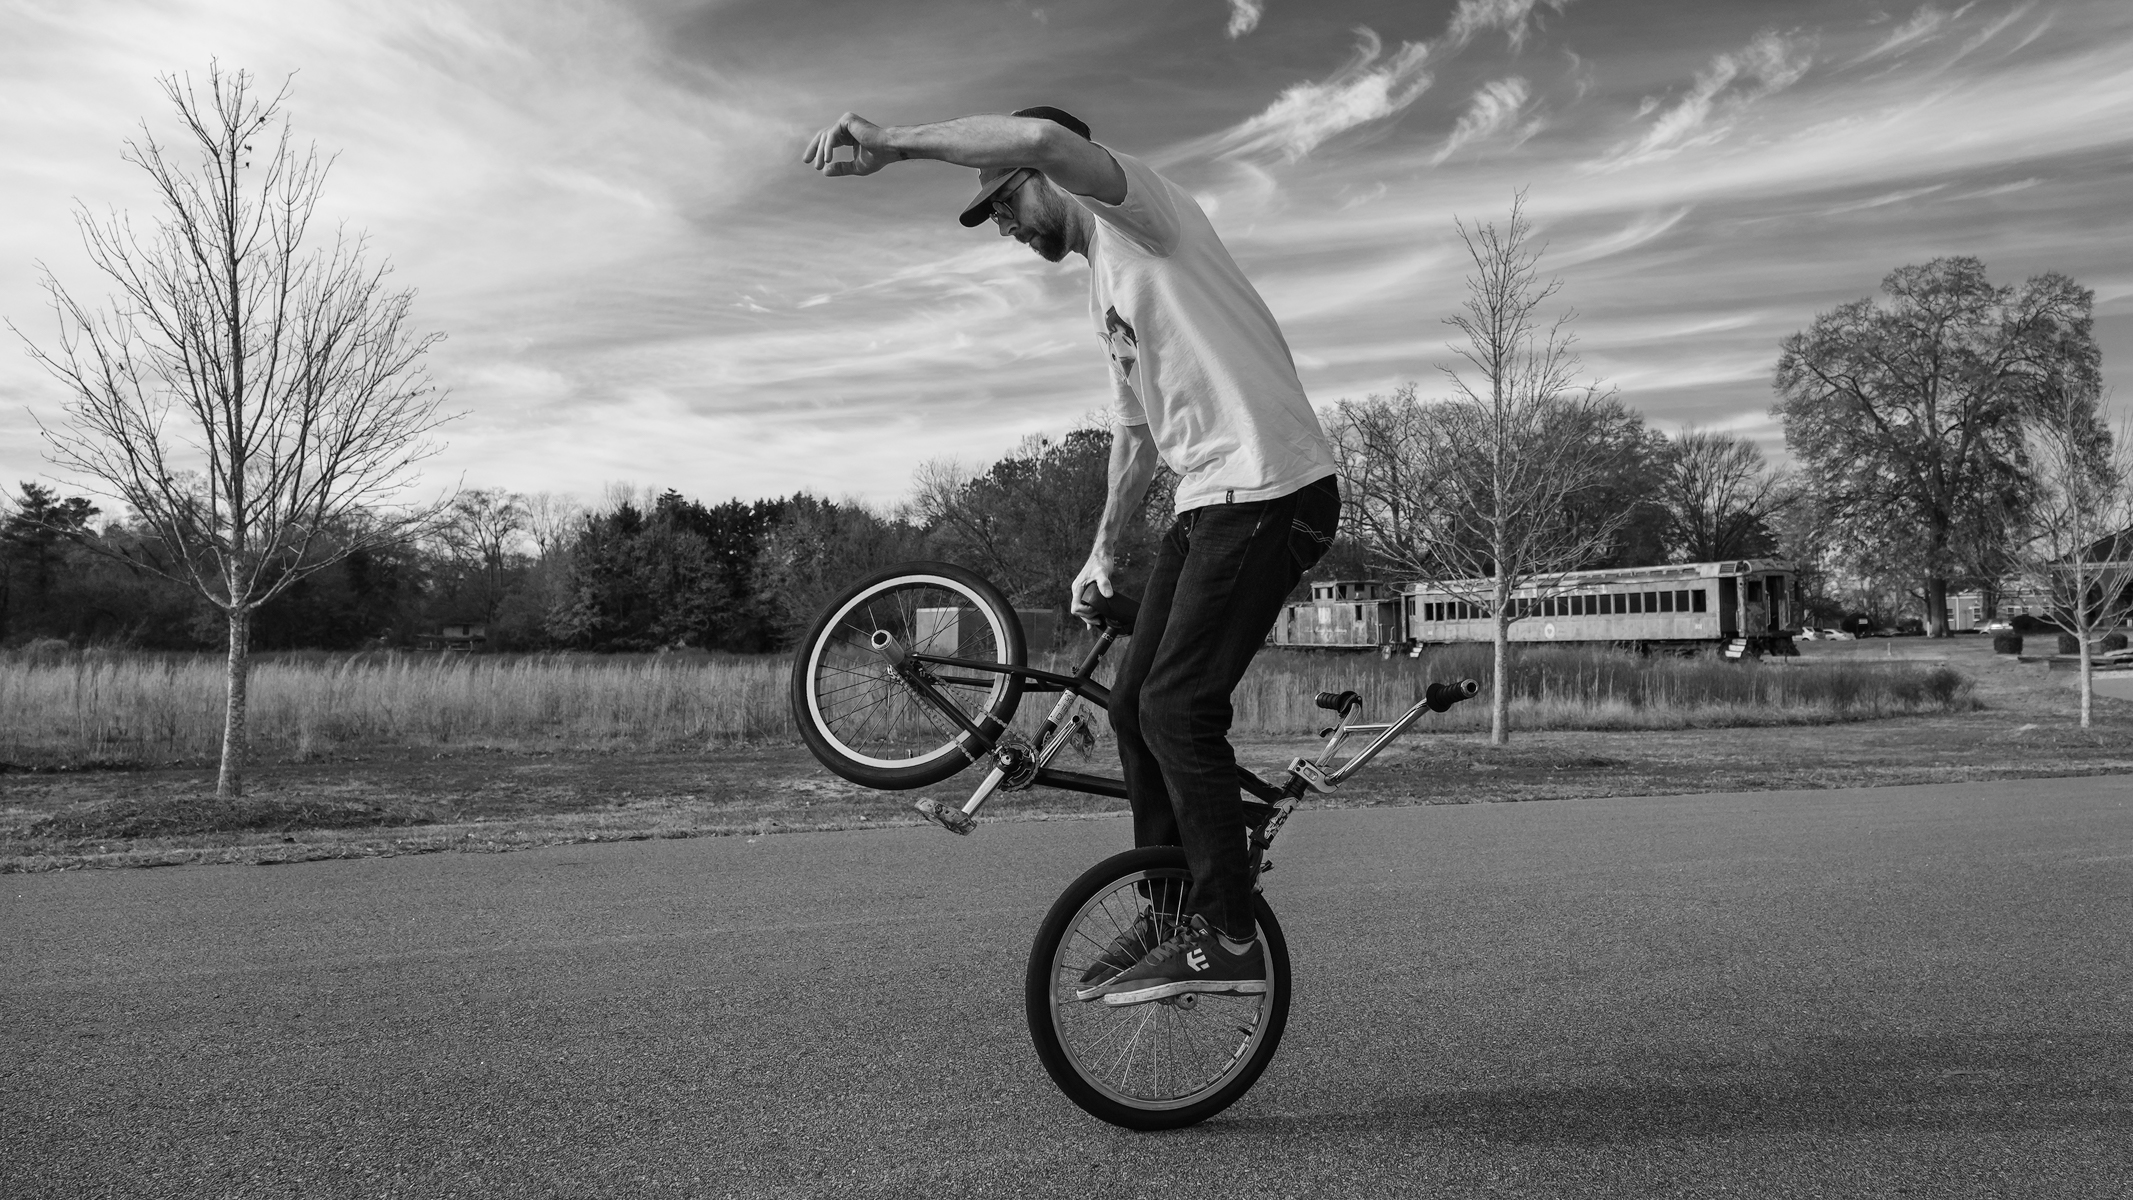
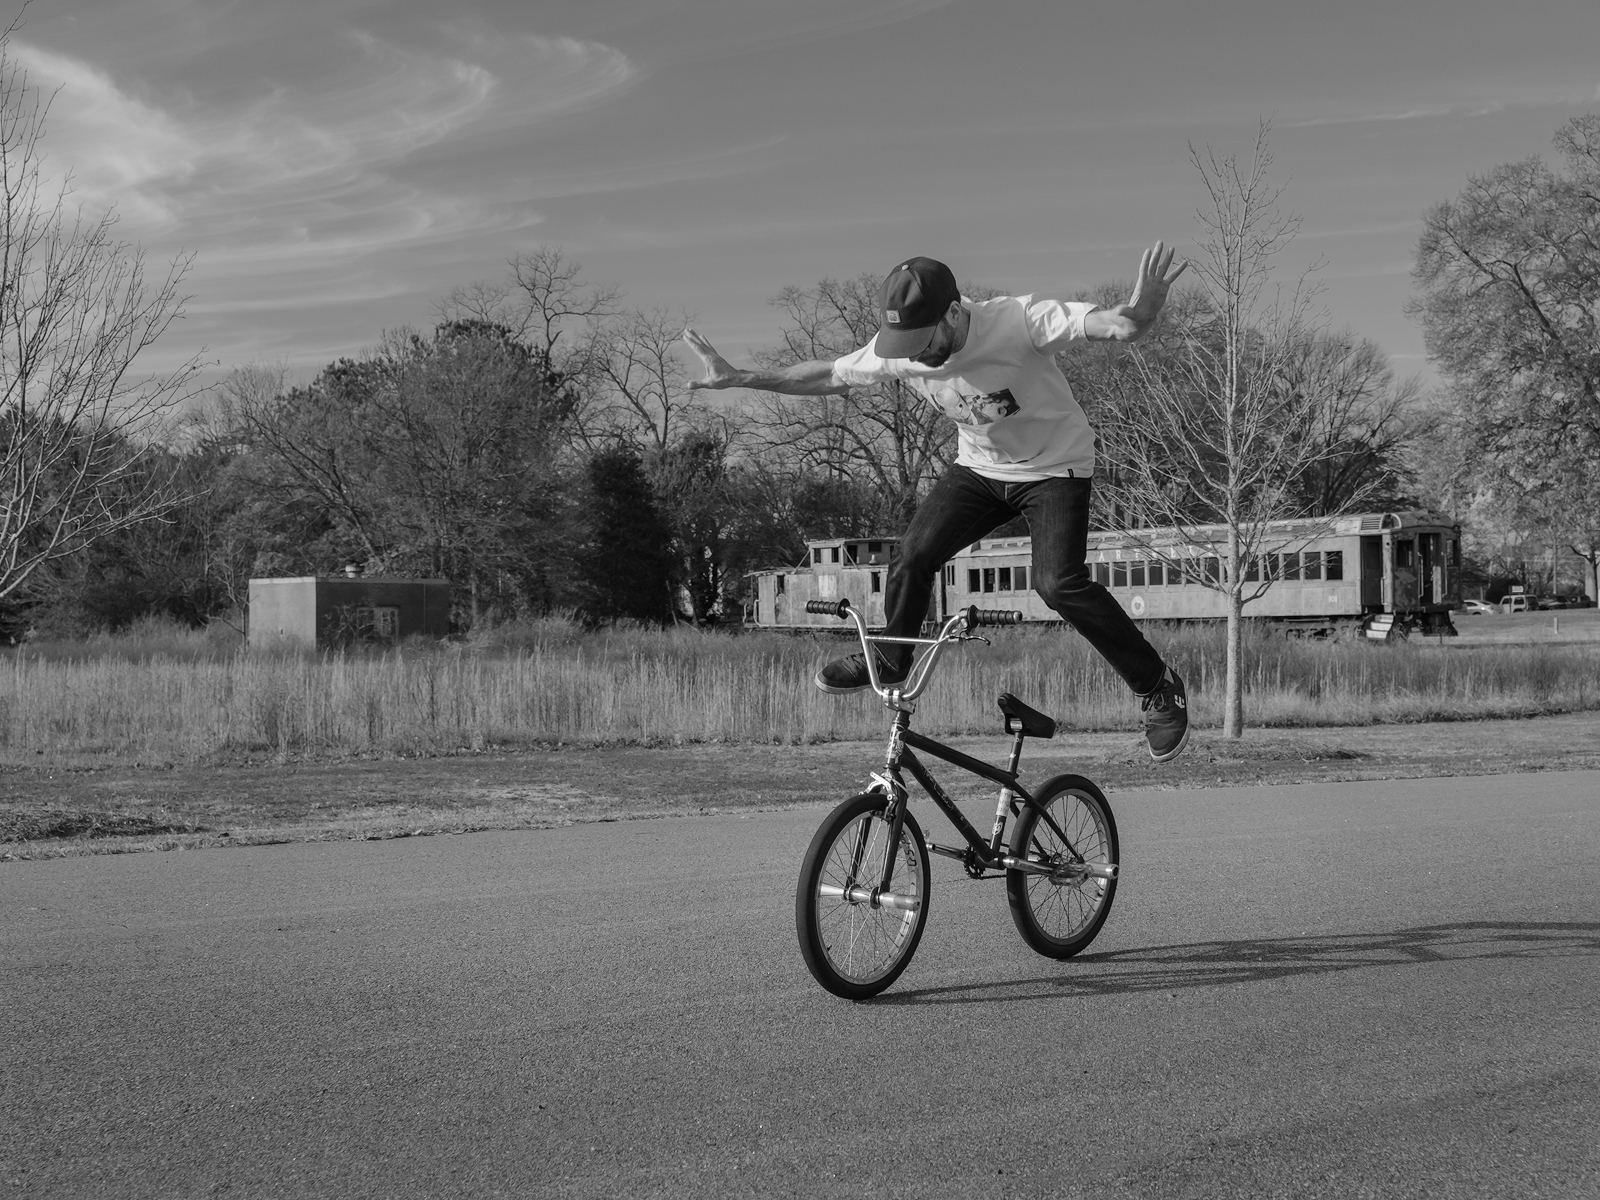
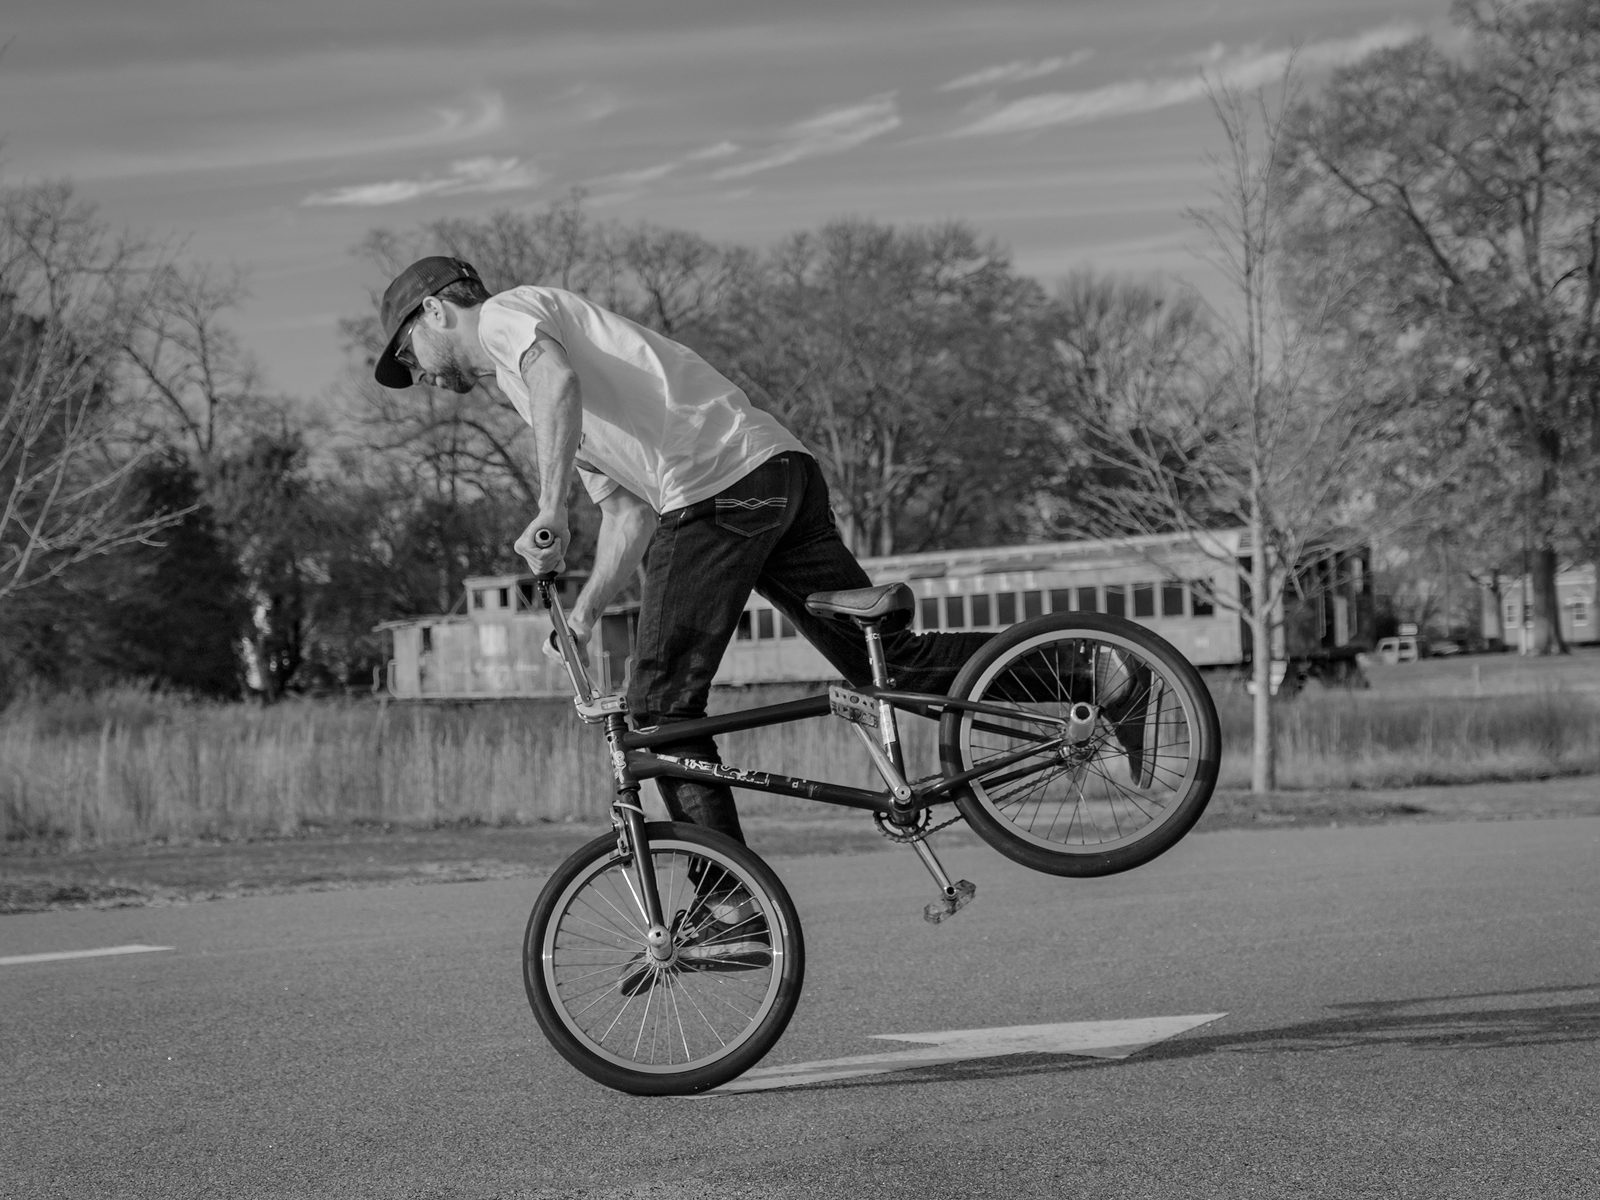
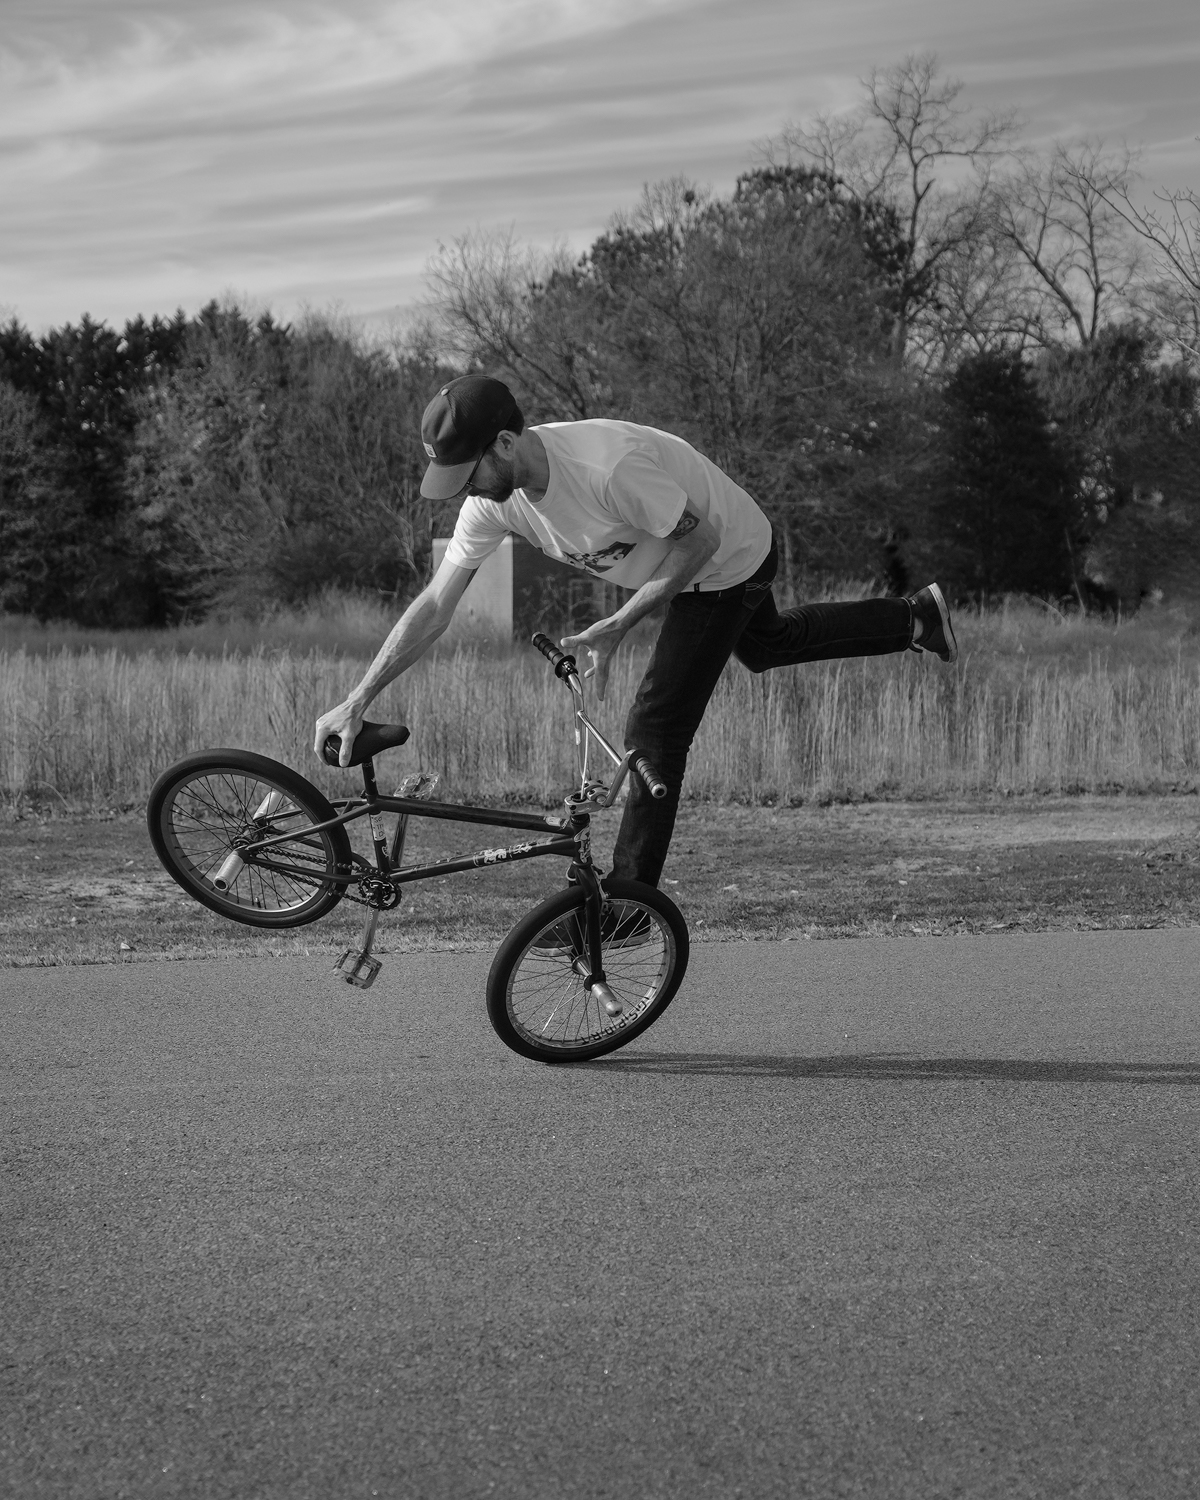
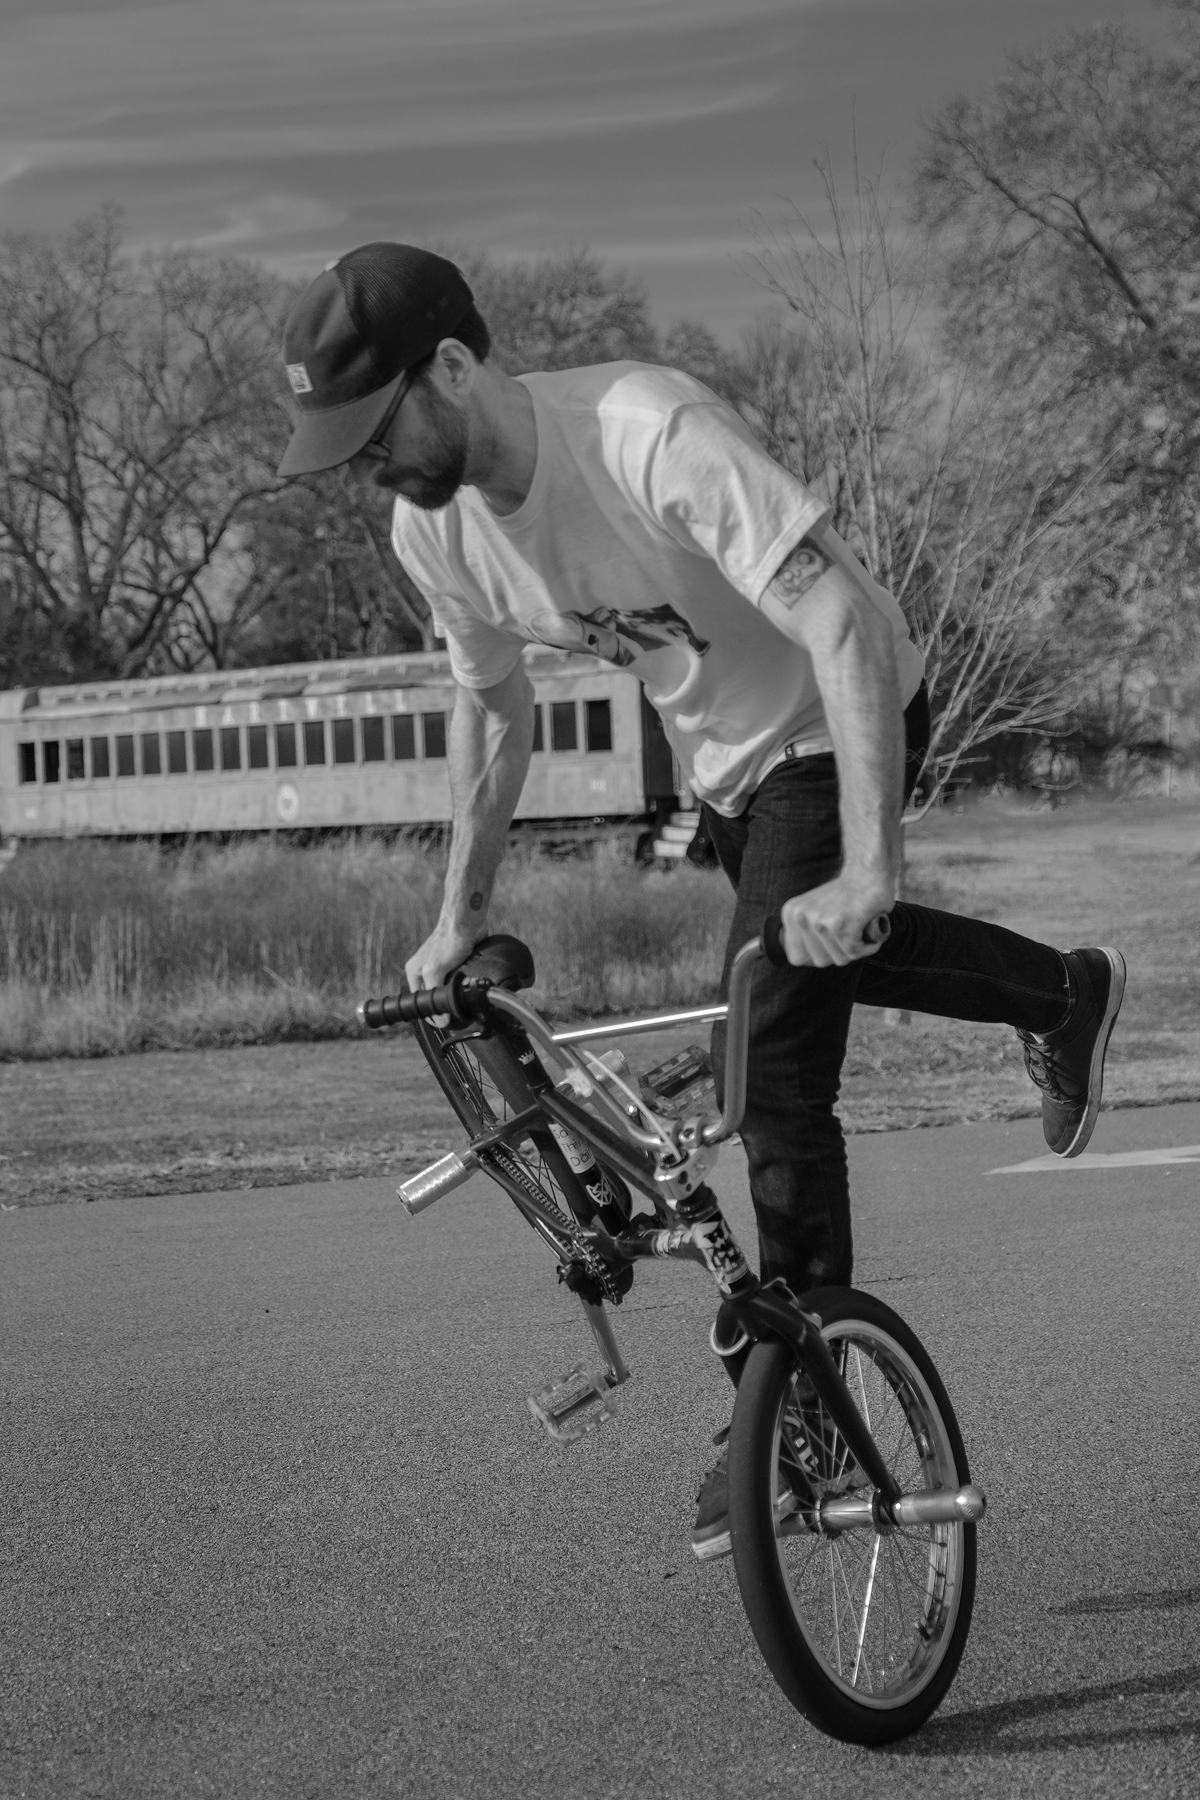
This black and white sequence illustrates a trick that had both a rotational aspect and a forward movement towards the lens. The first two are quite sharp but the third where Jody had moved quite close to my camera position is just slightly out of focus towards the front and acceptably sharp where his hand is grabbing the seat. It is essentially where I had the Zone Frame placed.
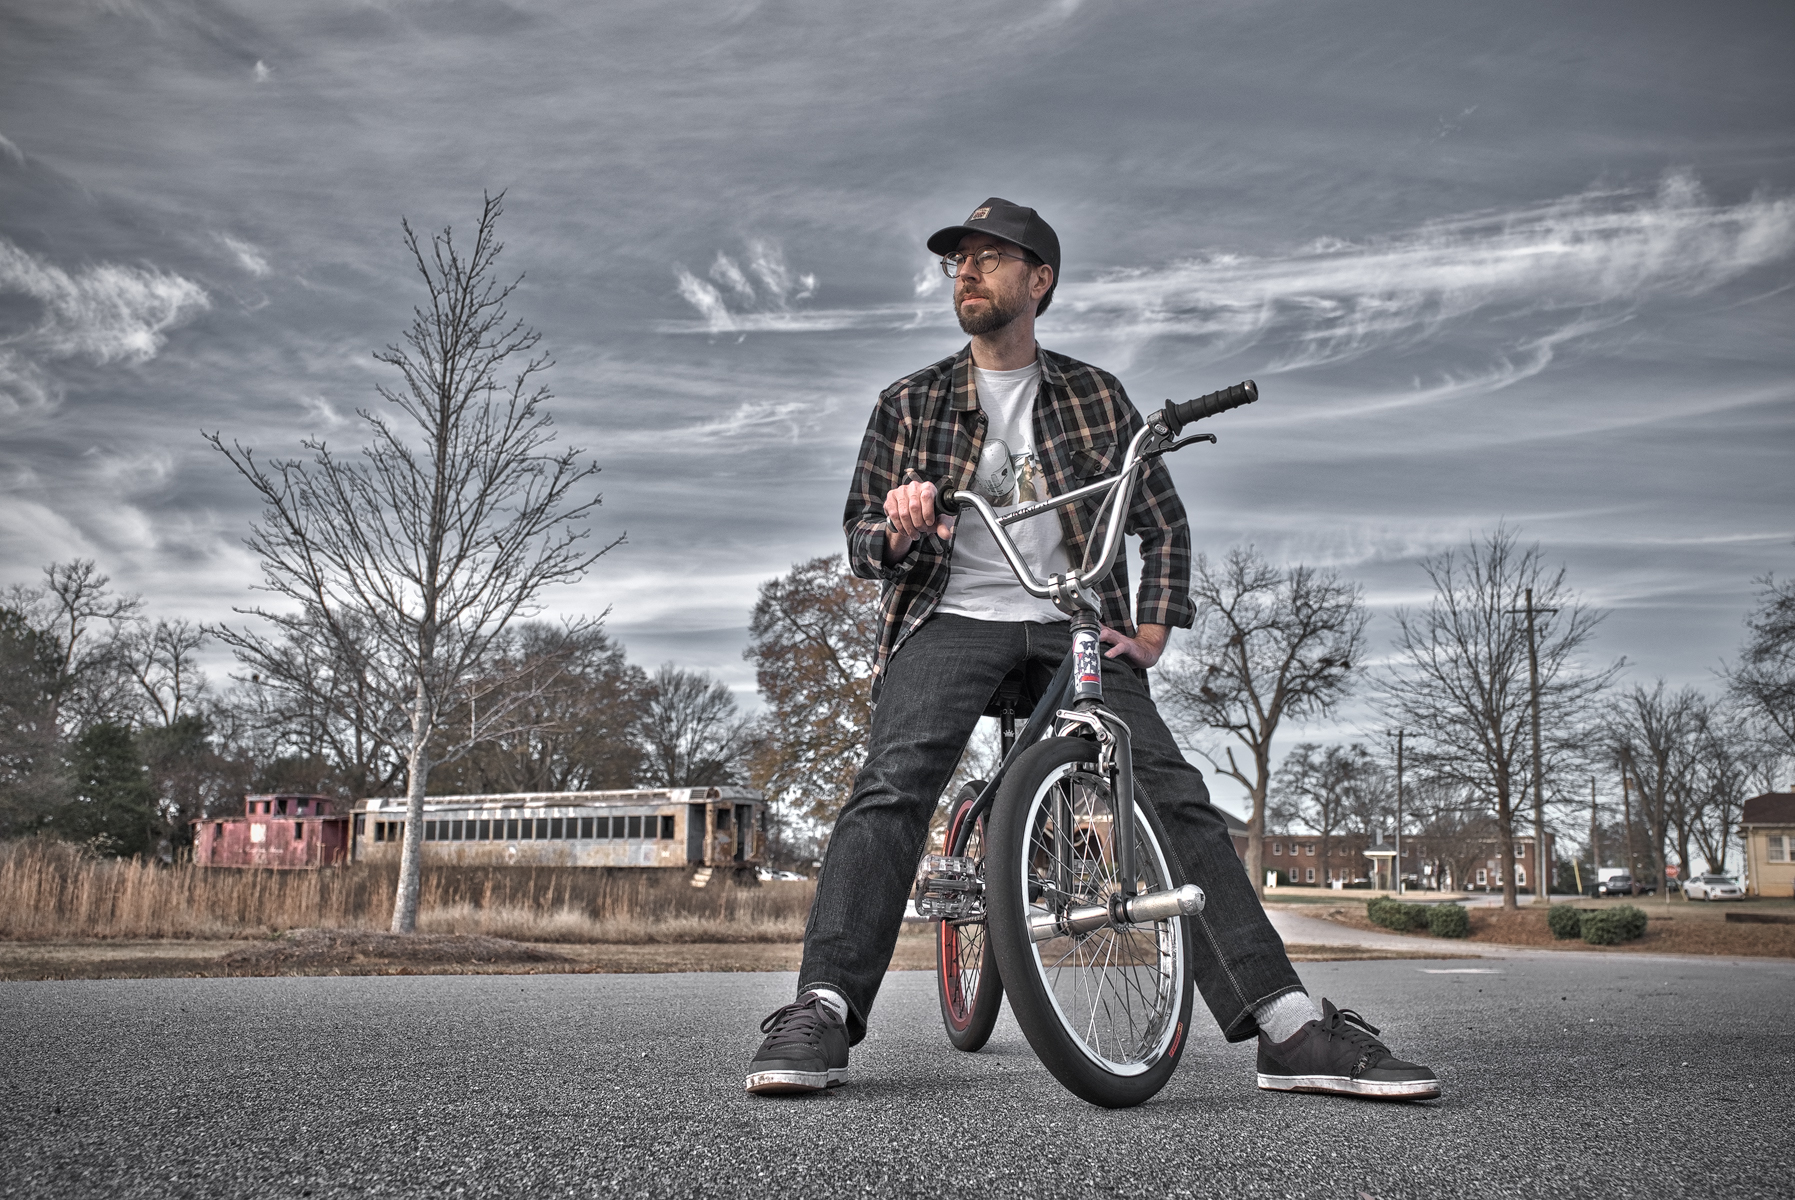
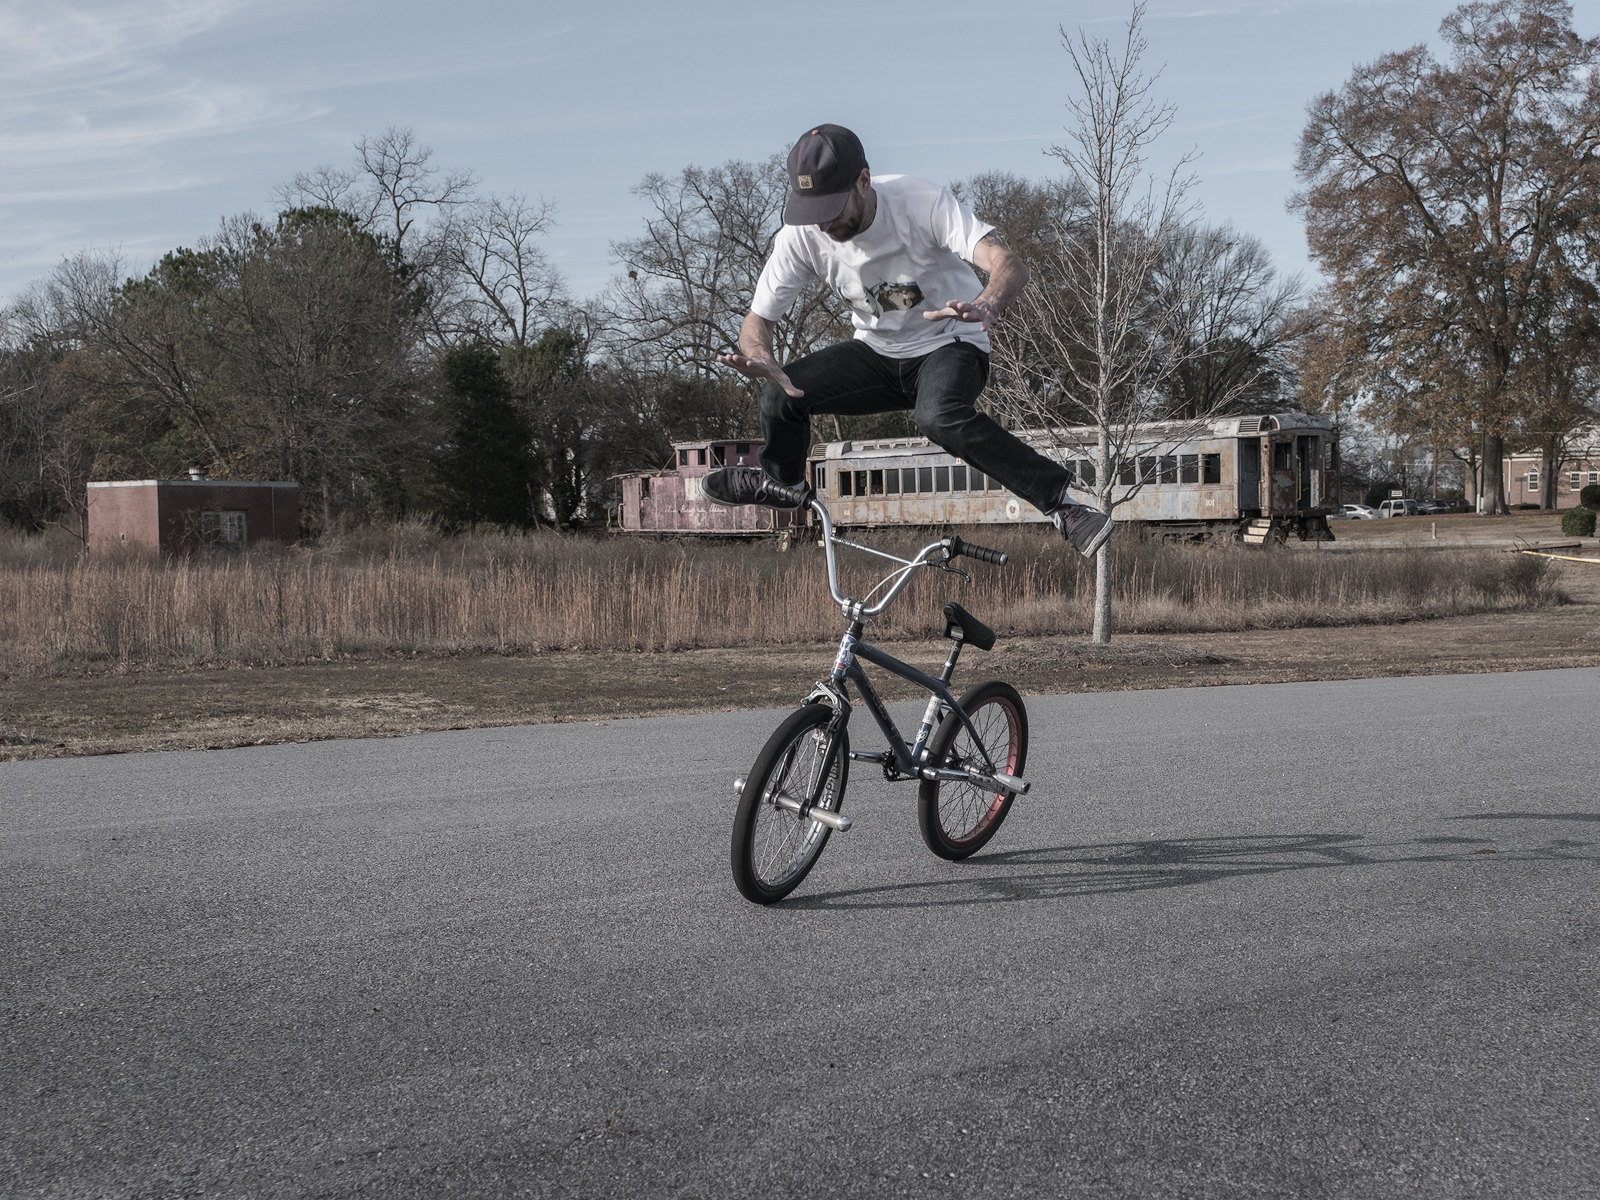
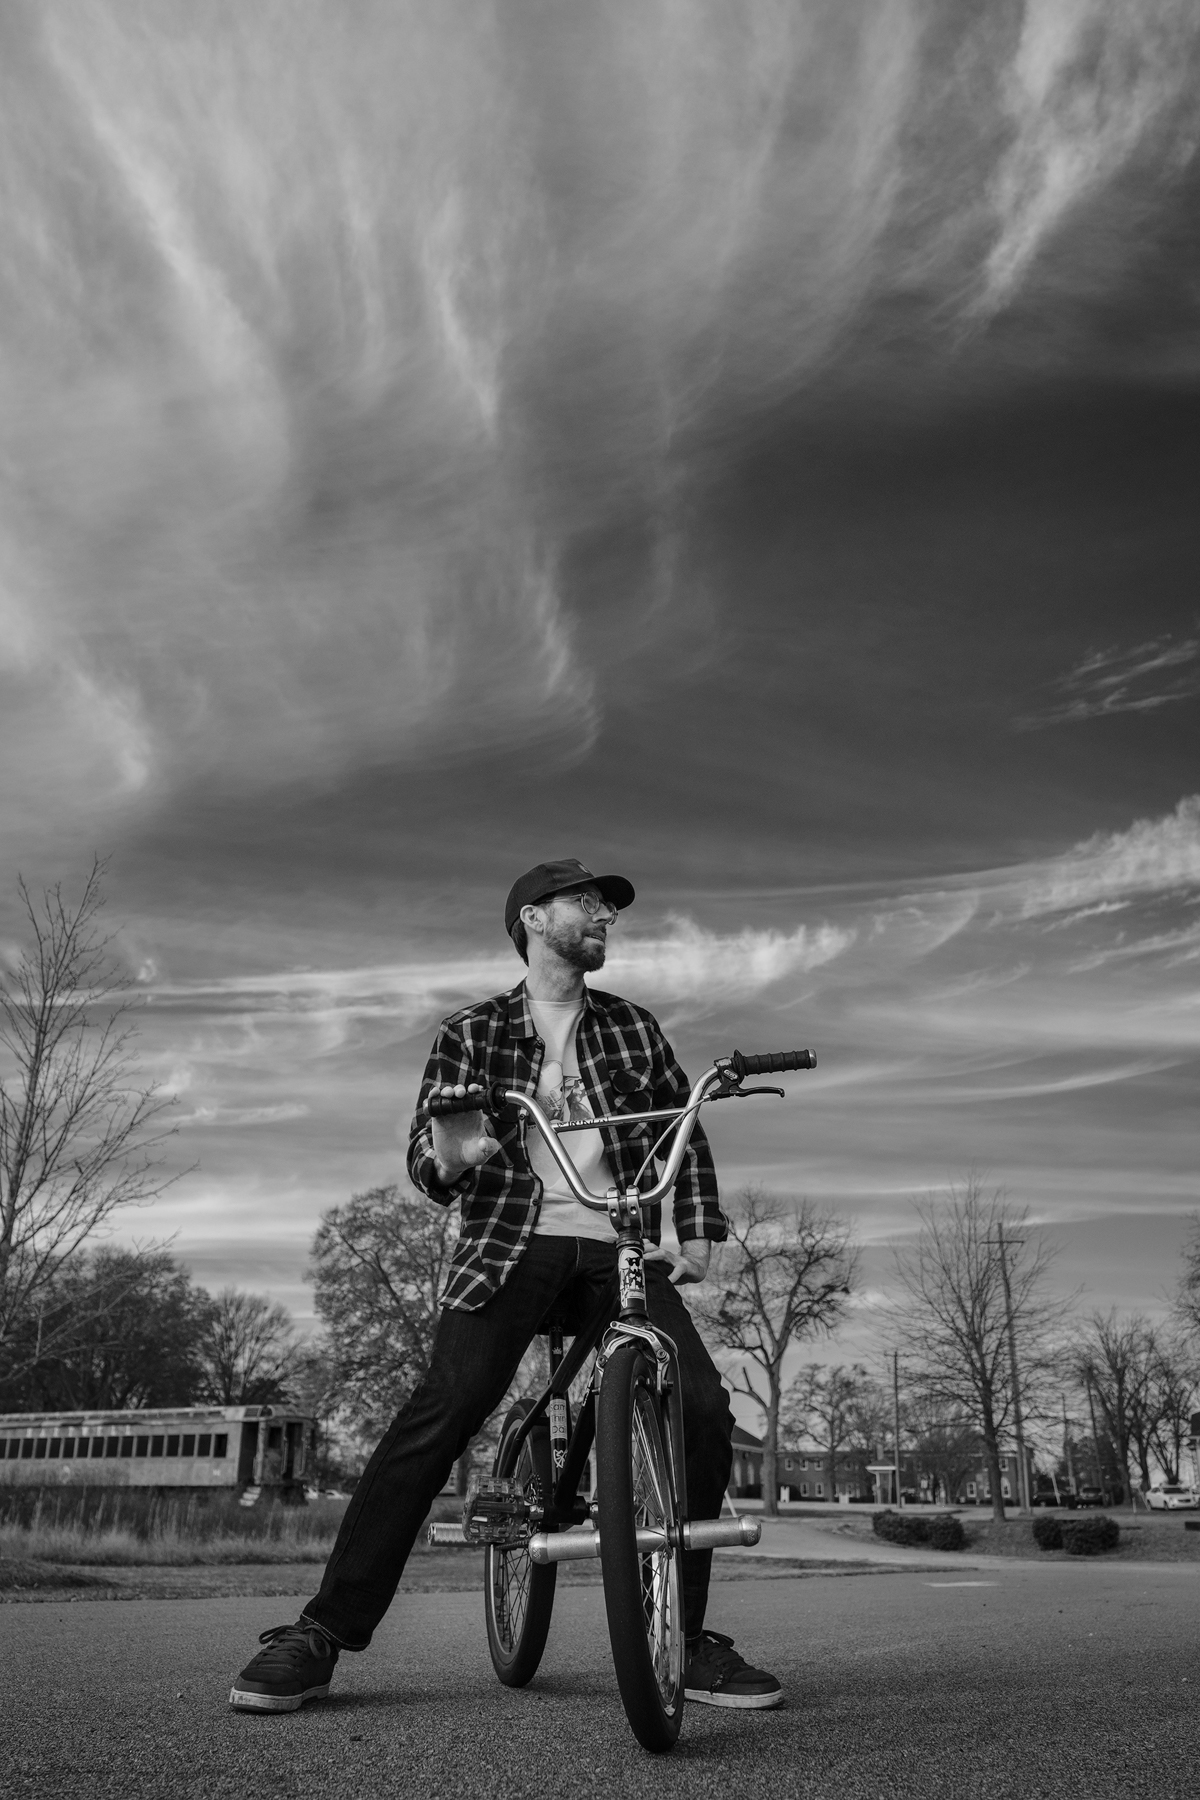
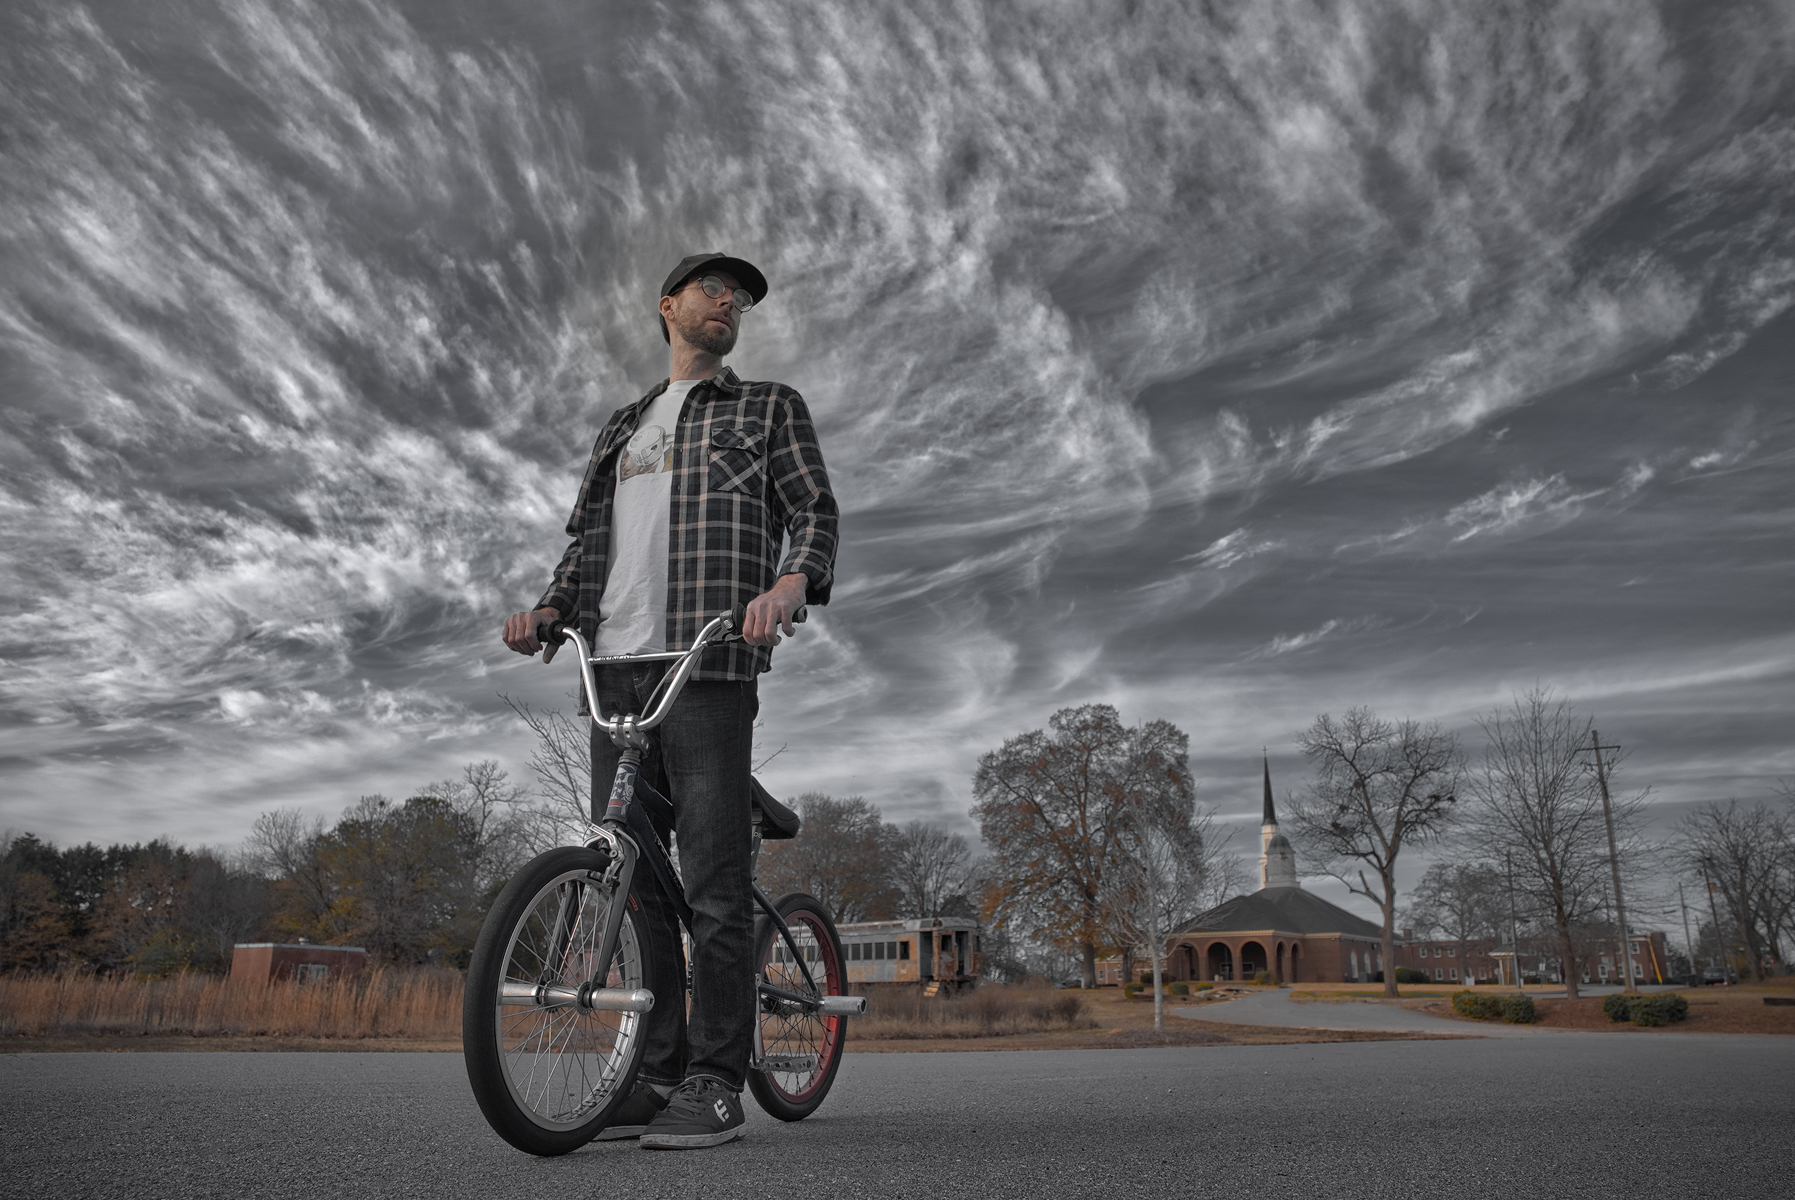
In between tricks I shot a series of environmental portraits, or as Jody referred to them as “Chillin” shots. He admitted to me later that he was not sure about doing these but I found I could get him to completely relax by carrying on a conversation as I moved around him or placed him relative to the clouds. I think he was well up for the task and I certainly enjoyed creating some of these images.
As far as the lens choice, the XF16-55mm R WR was the perfect choice as it gave me an acceptable fast aperture at f2.8 and the best range from wide to mid telephoto. There is a heft to the lens that is balanced when coupled to the X-T2, which I have fitted with the extended grip. For the next shoot however, I will add the battery drive for a better, and more balanced grip and so I can increase the burst rate. My XF 16mm and XF23mm, both f1.4 would have given me an additional increase in shutter speed through a much wider aperture but at a sacrifice to to the overall reach.
You will note several rendering styles to the images in this post. I initially thought I might go for something “grittier” in post processing. I moved away from this idea and into a more desaturated style using the Fuji Pro Neg Standard Film Emulation and backing off on the vibrancy and saturation. The flatter toes and contrast gave me a more “retro” look that I felt was more appropriate to the subject matter. The black and white versions were converted to the Fuji Acros +R Film Emulation in Lightroom before final work in Photoshop CC. Several of the images, the lead image, and the ending image, were processed in a more “hyper real” style using a modified preset in MacPhun Luminar.
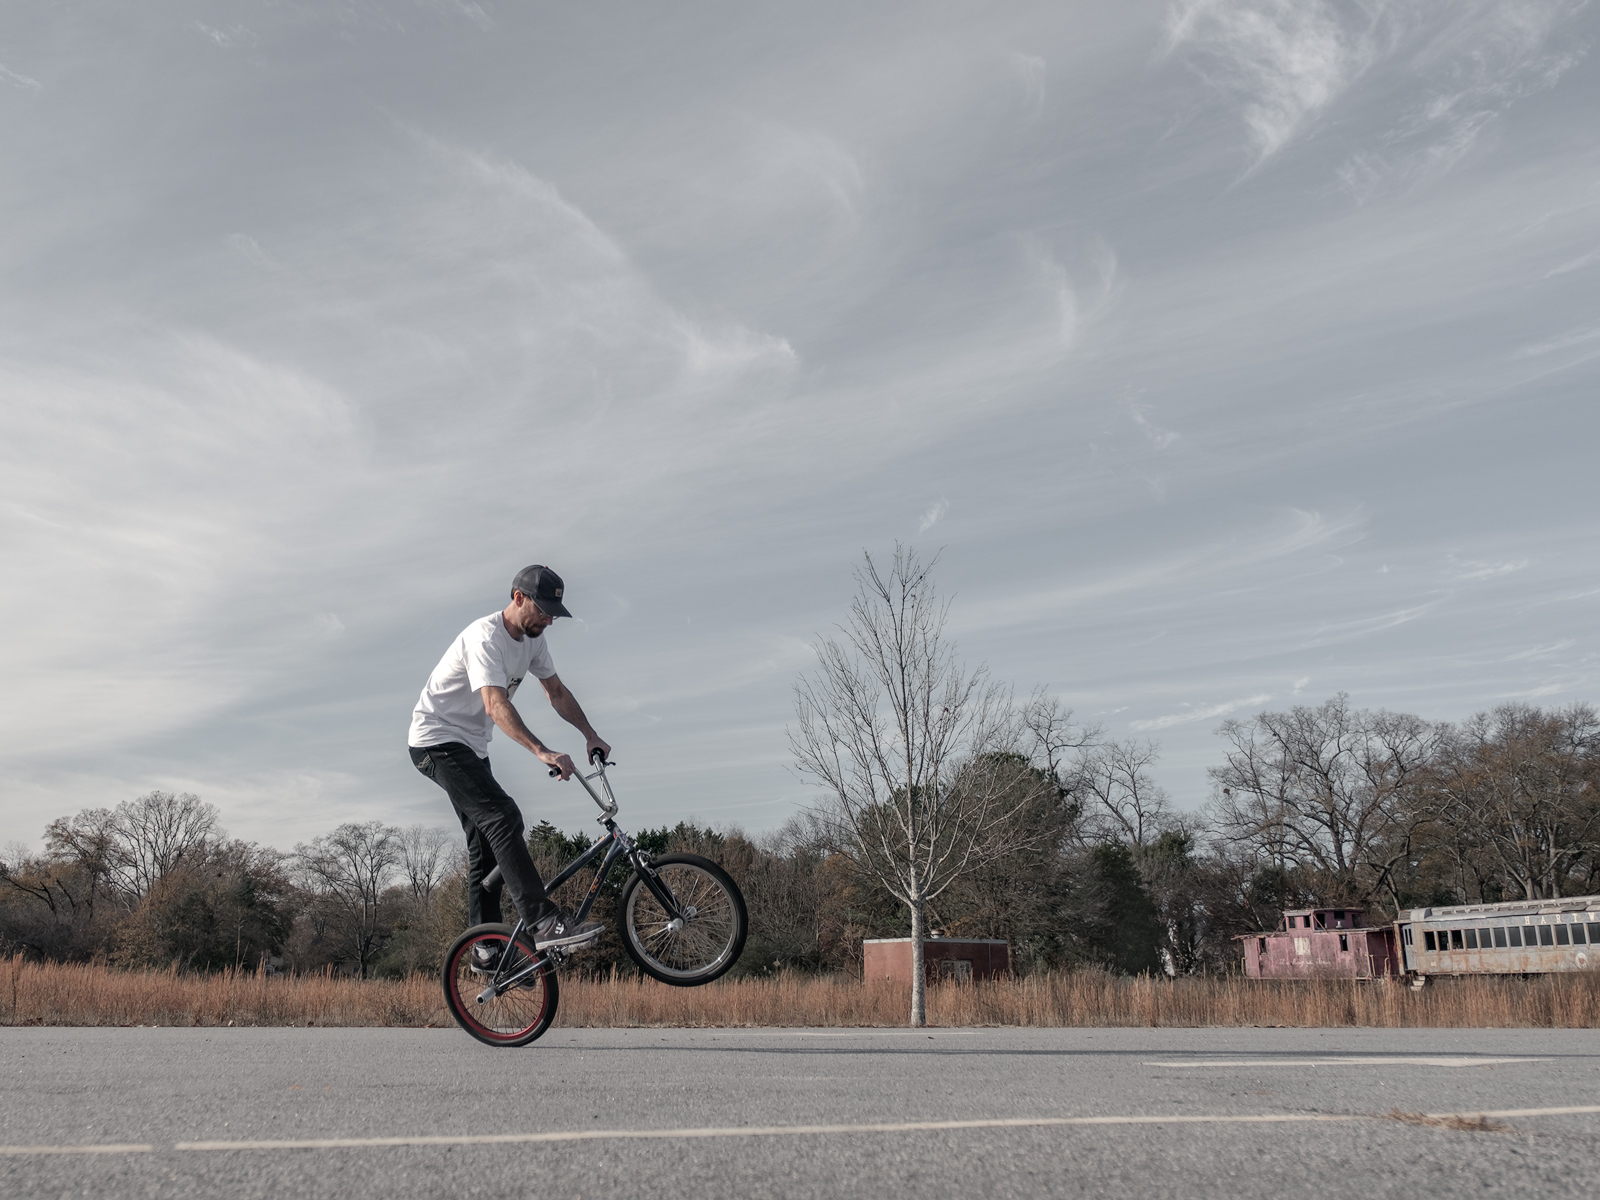
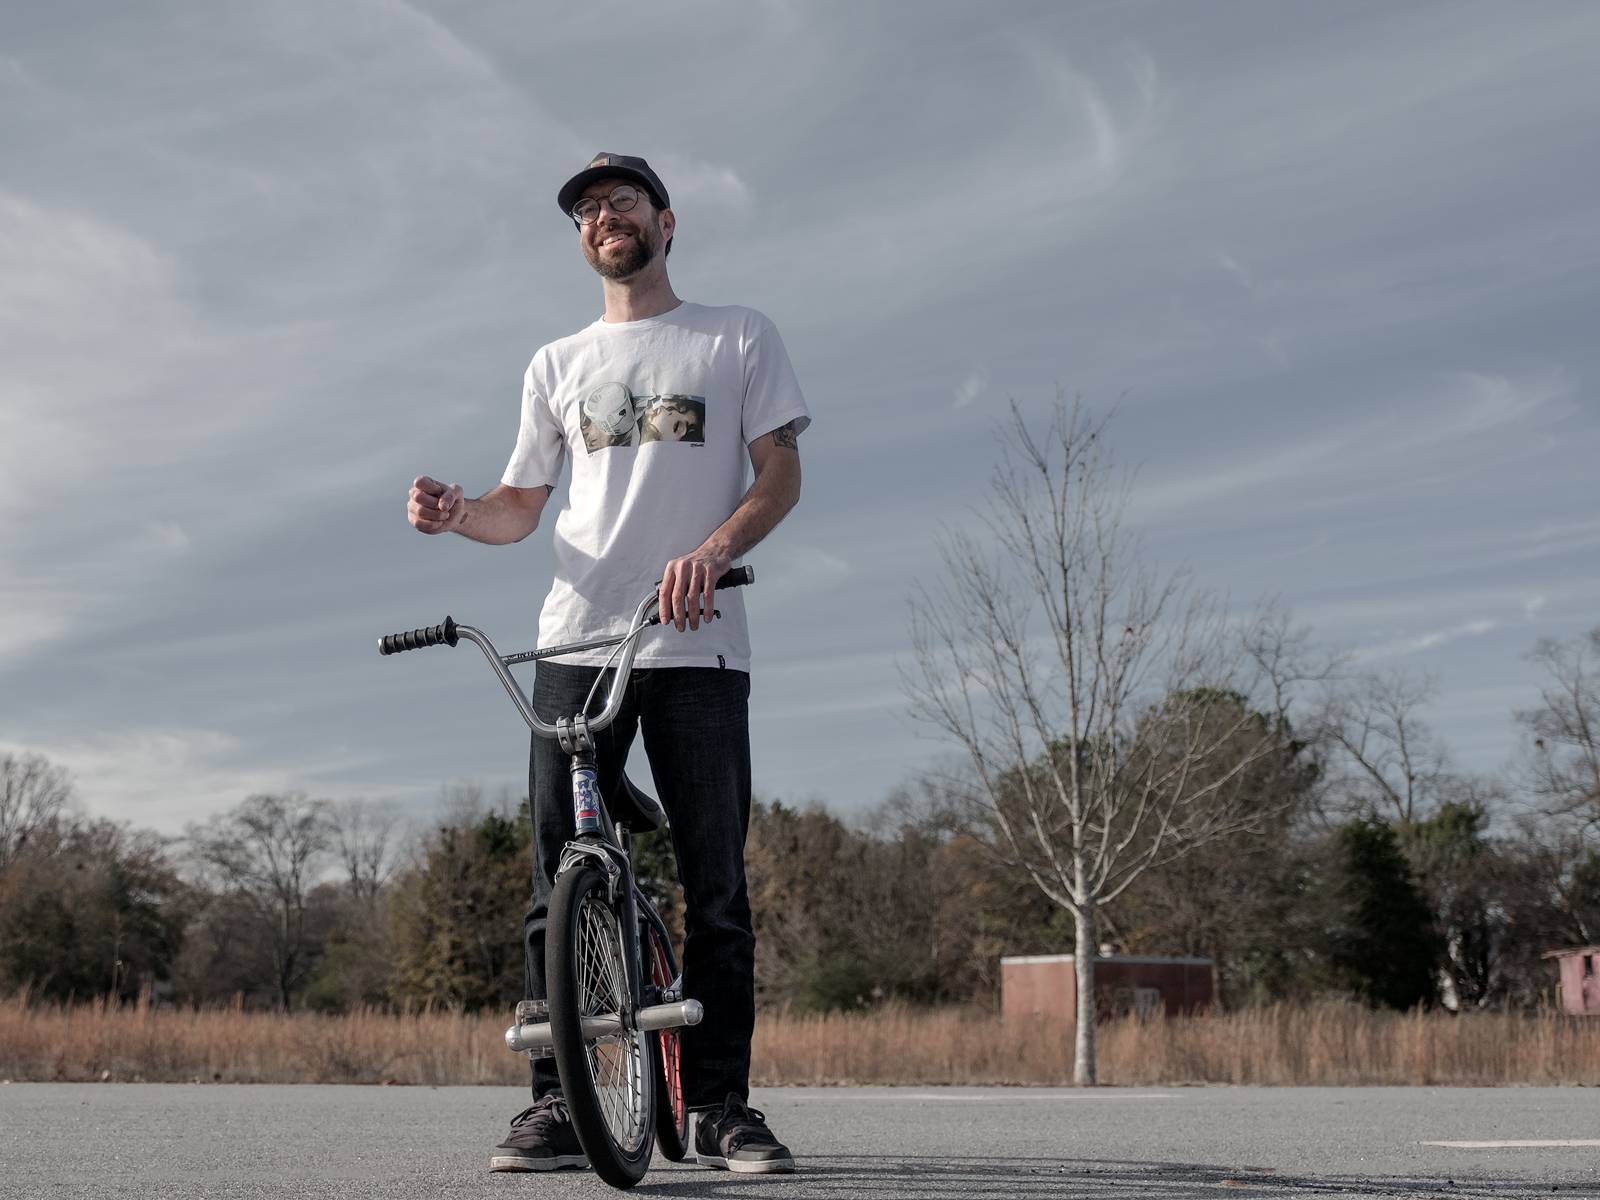
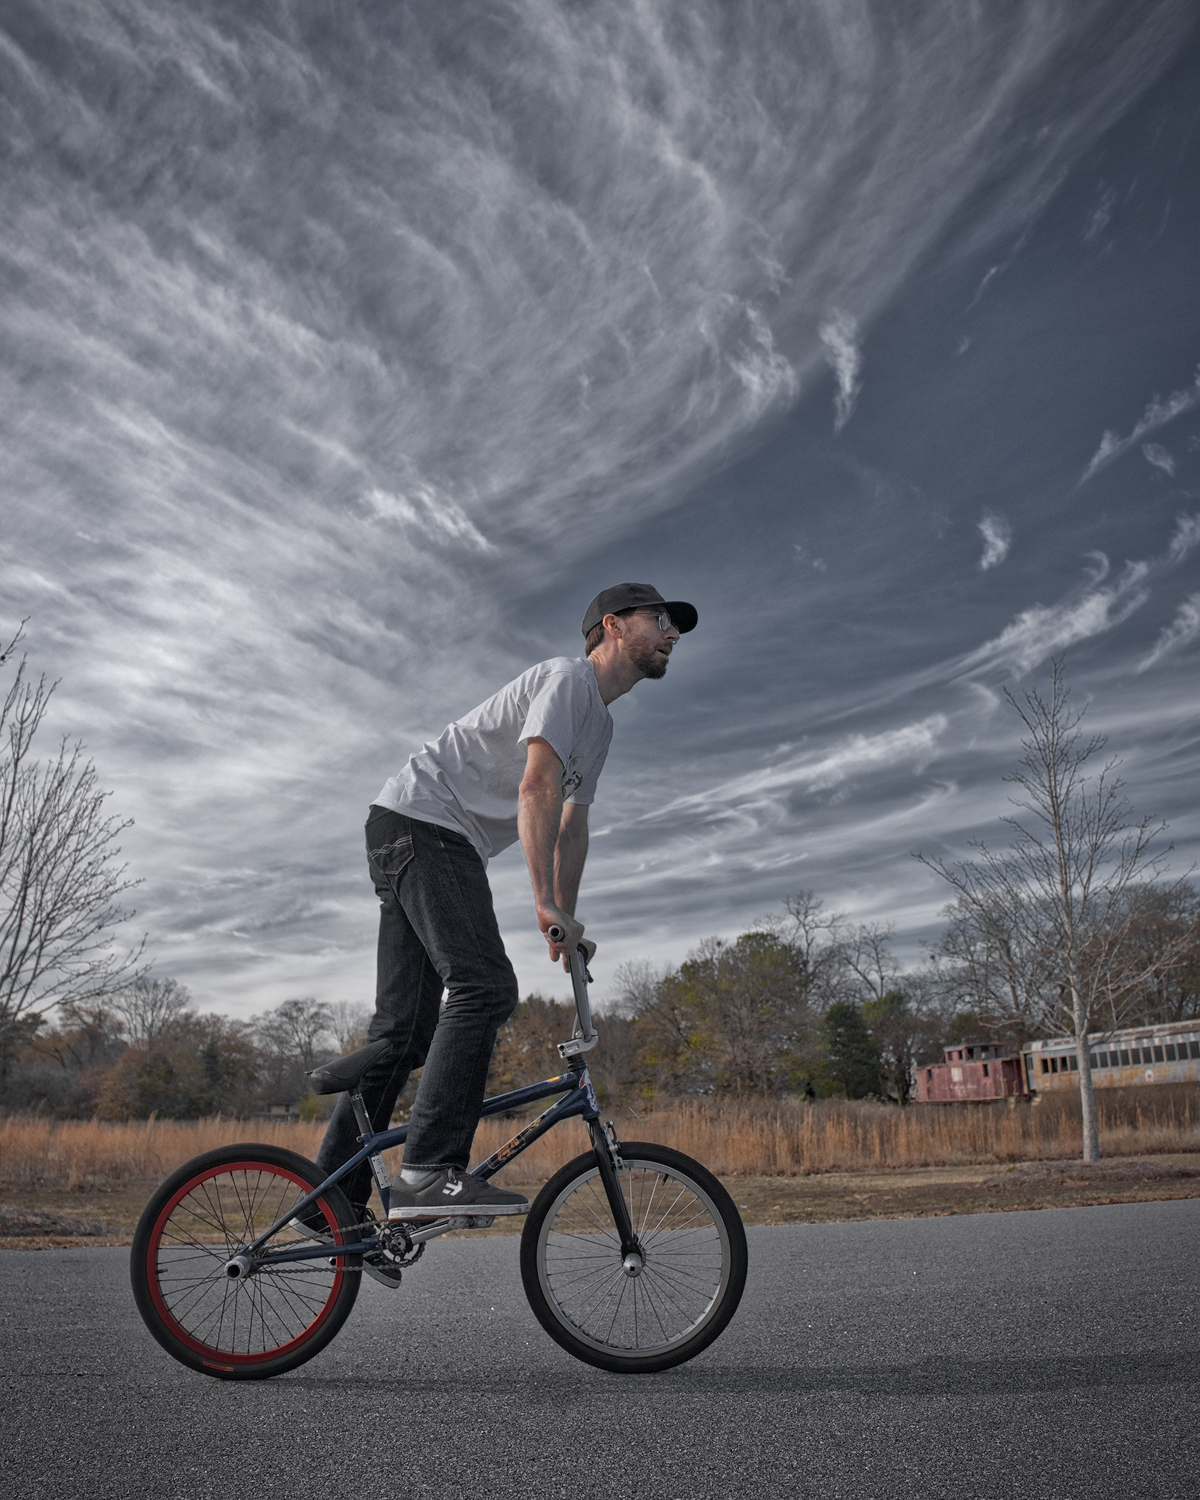
Hopefully some of the techniques and ideas in this post will help you on your next project. I for one am looking forward to working more on these techniques and on capturing more action oriented subjects. As always thank you for stopping by.
SUBSCRIBE THE FUJI X PASSION VIRTUAL MAGAZINE FOR ONLY €20/YEAR!
Fine art nature, landscape and street photographer. A graphic designer, architect, landscape photographer, and teacher, he works as a media designer for the National Park Service. His work can be found in private collections, exhibits and publications for the National Park Service, museums, galleries, and internationally for corporate clients.

