Photographing Iceland: Settings, Images and More
Introduction
Iceland is a country of immense beauty and in my mind one of the most diverse landscapes in the world given that it is an island. It is volcanic and glaciated and it is these singular natural forces that have largely shaped the landscape. From windswept volcanic planes, to the mountainous highlands, fjords, coastlines, glaciers, and myriad rivers and waterfalls, it is a place with so many photographic opportunities. The islands location in the Northern hemisphere also brings almost continuous light, with an extended twilight in the summer, and much shorter days in the winter, which affords one the opportunity to see the dancing Northern Lights. Iceland is also a place of extremes, especially regarding the weather, which can change hour by hour. And in fact that is the old adage in Iceland that if you don’t like the weather, just give it an hour. The countries population of around 360,000 is outnumbered by the sheep, and the number of visitors and tourists who flock there. The sheep of course are permanent residents. Iceland is one of my favorite places on this planet.
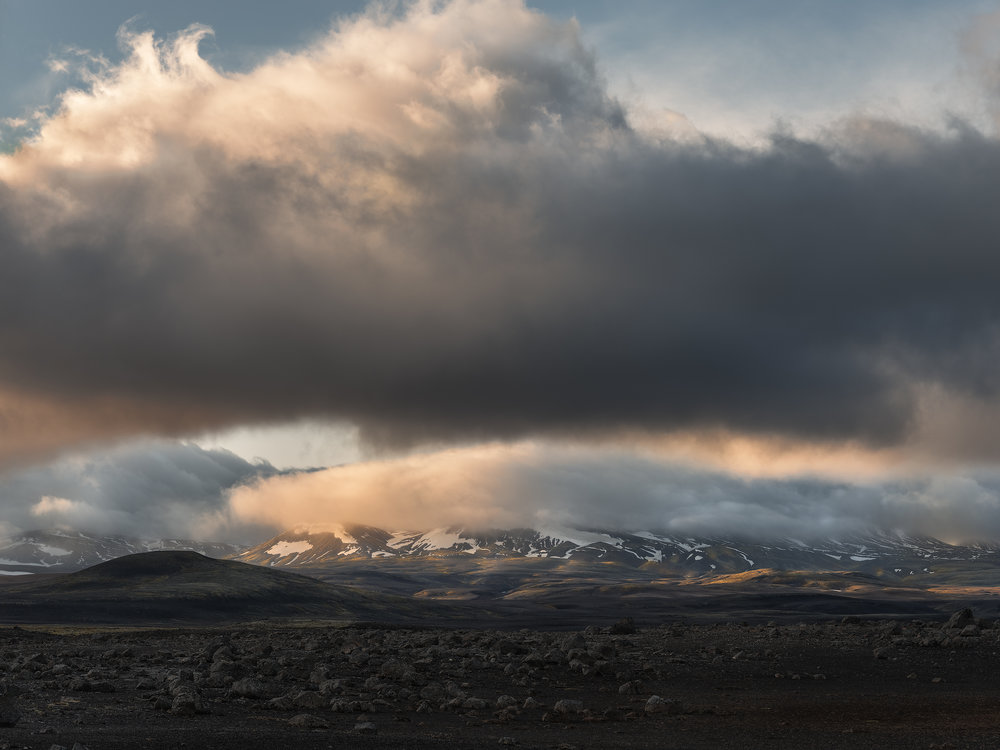
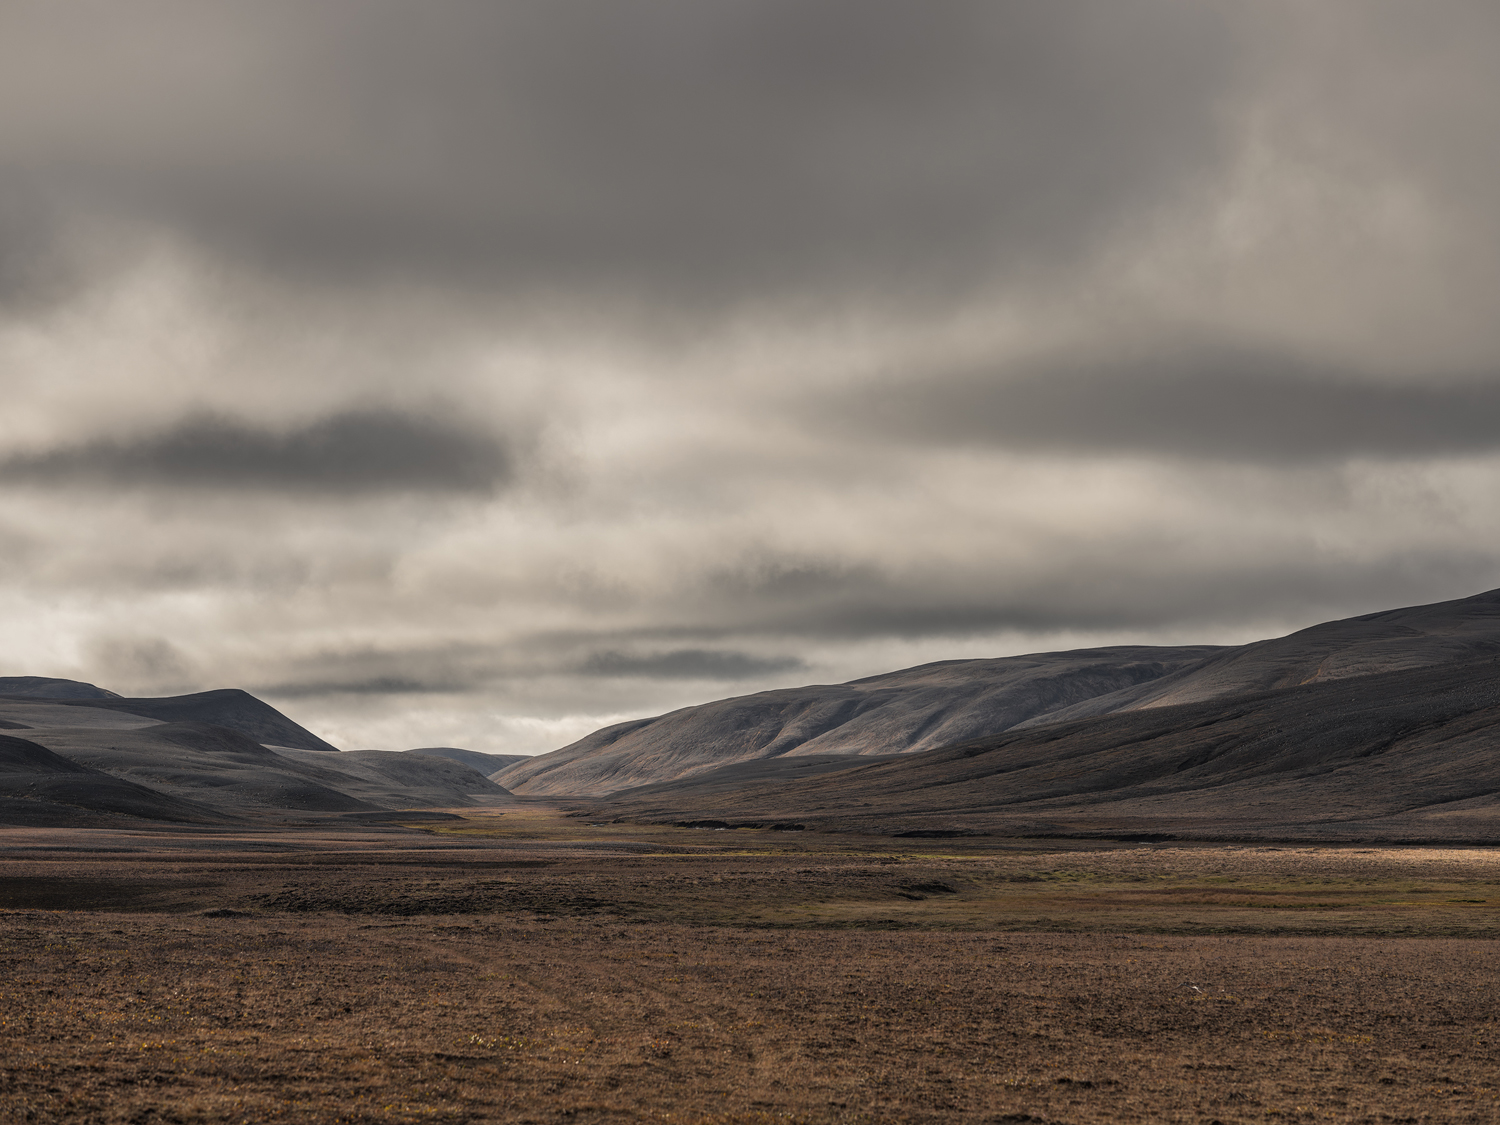
For this years trip, I decided to switch up the seasons, and opted for the Fall. Iceland in the Fall, and specifically September, is in transition. The colors are beginning to turn but the days are becoming decidedly shorter with an actual period of night. So morning and evening photography is not that much different than Fall days here in the U.S. And it is different than the Summer where you literally have to turn your entire clock around and shoot at night while sleeping during the day. The weather can still be unpredictable but is largely stable.
I kept my camera gear selection for this trip clean and simple, shooting exclusively with my FujiFilm GFX, a 51.4 megapixel, medium format camera. The GFX is a versatile camera, with a big sensor, superb sensor dynamic range, and housed in a tough, sealed body. The control systems, menus, and features are largely similar to the other cameras in the Fuji lineup, and where it shines for me, is in the landscape. Over so many years of photography, from film 35mm to 4×5 large-format, to the digital realm, I have finally come to terms with my gear. The fact is you do not need to carry the “kitchen sink” to make images and over the years I have certainly carried my share of heavy bags. It is just not necessary and in many ways a hindrance to photographic endeavors. My camera kit for Iceland included the GFX50s camera body and three lenses – The Fujinon 32mm f4 R WR, the Fujinon 32-64mm f4 R WR, and the Fujinon 110mm f2 R WR. That is it. With that kit I can cover the 35mm focal length equivalence of 18mm to 87mm, which for the kind of photography I practice, the ultra-wide to medium-telephoto is the perfect zone. The camera body and lens combination is all weather-sealed/resistant, a very important consideration in more extreme conditions, and very true for Iceland where I shot in rainy conditions, wet areas along the coast, moist fog, wind (think blowing volcanic dust), and days below freezing.
Before I go further into this post, I will add that I was not paid by FujiFilm to write about the camera, this trip, nor was I given any camera gear. On all of my posts I write about the specific gear I actually use. I have been a Fuji shooter for a number of years now and you can revisit any of my past blog posts to find out my relevant thoughts about these cameras (you can search in my Blog Archives). In practice, I am an old school photographer, having come along in the days of film, manual cameras, and the exposure triangle. Inside Fuji camera bodies is an arsenal of amazing technology and engineering, but on the outside there is still the very relevant simplicity of the exposure triangle – ISO, aperture, shutter speed – which creates a camera and shooting experience that gets out of the way of making images. You are in control and you, the photographer, make the decisions, a fact that ties me to Fuji digital cameras, and to those analogue cameras of my past years, more so than any other modern cameras I have shot.
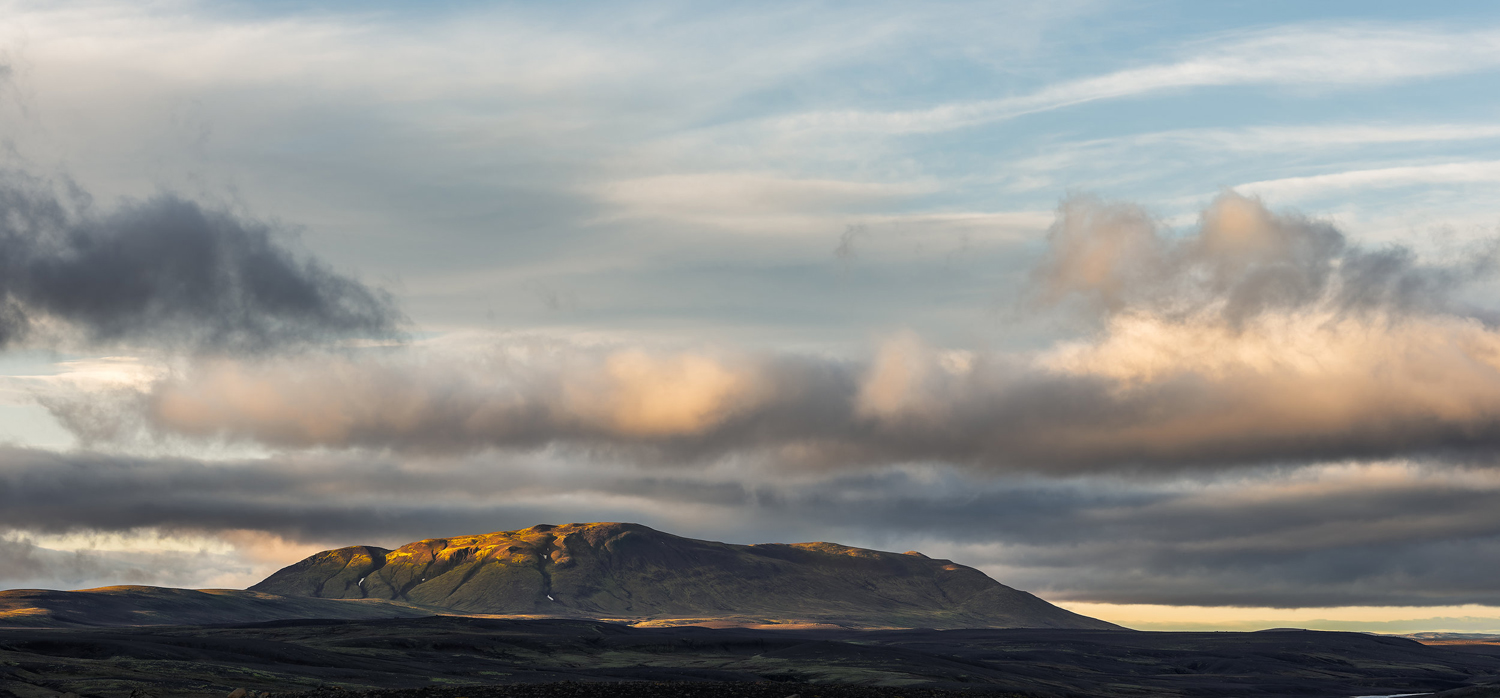
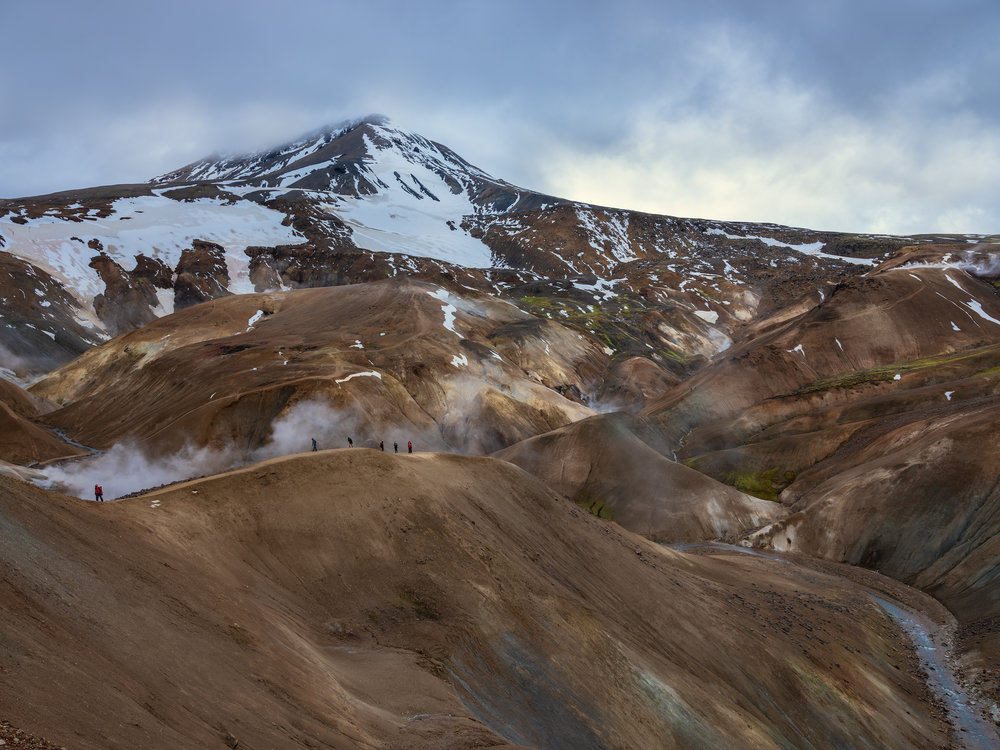
I was joined in this sojourn by my good friend, and fellow Fuji shooter, Adam Holston. We planned a complete clockwise circumnavigation of Iceland to test out various routes and possibilities for my upcoming 2019 Fall In Iceland Workshop. We began in Reykjavik and moved North, along the highland road F35, through the Central Highlands to Kerlingarfjöll. After surviving the howling winds of the the mountains, we proceeded North, cutting across the Central Highlands to intersect with the main ring road before moving east towards Myvatn, down to the Eastern Fjords, and then along the southern coast. Along the way were a myriad of stops at waterfalls, spas, lush valleys, a glacier, coastal zones, churches, and a sheep round-up before arriving back at our starting point. We camped the entire 11 day trip which can put some distress on equipment along with the usual comical occurrences like losing batteries, chargers, lens caps, hats, gloves, and even jackets, all found after we cleaned out the car.
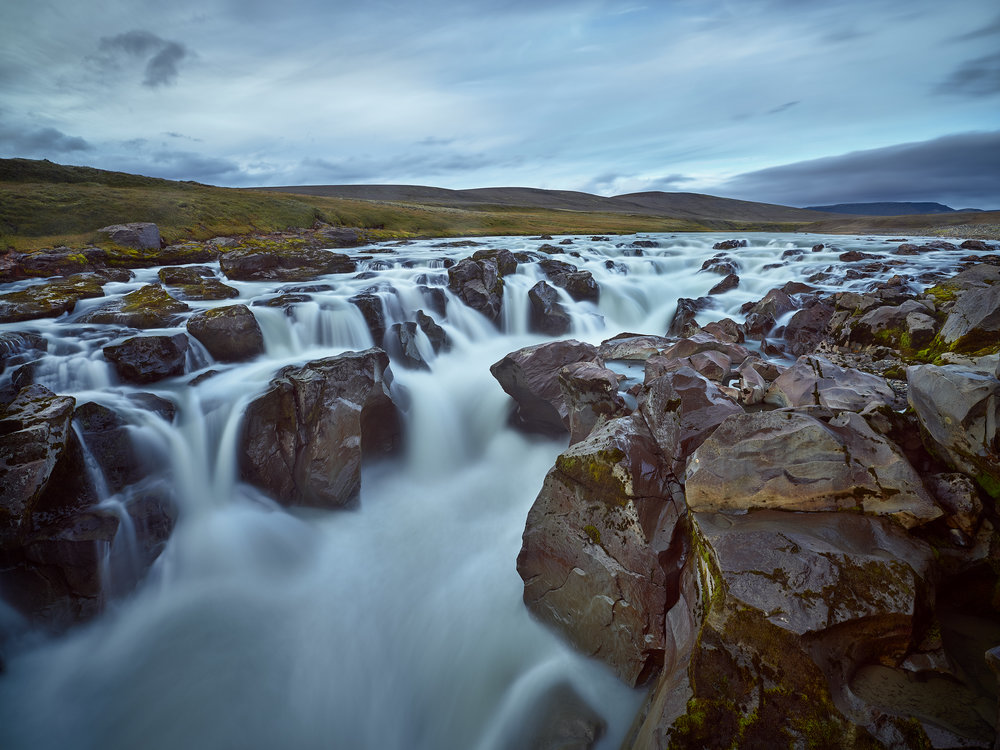
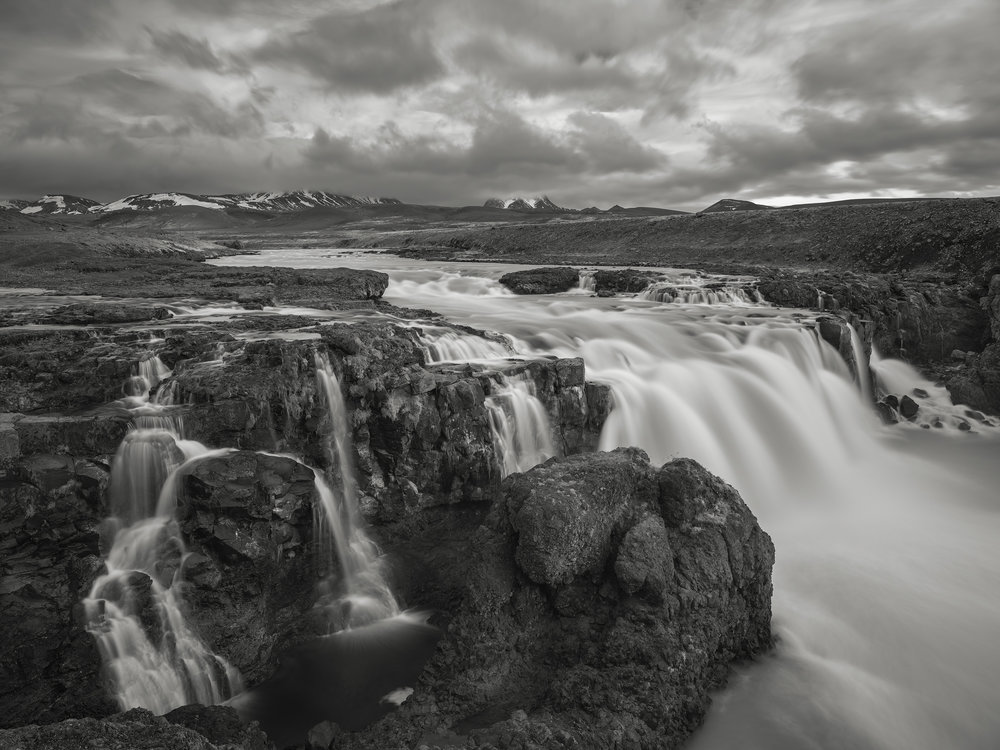
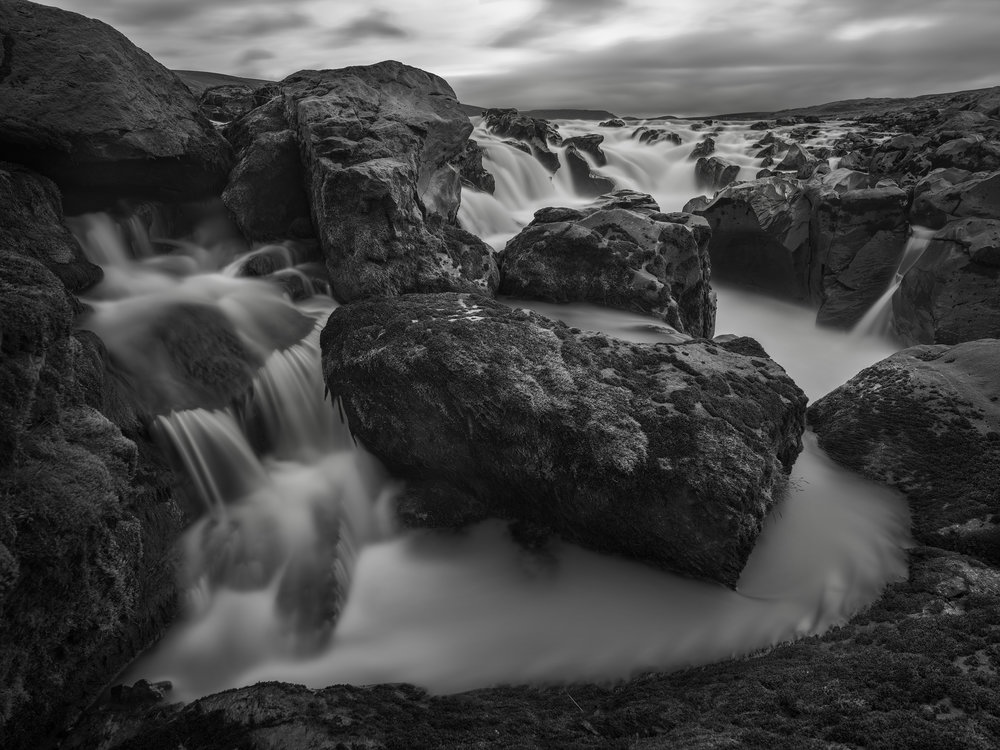
Trips such as this put a premium on what you carry and force you to some degree to bring only the necessary, and functional items you need, to make the trip successful. Keeping up with extraneous items that you don’t need or use is a distraction. My on-plane bag was a WANDRD Prvke 31 that carried my GFX kit, and a smaller bag that carried my peripherals, cables, cards, back-up drive, and the SkyRoam Hotspot. Everything else, from my tripod, clothes, and camping gear, was carried in one, repeat ONE, bag that weighed less than 50 pounds. The focus was on photography, not hauling bags and items I would not use. For some travelers this might be considered extreme but I can promise you I was perfectly comfortable, never cold, and had exactly the gear I needed. I did not carry a laptop. I made the decision years ago to stop carrying a laptop on trips. I prefer not to edit on them and it keeps me from burying my head in one when I should be sleeping or perhaps spending time in conversation with people. For card back-up I use a Western Digital My Passport Wireless 1TB SSD with a built in SD Card Reader. Just insert the SD card, press the button, and like magic the images are stored on a secure weather sealed drive. It is a compact and reliable system and the whole thing fits in a small pouch.
GFX Settings, Process and Other Things
All Fuji cameras are customizable with a variety of function buttons, command dials, and D-pads, and the GFX is no exception. I have set up my camera specific to the way I approach and shoot landscapes, which as you may have already ascertained, is based on simplicity. Let me begin with two specific settings that I would consider a standard for my process. I do not use auto-focus for my landscape work. In low light situations it will hunt in an attempt to lock focus. Instead I have de-coupled the AF and the Shutter Button and use Back Button Focusing, triggered from the Fn4 Function Button, with the Focus Mode set to Manual, and Focus Peaking set to High +Red. In default modes the Fn3 Button locks focus but I find this button quite inconvenient ergonomically and have instead programmed the Fn4. The way I have all of this set also allows Back Button Focusing when the Single and Continuous Focus AF Modes are selected.
So here is how all of this is set in the Menu System:
Go to the Set-Up Menu > Button/Dial Setting > AE/AF Lock Mode, and set it to AE&AF On/Off Switch. Next, go to Button/Dial Setting > Shutter AF and set it to Off. And finally go to the Button/Dial Setting > Function (Fn) Setting > Fn4 and set it to AF-On.
That’s it. So when I am in Manual (selected from the Focus Mode Selector), I can use the Joystick to position my Focus Point, set to Single Point, and press the Fn4 Button. The camera locks focus and gives me the Focus Peaking. To make all this tie together perfectly I have the Distance Indicator displayed on my Live View Screen, set to Feet, and Focus Check set to On. The Distance Indicator gives you a graphic scale in feet, that will display a white tick mark that corresponds to where the Focus Point is focused, and a blue bar that indicates the depth of field. All hail the Fuji engineers as this is not on any other camera system that I know. Ok, there is a lot here so let’s unpack the set-up for this.
To set the Distance Indicator go to the Set-Up Menu > Screen Set-Up > Focus Scale Units, and set it to Feet. To make sure it is displayed on the EVF go to Set-Up Menu > Screen Set-Up > Disp. Custom Settings and put a check in the box for MF Distance Indicator. And while you are there place a check in the box for the Histogram. For Focus Check go to AF/MF Settings > Focus Check and set it to On. This allows you to press the Rear Command Dial, or rotate the lens focus ring, which will zoom to your focus point and you can tweak the focus using the Focus Peaking as a guide.
My last point here, relevant to Back Button focusing is that my arrangement allows this function when I shoot in AF Single or Continuous Mode. In that mode I can use the Fn4 Button to lock the focus on a zone and just shoot without the camera seeking or changing where I have the focus, whether I have the shutter button half depressed or not. I used this method with great success during the sheep round-up.
While all this may look complicated to set up, on the surface, it really is pretty simple. But, as I preach a lot in my workshops, no matter what camera system you use, you must take the time to understand it, how it functions, and how to set it up so IT, the camera, does not become an impediment to making images.


I can take my camera, whether a GFX or an X-T3, out of the bag and be shooting within seconds of turning it on. Fuji X cameras have a lot of technology under the hood but once you have settings established you rarely have to go back to the menus for anything. The three main things you really need – aperture, ISO, and shutter speed – are right on top of the camera/lens. So let’s take a look at the other basic settings I use.
I shoot only in RAW format, uncompressed, and completely in manual mode (as expressed above). All my shots are framed in Live View using the Histogram to judge my exposure and the Distance Indicator to evaluate the depth of field. I typically shoot with dual 64gb SD cards set Back Up in the Save Data Menu. I carry on average, depending on trip length, 20 to 30 SD cards. I also shoot in sessions, like a morning shoot followed by an evening shoot, and then change cards. This way I do not have multiple days of images on cards where it might be catastrophic if it failed. Cards are for the most part stable but I have had a failure before hence my current process.
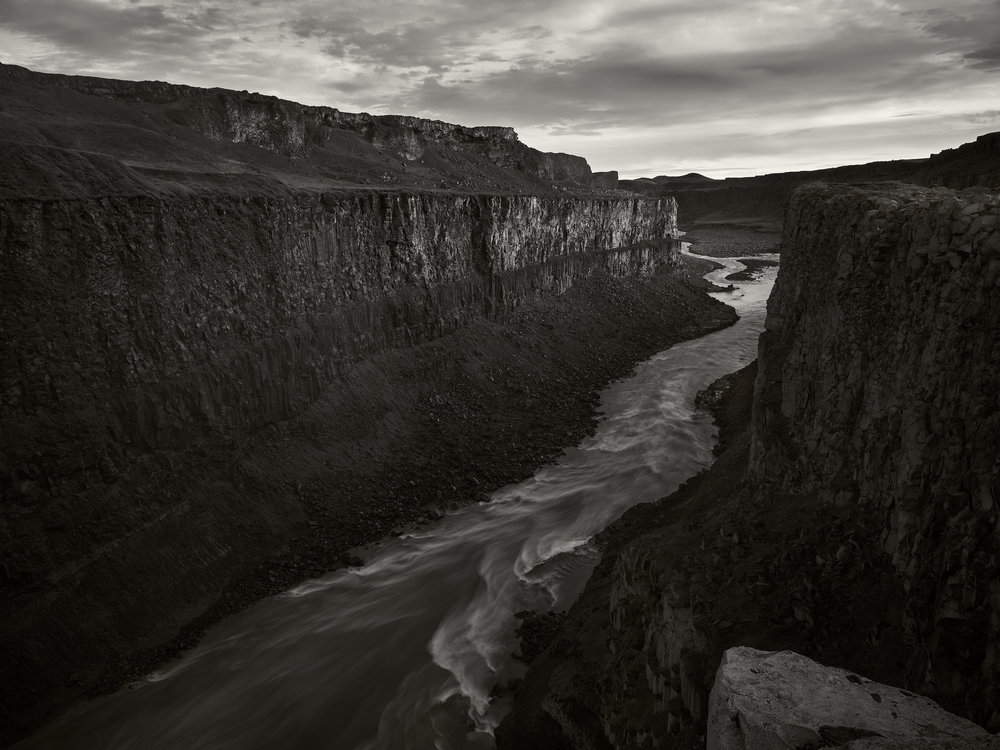
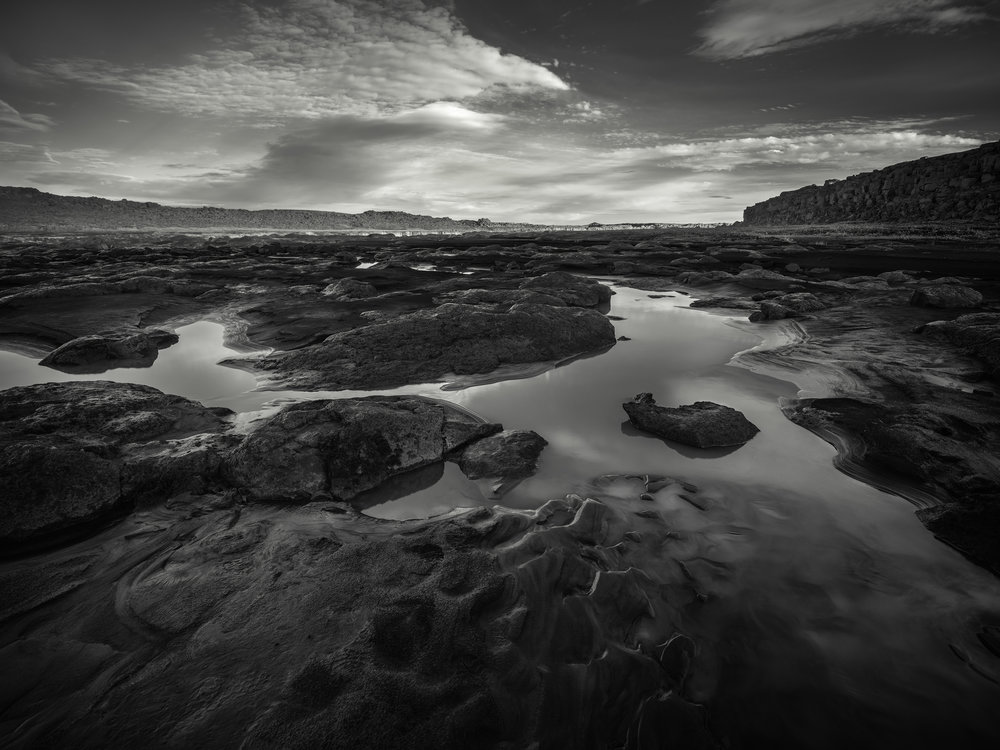
I shoot with my Live View Screen set to Acros B+W Film Emulation (not always though as you will see below). This setting does not affect the RAW images on import into Lightroom. What it does is allow me to compose an image based on tones and sense of light and without the distraction of color in making those evaluative judgements. The B+W emulation also works well with Focus Peaking and since I convert a lot of my work to black and white I have the added benefit of pre-viewing a composition from that standpoint.


My Shutter Speed Dial is set to “T” and my Front Command Dial is set to change the shutter speed. “T” is one of the most brilliant concepts the Fuji engineers built into these cameras. The “T” stands for Time, and while Fuji bills this as a setting for “slow shutter speeds”, this setting actually allows you to set shutter speeds from as fast as 1/16,000 (with Electronic shutter engaged, 1/4000 max with Mechanical Shutter) of a second all the way down to 60 minutes. In the slow shutter speed range the setting allows for 1 second incremental times up to 60 seconds. After 60 seconds the time increments change to 1-stop values – so 1 minute, 2 minutes, 4 minutes, 8 minutes, etc, all the way to 60 minutes. If you think about this, once you set aperture and ISO, and with the Shutter Dial at T, you simply manipulate the Front Command Dial for exposure. As you are changing the shutter speed the histogram will reflect your exposure in real time on the LV screen. There is no real reason to use the Bulb setting and you do not need a remote release because you can set the delay timer to 2 seconds after you press the shutter button.
I also display the Level Indicator on the Live View Screen. Even though I tend to manipulate horizons and fix, or accentuate parallax and perspective in post processing, I like to start from a level horizon. My Color Space is set to Adobe RGB and White Balance is set to Auto. I use the Adobe RGB because I want the biggest Color Space when I shoot and import into Lightroom. I rarely manipulate the White Balance in my landscape work since I have the option of correcting it or creatively altering it in post. Keep in mind that I do not shoot JPEGS and follow a RAW post-production pipeline from Lightroom to Photoshop for all images. So keeping the White Balance and the Color Space to one setting makes things simple for me.

Counting the D-Pad there are nine Function Buttons where you can assign a variety of helpful shortcuts. You can set all of these by going to the Set-Up Menu > Button/Dial Setting > Function (Fn) Setting, and follow the diagram to set Fn1 to Fn9. Here are the settings I use:
Fn1: AF Mode – Single Point, Zone, or Wide Tracking. It is only used when I am in Single of Continuous AF. Fn2: Face and Eye Detection. It is only used when I am in Single of Continuous AF. Fn3: Shutter Type. Fn4: AF-L for Back Button Focus. Fn5: WiFi. Fn6-Top D-Pad: White Balance. Fn7-Left D-Pad: Film Emulations. Fn8-Right D-Pad: Timer. Fn9-Bottom D-Pad: Focus Area.
There is a lot that I covered regarding my settings and basic process. I have designed it to work around how I shoot, a lot of which is similar to my days shooting with film cameras and 4×5 large format systems. I am extremely process oriented and have the settings I need to make the camera work for me so that I can respond to light or other changing conditions.

Filters
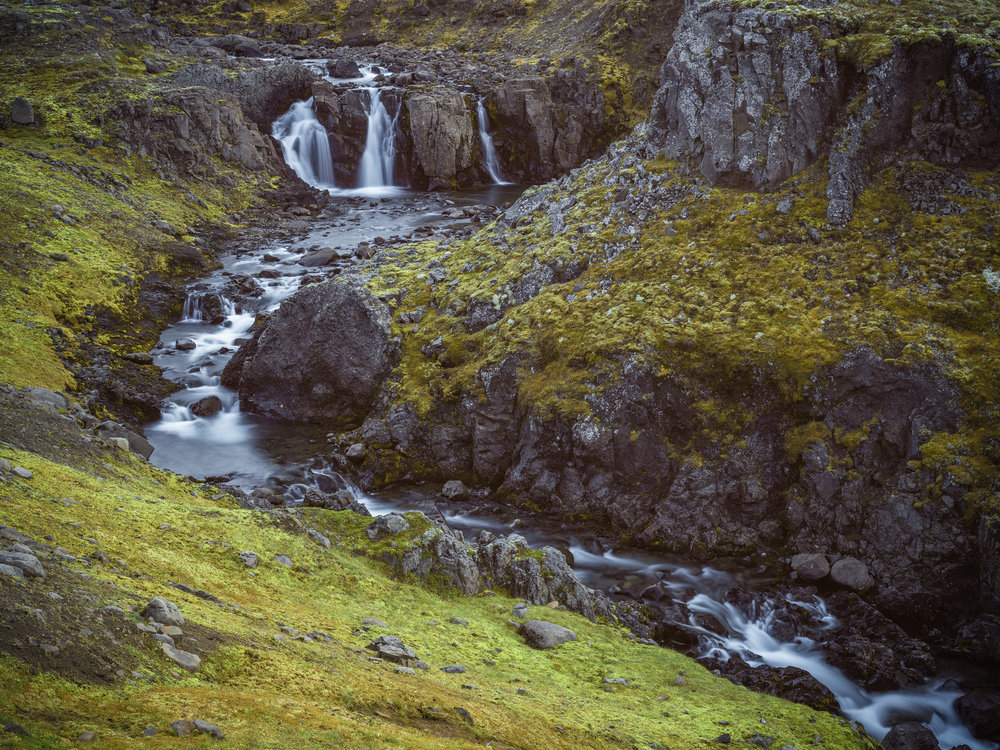
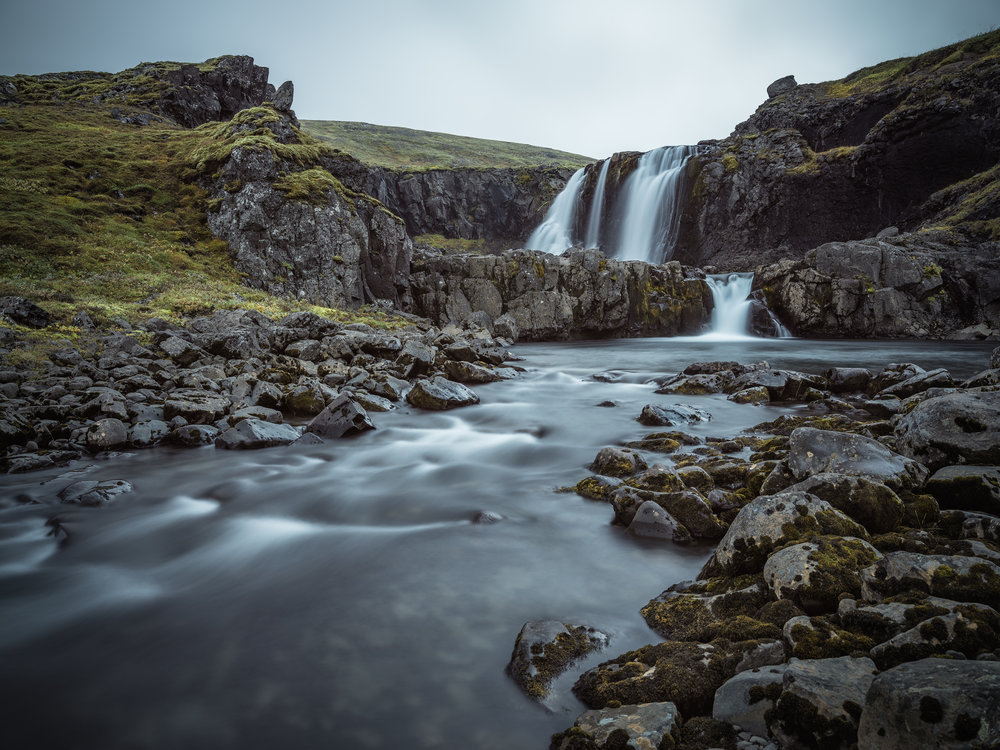
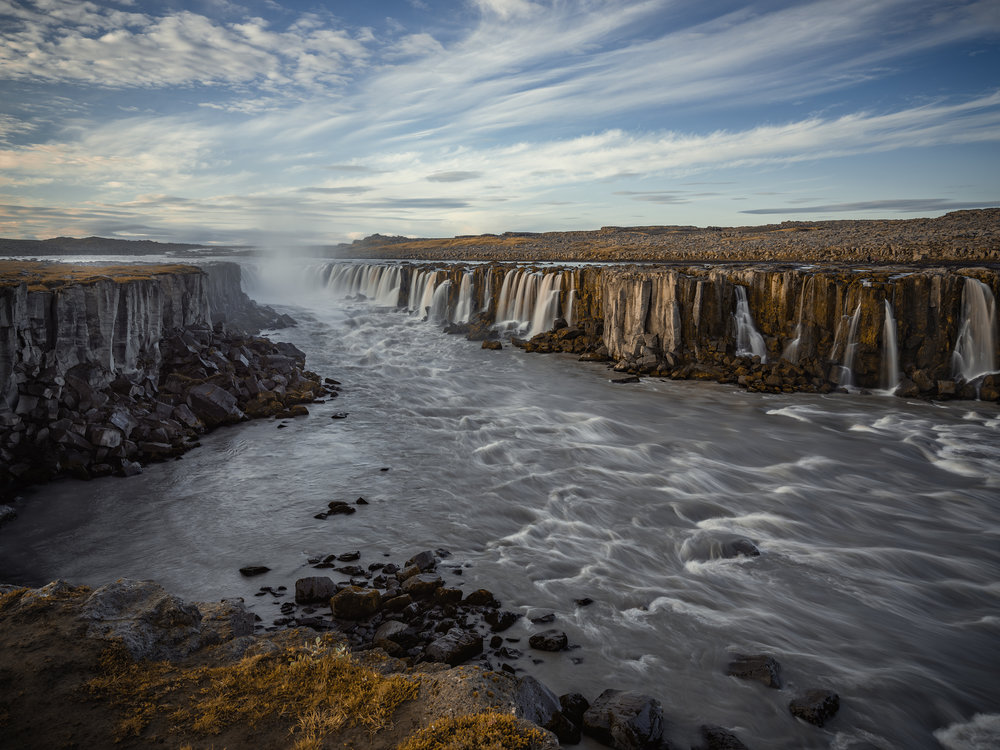
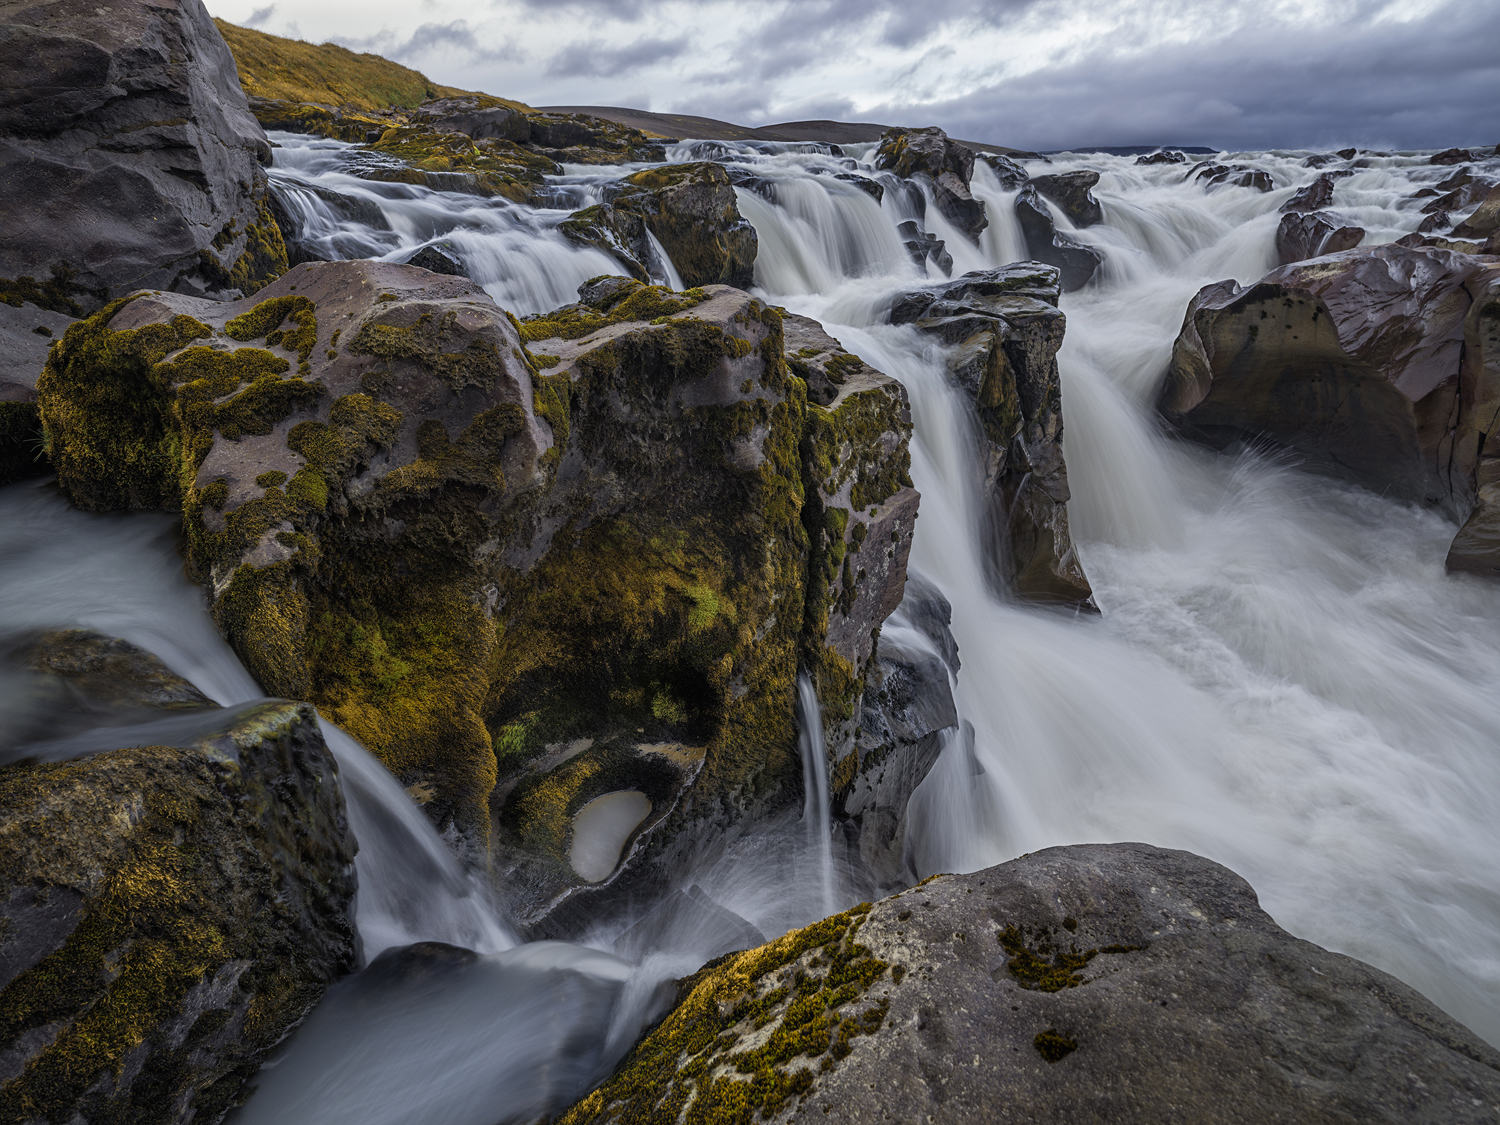
Filters are important in landscape work. I use a NISI V5 Filter kit that includes a V5 Holder, a Circular Polarizer (CPL), 4 specific solid neutral density filters – a 3-Stop, 4-Stop, 6-Stop and a 10-Stop, and 2 split neutral density filters – a 3-Stop and a 4-Stop. With this set up I can balance the range of light and extend my shutter speeds to achieve the flowy/silky look I like in my waterfall shots, or go well beyond 4 minutes for extreme long-exposure images.
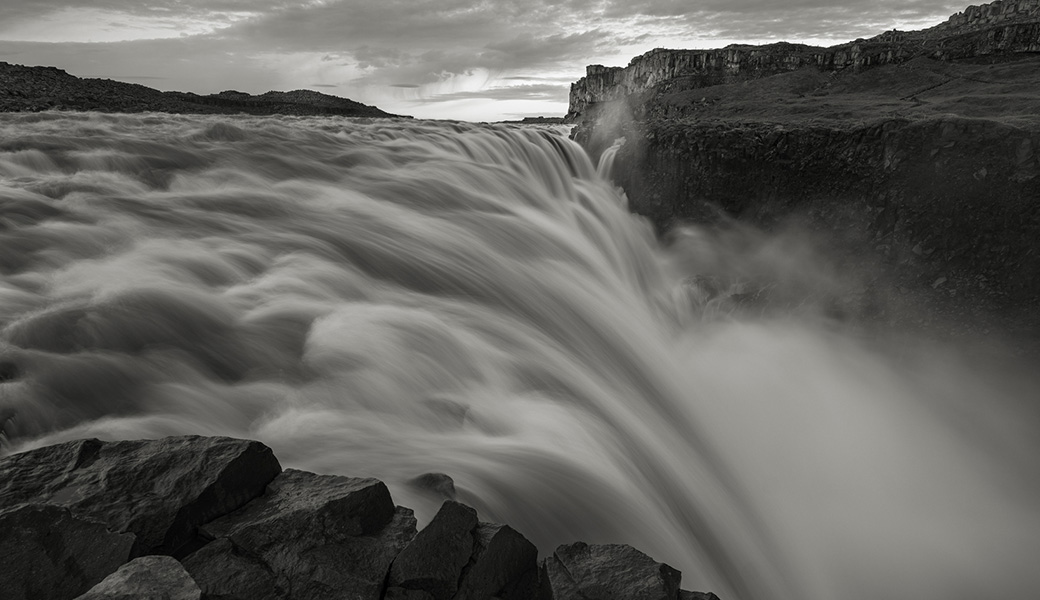
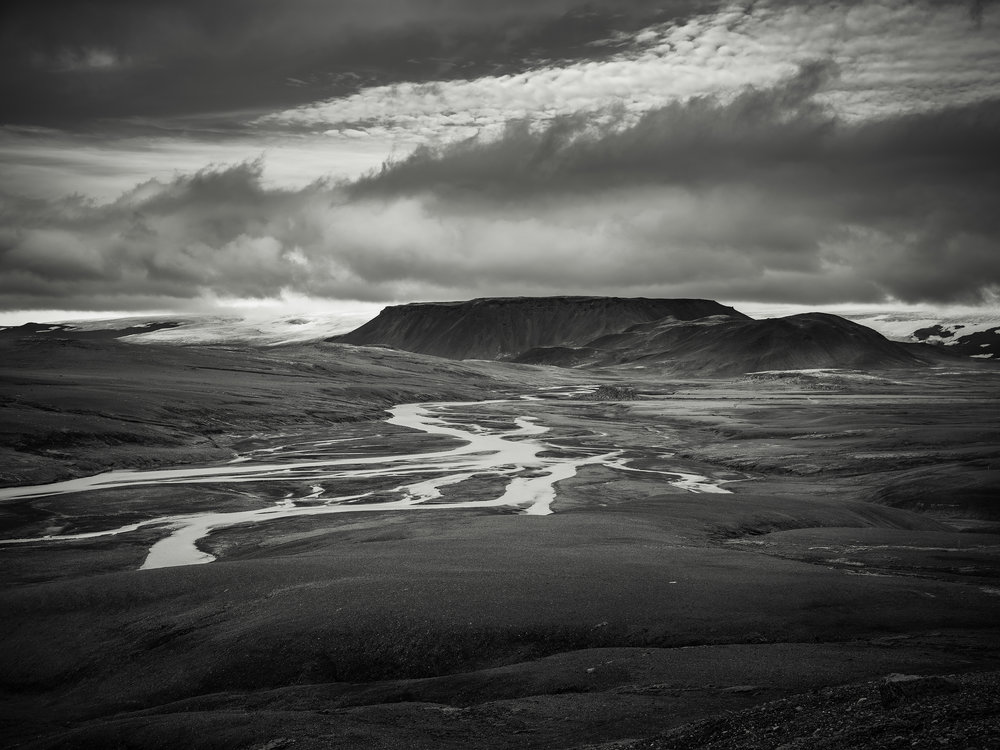
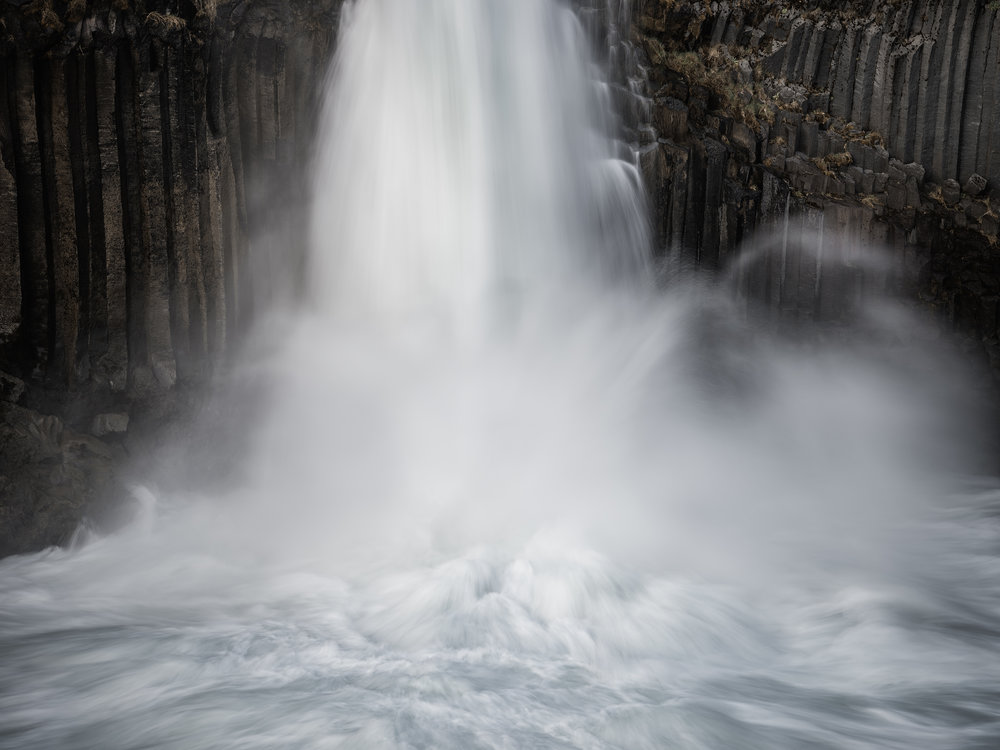
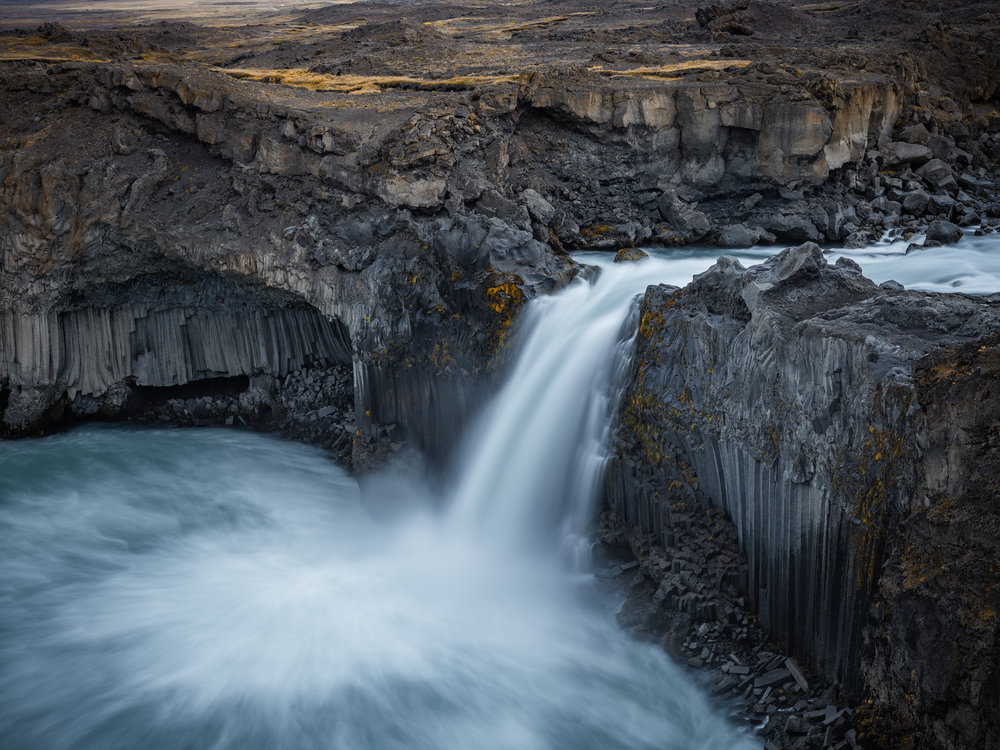
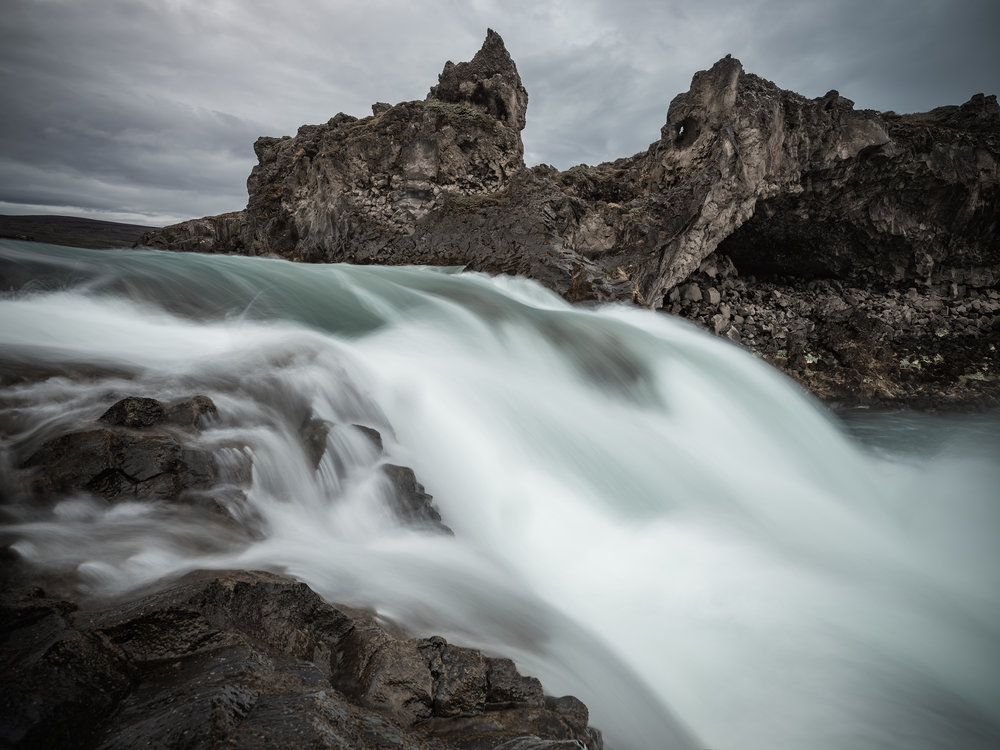
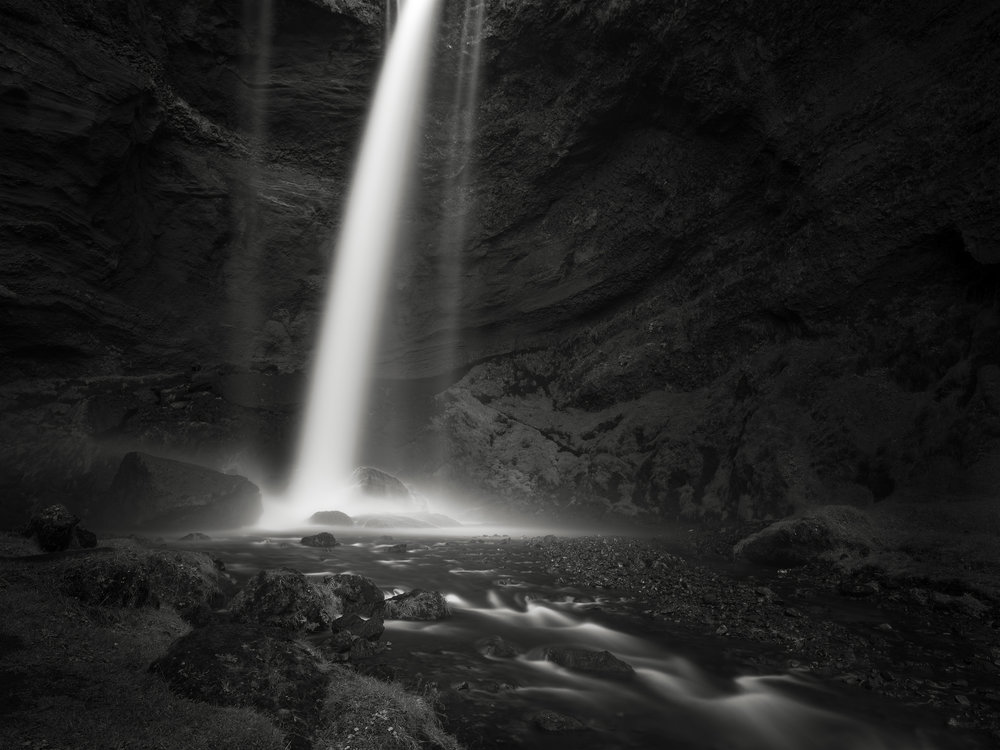
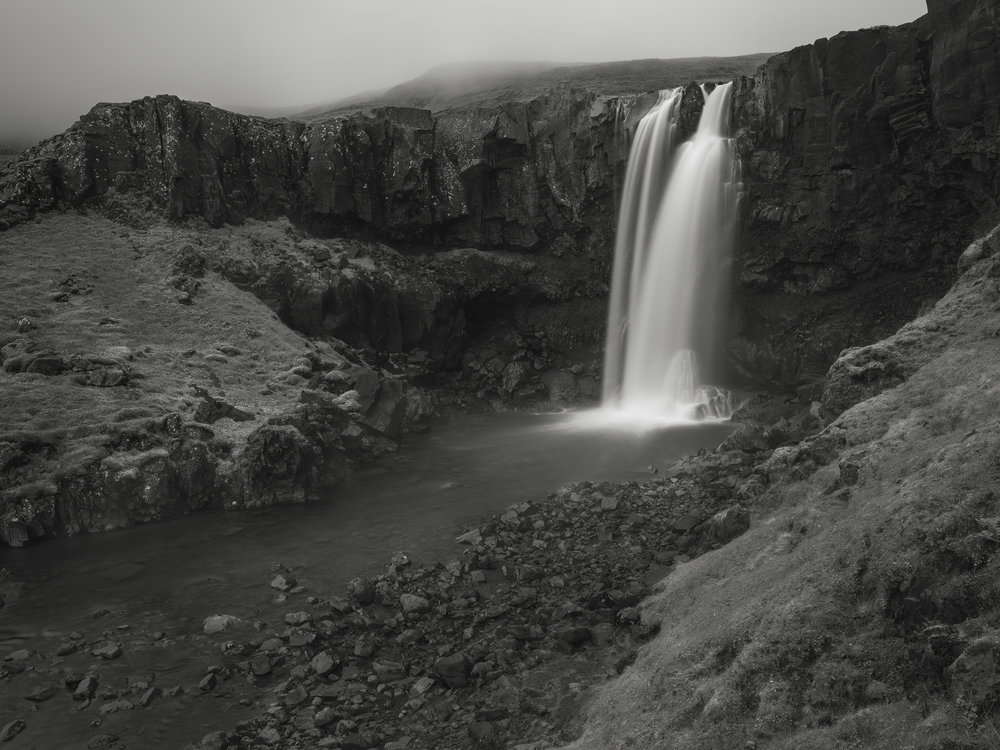
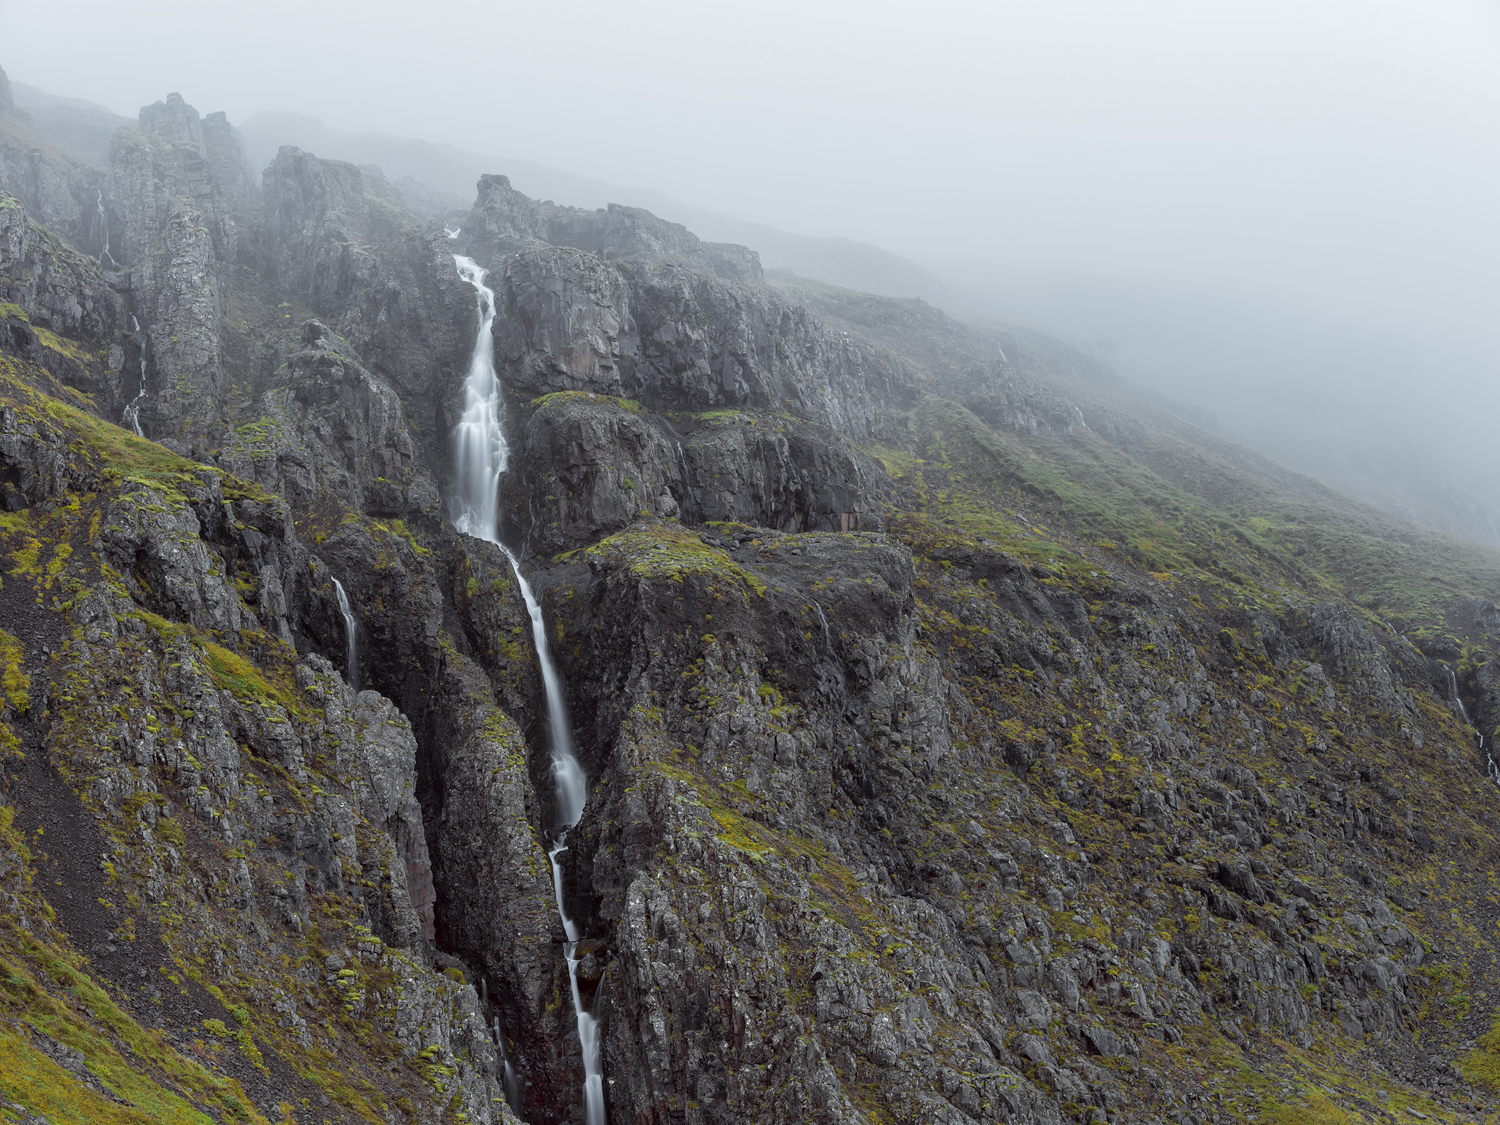
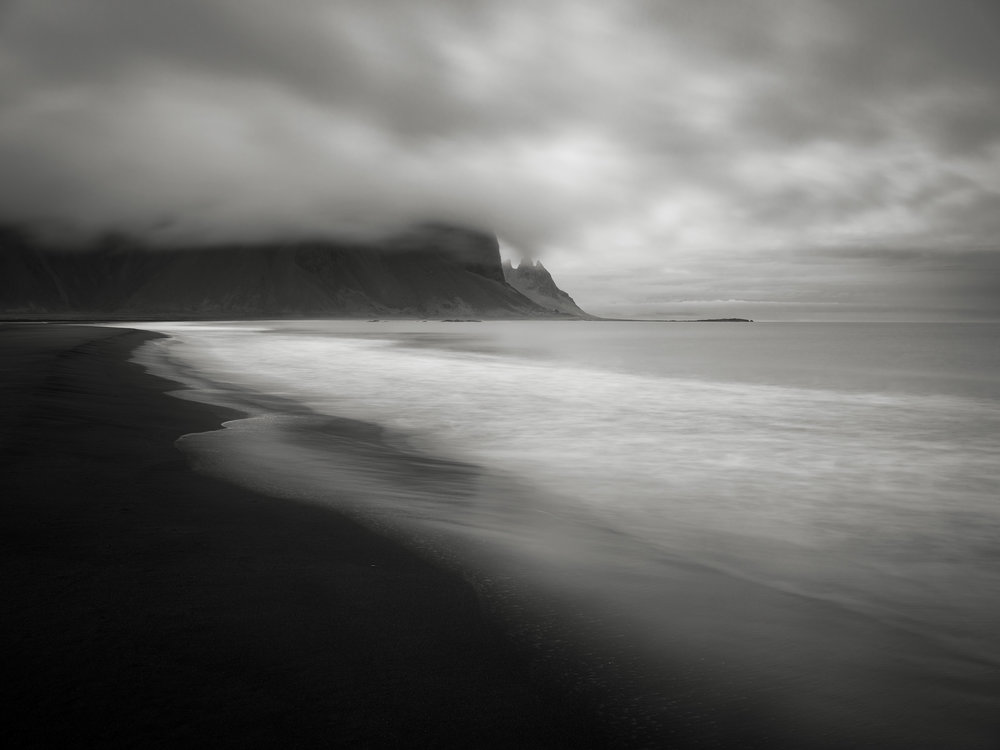
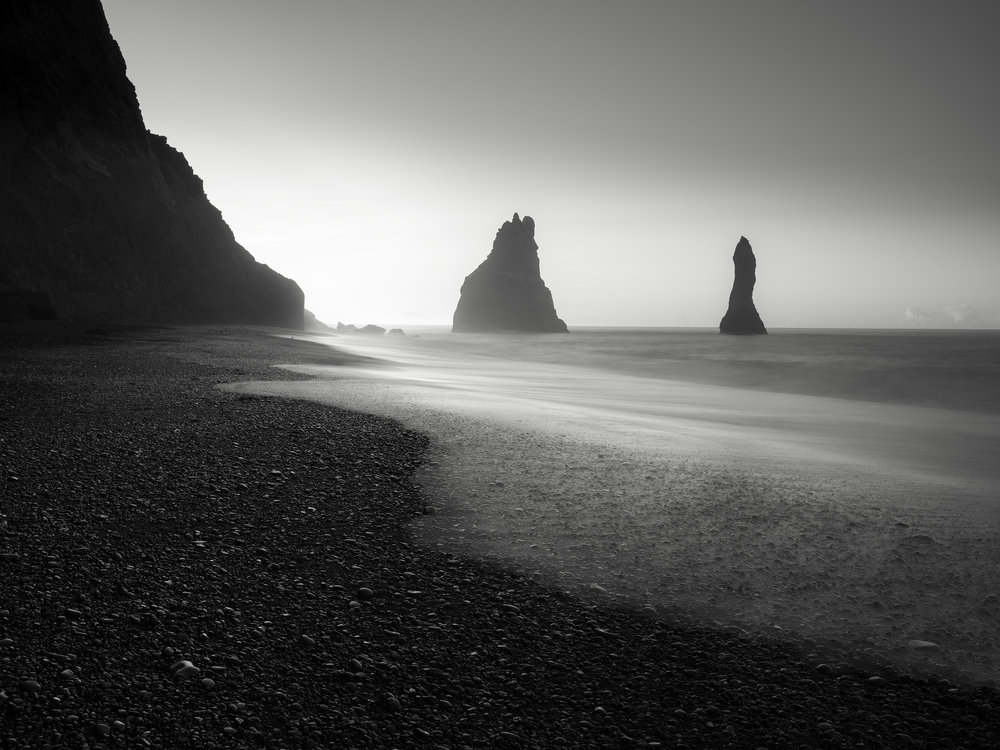
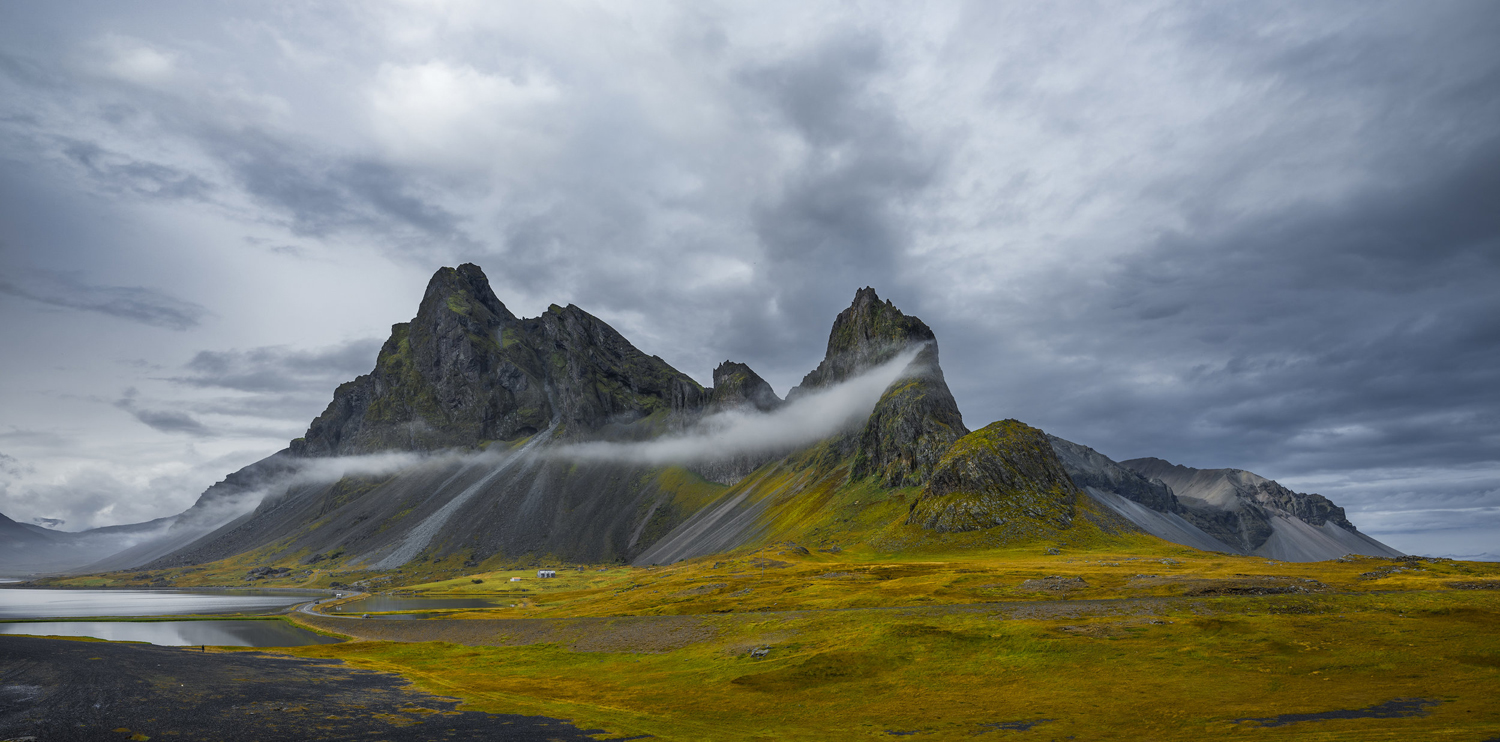
If you take a quick look through the images in this post you will see a lot of water shots, from waterfalls, and rivers, to coastal areas and lagoons. All of these image captures employed the use of filters including a circular polarizer to manage specular highlights and at a minimum one solid neutral density. Depending on water flow, water direction relevant to the camera, water speed, and environmental conditions I was looking to achieve shutter speeds from 1 second up to 8 or 12 seconds, and in some images up to 30 seconds (see Vestrahorn and Reynisfjara below). Occasionally I will add one of the split neutral density filters to balance the dynamic range of the composition that often occurs between sky and land. The V5 is a 100mm filter set and will not vignette on the Fujinon lenses. For speedy response when I am changing lenses I have the 32-64mm and the 110mm lens pre-fitted with a NISI 77mm to 82mm adapter which makes changing filers very quick.
Of course it should go without saying that for all of the long exposure shots the camera was securely anchored to my Induro tripod. The GFX is a bit heavier with lenses attached and a solid platform is necessary to make sharp images.
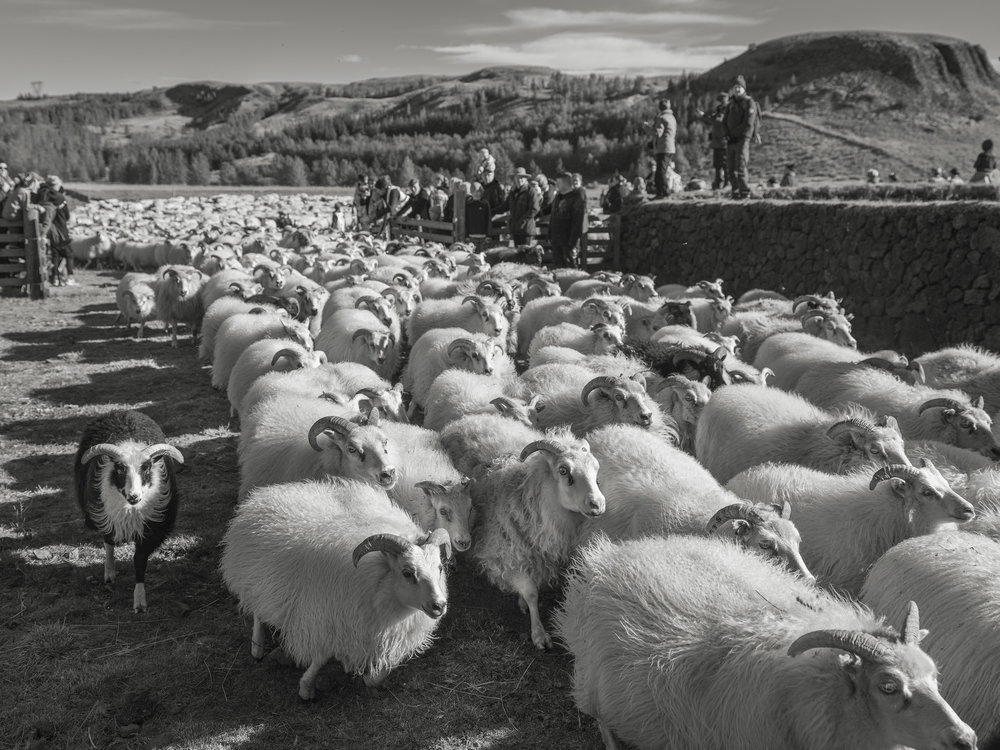
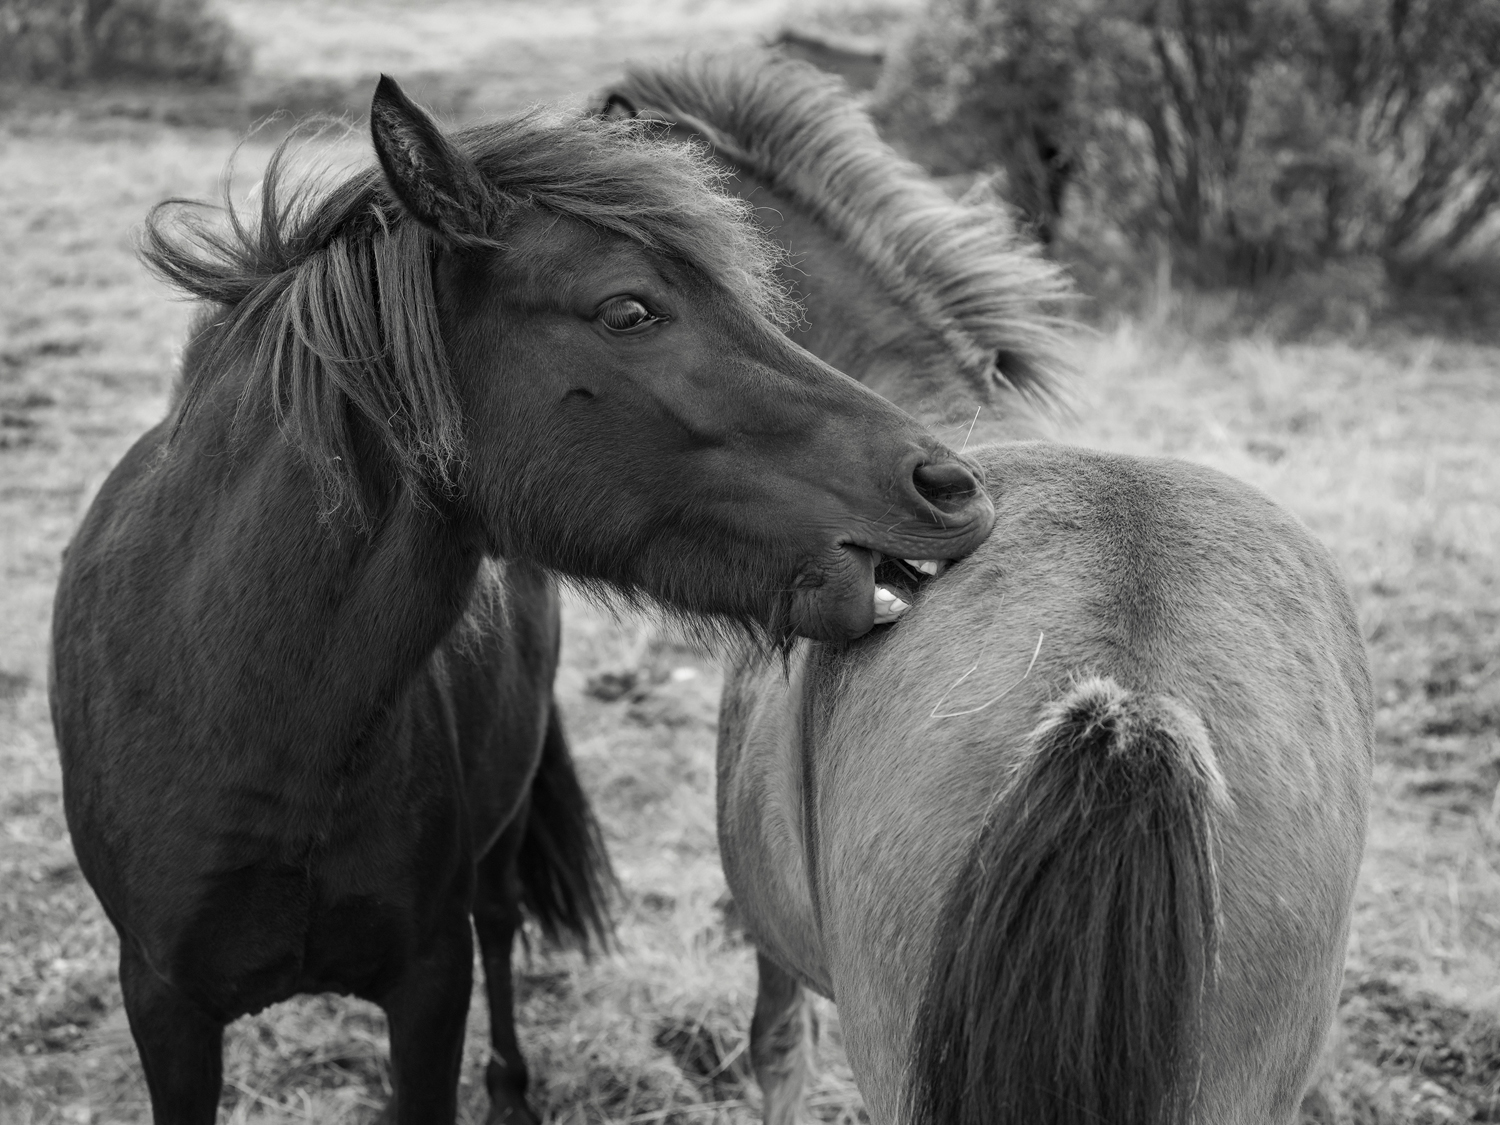
This trip to Iceland featured three singular, first time event for me: an opportunity to photograph the annual sheep gathering and sorting, known as the réttir; an incredible hike out onto the Breiðamerkurjökull glacier; and my first aurora storm. I spent two days at the réttir completely immersed in sheep and Icelandic horses. I can best describe it as a kind of organized chaos and shooting can be a challenge as the action comes at you from all angles. I tried at first to use the GFX’s AF system to lock on but found that I was not responding solely to capturing the story and decided instead to slow it down and watch sectors of the activity to find vignettes to capture. In this way I could use my back button focus method to lock the focus into a certain zone which freed me up to simply respond to the action. To ensure sharpness I shot at a higher ISO to get my shutter speeds up to over 1/1000 to 1/1500 of a second. For maximum coverage I used the GF32-64mm f4 which balances very nicely in a hand-held shooting scenario. Especially with the superb grip on the GFX. I was not a traditional spectator while making these shots. The best action and angles were when I was walking along with the farmers or down in the sorting ring with the sheep. To do so I had to be respectful of the process and not impede the work. I wrote an extensive blog post, with many images, on the round up which you can read Here.
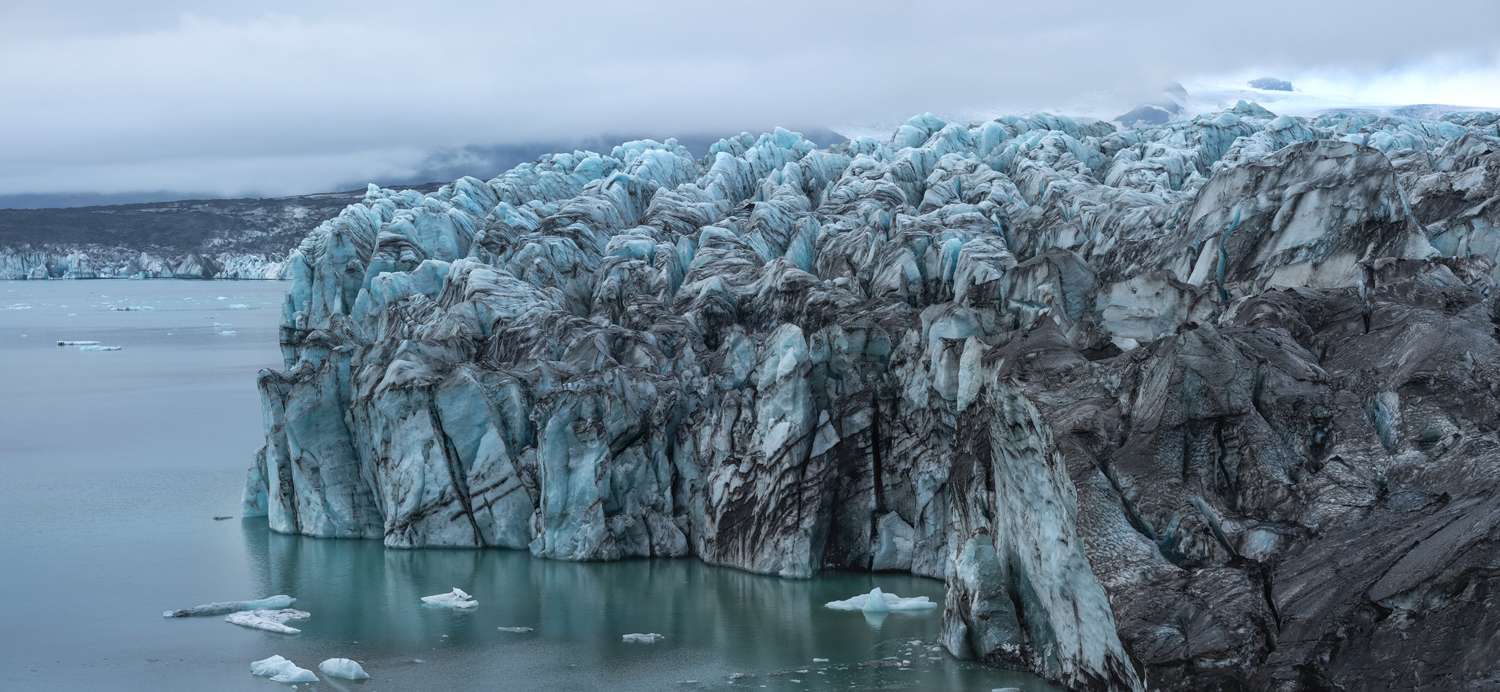
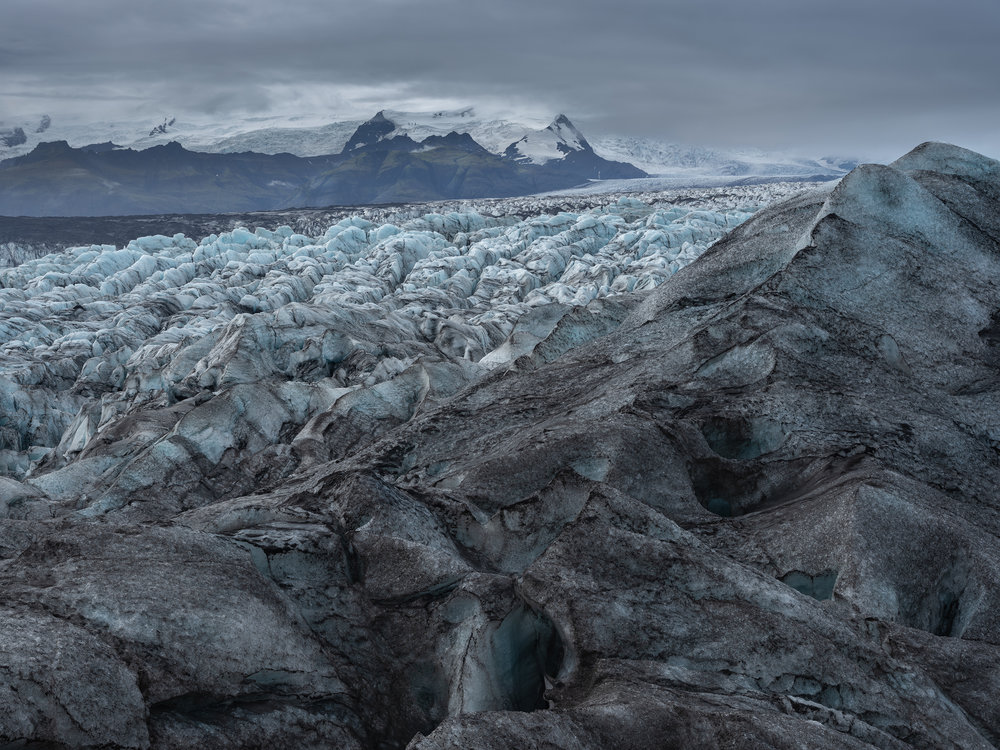
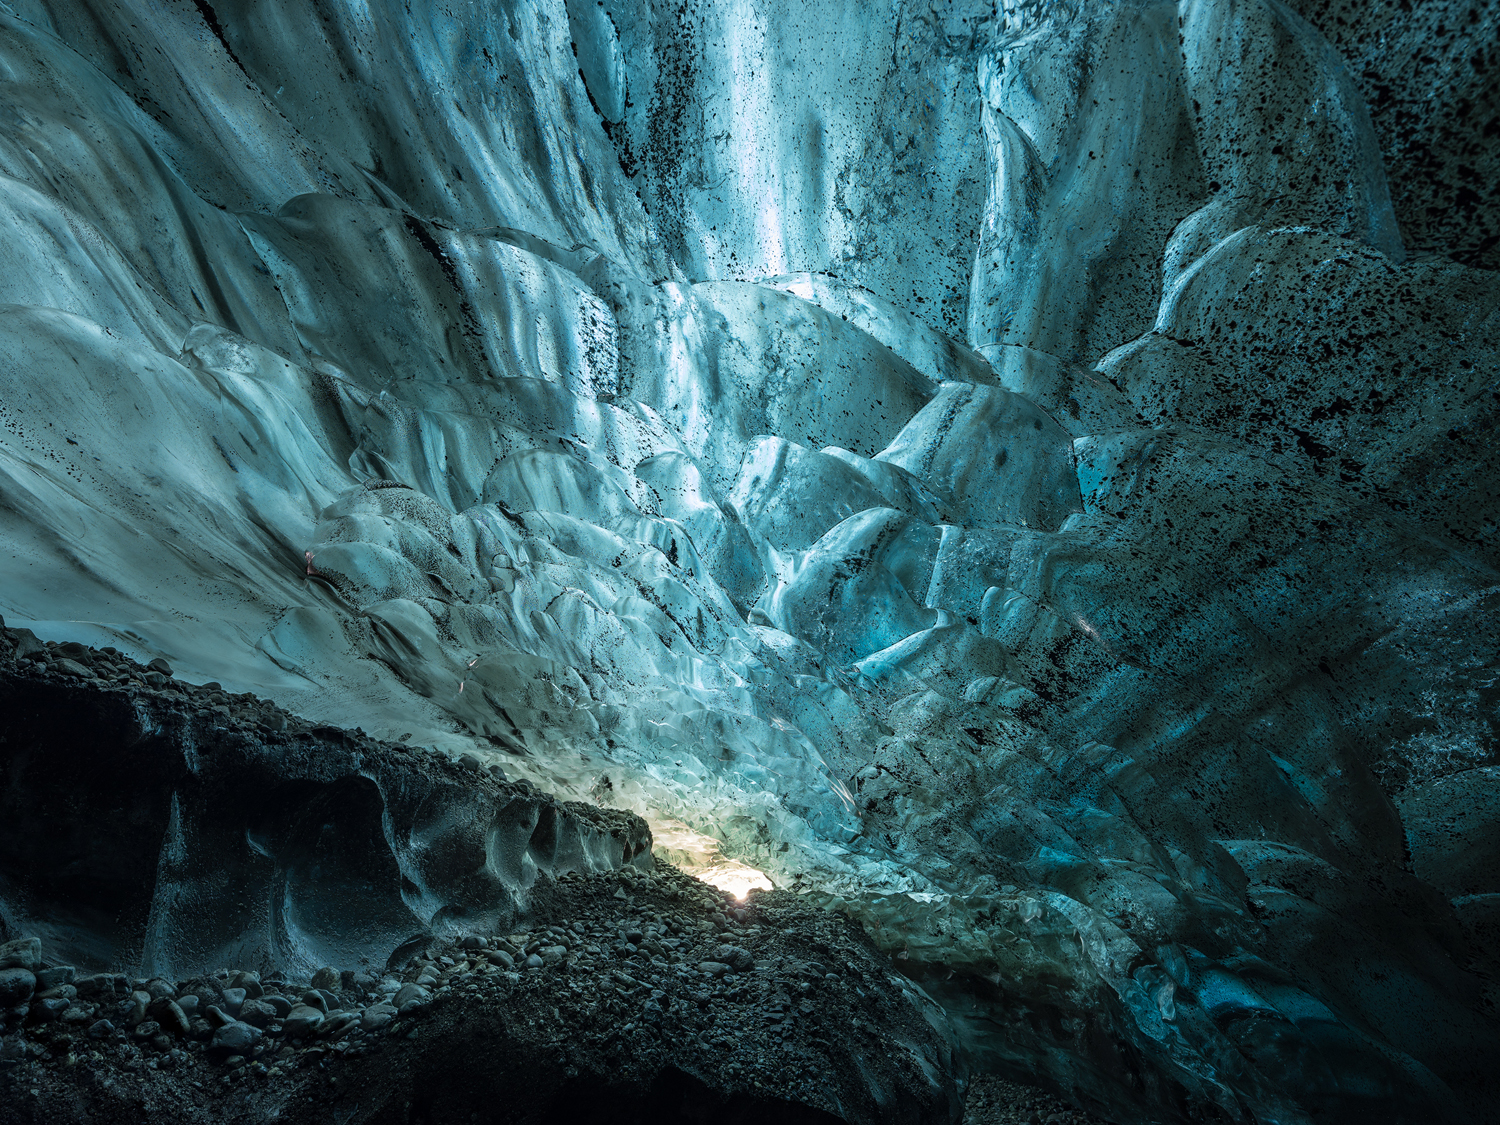
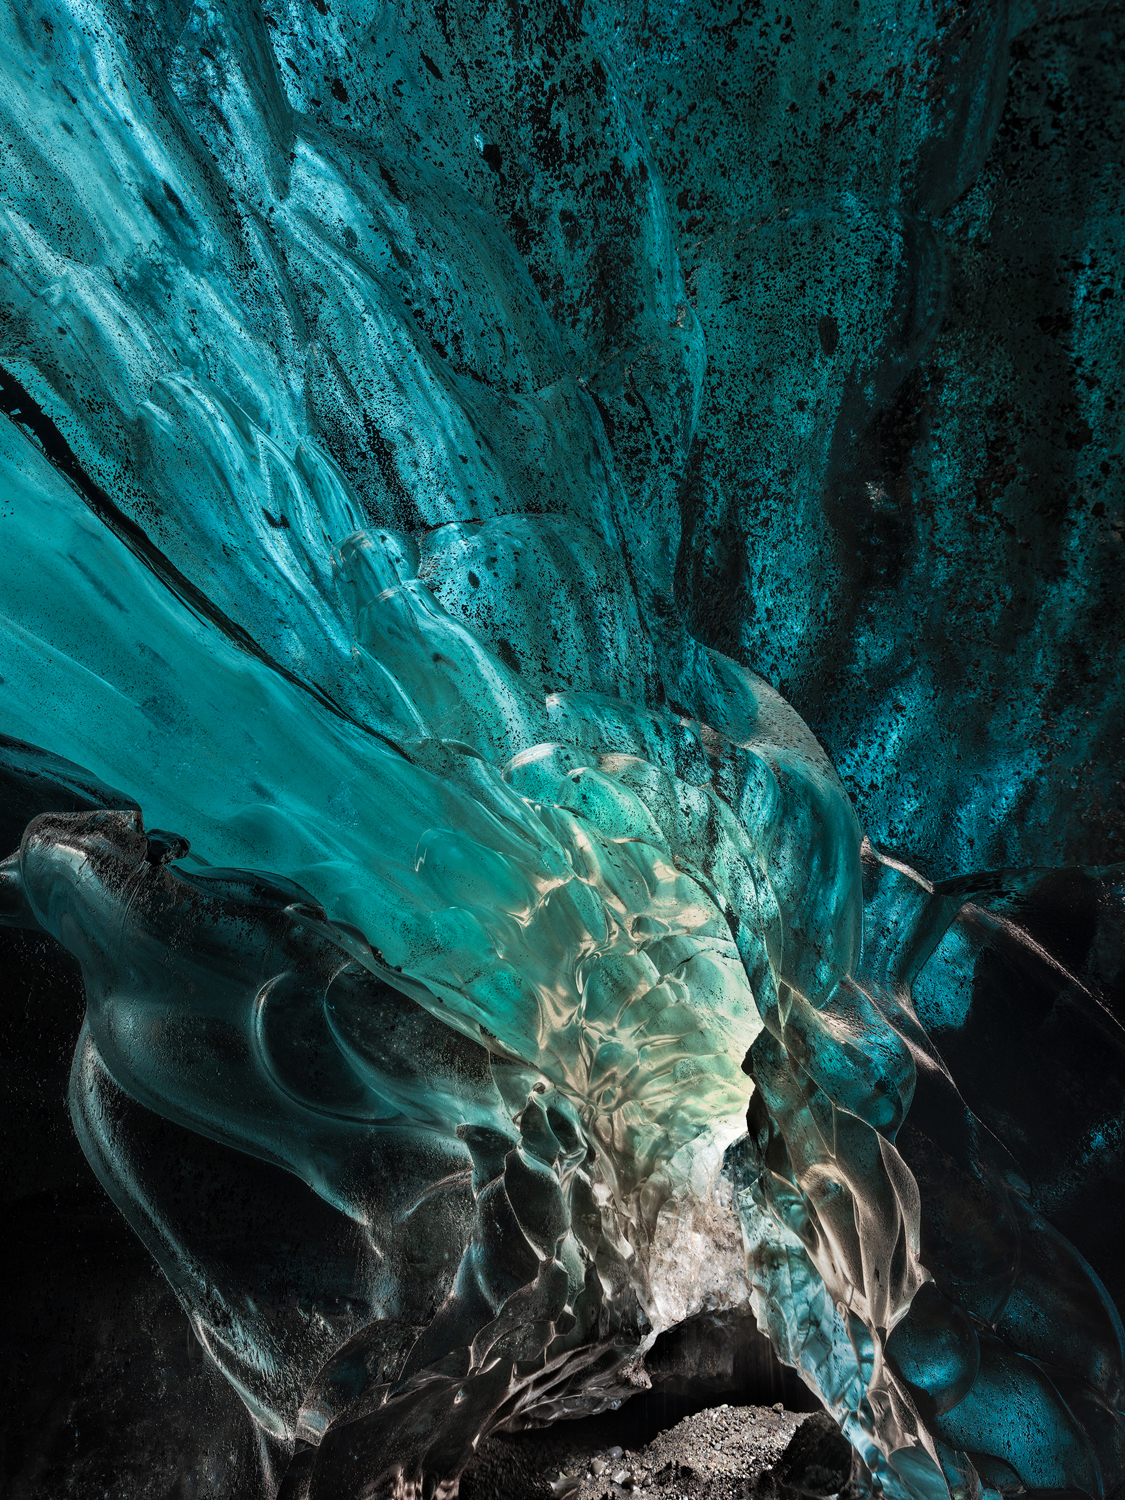
Iceland is a glaciated country and approximately 11% of the island is covered by glaciers. I have never hiked onto a living glacier, much less ventured under one, until this trip. What began as a two to three hour walk turned into a 7 hour scouting session with my guide, and friend Haukur Ingi Einarsson, as we traveled out along the edge of Breiðamerkurjökull to the ice calving site that feeds the Jölkúsarlón Ice Lagoon. Here, massive seracs of ice peel off the glaciers edge, sending icebergs out into the flow. Ultimately the ice makes its way to the ocean. The highlight of the trip was going into one of the smaller ice caves. There had been a stretch of colder weather and Haukur felt the ice was stable enough to walk underneath. If the landscape on top of the glacier was not enough of a marvel, the intimate world inside just completes the experience.
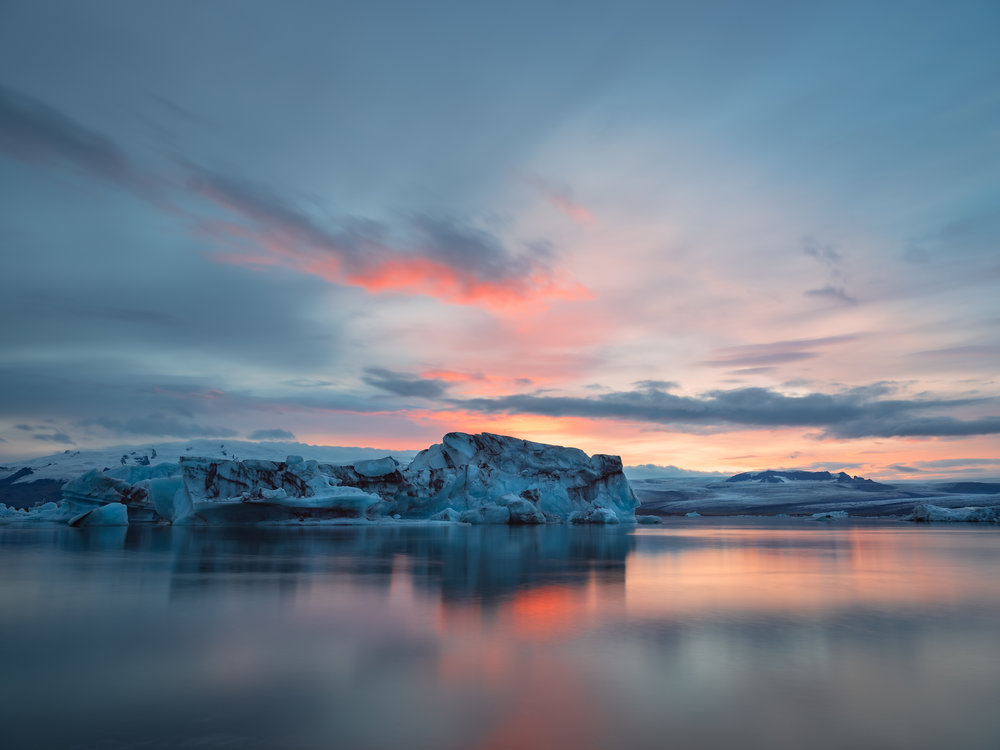
Ice cave photography requires some different techniques including combining longer exposures with focus bracketed images. The intense blue color comes from reflected and bounced light inside the cave, and near the cave entrances. Despite the relative intensity I needed exposures that exceeded 30 seconds and in some cases up to 60 seconds. These had to be combined in post and merged with focus brackets to get all areas within the frame sharp. These images were shot with the GF23mm and even as wide as that lens is, the closest ice was actually just over head, and if I had not bracketed for focus, these would have been soft in the final image. It is a bit of work, and requires some thought process about what you need to capture, but the overall results are well worth the effort. We finished this amazing day with a colorful sunset at the Jölkúsarlón Ice Lagoon. Despite the cold weather and dripping water and wet conditions under the glacier the GFX performed perfectly. I also wrote a fairly extensive blog on this hike which you can read Here.

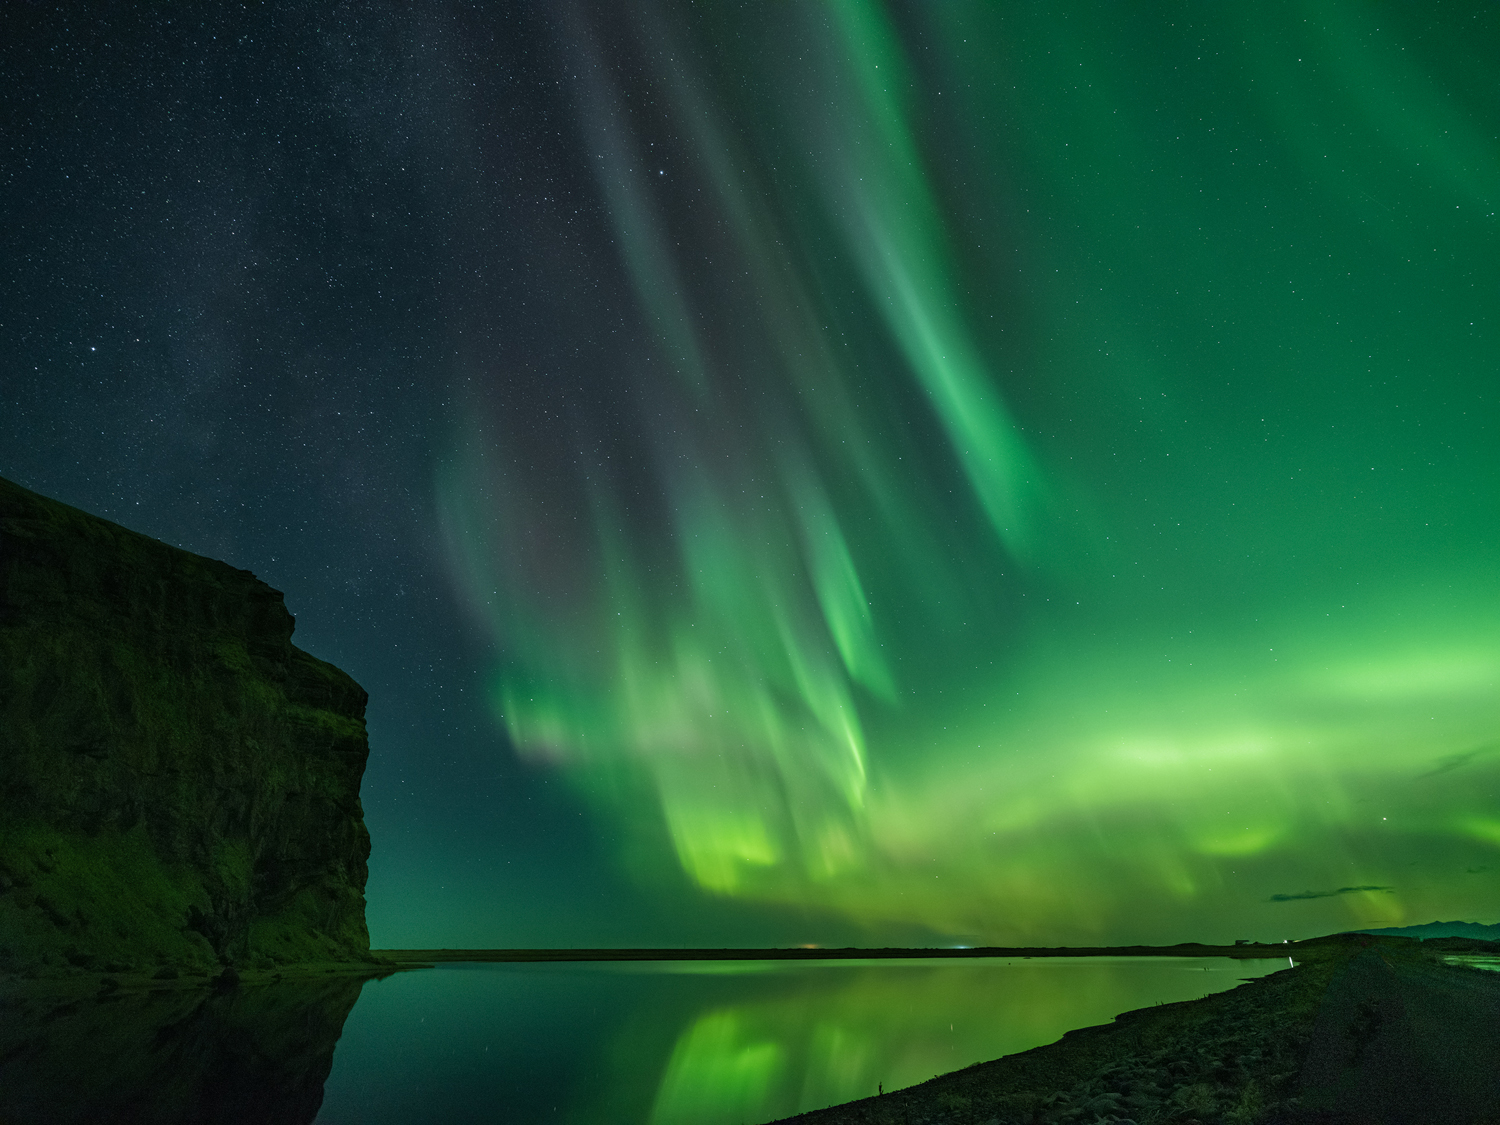
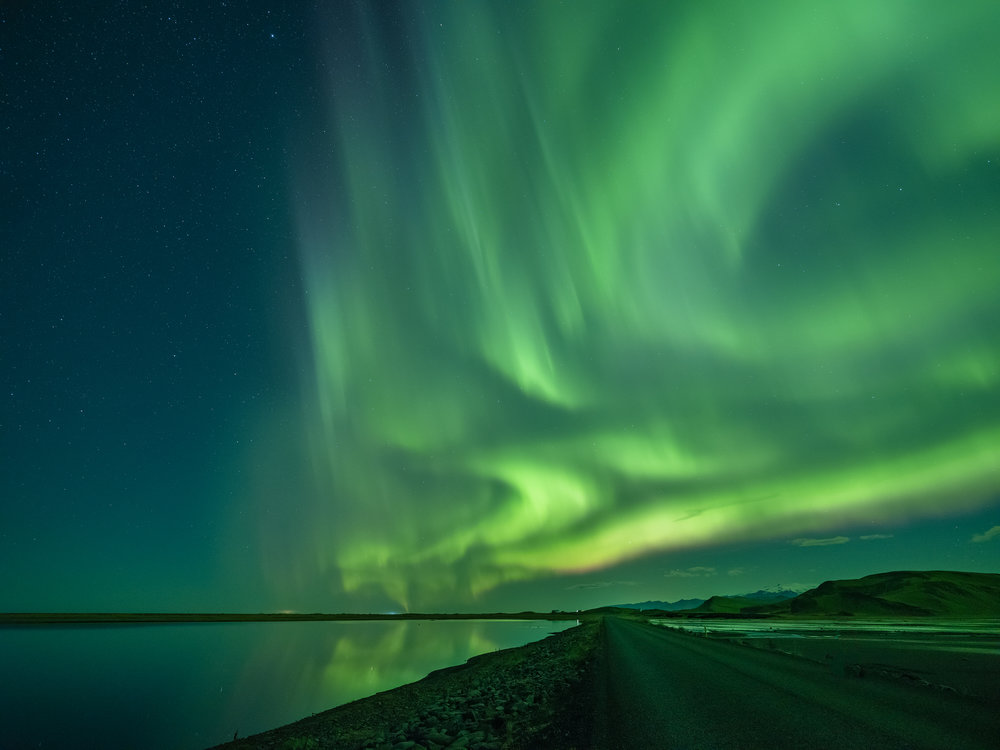
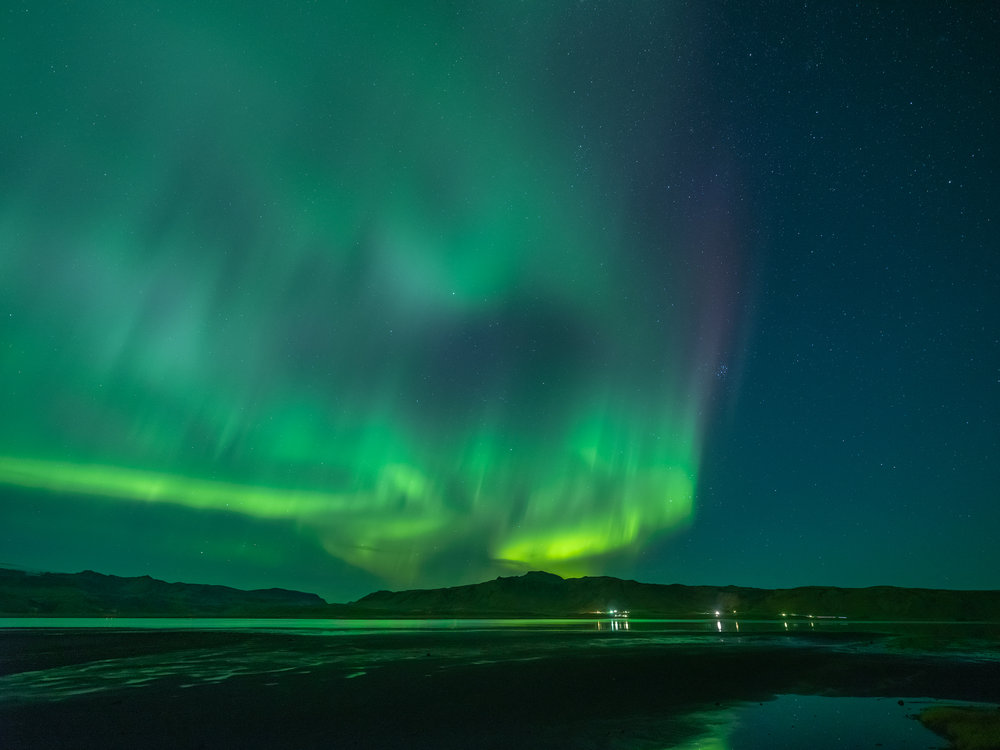
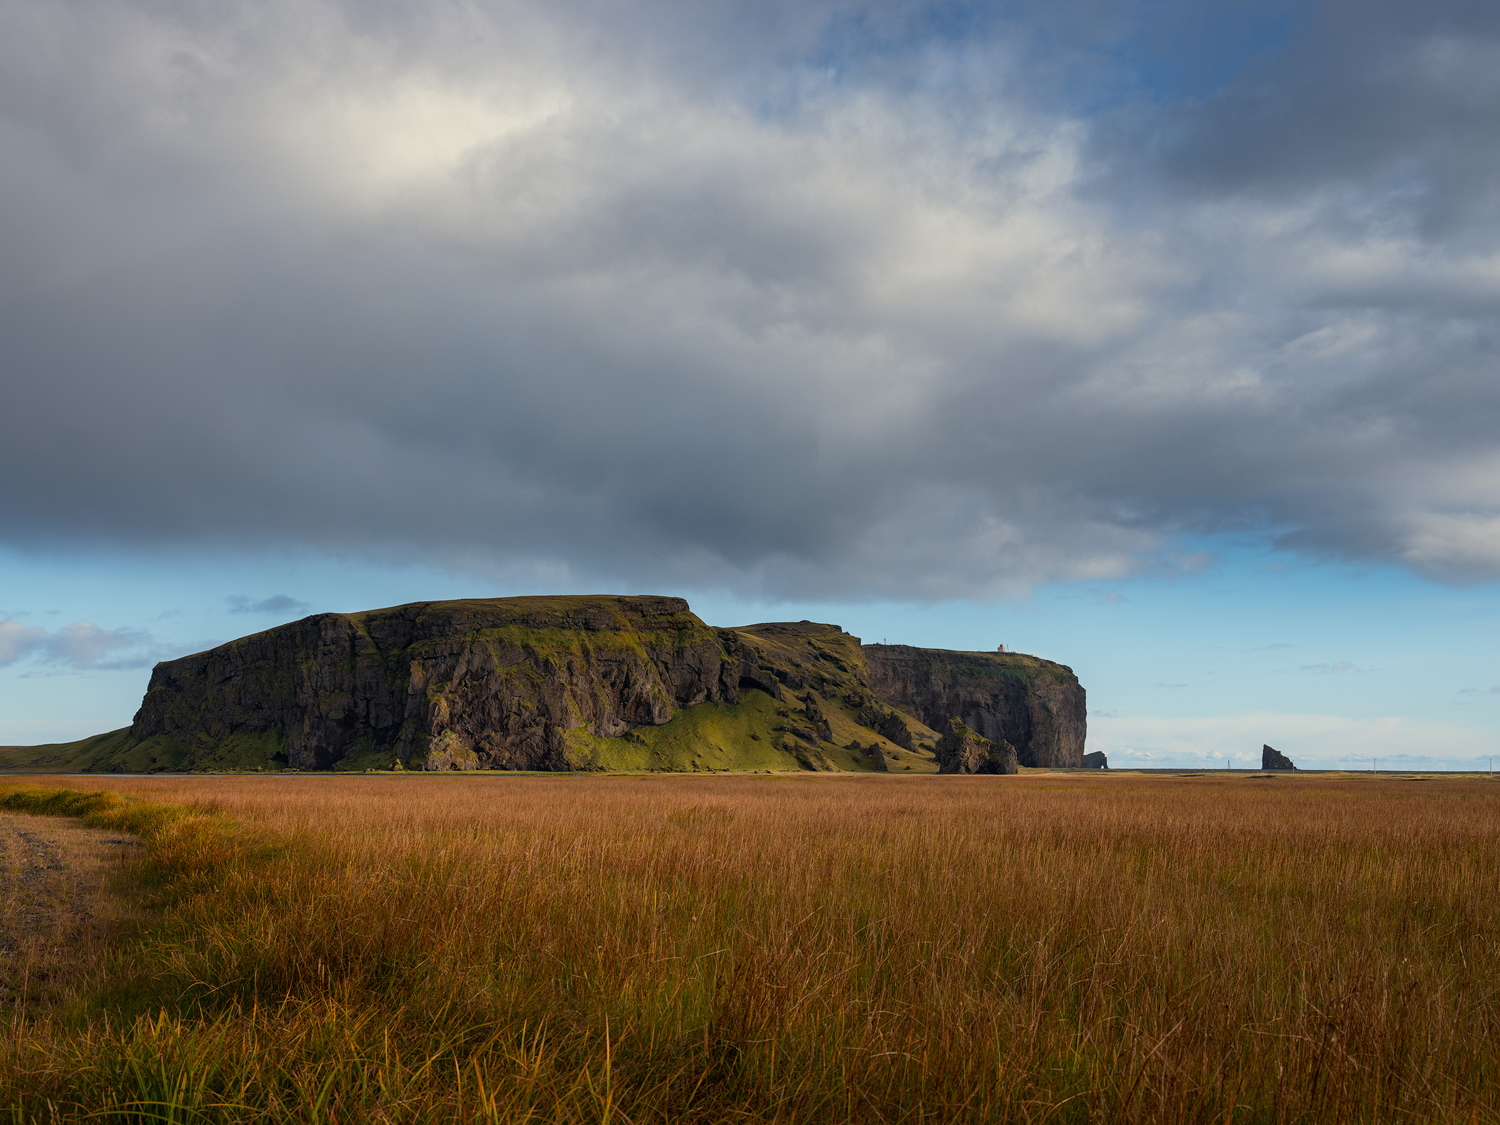
The day after the glacier hike we completed our trifecta of Icelandic photographic events – a massive aurora storm near the town of Vik. I use several aurora prediction apps including Space Weather, Aurora Tonight, and Aurora Forecast, along with the Icelandic Weather App, Veður to monitor aurora potential. For several days the Kp Index, an indicator of aurora activity, had predicted opportunites but we were in the wrong areas or hampered by cloud cover. In Vik, along the southern coast, the skies were crystal clear and shortly before midnight the storm erupted with intense greens, some magenta’s, and a dancing shimmer that changed in intensity and form. I was completely unprepared for the intensity of the storm. Literally it was as if shimmering curtains were being drawn across the sky. As the storm increased we raced down to the coastal road at Dyrhólaey where we had a near 180 degree panoramic of the aurora.
You want to shoot with a fast, wide lens for the best results, which is not an option on the GFX. So I went with the widest lens option I had, the GF23mm f4, and pumped up my ISO to 3200 to start. It is a trial and error process but I started with my settings at ISO 3200, at f4, for 30 seconds. I do not want to be beyond 30 seconds as you can see minor movement in the stairs. I used the distance indicator to set the hyper focus and began making test exposures. The high ISO performance on the GFX is astounding and even at ISO 3200 I had no issues removing the small amount of noise in post processing. It is important to monitor the storms intensity as the light can quickly overpower your settings. For my final images I actually dropped my ISO to 1600 and was shooting in the 15 to 20 second range. I should note as well that for this situation I had the Live View Screen set to Classic Chrome, and not Acros, to monitor color.
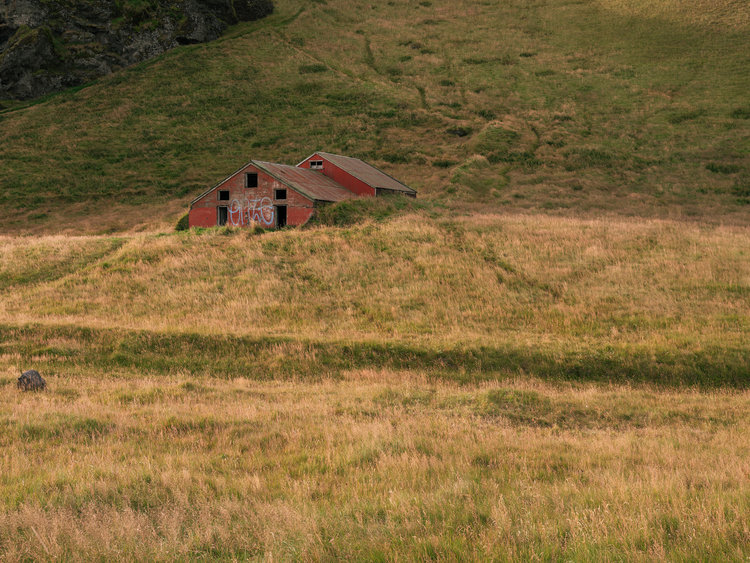
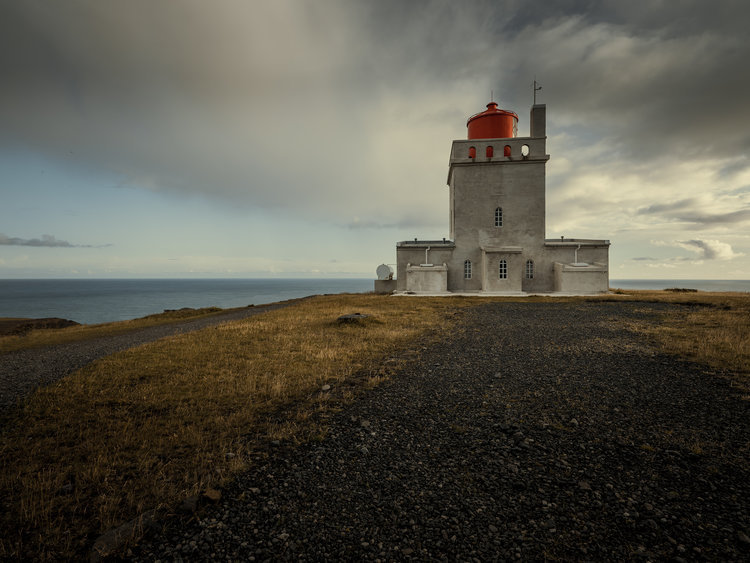
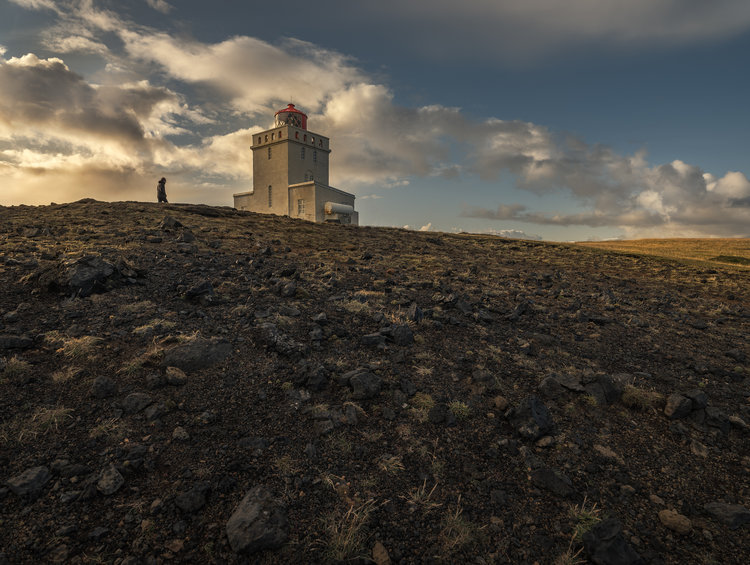
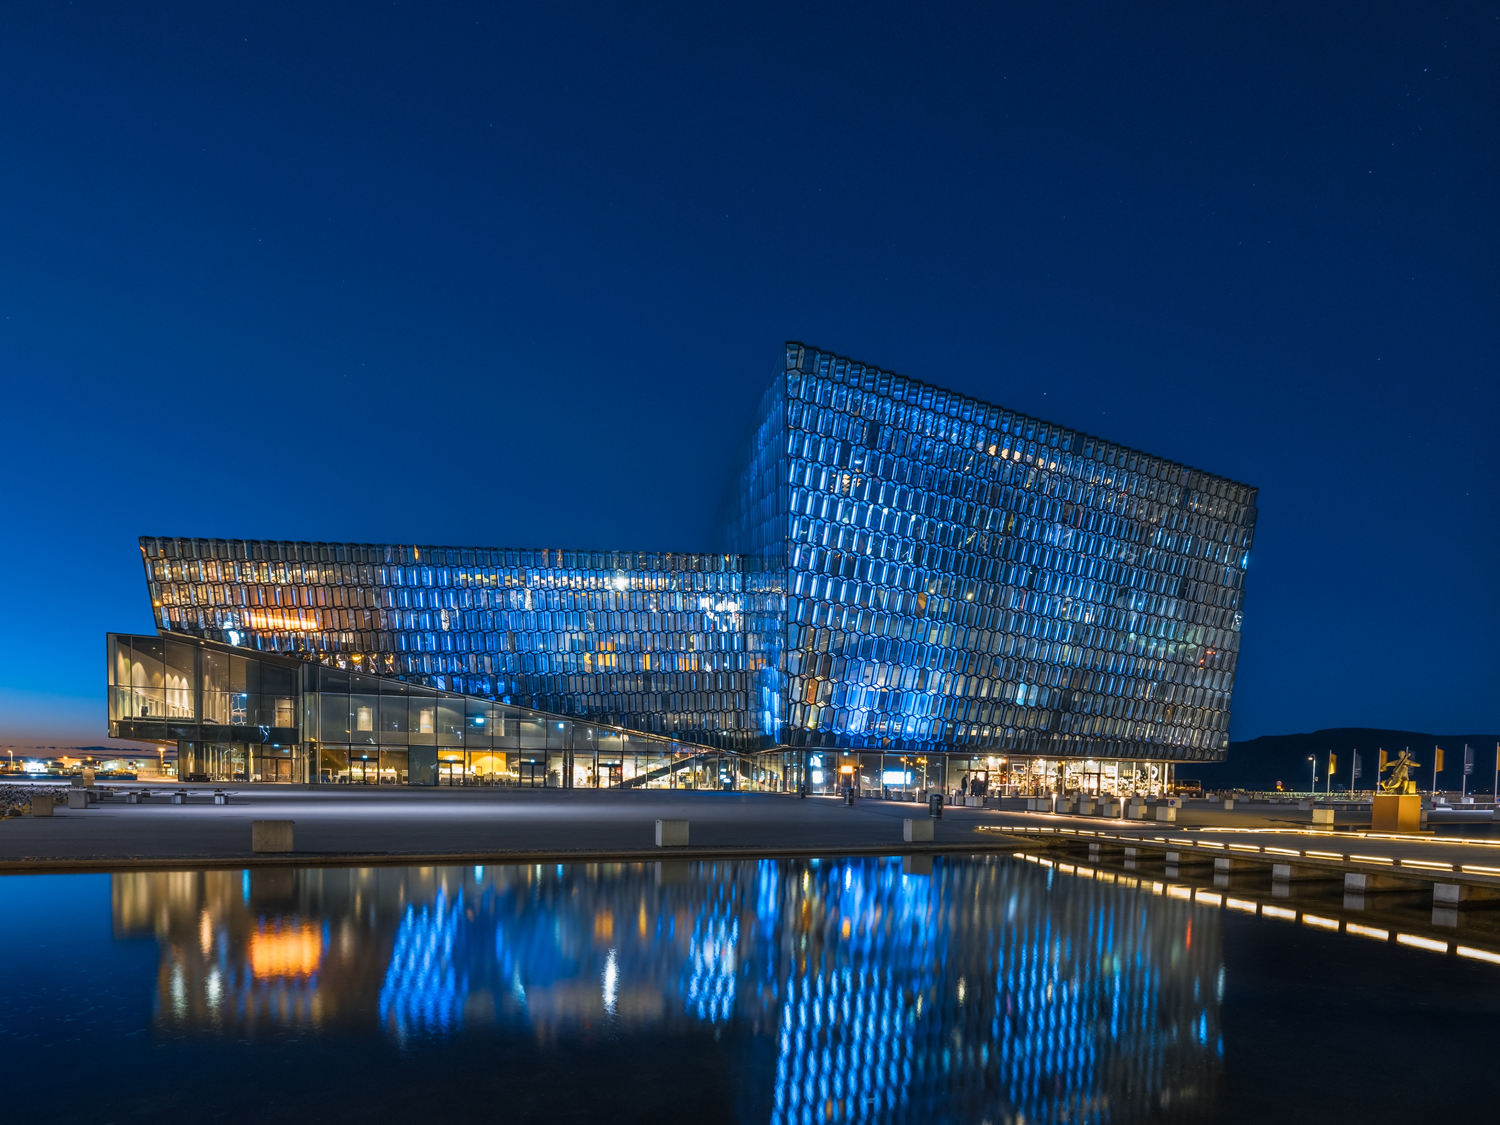
If you have managed to get through this fairly long post, and looked through the images, I think you will see that the GFX is a versatile camera certainly capable of capturing landscapes with incredible detail and dynamic range but also faced-paced action like the annual sheep round up. The camera can be easily set up for efficient operation and entirely with the specific functions you need close at hand. It is tough and took anything I threw at it from rain, to cold, wind, fast moving sheep, and dripping conditions under a glacier. The files it produces are simply stunning, full of detail, dynamic range, and subtle captures of light that can all be tweaked during the post processing efforts. It is simply the best camera I have ever used.
I hope this post has given you some idea about the capabilities of this camera. You will find that I approach this review from from the standpoint of real-world use. If you have any questions please feel free to drop me a note. I would love to hear from you. thank you for visiting.
JOIN US! SUBSCRIBE TODAY THE FUJI X PASSION MAGAZINE
Fine art nature, landscape and street photographer. A graphic designer, architect, landscape photographer, and teacher, he works as a media designer for the National Park Service. His work can be found in private collections, exhibits and publications for the National Park Service, museums, galleries, and internationally for corporate clients.

