Make your Jpegs look like film
Hey guys and as always welcome back! This post is due to a request by @kmore on instagram and Kerry in real life. His request basically forced my hand because I’ve been toying with the idea of this post for a while. Its all about making the most of the Fujifilm Jpegs; which are amazing, but with a few tweaks or sometimes a lot of tweaks, they can be made even better. Anyway, thats the intro to the post out of the way, lets dive in!
So I know this blog is called FujiFeels but that doesn’t mean I want to disregard any people who shoot other brands. Many of my posts can be applied across the board as general photography topics rather than Fujifilm related topics. But, this post is geared towards Fujifilm, sorry anyone who stubbles across this post but doesn’t shoot Fujifilm.
In my last post, I talked about how I am really starting to shy away from the editing phase of photography. After all, thats not really photography, its editing (duuurrrrr I know). A few things led me to being very keen on finding a few Jpeg recipes, and sticking to those for all my work. This has made me enjoy my photography a lot more. My mindset towards photography has changed drastically over the last 2 months. For the better in my opinion. I feel like I’m taking better shots due to this change in mindset. I try to shoot like I’m shooting film.
Now, because I love the look of film not just the process of film. I decided to gear my Jpeg files as close to a film look as possible. To do this I looked at countless instagram feeds that consisted of purely film photography. I narrowed my preference down to a few specific film stocks that I loved the look of. Unfortunately I can’t name all of the pages I follow on Instagram because I’m a really slow typer and I’d be here for weeks. A few of my favourites are @ioegreer, @willemverb, @charliethom, @ej.leff and last but not least @samuelelkins.
I would like to offer you some advice if this method of photography sounds appealing to you. Now this may sound obvious but it really helps. The more film photography that you can look at the better! You will begin to develop an eye for what a film photograph looks like when compared to most digitally shot images you see on social media these days. Better still, you’ll begin to understand what kind of film shots you like.
General Tips For That Filmic Look
So before I go any further, there are a few things you can do to nudge your Jpegs more towards that film look. The first thing I would say is, DON’T BE SCARED OF GRAIN! Thats a big one, and I usually turn the grain effect on in my Fuji Cameras. Second is don’t get overly contrasty. Film rarely looks contrasty in the way most people edit their digital images these days. So a quick change from DR 100 to DR200 or even DR400 on your Fujifilm will help achieve that filmic look. The next tip is just my opinion but I find if you slightly over expose, coupled with what I have already mentioned, that can help you get a nice filmic look. Lastly, don’t choose the overly colourful film presets that Fujifilm offer. Velvia especially is too saturated for my taste and doesn’t look very film like to me, unless, you trying to achieve a look for a film stock that is very colourful! I would advise Classic Chrome, Eterna, and Pro Neg. If your lucky enough to be using the new Xpro 3, then Classic Neg is also a great choice.
Lets get back to it.
After scrolling for hours on end through instagram, it became apparent to me that I liked the bright, maybe even slightly over exposed film shots. There are also a few favourite film stocks that I like the look of for their colour and tones, that takes me nicely into sharing some of my favourites that I use regularly.

My first recipe I use is similar to the look that Kodak Gold 200 creates. It has a lovely warm colour, and this is one of the films that definitely looks better when slightly over exposed. You need to bare that in mind when shooting with this film recipe. 1/3 to 2/3 stops over exposed is usually nice, at least in my opinion anyway. This is a great all rounder, and I will definitely be using this a lot more over the next few weeks and months. Here are the settings you need:
Film Preset: Classic Chrome
Highlights: +2
Shadows: -2
Colour: 0
Sharpness: 0
Noise Reduction: -4
Colour Chrome Effect: Weak
Grain Effect: Weak
White Balance: Auto, Red +5, Blue -5
Dynamic Range: DR200
ISO: Auto ISO up to 6400 is fine
Remember, shoot this 1/3 to 1 full stop over exposed for the best results.
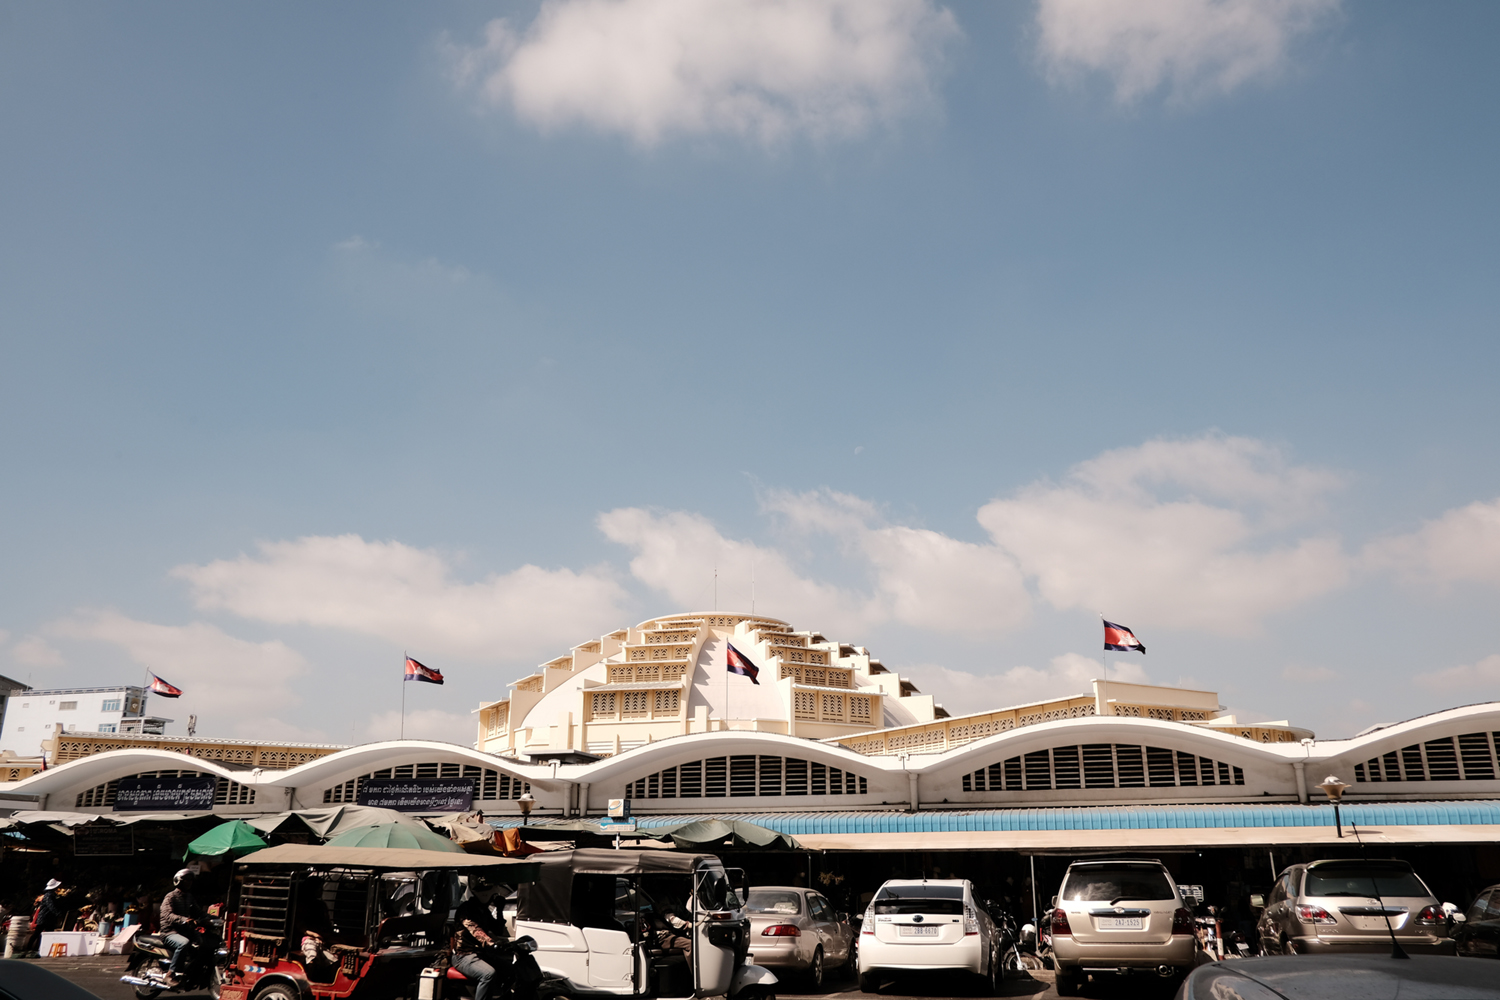
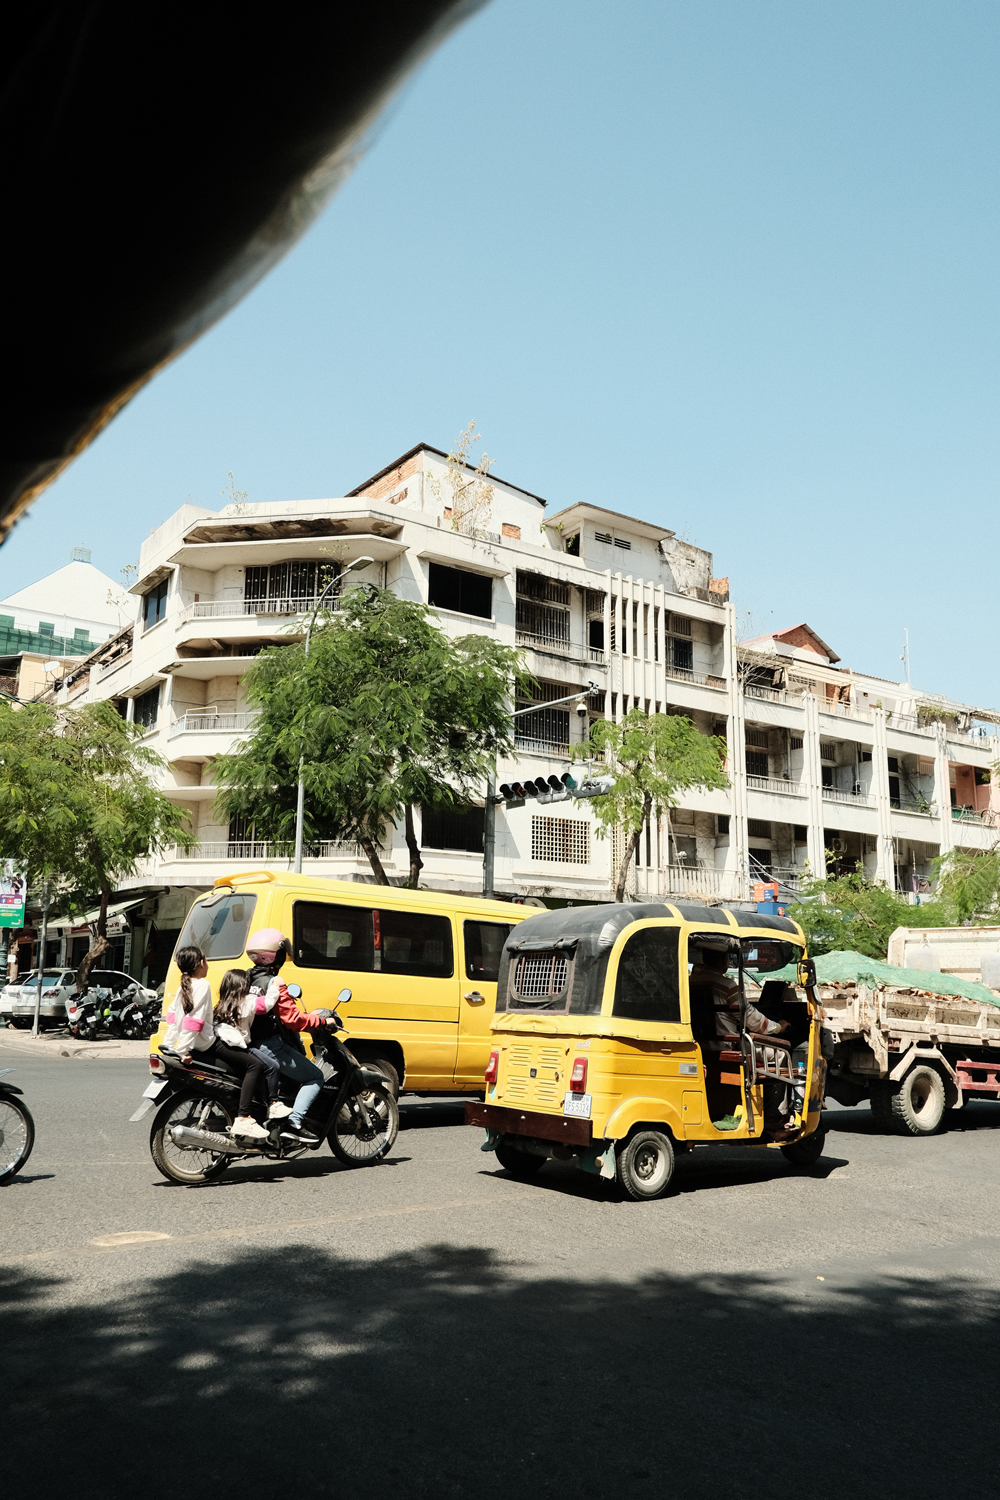
Here are some sample shots using this film preset!


(Remember none of these shots have been edited in any way! Straight out of camera as they are. I love the look of these film presets!!!)
So my second colour film profile is similar to the look of Kodachrome. I think this is my favourite so far that I have tested and really recommend trying these settings for yourself! Again this gives a nice warm look and greats a gorgeous effect on any blues and greens in the image. For me, this preset cries out film. I love it! Again shoot this 1/3 to 1 full stop over exposed for the best results. Here are the settings you need:
Film Prest: Classic Chrome
Highlight: +2
Shadow: +1
Colour: 0
Sharpness: +2
Noise Reduction: -4
Colour Chrome Effect: Weak or Strong, which ever you prefer
Grain Effect: Weak
White Balance: Daylight, Red +2, Blue -5
Dynamic Range: DR400
ISO: Auto ISO up to 6400 is fine
Like I said earlier, shoot this recipe 1/3 to 1 full stop over exposed.
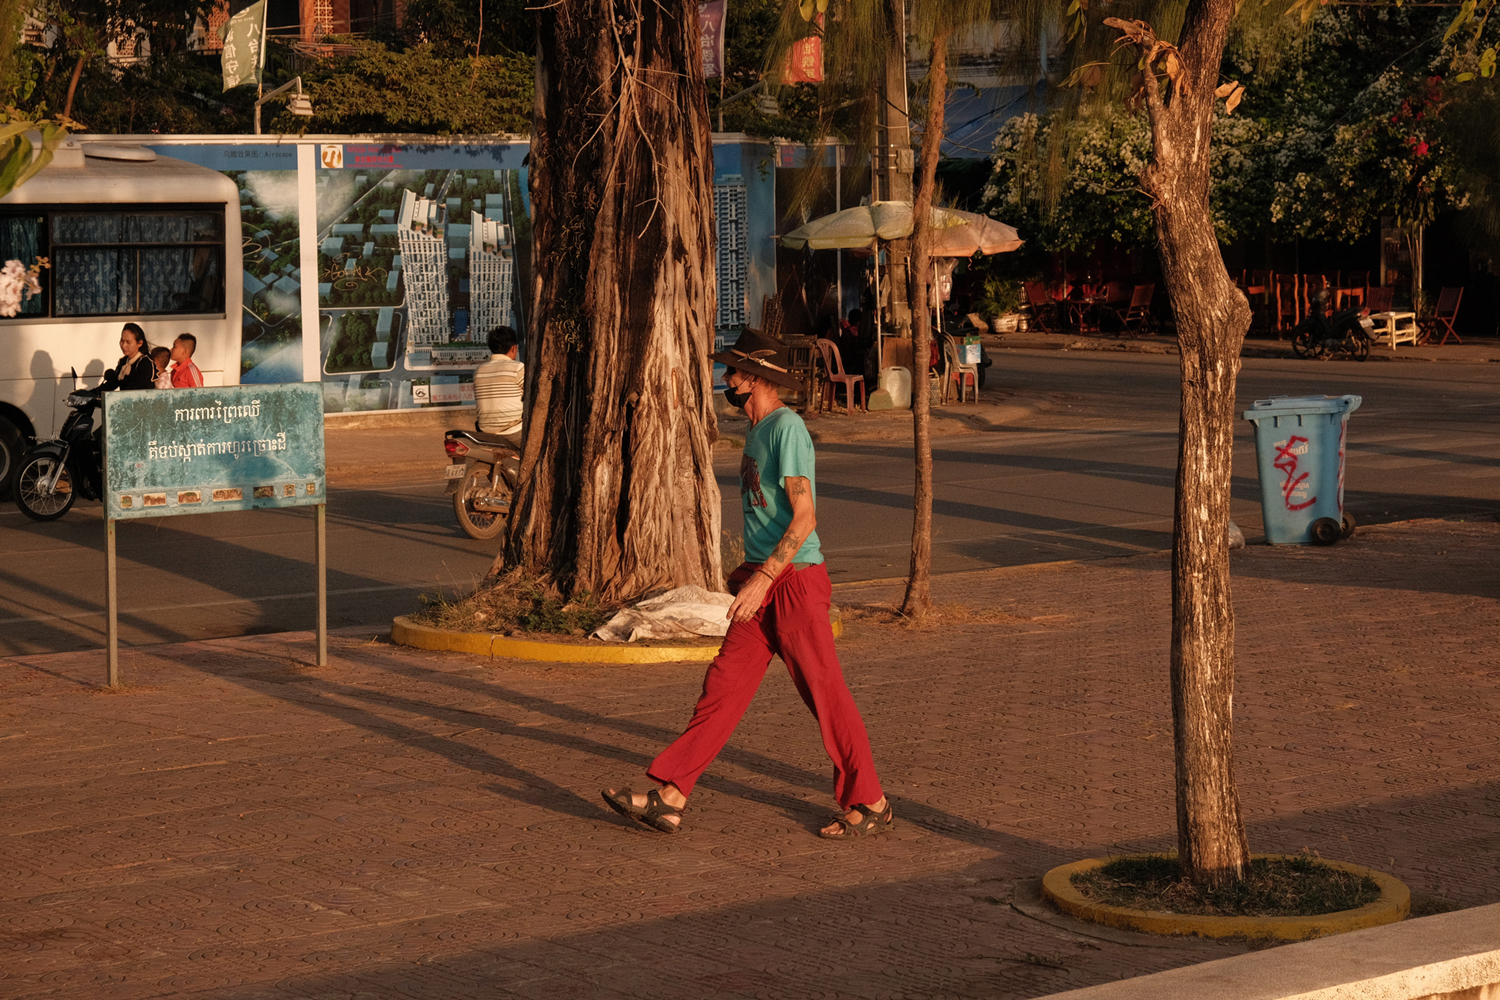
Sample shots? Why not!


(Again, all of these images are straight out of camera, unedited! The look is burnt in from these presets.)
Finally, we have my black and white settings. I don’t have a specific film that this is geared towards, its just the look that I liked for my Jpegs. It is a little more contrasty than the colour recipes but thats fine, most black and white film has slightly stronger contrast. When used in the high situations, this black and white recipe is just gorgeous! Helped massively by the Across R Fujifilm Preset, there is a special feel the images it produces. Here are the settings you need:
Film Preset: Across Red Filter
Highlight: +2
Shadow: 0
Colour: 0
Sharpness: 0
Noise Reduction: -4
Colour Chrome Effect: Strong
Grain Effect: Off
White Balance: Auto (set to 0 Red and 0 Blue)
Dynamic Range: DR200
ISO: Auto ISO up to 6400 is fine
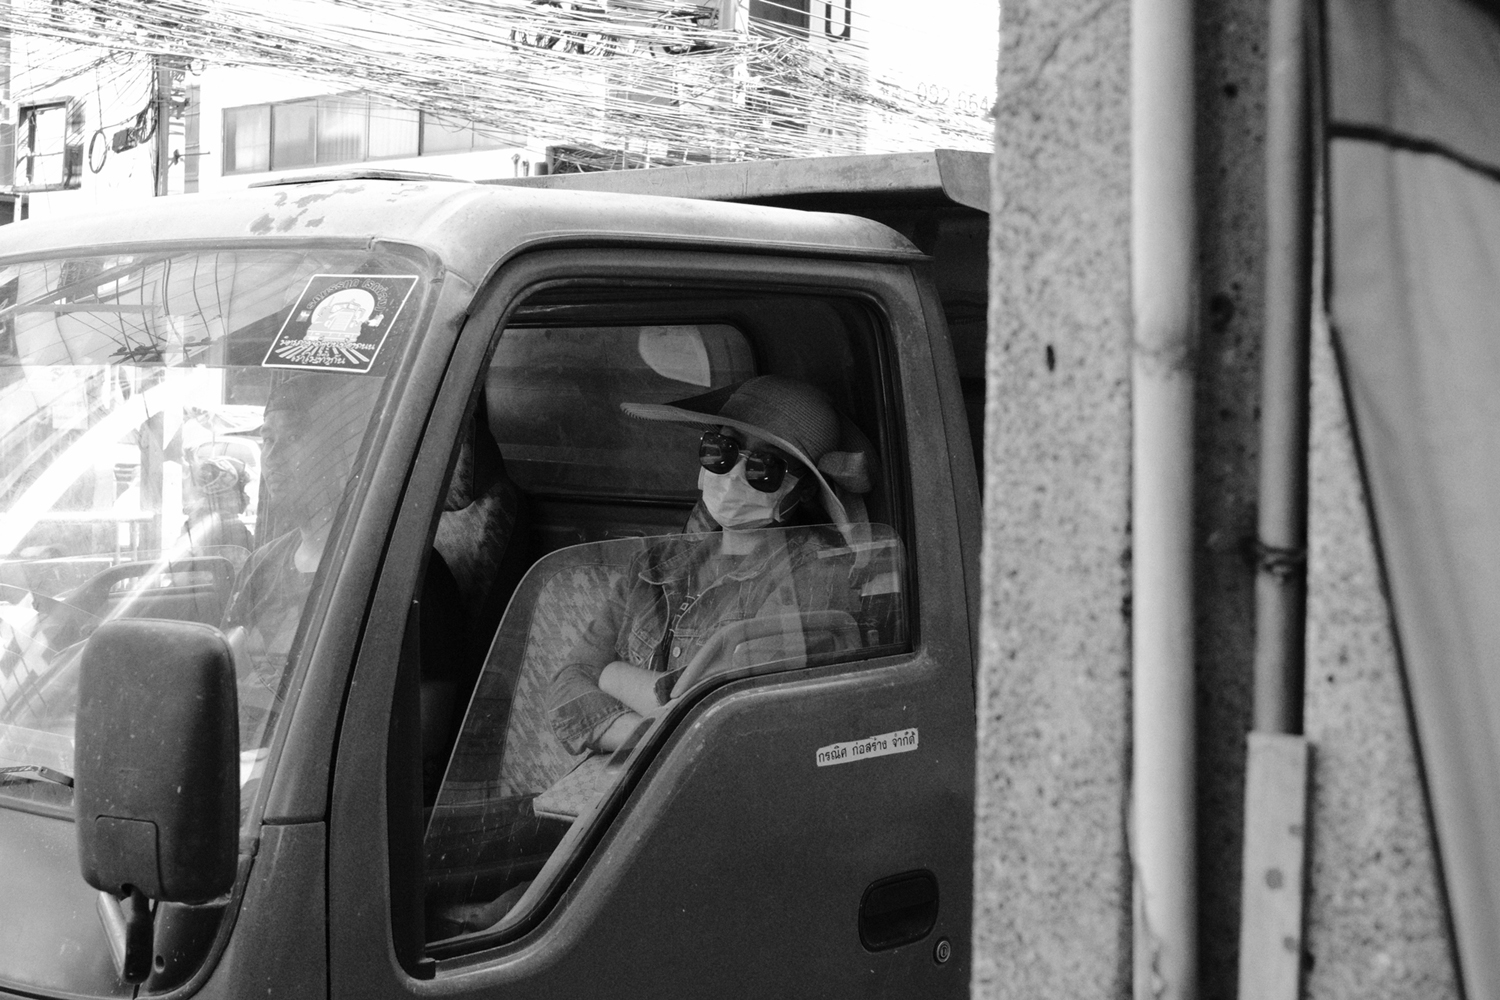
Here are some sample shots with these settings;


(No editing at all! I love using this black and white preset for street photography. The images look great straight from camera.)
There you guys! Thats it. They are the three film presets I use the most right now. Its very rare that I use any kind of editing at the moment. I only ever edit when I feel it will enhance an image in a tasteful way. Having said that, I find if I slow down and shoot more deliberately, I can usually get the image almost as I want it in camera, using one of these three presets.
Feel free to borrow and use these settings but if you do, I’d love for you to start using the hashtag #fujifeels so I can see all of you images. I may even make a post featuring some of the best image that use that hashtag! So go on then, get of your arse and go make some great photographs.
Thanks Guys!!!

“I’m Arran, creator of FUJIFEELS and general photography addict. I carry my camera pretty much everywhere I go. I shoot all sorts of things but, professionally I’m a wedding photographer and my main personal work revolves around street photography.”


Albert
February 28, 2020 @ 5:30 pm
You have obviously done a lot of trial and error to arrive at these settings, so thank you for being so unselfish with your “secret recipes”.
I am also a shooter that prefers to shoot and not edit, and Fujifilm cameras allow me to be very productive with the customizable film simulations.
I will be trying out your Kodachrome formula for sure…. I have thousands of yellow boxes in my closet from decades of shooting that very emulsion. Again, thanks.
Khürt L. Williams
February 28, 2020 @ 8:44 pm
Take a look at the film simulation recipes by Fuji X Weekly’s Ritchie Roesch.
Film Simulation Recipes
Vlad
June 6, 2020 @ 10:20 pm
I have a question about WB. I found on my XT3 value R without “+”. My be I’m wrong?
Jeffrey Mudrick
February 23, 2021 @ 12:57 am
I think I recognize Phnom Penh in those shots? I have a X-T20 on the way, will give these a try.
Khürt L. Williams
February 28, 2020 @ 8:44 pm
It’s actually called Fuji X Passion.
Markus Arike
March 25, 2020 @ 7:55 pm
I see your point, but actually editing is a big part of photography, for better or worse. That’s why the classic Ansel Adams books are three volumes: The Camera, The Negative, The Print. With digital editing may be more important whether you are letting Fujifilm’s algorithms produce pleasing jpegs in camera or if you shoot raw and edit in Lightroom. It’s still editing and still a hugely important part of the photographic process. Nice images, cheers.
Khürt Louis Williams
June 22, 2020 @ 2:15 pm
Perhaps because of the proliferation of smartphones and “film filters,” people are entering “big camera” photography with the expectation of “no editing”. But even the best smartphone photographers, edit.
Mike M
October 11, 2020 @ 5:13 pm
Thanks for publishing this and attempting to emulate Kodachrome. I shot Kodachrome for many years and have yet to see anyone replicate it with digital so looking forward to trying this. The problem is the film held up so well in almost any lighting…sort of had a “built in Auto WB” and digital seems to render differently as the light changes, One of things you’ll notice is the Nat Geo pros images look slightly underexposed and more contrasty if you really study a lot of them. Consumers tended to overexpose it as the simple cameras were designed for print film and its ability to handle several stops of overexposure. K wasn’t very forgiving with overexposure…I’ll play around with it.
zack
October 14, 2020 @ 11:38 am
do you have other jpeg film simulations/custom settings for older fujifilm cameras like xt1? that would be great
Ryan Singh
December 14, 2020 @ 6:11 am
Wow man this is great .. do you have an Instagram account …I’d like to follow you there
Veroni
February 1, 2023 @ 1:57 pm
Hello what camera do you use ? Thanks
Robert West
February 3, 2021 @ 12:22 pm
For your black and white preset, do you overexposed or under?
Thank you
Timothy Gasper
February 20, 2021 @ 5:21 pm
LMAO….this was posted Feb 28 2020
I don’t know where to begin. Ok…I’ll start with this. After shooting film simulations with my Fuji XT1, I realized…what the hell, I’ll just keep shooting film! Does anyone see the irony here? We’ve come all this way just to return back to film? I mean come on, that’s just a bit funny. Don’t get me wrong…I use both media, but for my professional work, the really excellent quality refined work, I shoot in medium or large format film. On occasion I will do some digital for some agencies, but I really do like the feel and look of film and so do the clients. I do, however, need to explore more in-depth learning of digital PP. I just thought this was rather ironic though. Considering how we’ve ‘come so far’ with the newest ‘what-have-you’ digital age. Just looking back is all.
Shiva
November 10, 2021 @ 7:11 pm
Yeah but some may want the film look with the convenience of digital.
ming
February 5, 2023 @ 4:49 pm
there is no film look when you shoot digital. I am really puzzled that people claiming this. Maybe they never shot film or think, a little grain make it a film look. Apples and Oranges. Just embrace what you like, but do not mix up things.
Lou
June 28, 2024 @ 5:03 pm
For me its just that developing my film got way too expensive… I love film and I shot only film so far but I had a hard time editing my film pics. Now the fujifilm film look gives me more options.
Bee
April 28, 2022 @ 12:32 pm
Any chance you have the first recipe that’s to emulate Kodak Gold 200 for a newer camera like the X-S10? Mainly just want to know for grain effect, should it be ‘weak – small’, or ‘weak – large’? And what ‘Colour Chrome FX Blue’ should be set to: weak, strong, or off?
I would love to use your recipe, so any help is much appreciated.
Cheers