Capturing beautiful sunsets
Over the past few weeks, we have had some amazing sunsets here in Ireland. I don’t know if this is down to the lack of air pollution due to the lockdown we have in place here in Ireland or just that I now have taken notice of them a bit more due to the lack of other distractions. Each evening I head out for a walk with the family to clear my head and get some much needed exercise after being cooped up all day and I always have a camera with me. As we have to stay within a 2km radius of home it has been a challenge to try and come up with new ways to shoot these sunsets to keep the shots interesting. But that has been part of the fun.
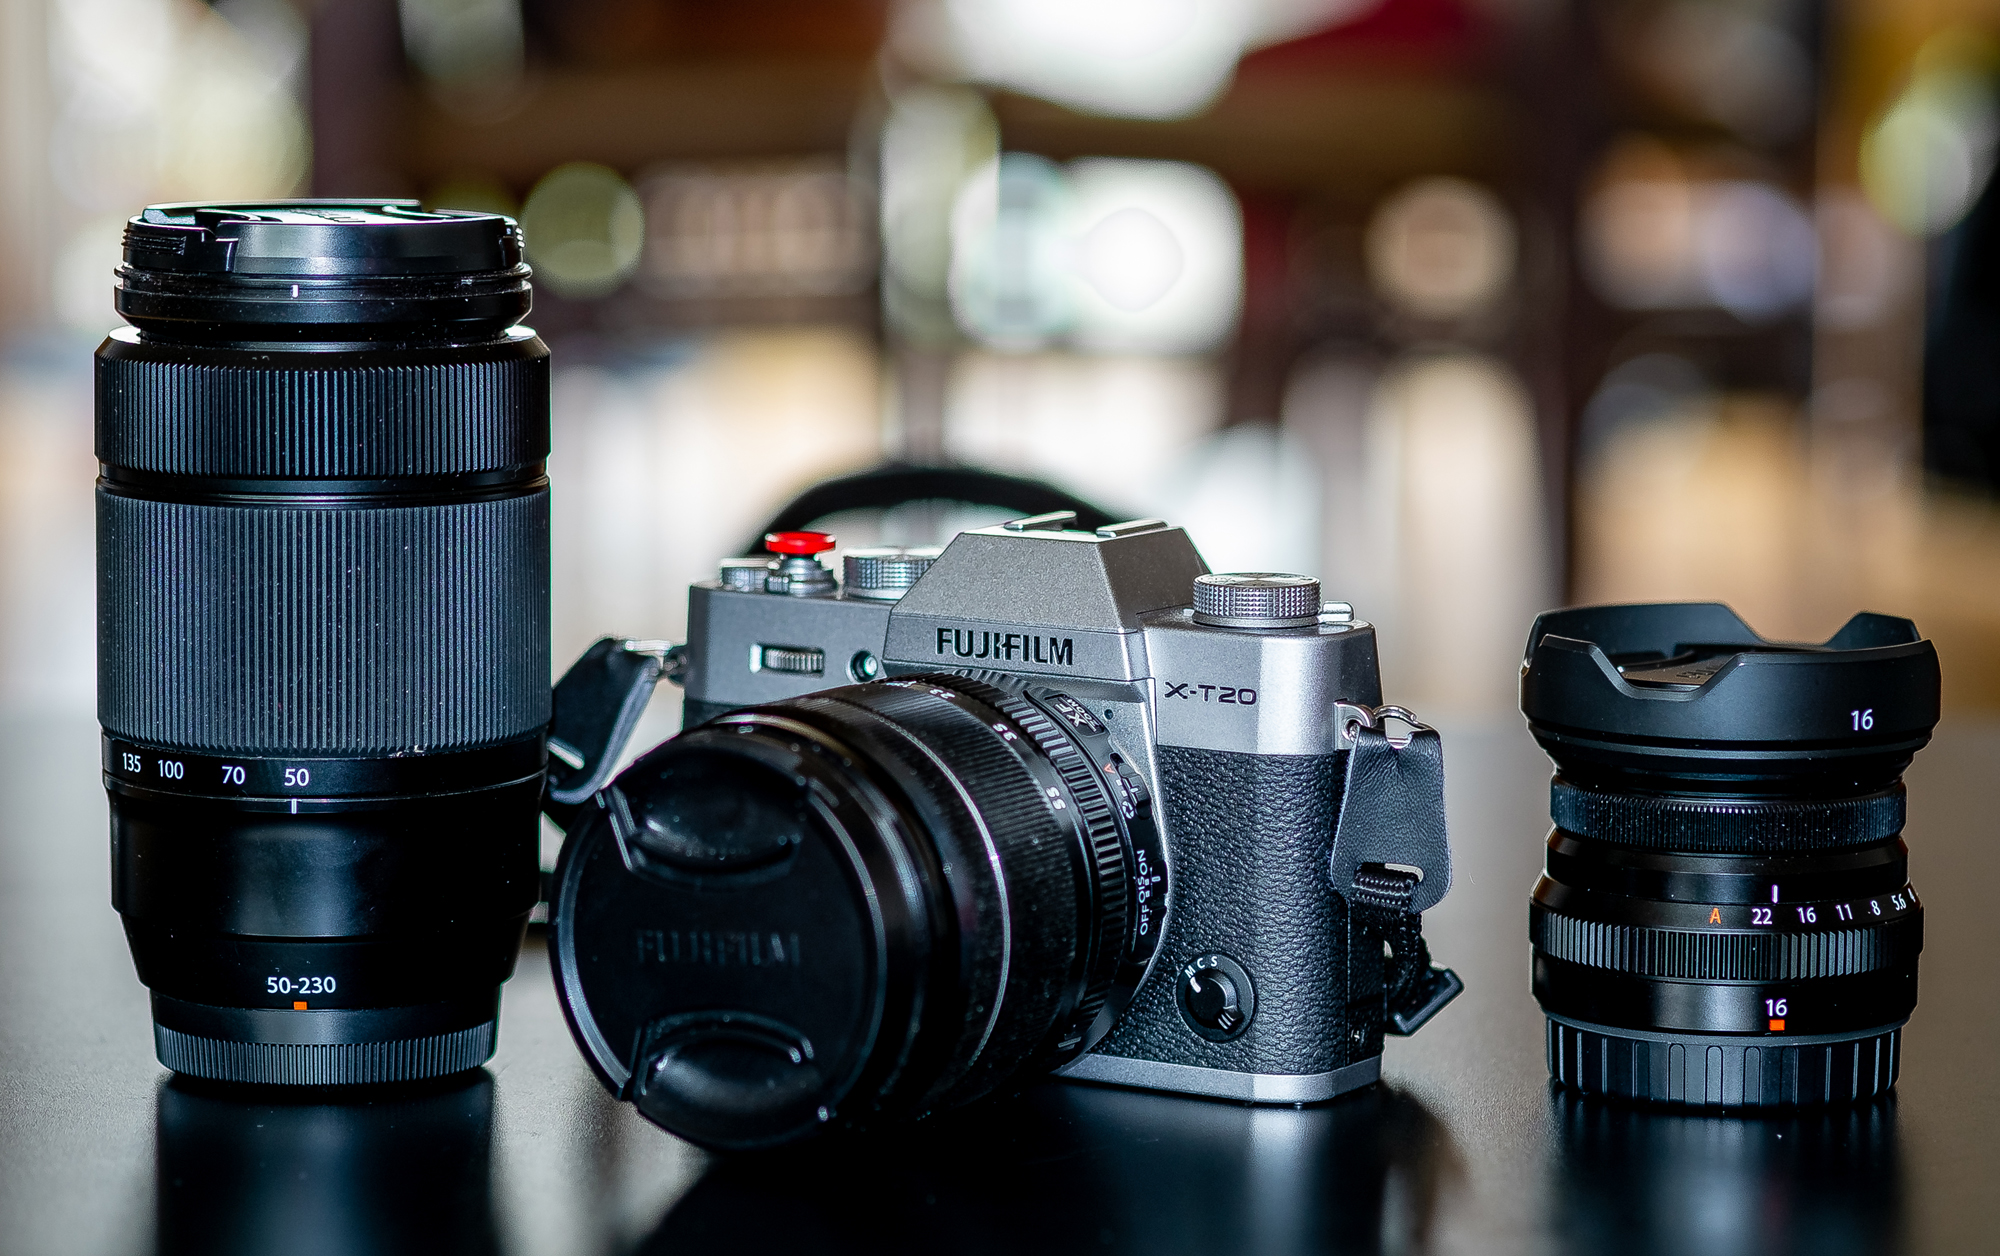
As with all my personal photography I use my Fuji gear as I don’t want to be dragging my large heavy bag of professional gear with me when I head out for these walks. The Fuji gear is so much lighter and more portable. There are some other advantages too that I will talk about in this blog. All of the photos here were taken with a Fuji X-T20 and a combination of lenses – the XF 18-55mm f2.8-4 OIS, the XC 50-230mm f4.5-6.7 OIS II, and the XF 16mm f2.8.
For anyone thinking of buying into a camera system you wouldn’t go far wrong with this combination. The 18-55mm and 55-230mm are both kit lenses and are very flexible due to to the fact that they are zoom lenses which allows for quick and easy re-framing of a scene while staying in the same physical position. The 16mm is a prime lens with a fixed focal length but allows for a wide field of view.
Between the 3 lenses, all options are covered and will help get a nice variety of shots. They are also compact and lightweight but most importantly the camera and lenses are all available for very reasonable prices on the secondhand market.
Sunsets can be quite hard to capture properly as there can be large differences between the bright and dark areas of the sky at that time of the evening. The difference between the brightest and darkest parts of a scene is known as the dynamic range. The dynamic range of the human eye is far greater than that of a camera sensor. This means that while the sunset might be very impressive to look at the photo you take just doesn’t do it justice.
There are a number of techniques to help get better sunset shots. First of all, I shot all of my photos in the RAW image format. This is a file format that captures all image data recorded by the sensor when you take a photo. This gives me far more to work with when it comes to editing than I would have if I was working on a standard JPEG file. A JPEG is processed in-camera and compresses a lot of the image data when creating the file. As a result, the RAW file is substantially larger in size than the JPEG but when it comes to editing I can recover detail lost in shadows or darker areas of the image and to a lesser extent in the highlights or brighter areas.
The cameras settings are also very important. I shoot in manual mode all the time which allows me to adjust settings depending on the conditions to make the best use of the available light. The three main settings are:
- Aperture – the opening in a lens through which light passes to enter the camera. The wider the aperture the more light will hit the sensor. Aperture also affects the depth of field. This is the distance between the nearest and furthest elements in a scene that appear to be “acceptably sharp” in an image. The wider the aperture the shallower the depth of field. This is ideal for portrait photography where you want your subject in focus but the background to be blurred. For landscape photography, you want as much of the image in focus as possible so a narrower aperture is required. But this lets in less light which can be an issue in dimly lit environments. It is all about finding the right balance.
- Shutterspeed – This is the length of time when the sensor inside the camera is exposed to light, also when a camera’s shutter is open when taking a photograph. The longer the shutter is open the more light data will be collected. The issue here is when shooting moving subjects is that if you need to use a long shutter speed you will end up with a loss of sharpness due to motion blur.
- ISO – Changing the ISO adjusts the camera sensor’s sensitivity to light. This useful is low light situations where you have already set the aperture and shutter speed but need a brighter image. Higher ISO settings result in digital noise or grain that reduce the overall sharpness of the image.
When shooting in Auto mode the camera sets the different parameters for you but they might not always result in the type of image you are looking for. By changing these settings manually you will have far more control but it can be quite daunting when starting out to understand the relationship that the different settings have to each other. Any mirrorless camera such as the Fuji X-T20 will make the whole process that bit simpler.
On a traditional DSLR you have a viewfinder and an internal mirror in the camera reflects the light coming in through the lens up to it so that you can compose your scene. This mirror then flips up out of the way when taking the photo to allow the light to hit the sensor behind it. The idea behind mirrorless cameras is that by removing the mirror the camera body is smaller but without it there is no way to reflect the light to a viewfinder.
This issue is overcome by using Electronic Viewfinders (EVF’s). Effectively there is a small digital display in the viewfinder. The advantage that this has over a traditional viewfinder is that it gives you a live view of what the sensor is seeing so as you adjust your settings the image in the EVF will brighten or darken which will help you to learn more quickly how the adjustments you are making will affect your final image.
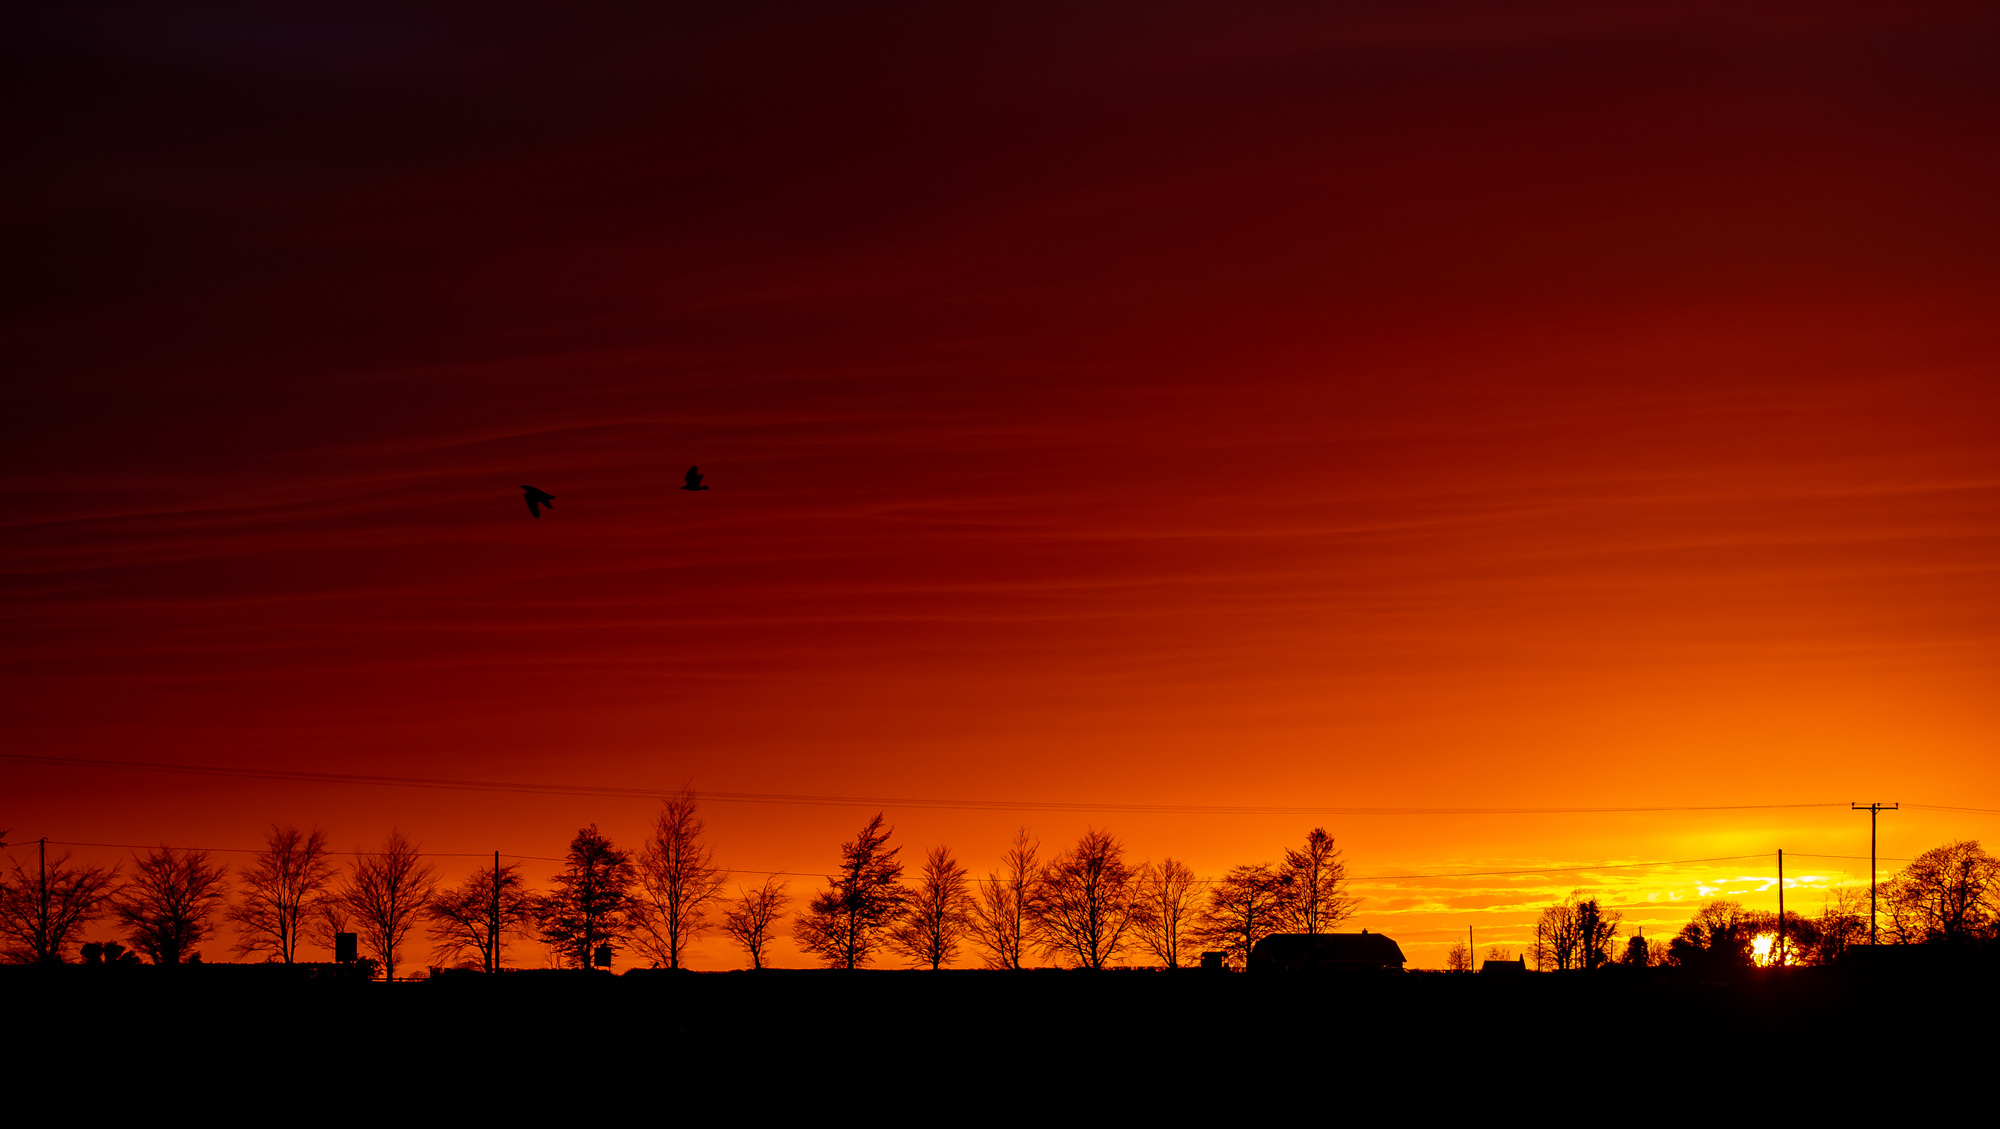
That is the technical bit. Now to show how to use a combination of the different lenses and settings when photographing sunsets. This first image was taken with the Fuji 16mm. This gives a very wide field of view and is great for capturing large expanses of sky. Regardless of the lens I use, I will always use settings that slightly underexpose the image. This results in a darker image but the idea is to protect the highlights or brighter parts of the image and preserve as much detail in those areas.
It is much easier to recover detail from the shadows when editing. Obviously the area of the image with the setting sun will be the brightest and by setting the exposure to capture as much detail there you will avoid what is known as ‘blown out the highlights’. This happens when all the detail is lost in the brightest areas of a photo and can’t be recovered. In this shot, I used settings that kept the detail in the bottom right of the photo and then used Lightroom to bring out the detail in the rest of the sky which had those lovely wavy crimson clouds.
I also cropped the photo to remove the top portion where the sky was too dark and distracted from the overall scene. The settings I used were as follows – ISO200 which is the lowest the Fuji will go as I wanted the blacks to be as black as possible with no digital noise, a shutter speed of 1/250 to freeze the birds in flight and finally I used an aperture of f5.6 to get the exposure correct. A relatively wide aperture was not a problem here as the line of trees was all I needed in focus.
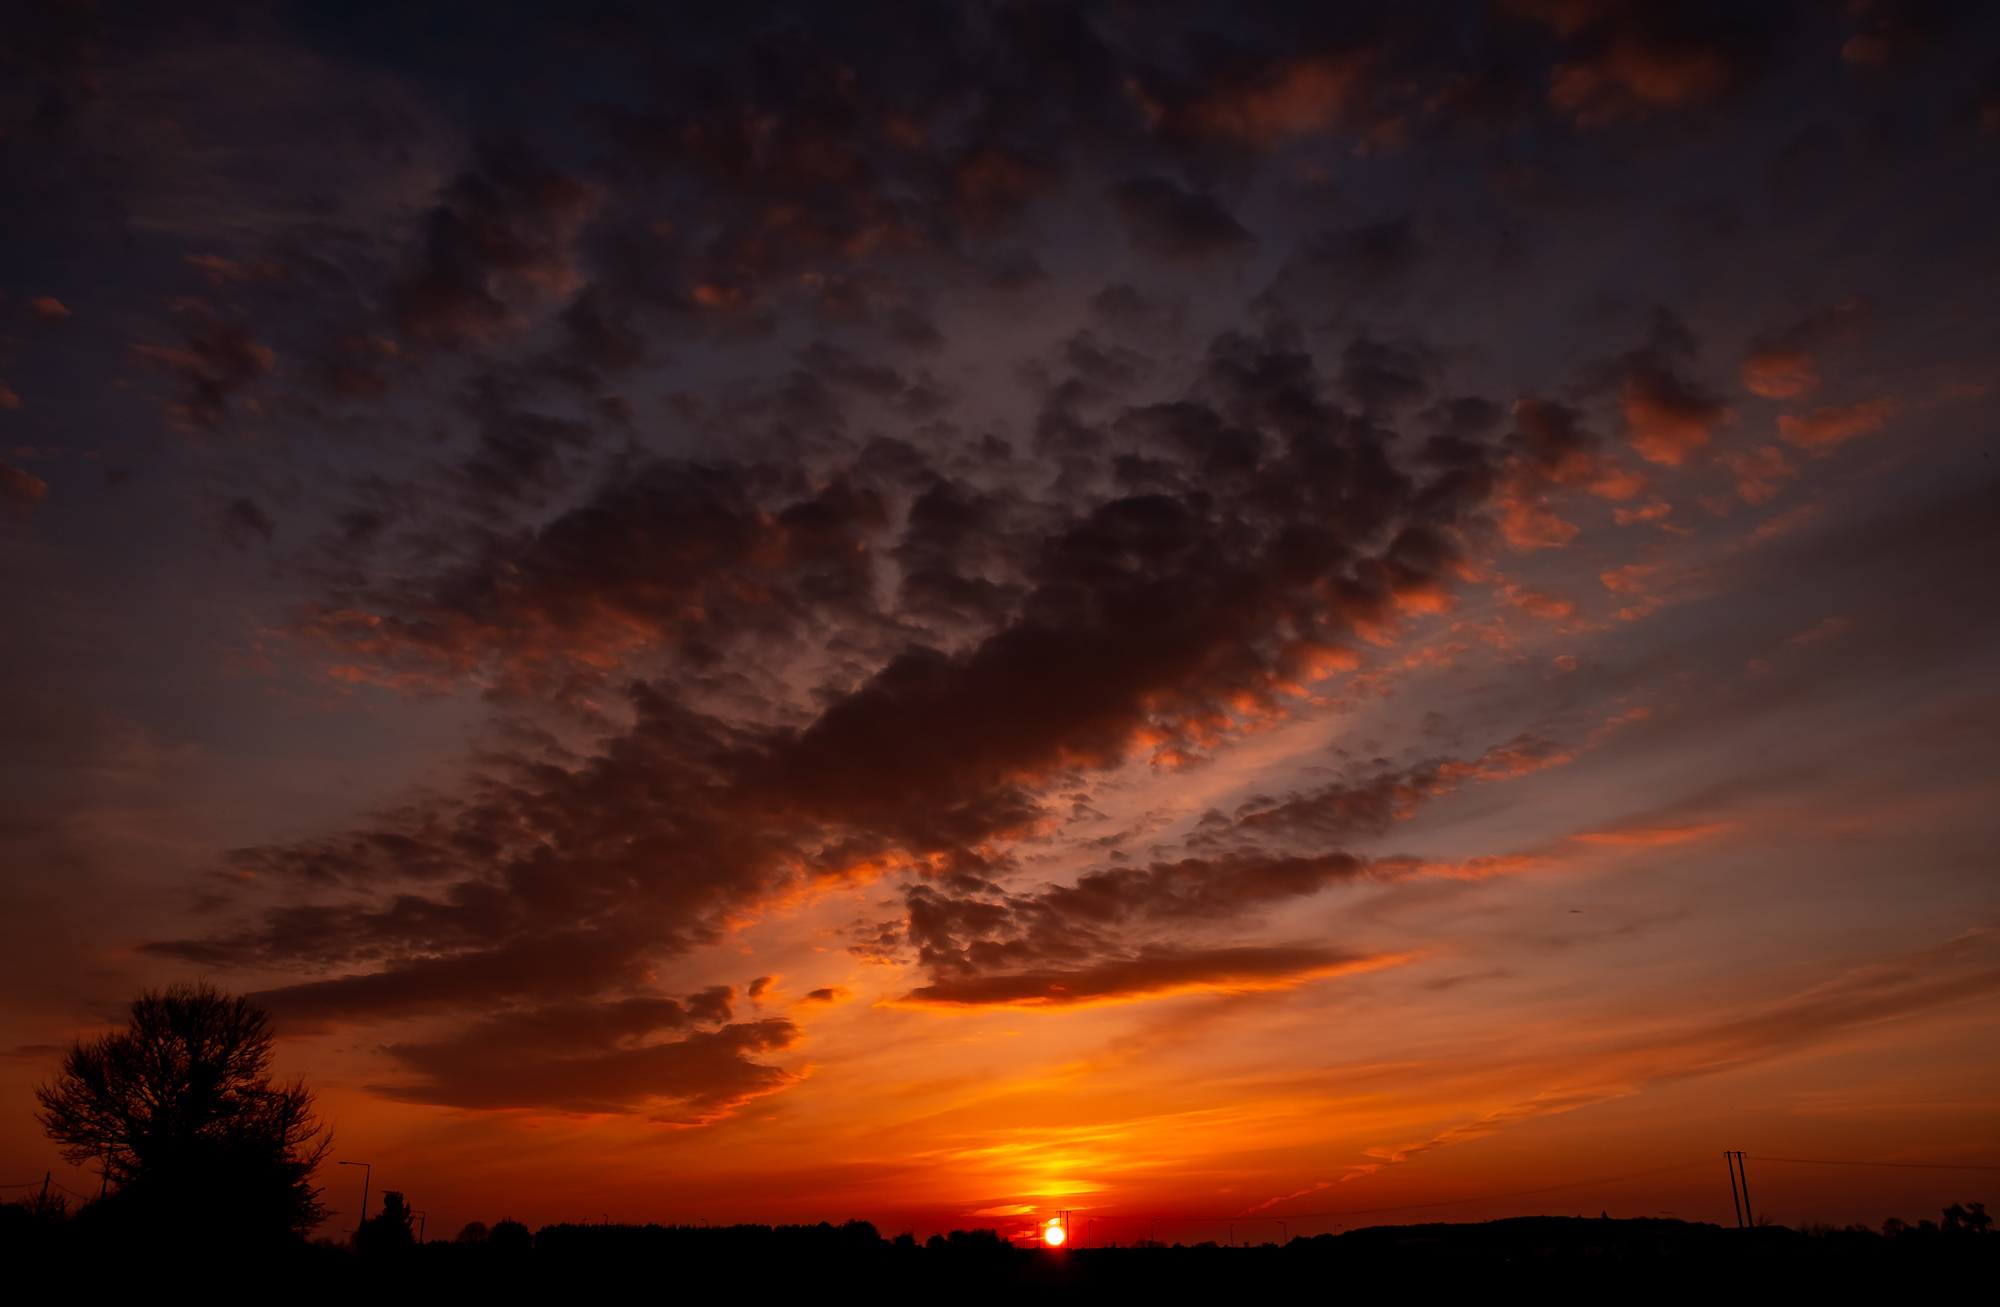
By using different lenses you can get dramatically different results. With the 2 kit lenses I still get a wide field of view on the 18-55mm when zoomed out to the shortest focal length of 18mm, and with the 50-230 lens, I can get in a lot closer when zoomed in fully at 230mm.
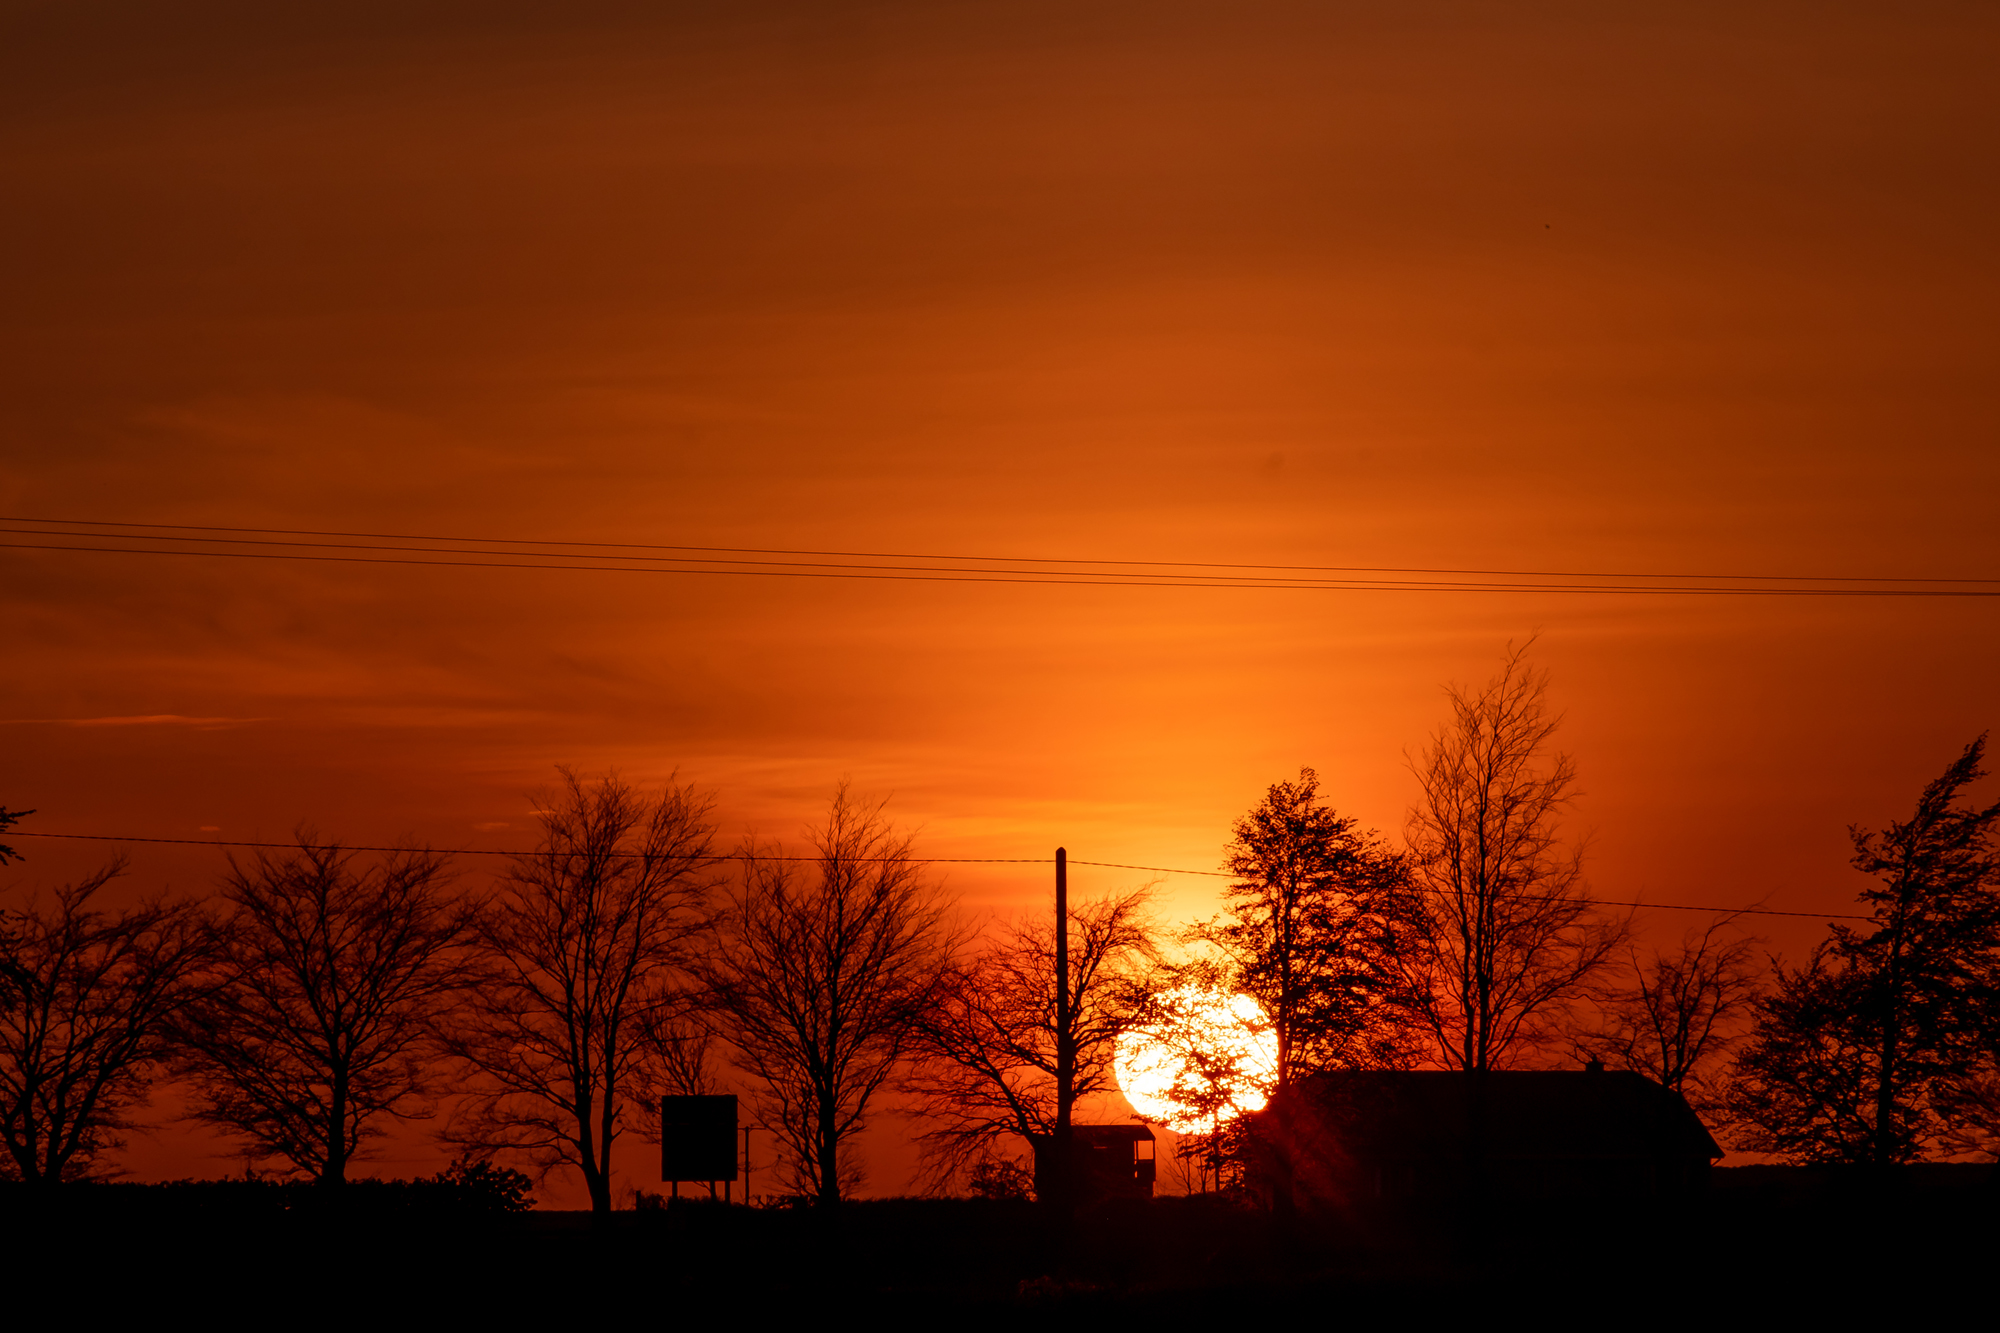
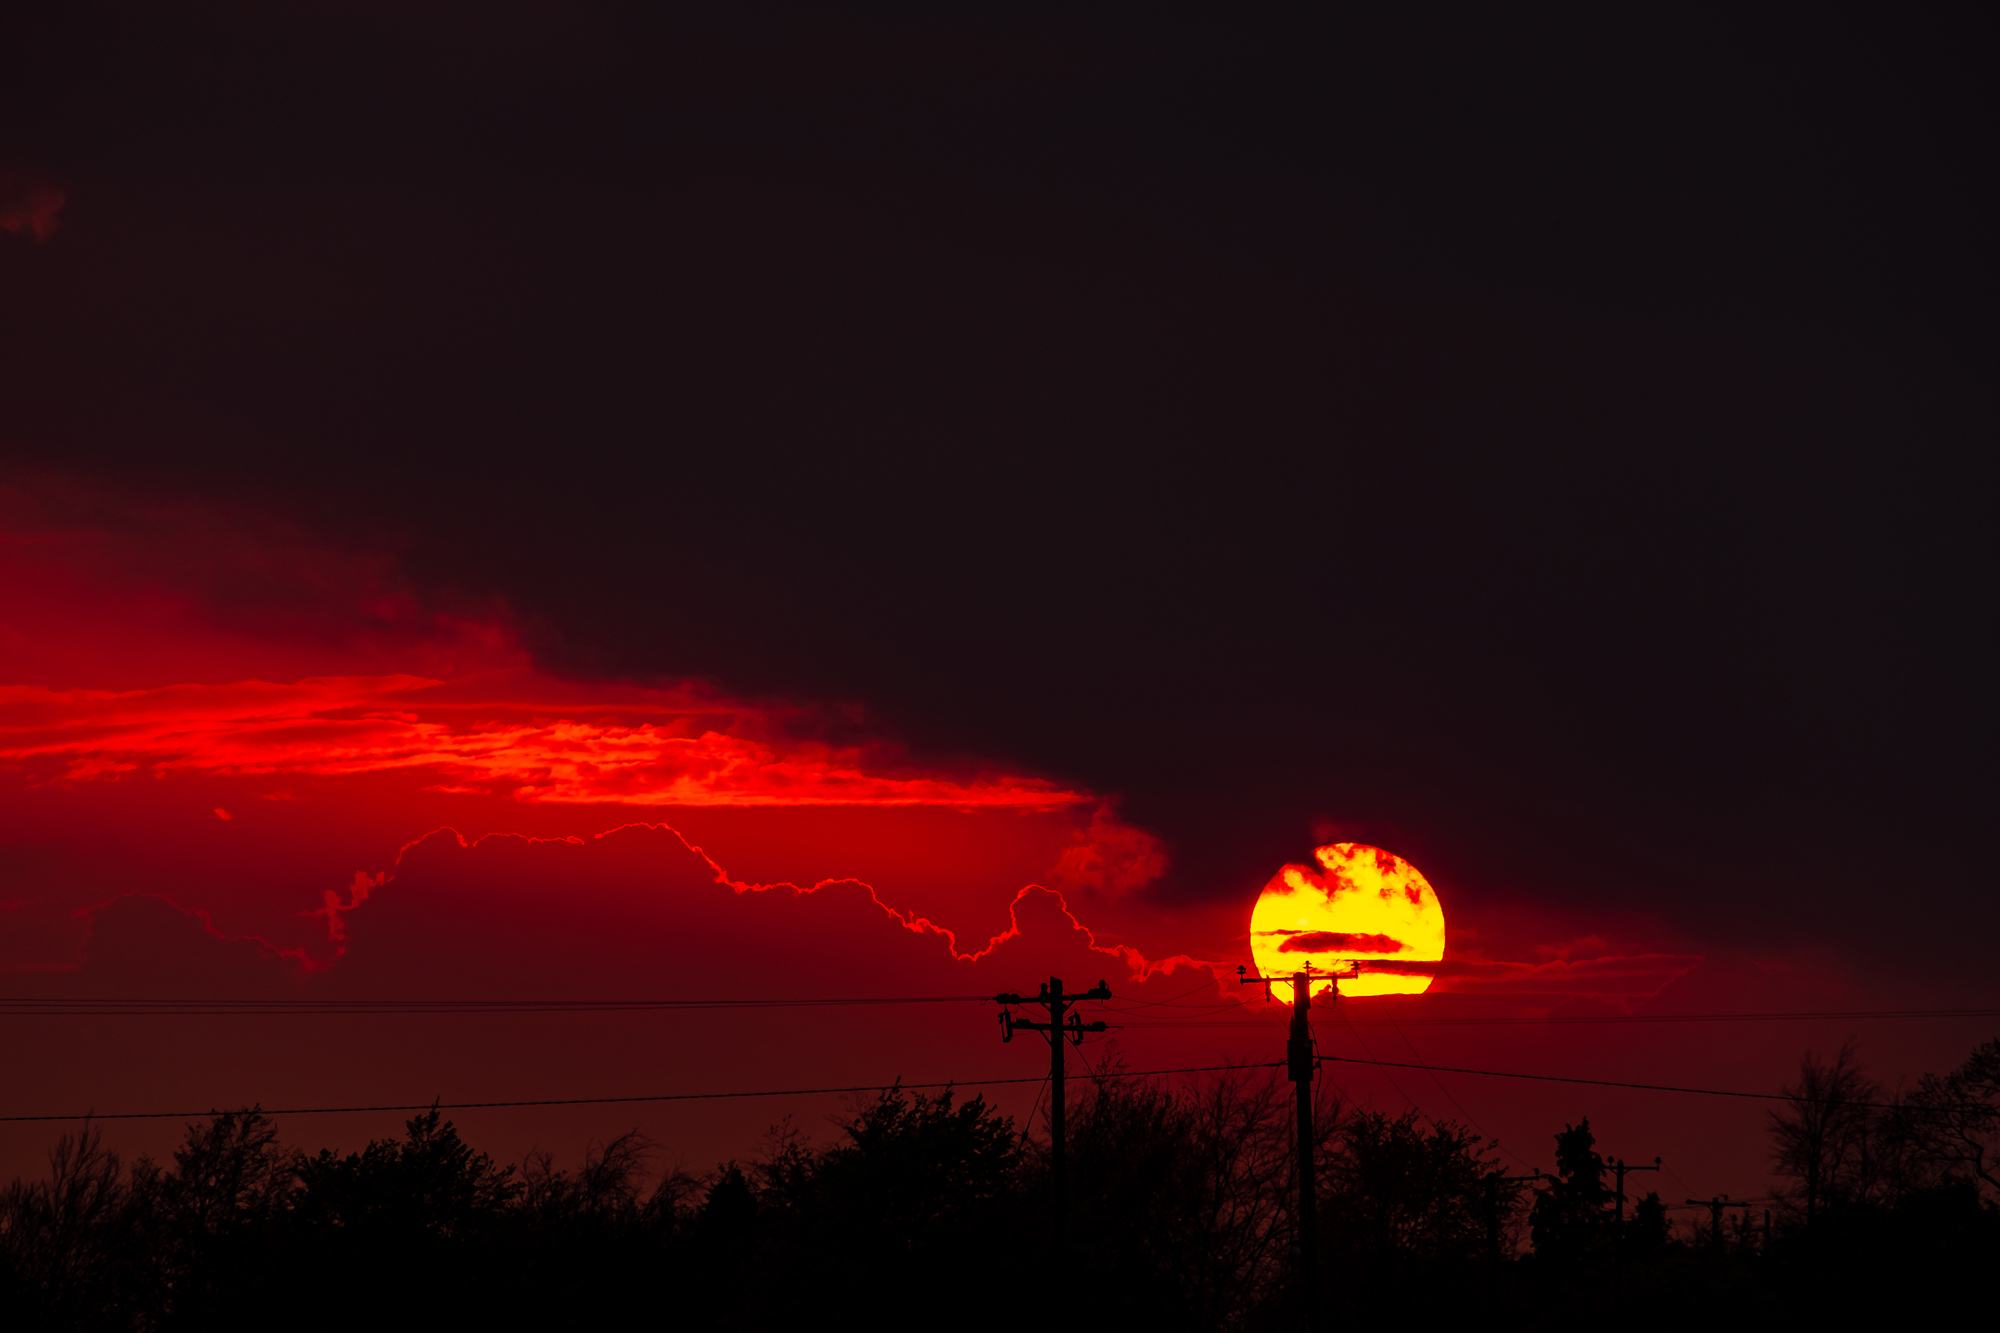
By contrast, when I used the telephoto zoom lens and shot at the max focal length of 230mm I was able to make the sun appear a lot larger in the frame. Again I would’ve underexposed this shot a lot to get the detail of the trees and the clouds moving across the disc of the sun.
If my exposure was too bright that detail would have been unrecoverable. It also helped to ‘silhouette’ the electricity poles and trees against the sunset. It makes for a slightly more interesting composition than just having the sunset on its own. Settings here were ISO200, f6.7 and 1/250.
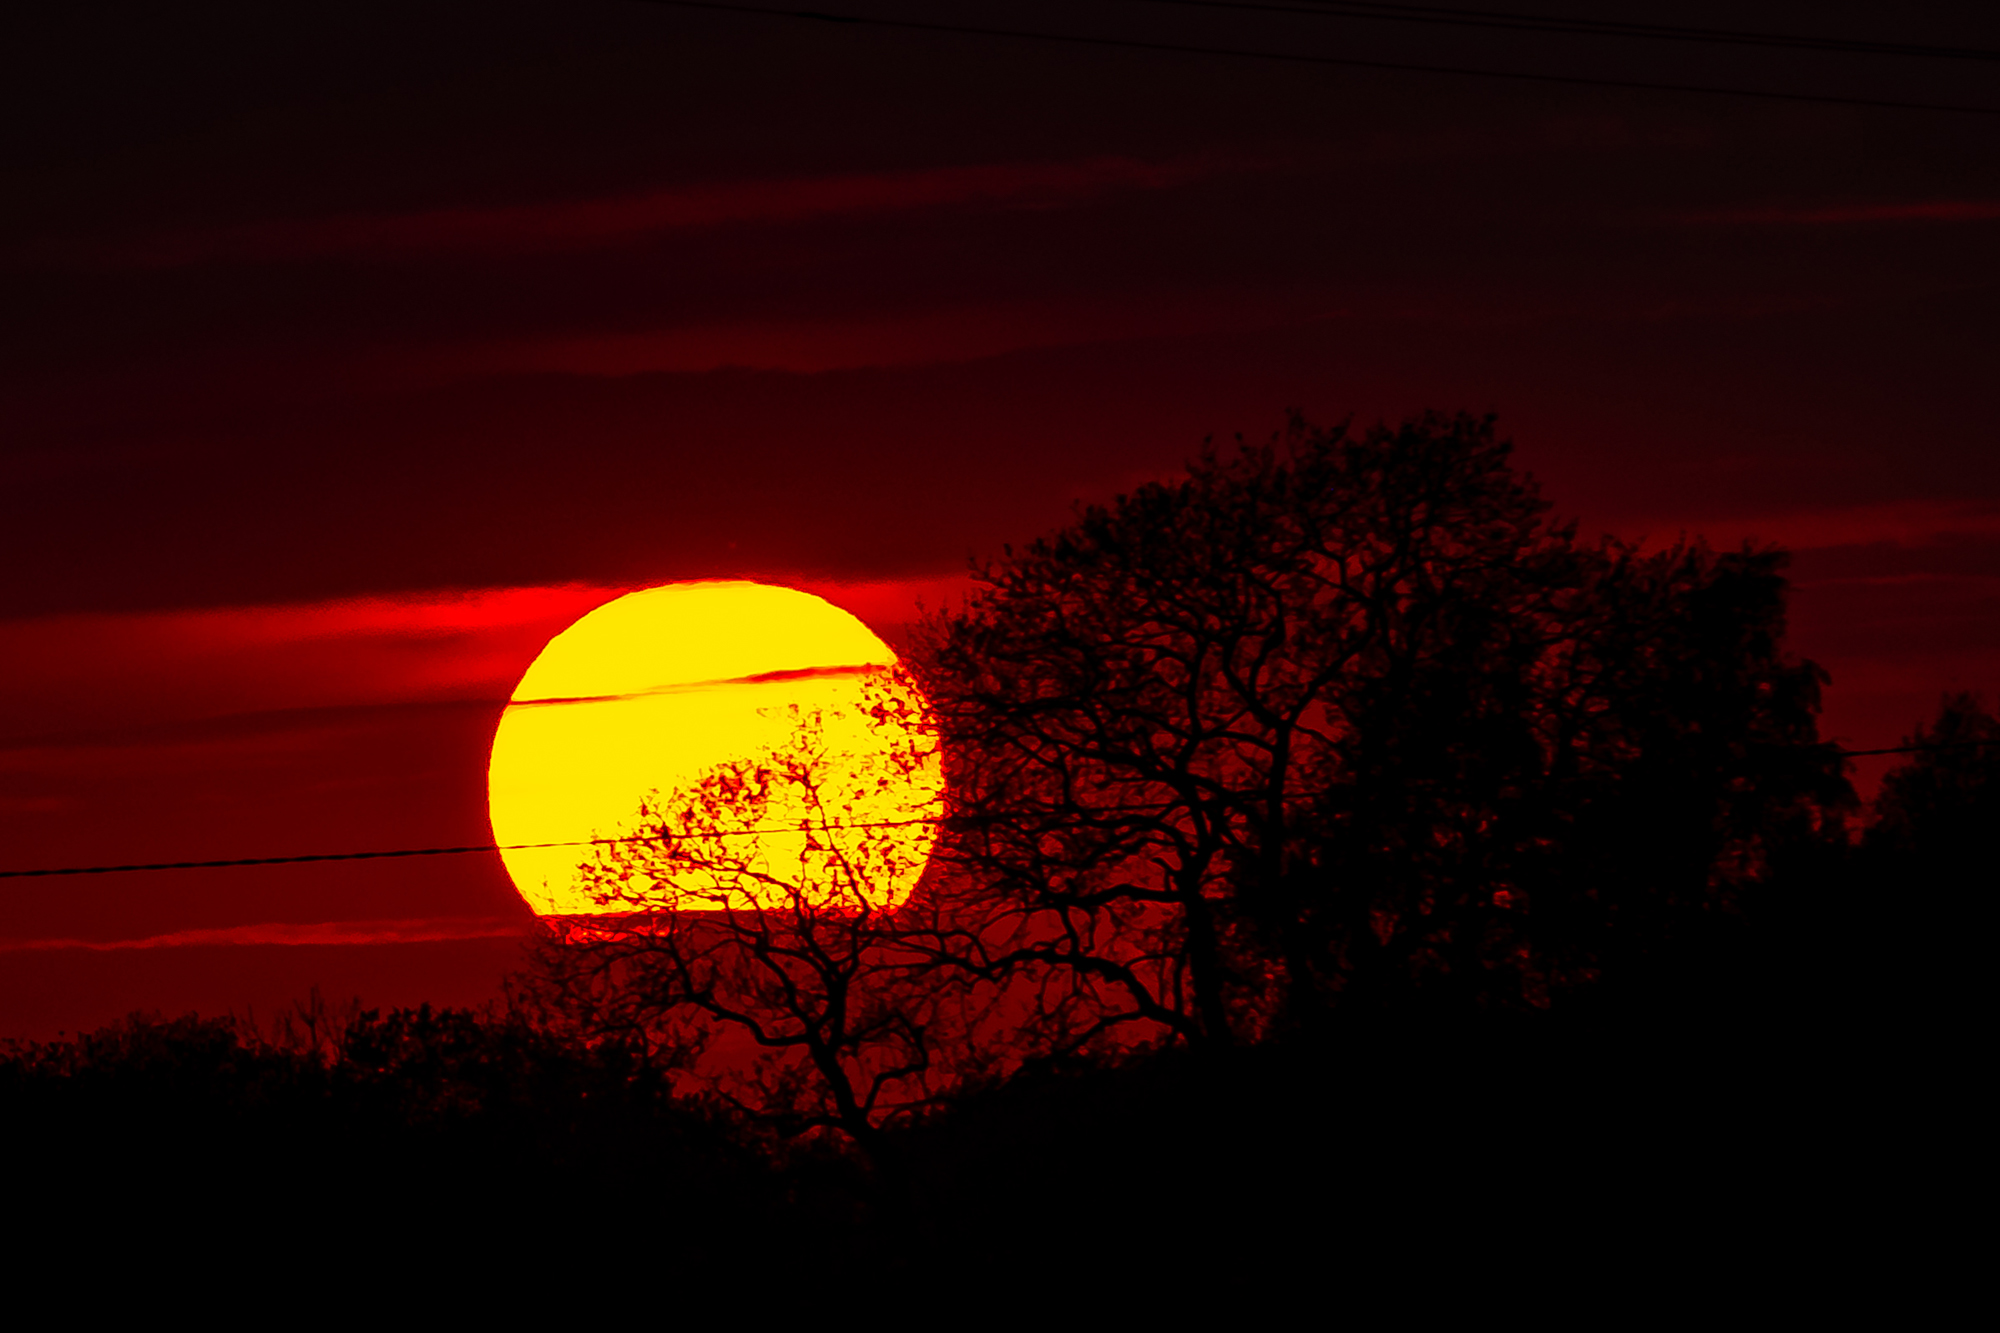
The Fuji X-T20 has a 24MP sensor which means it produces nice large-sized full resolution images, which means that they can be cropped without losing too much detail. In this case, I shot the same scene as above from a slightly different point of view and then cropped the image to give me a different composition. Obviously for images from lower resolution cameras, you can’t crop in as much.
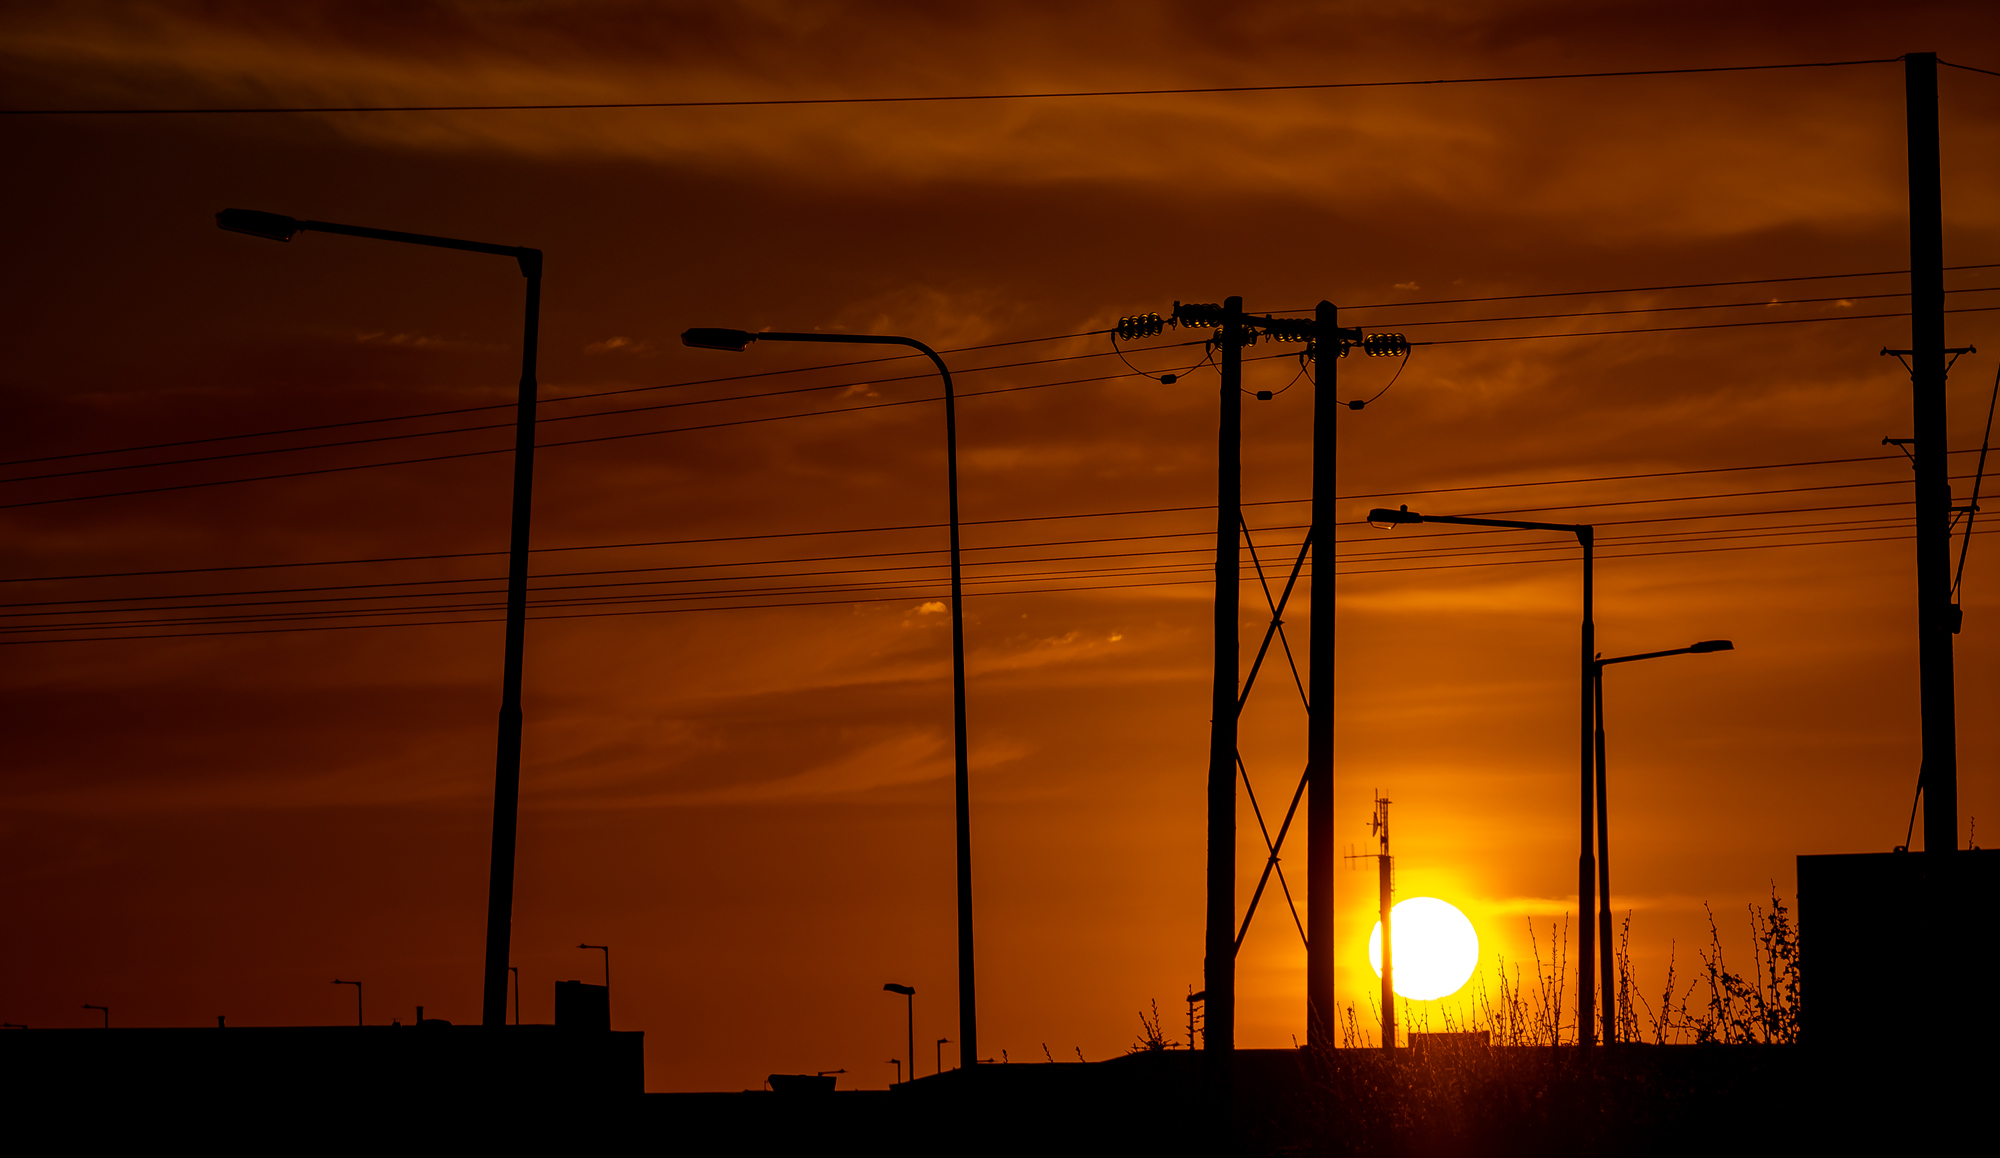
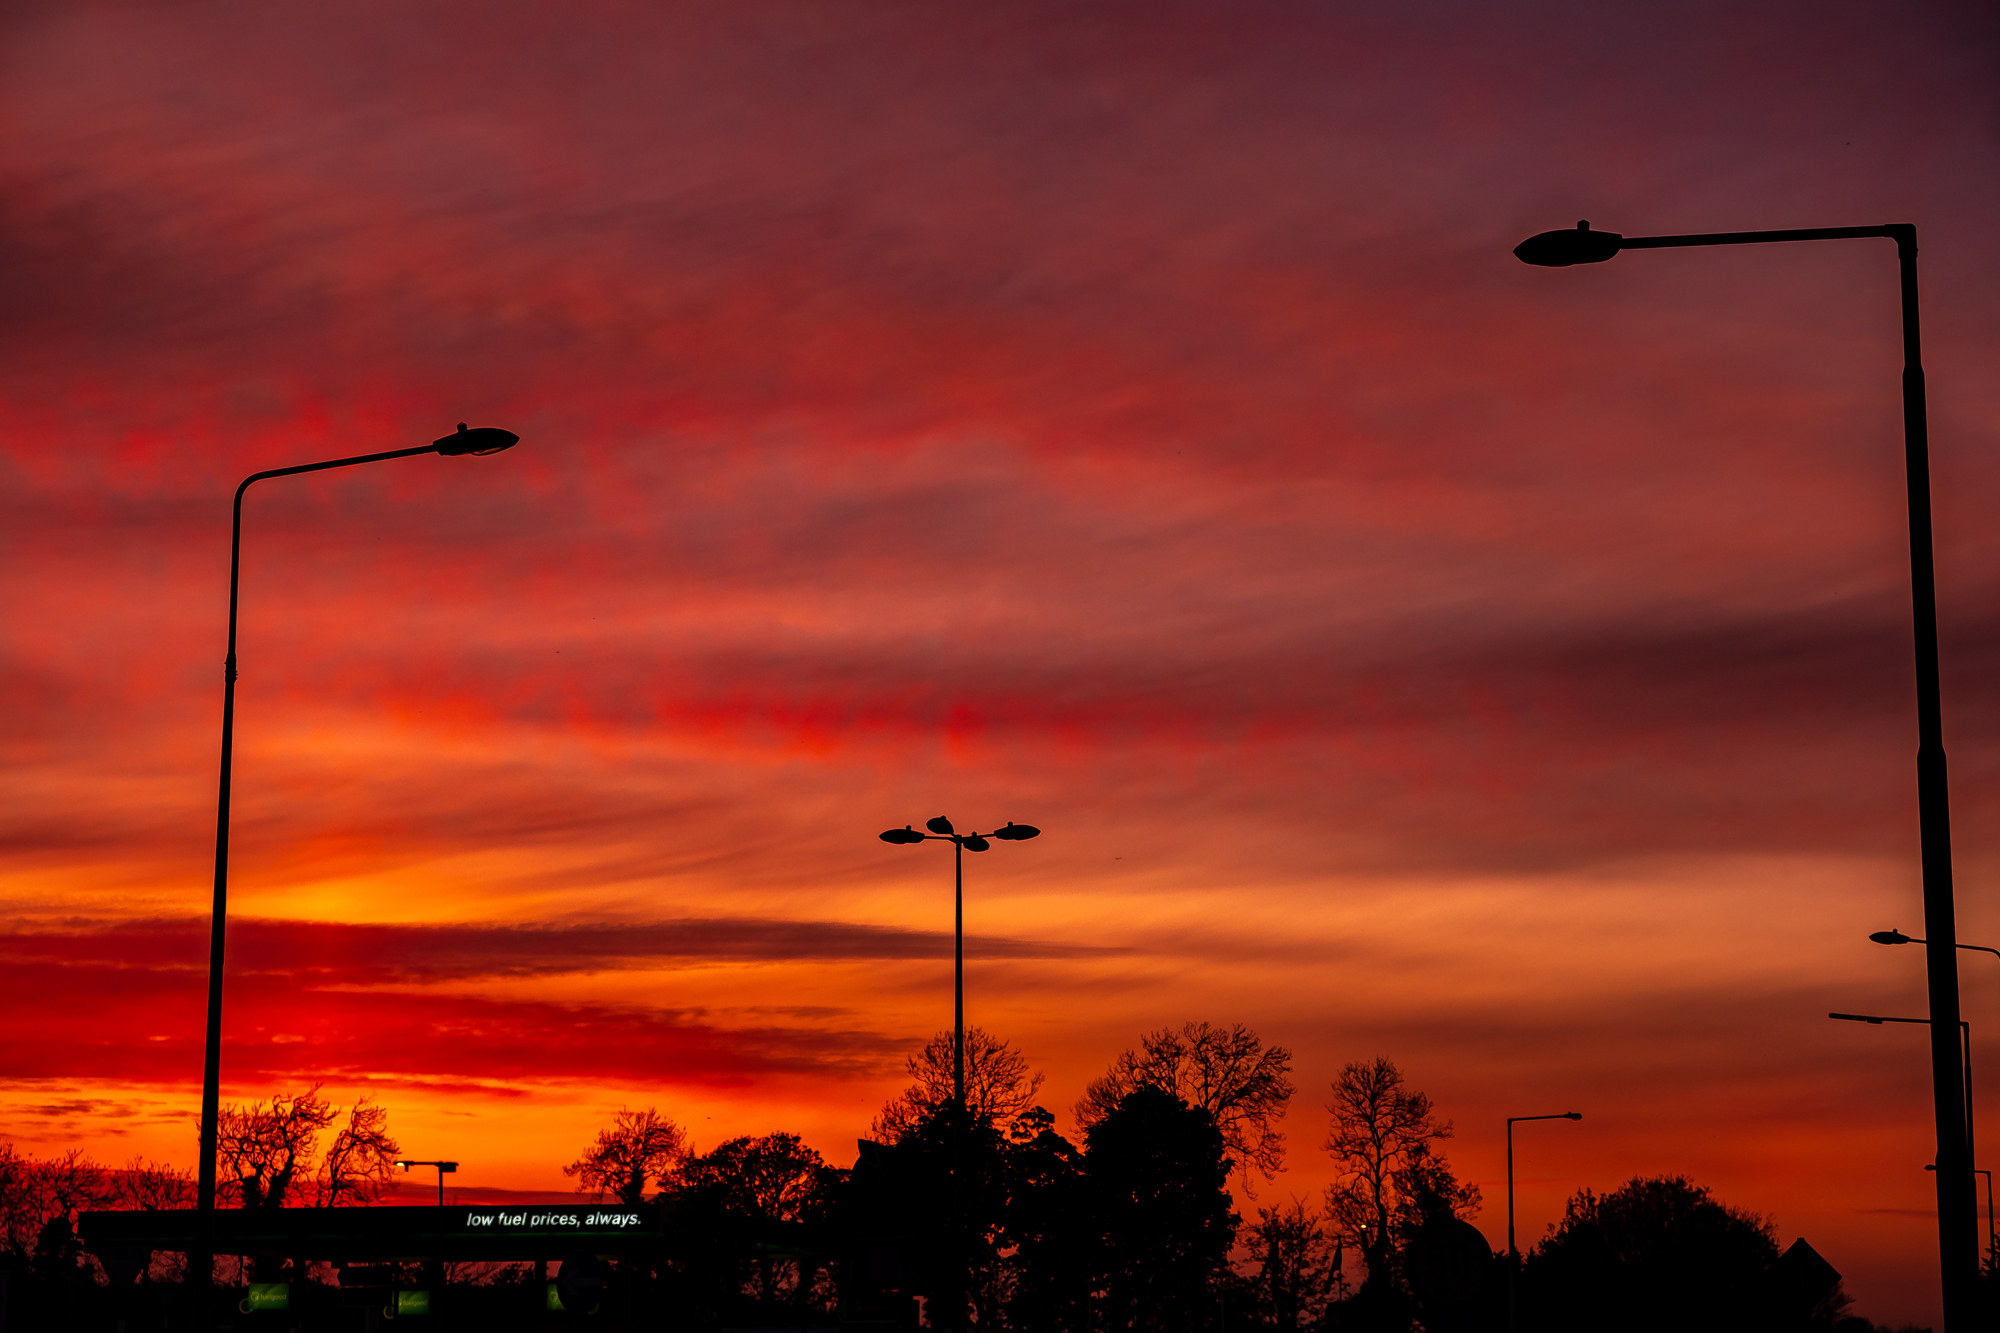
As I am limited in where I can go under the current lockdown restrictions I will make use of the urban landscape around me to add foreground interest to my sunset shots. It helps to give a sense of place and can be more interesting than just a shot of the sky of its own. The elements in the foreground can frame the scene and add a sense of depth. It also gives the photos a more of a cinematic feel and makes them look like a still from a film.
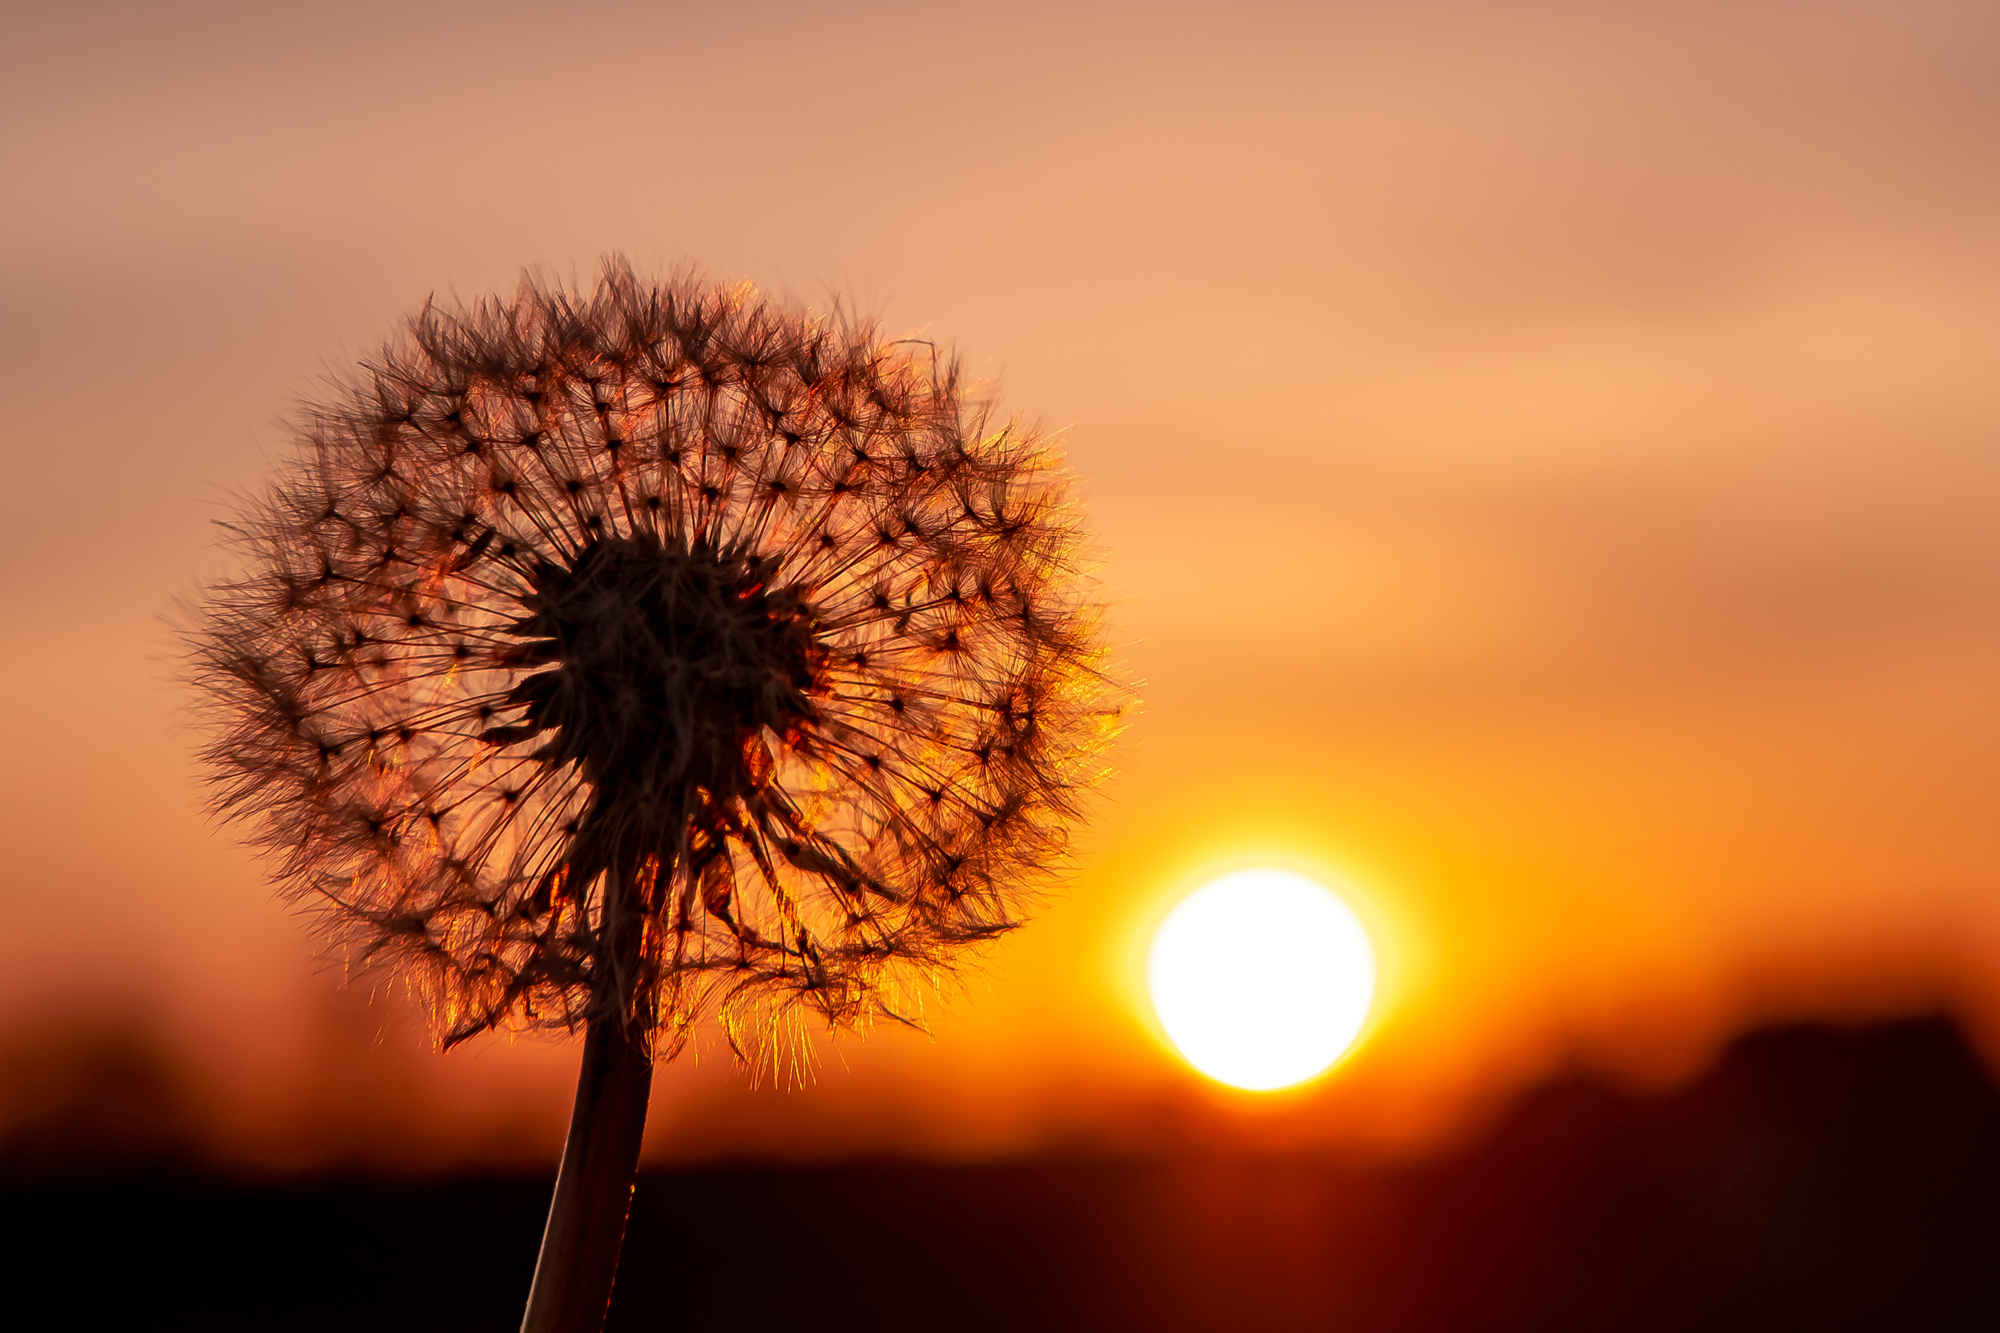
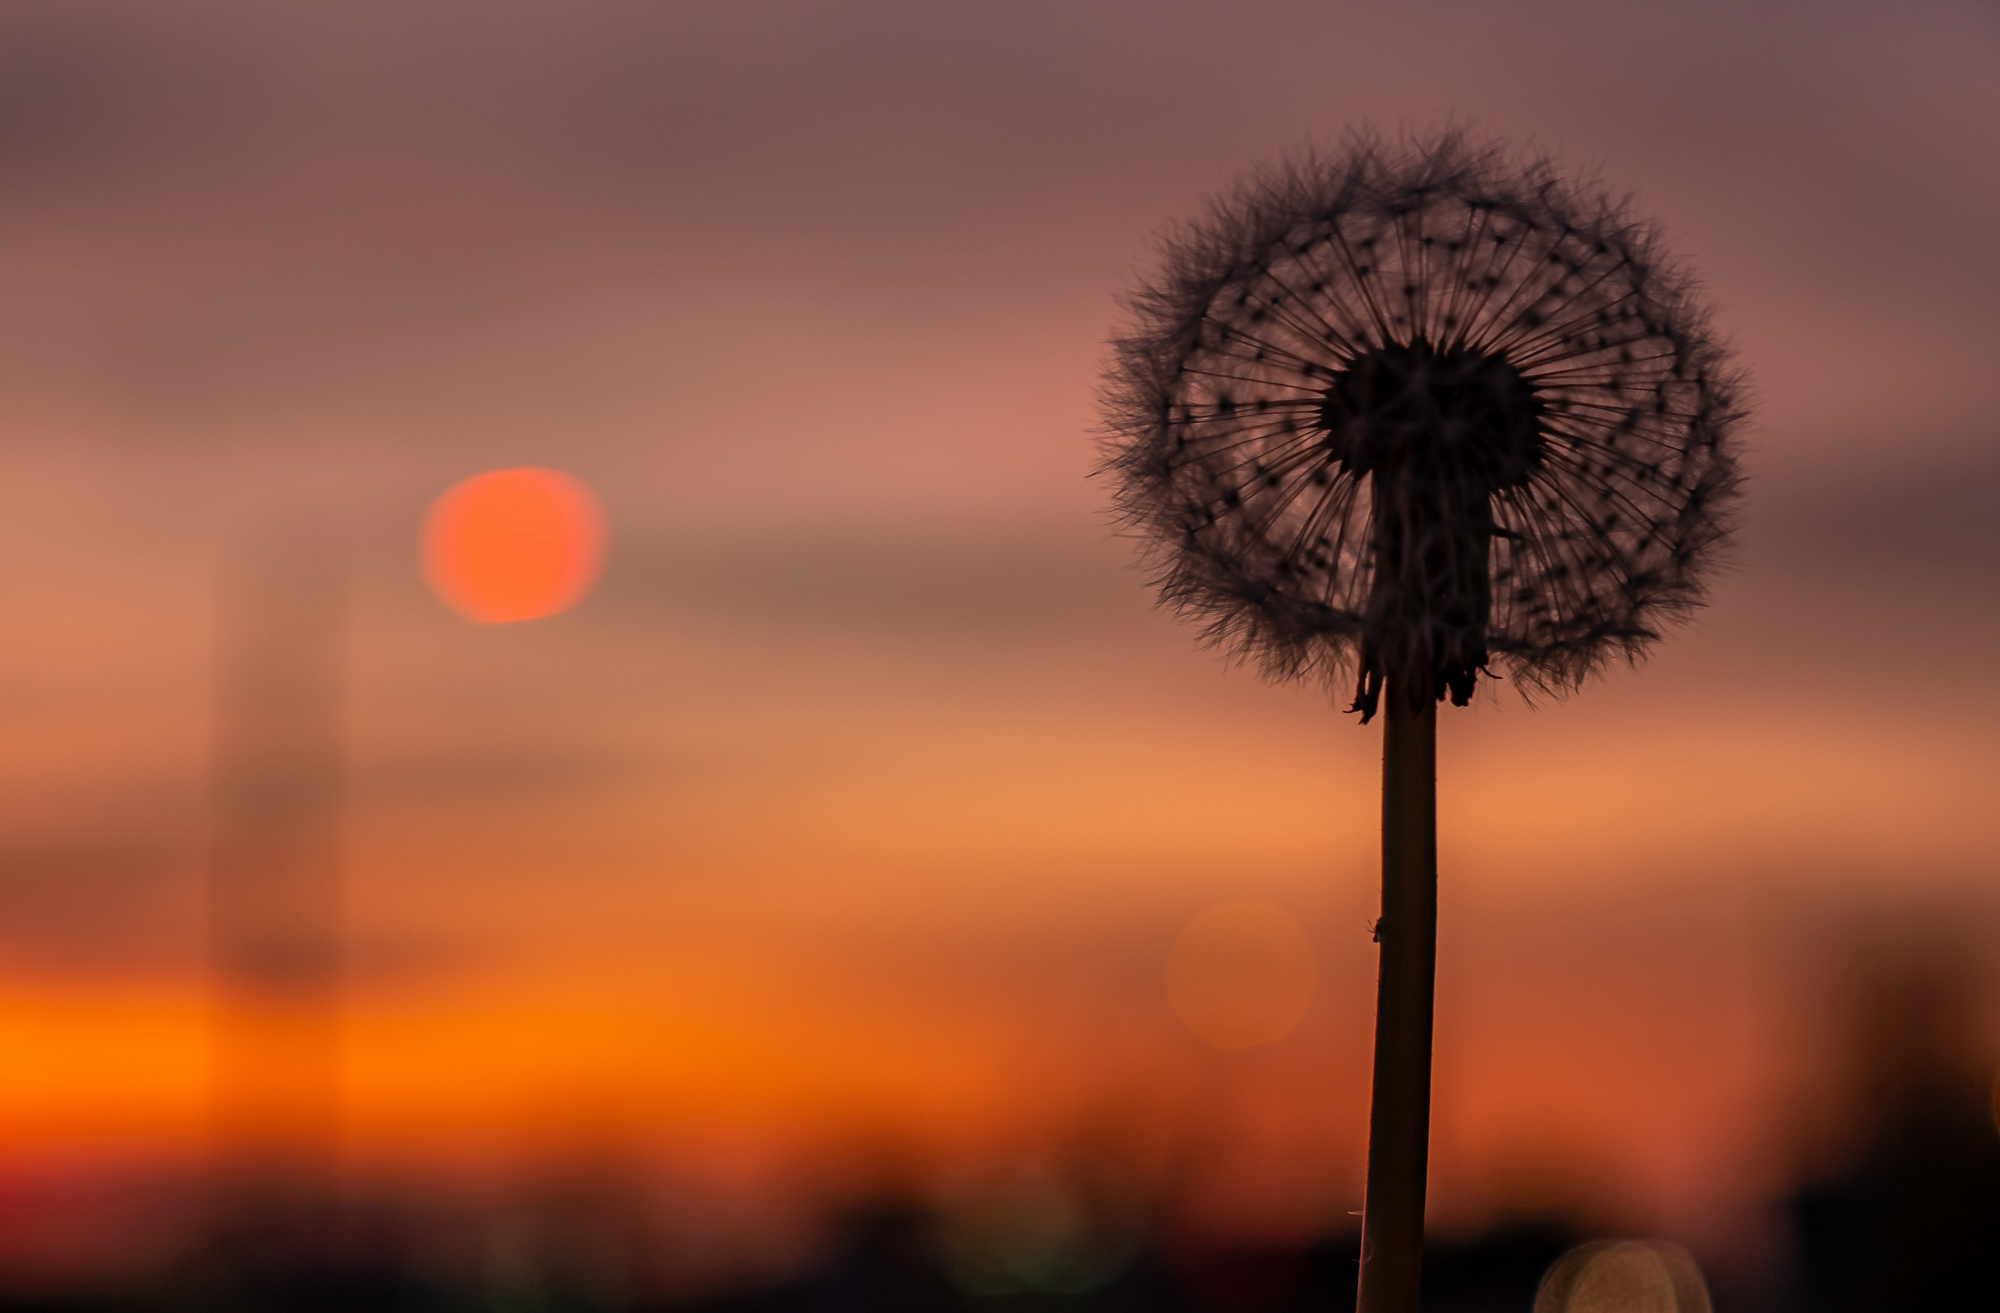
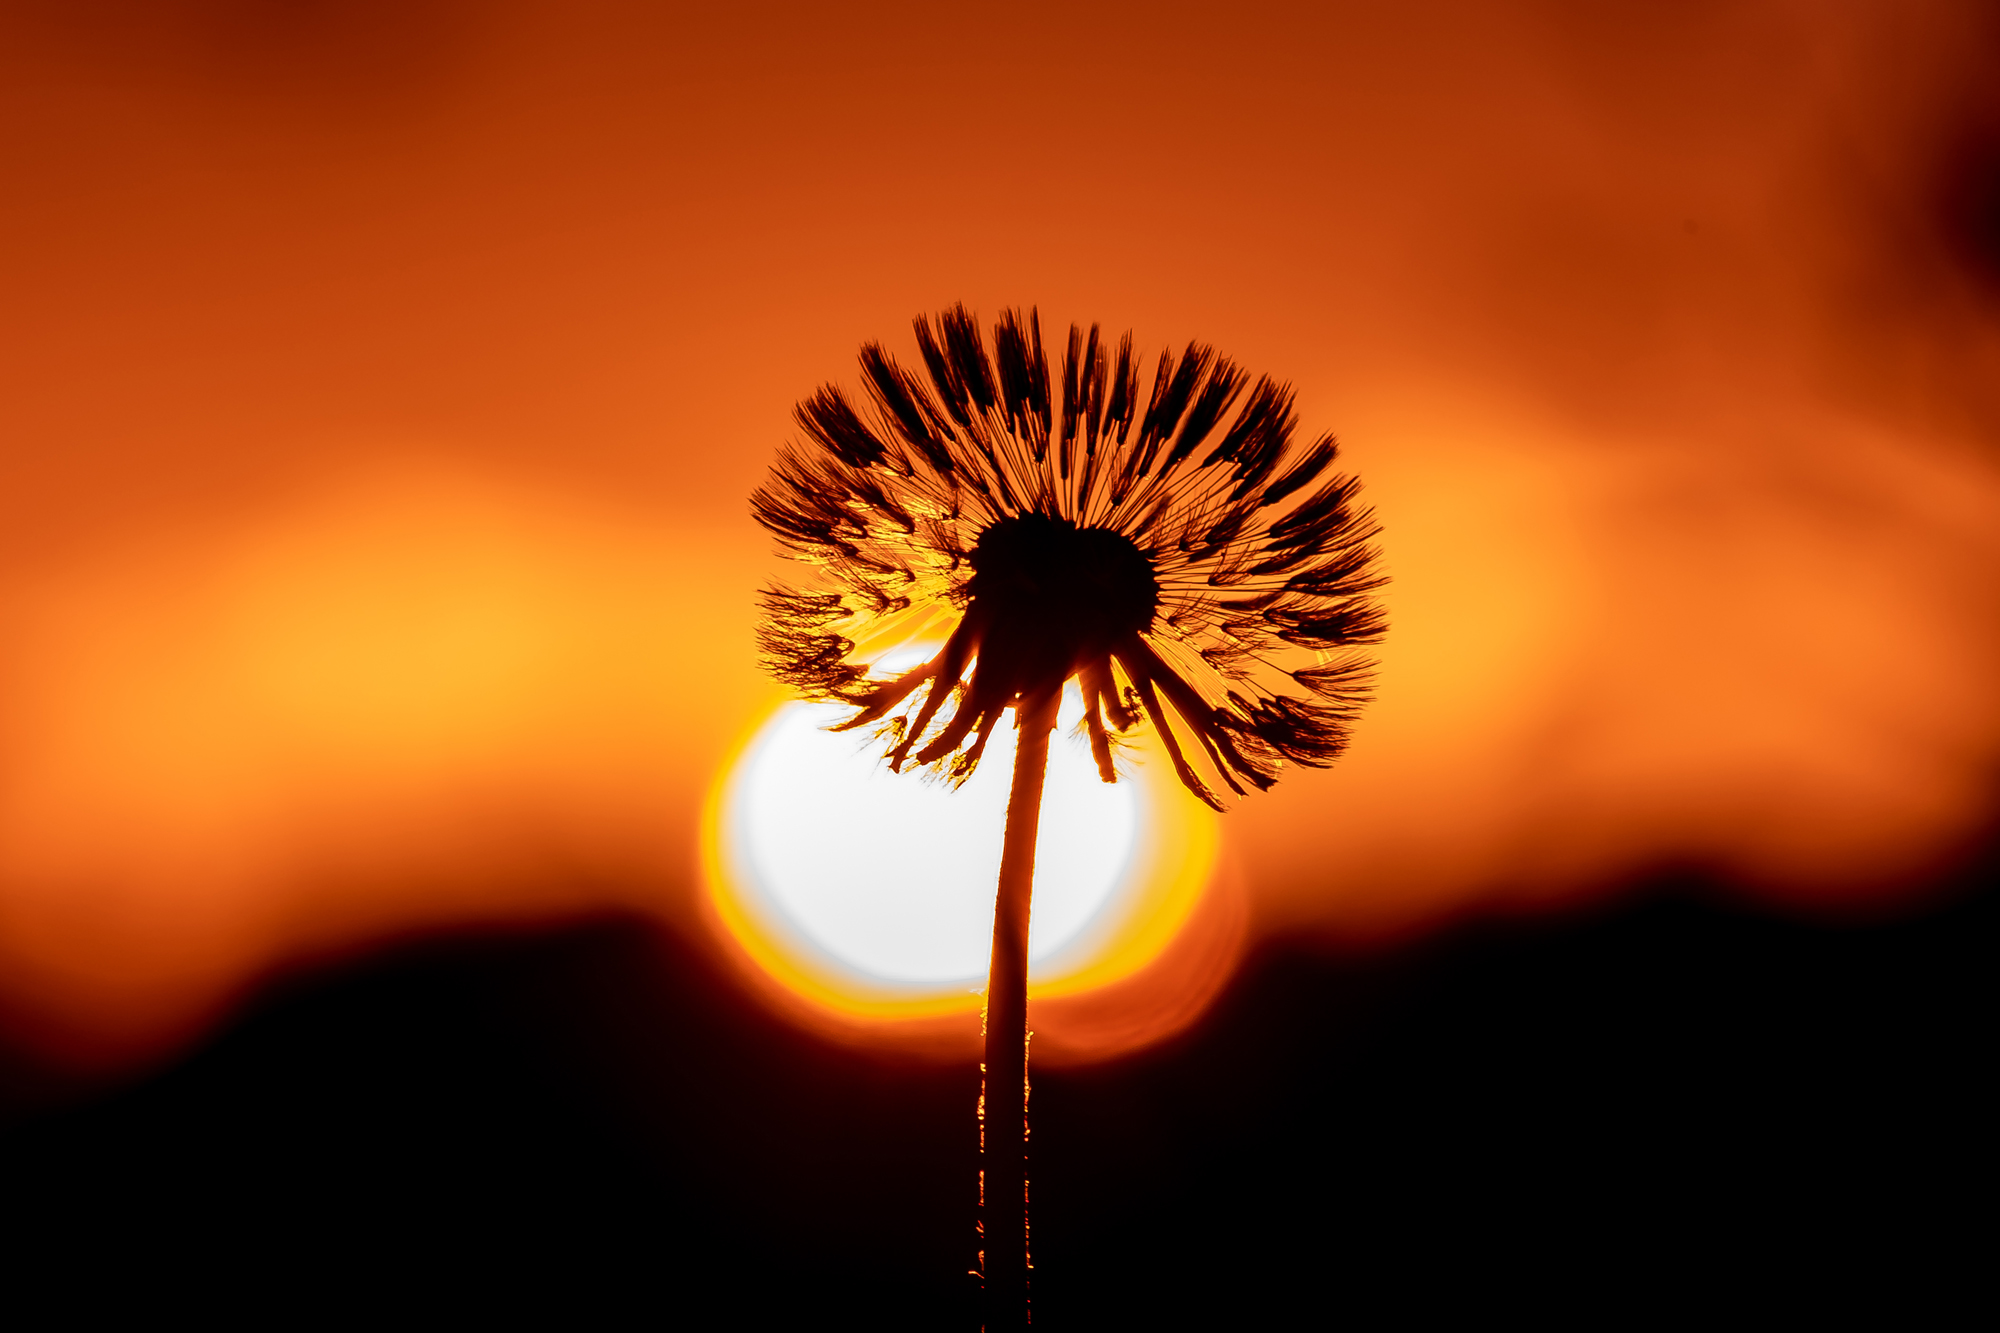
I also like to use dandelions in these shots. I love the detail and this is only enhanced by the background light. They say that the camera never lies but in each of these shots I am holding the dandelion in one hand and the camera in the other to get the shot that I want. By doing this I can places the dandelion exactly where I want it to be in the scene.
I also used a wider aperture than some of the photos above in order to get a shallower depth of field and blur the background. To counteract this I had to use a much faster shutter speed. As you adjust one element of the exposure triangle you have to make corresponding adjustments to the other elements to get the correct overall exposure.
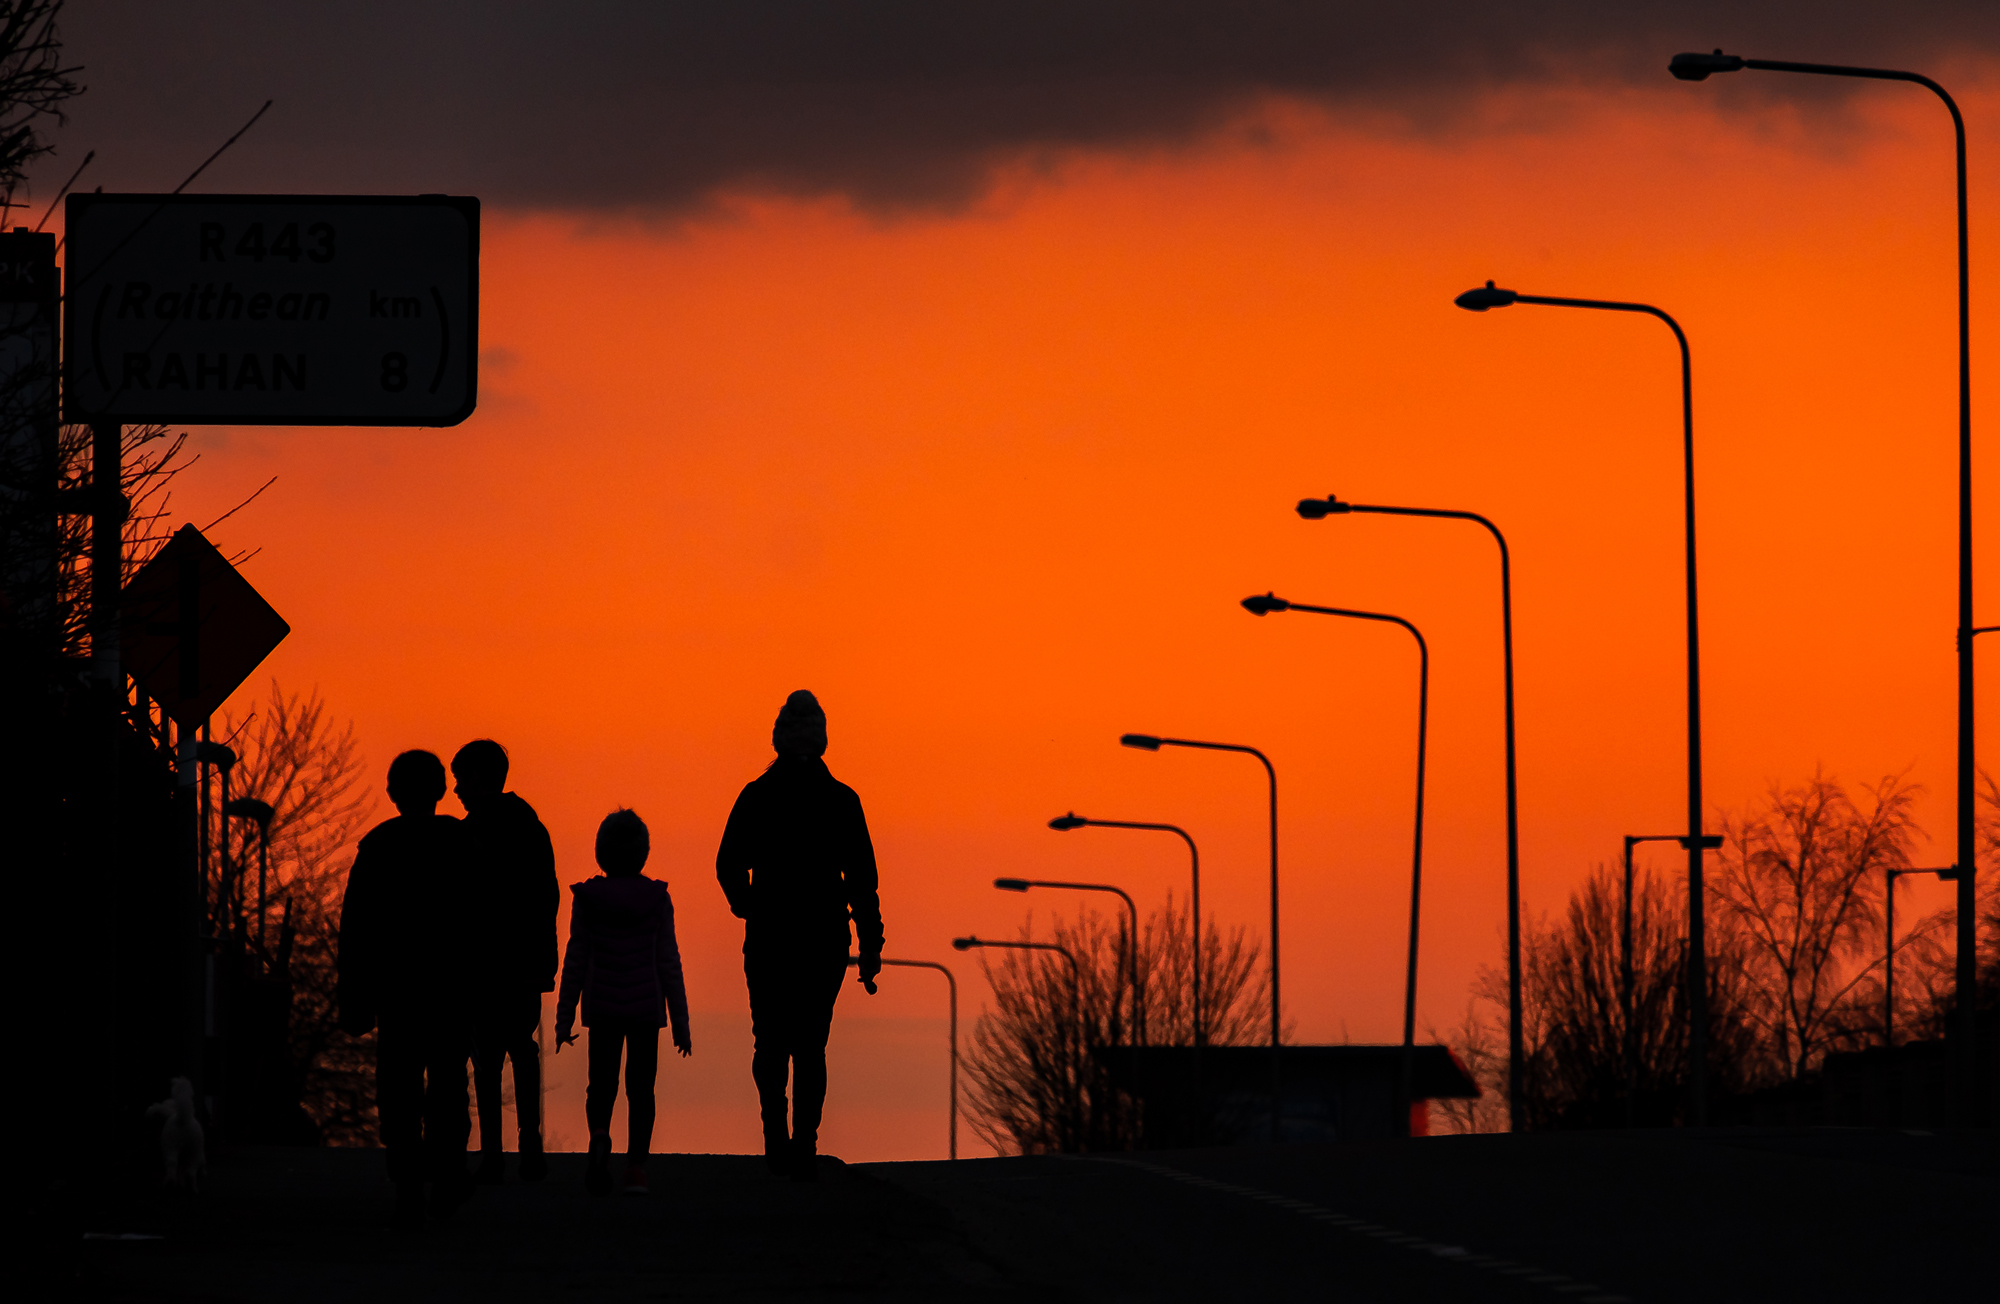
As the majority of these recent photos were taken on family walks I would take photos of my wife and kids as a way of documenting what we are doing in these unusual times At first I would just take candid shots of them enjoying walking on these beautiful evenings. The longer telephoto zoom is ideal for these types of shots as I am far enough away that they are not aware that a photo is being taken and this results in a more natural image.
Also a focal length of 230mm ‘compresses’ the scene so that all of the elements appear to be closer together than they actually are. I use similar focal lengths a lot in my photography as I like this effect. And as above I would underexpose the shot to get nice silhouettes.
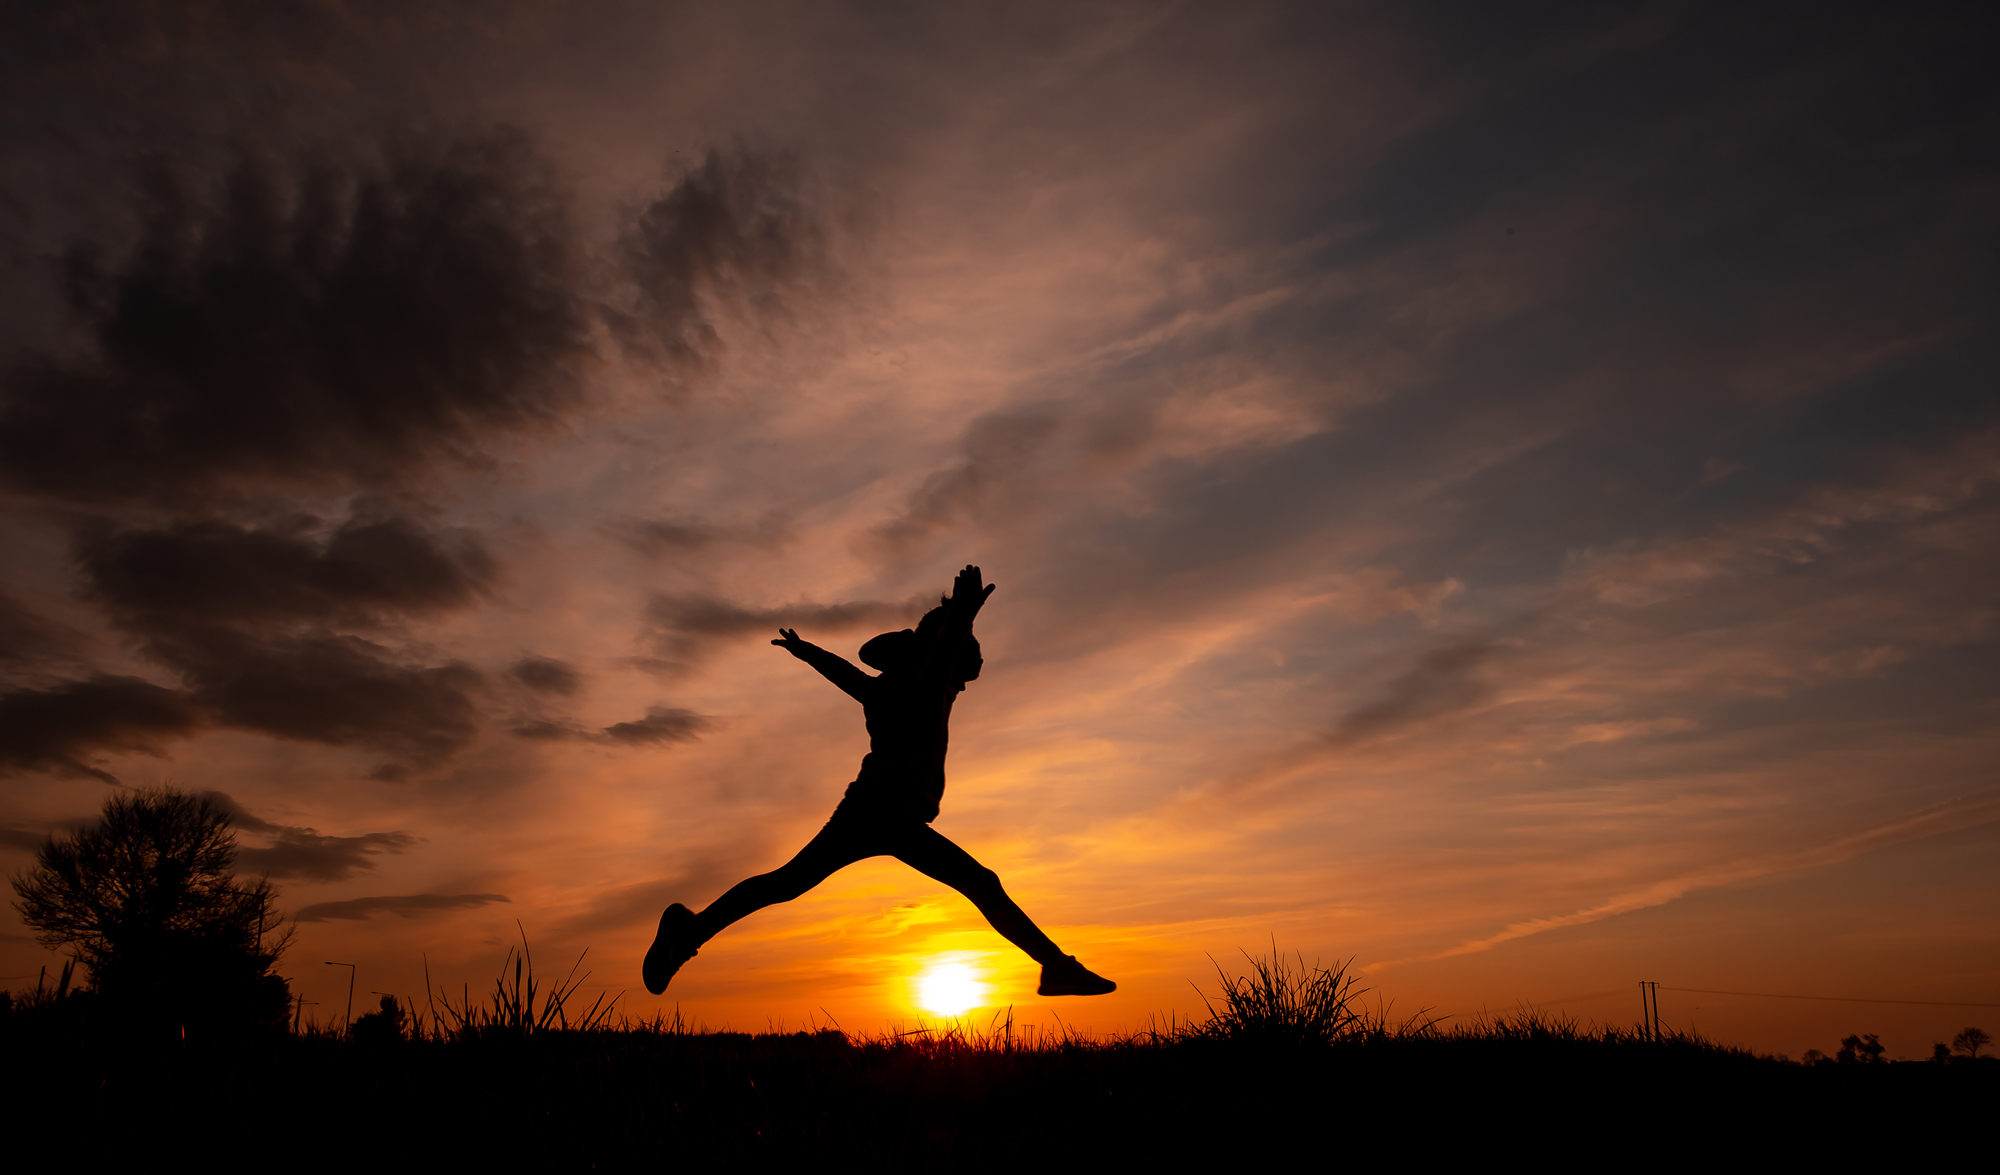
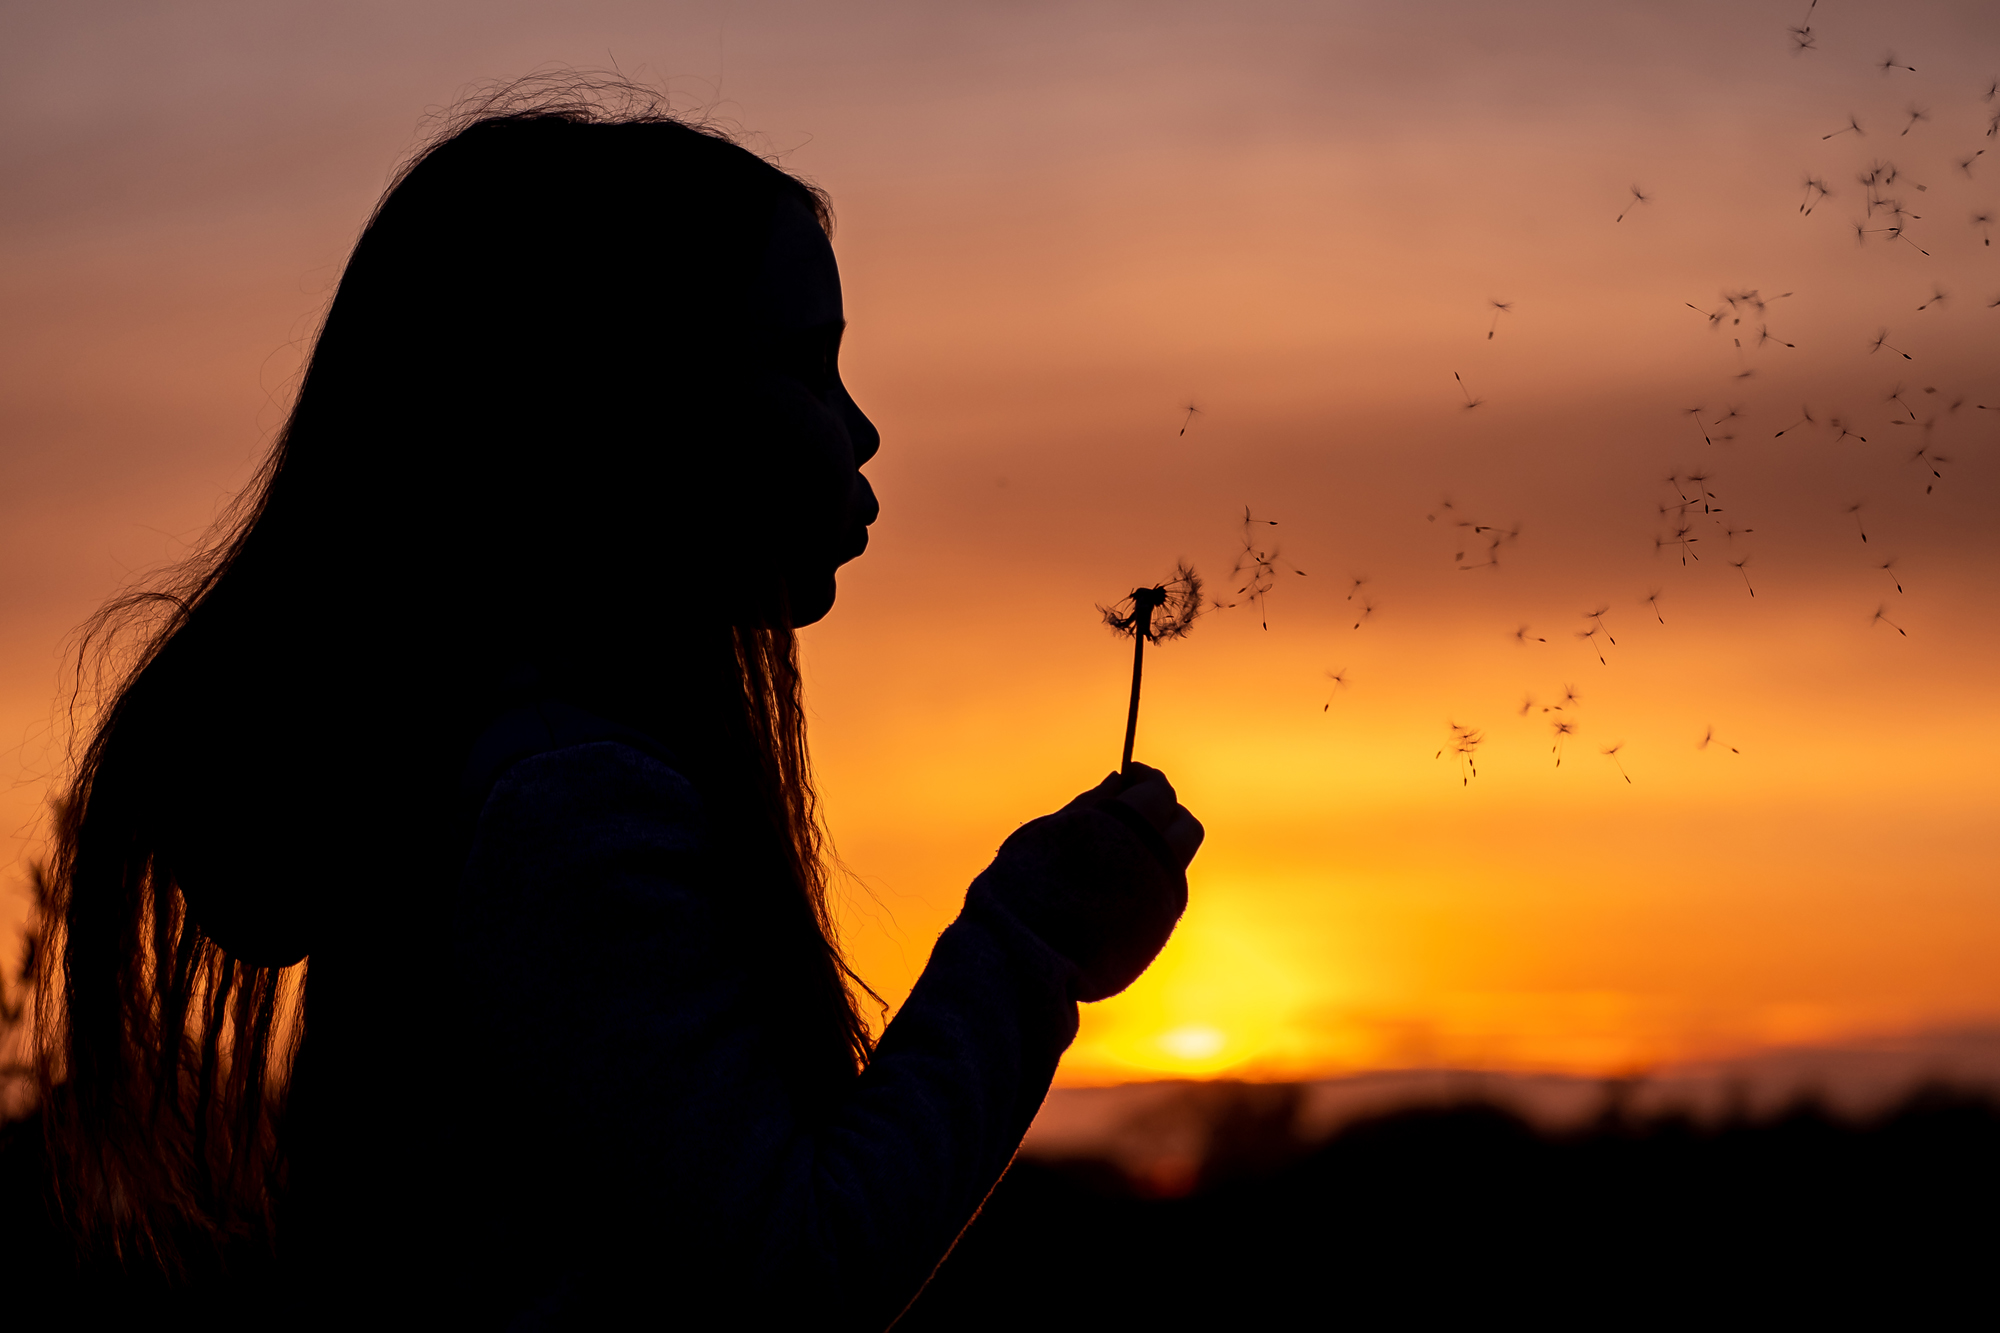
The kids have started to get more involved once they saw the types of photos I was getting. We now have a lot of fun setting up shots and coming up with new ideas such as jumping over the sun and blowing dandelion seeds. By having people in the shots it gives them more of an emotional impact and also adds a sense of storytelling.
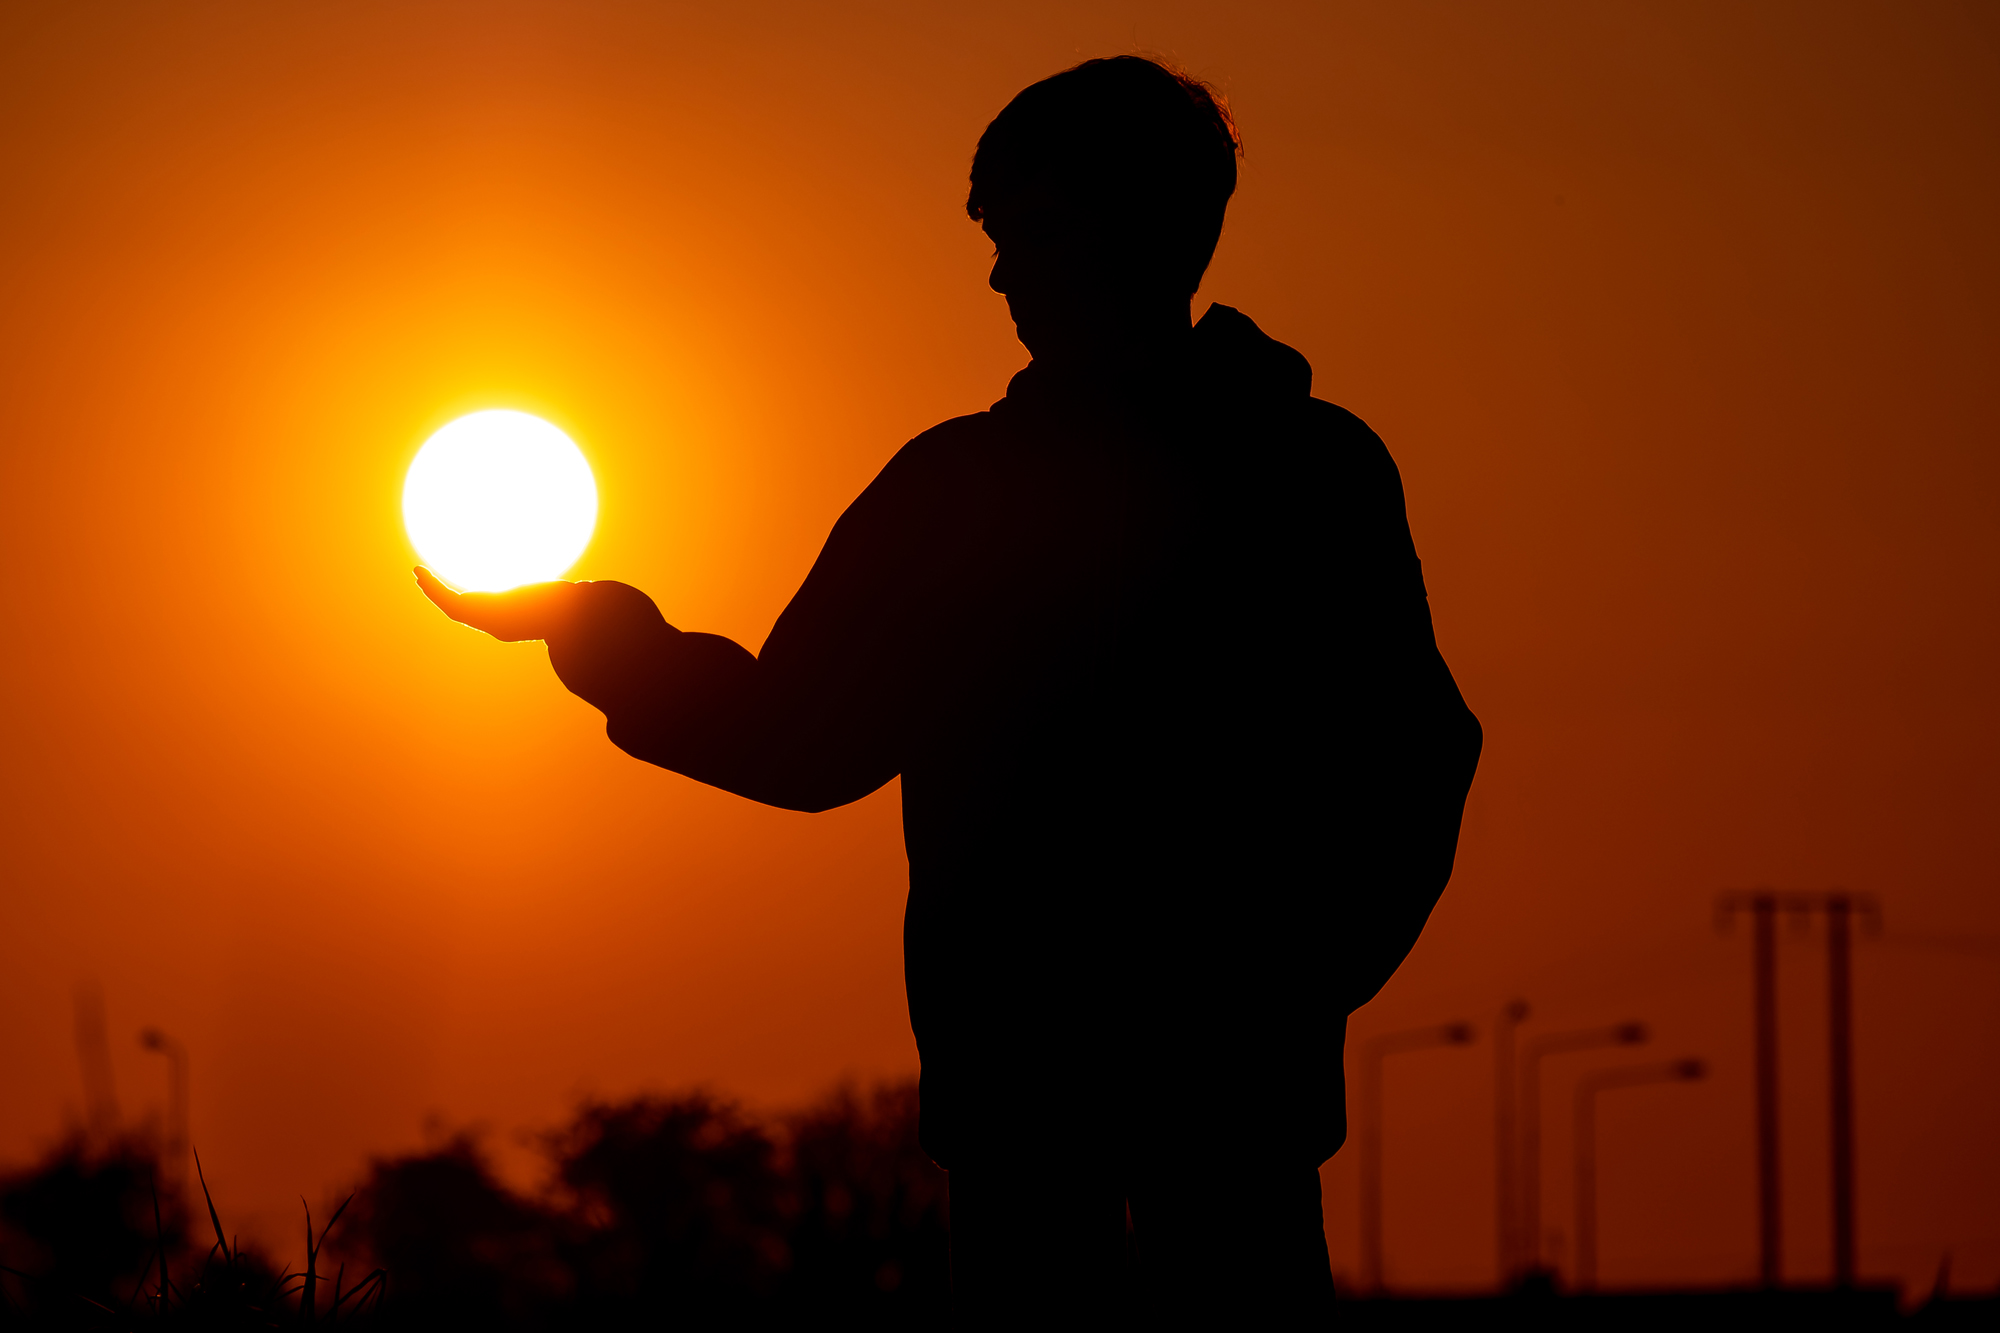
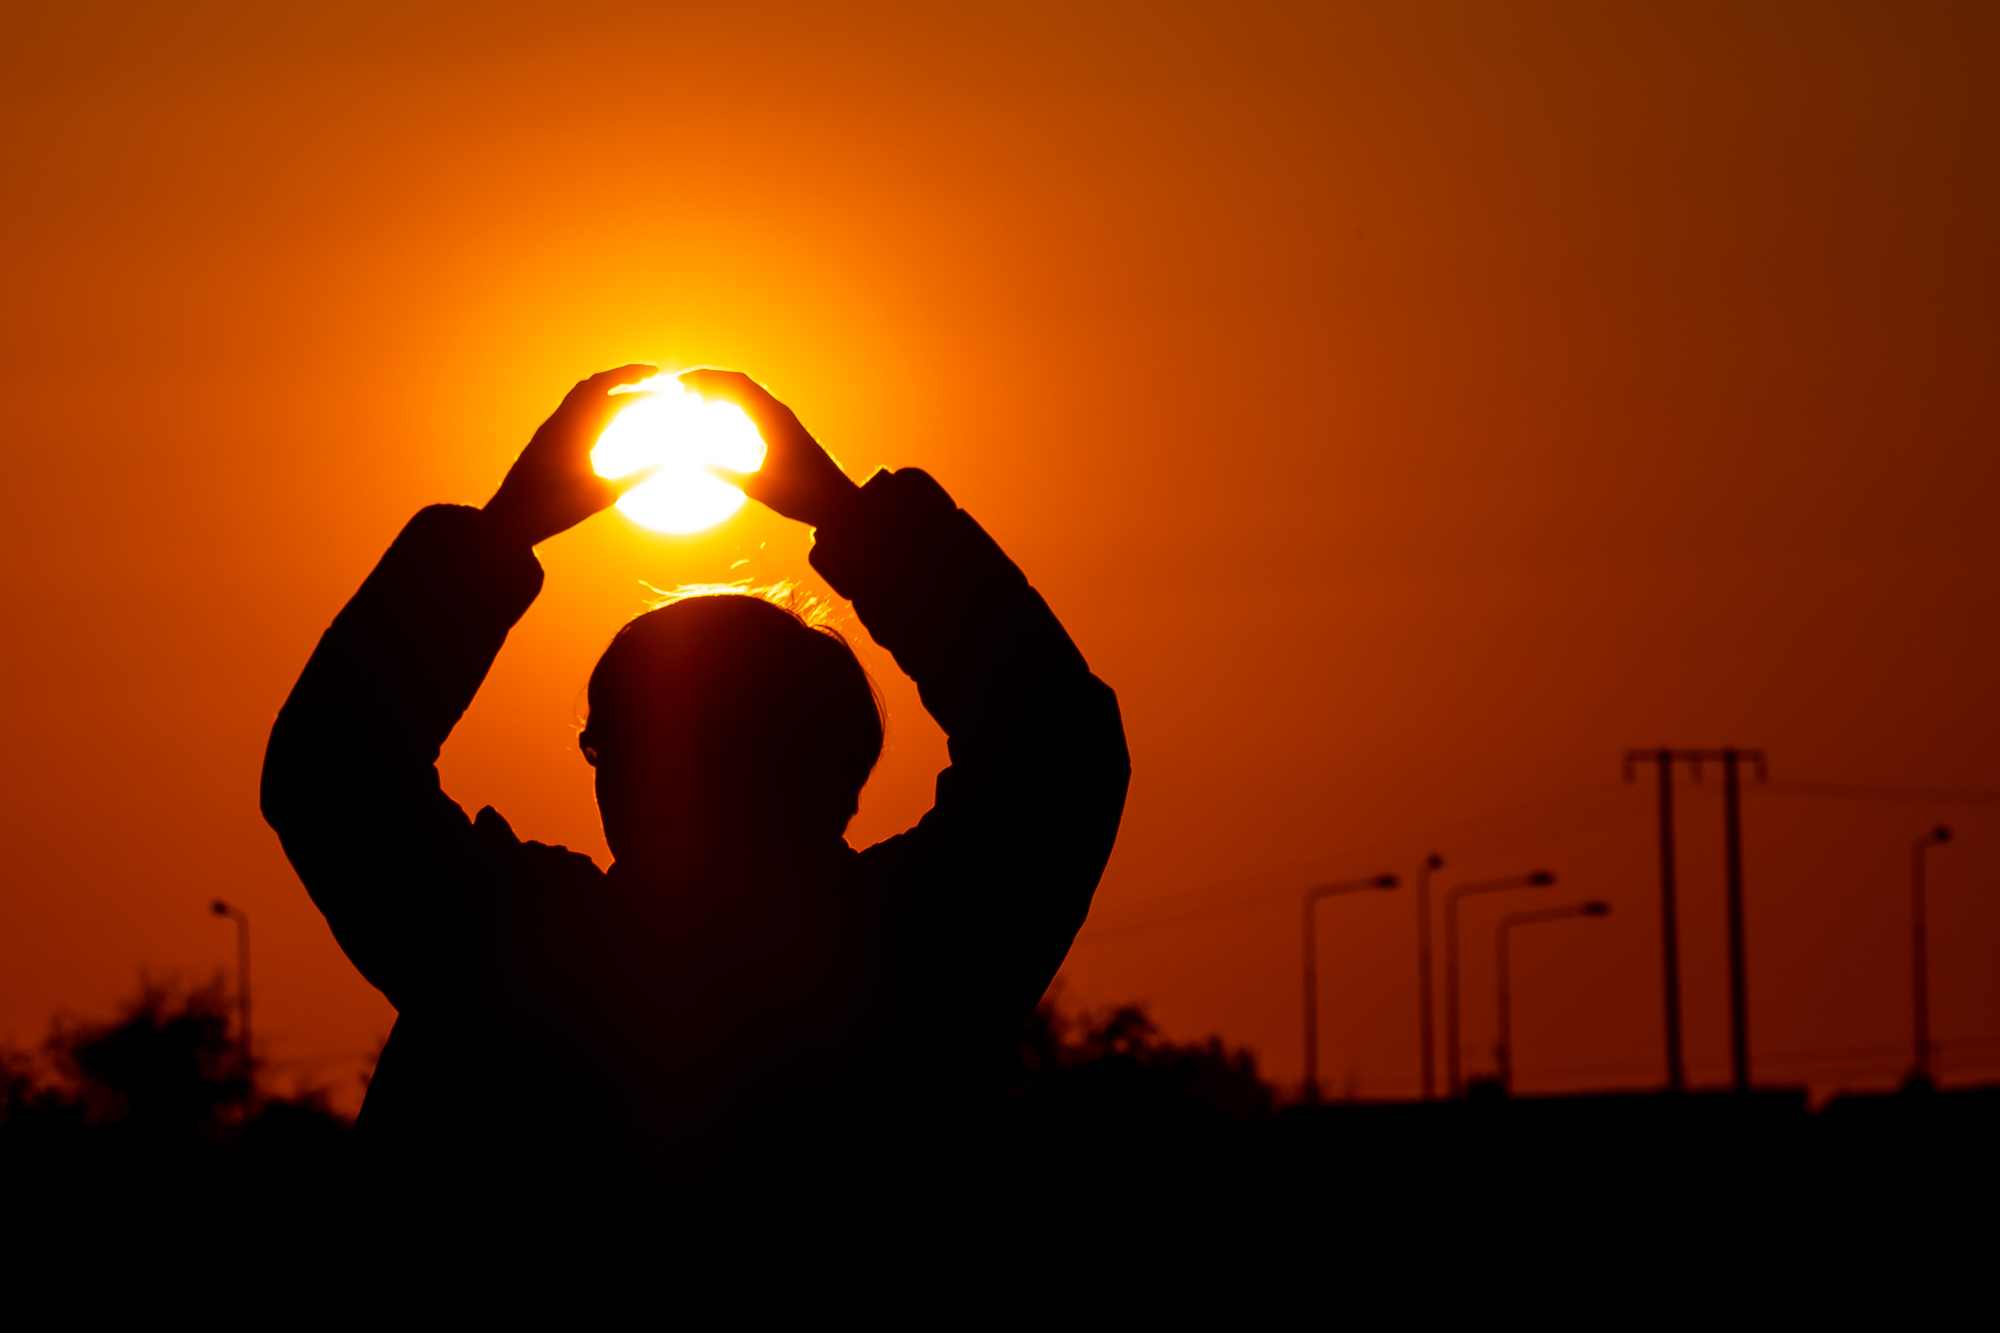
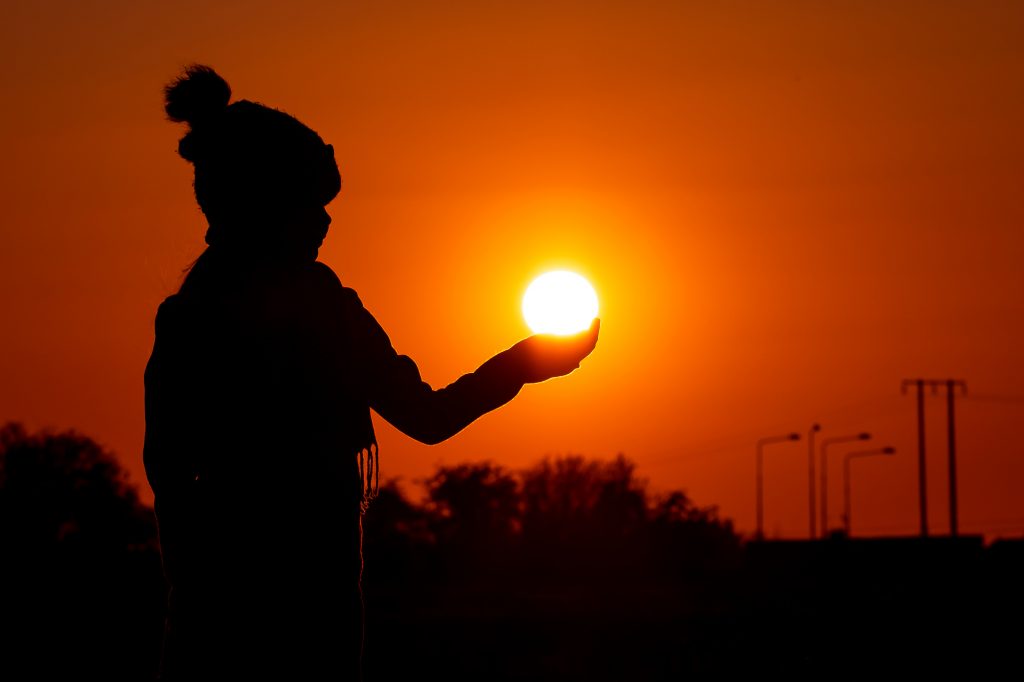
On one particular evening, the conditions were absolutely perfect. The sun was like an orange globe in the sky. I had wanted to try and get shots like these before but with haze in atmosphere the sun just didn’t have enough definition I wanted.
I got each of my kids to pose and then stand absolutely still as I moved around to get the exact point of view I wanted for the effect to work. There was some trial and error but it worked. They had great fun comparing their shots with each other.
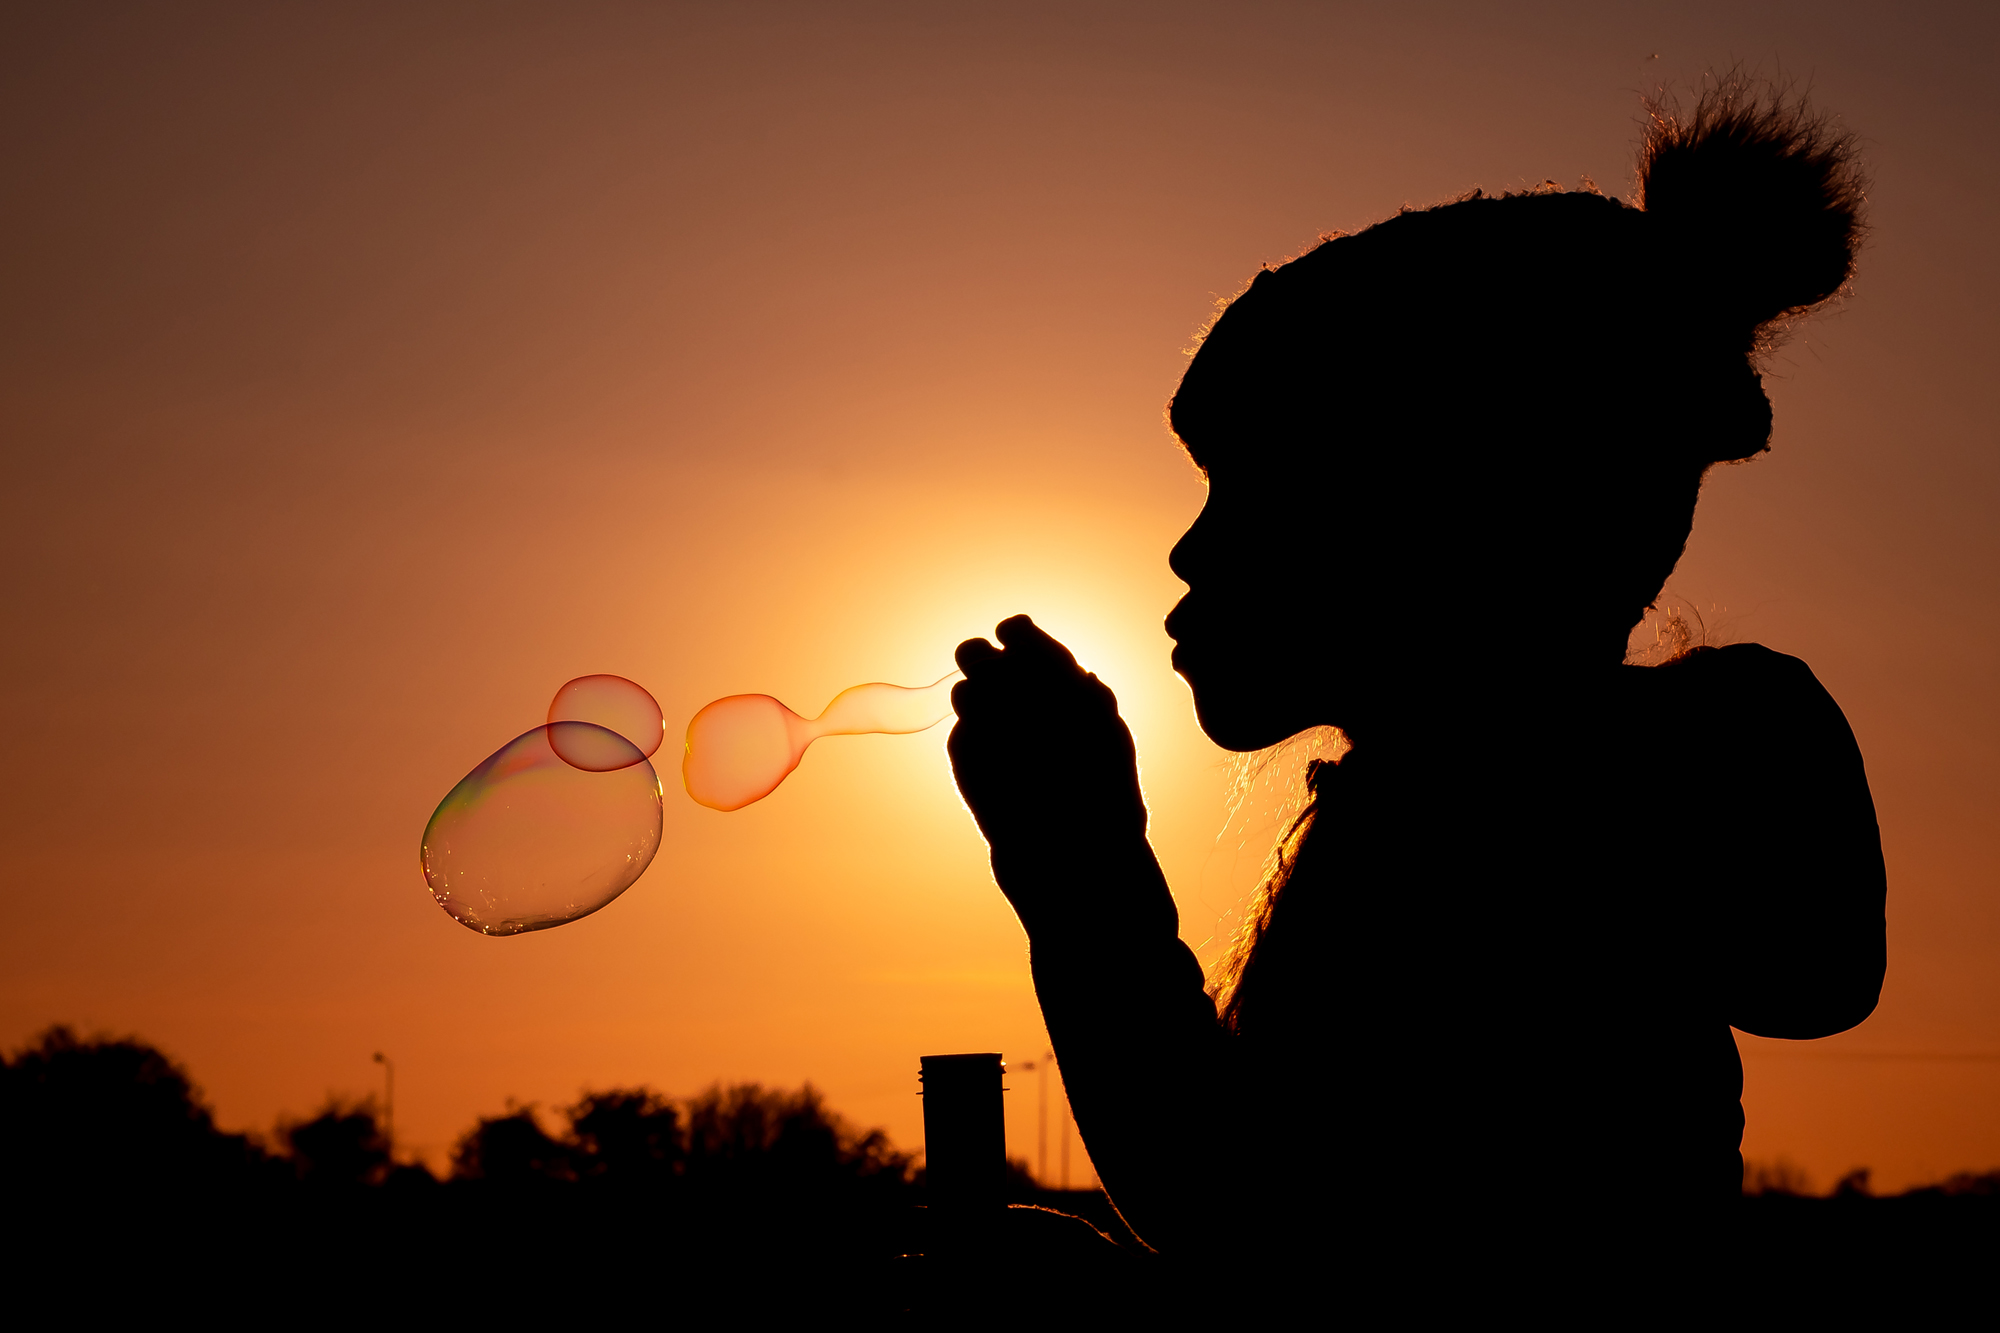
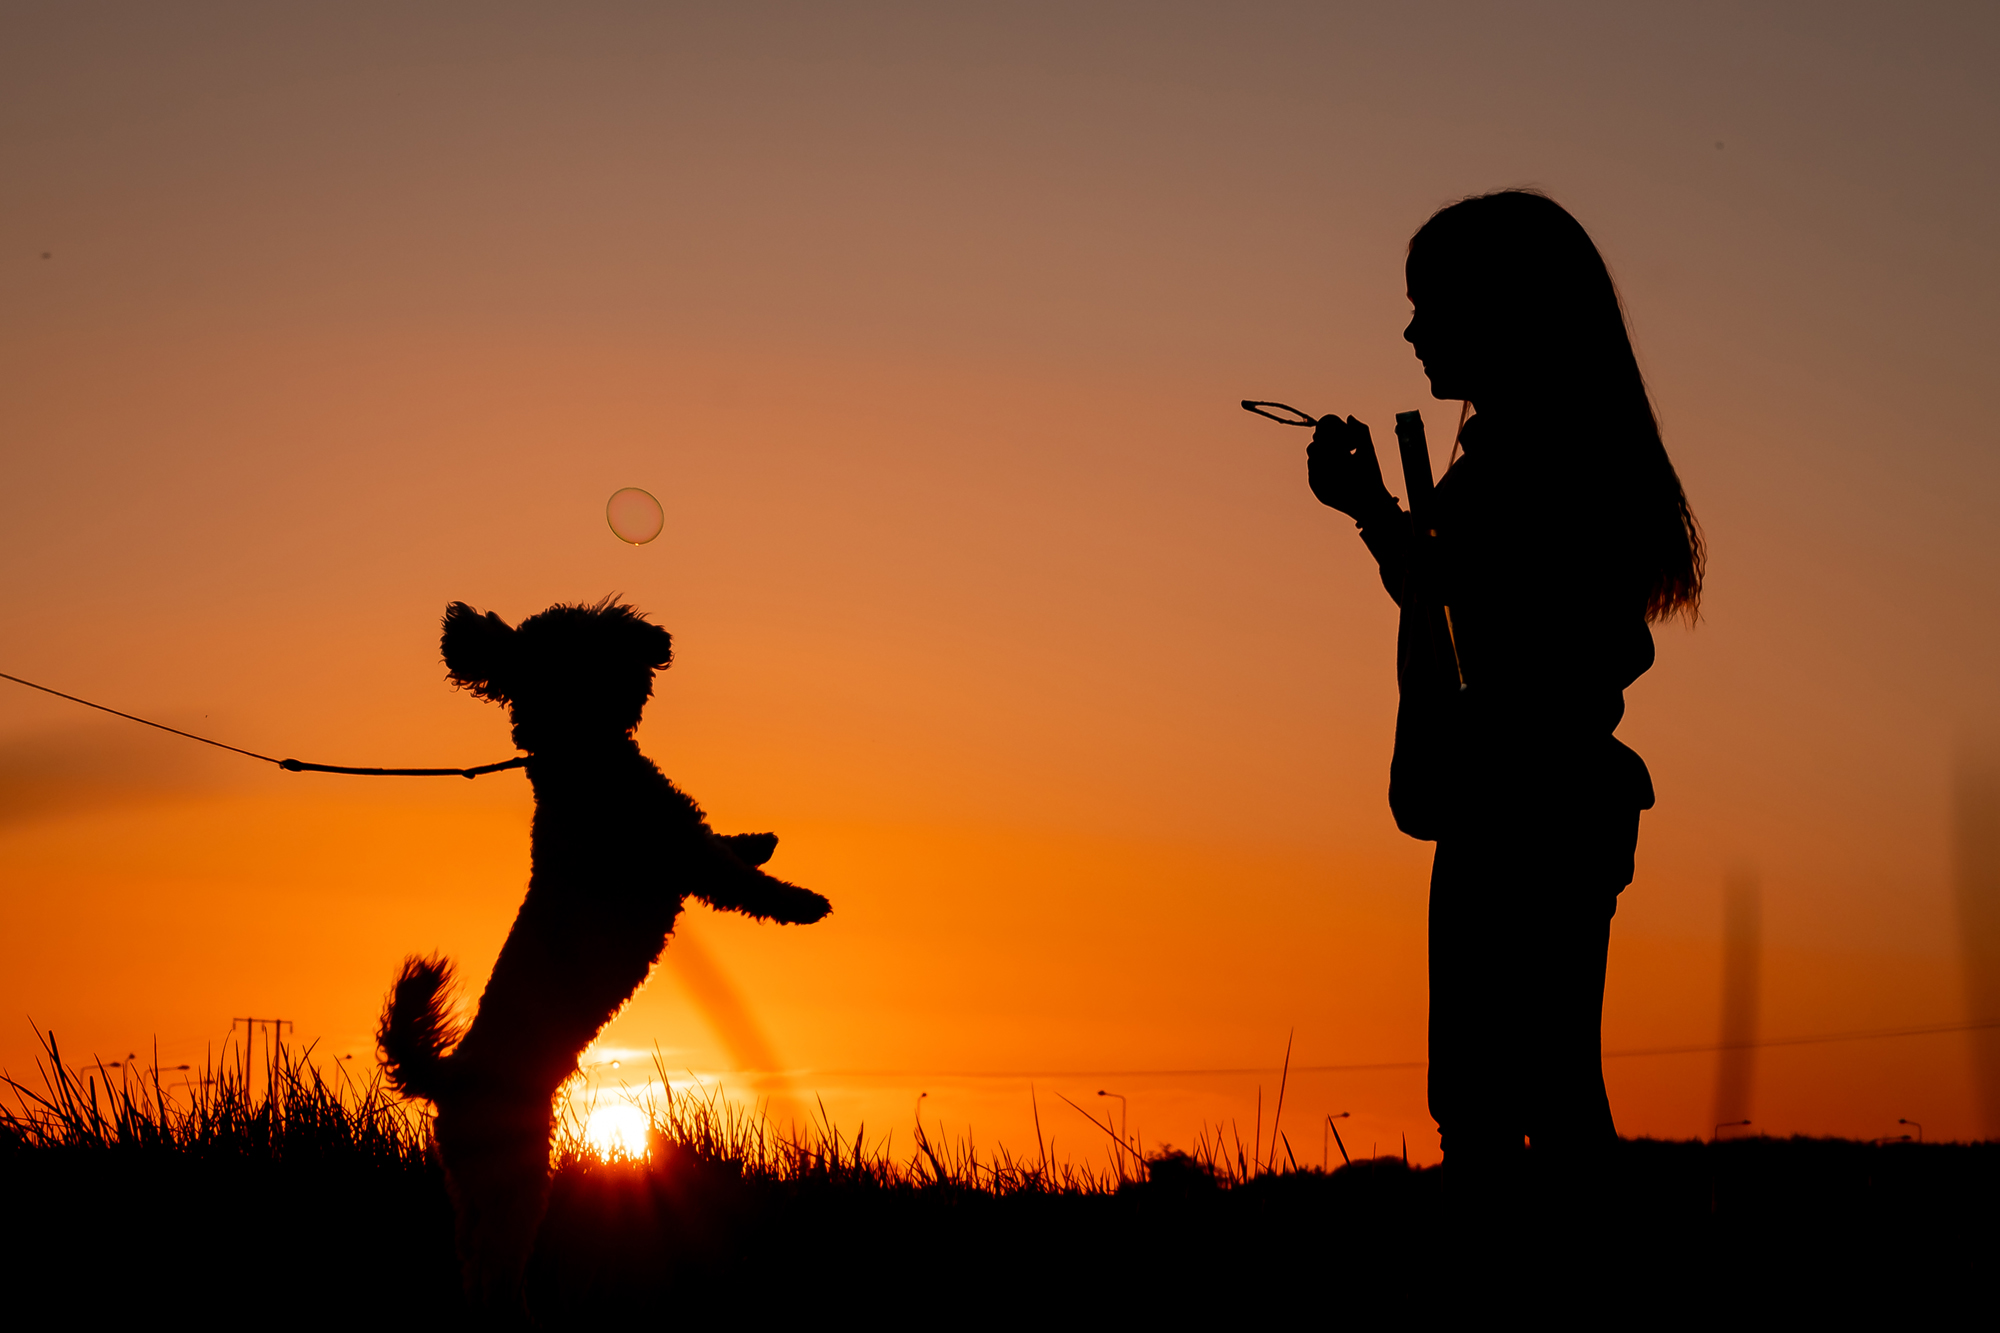
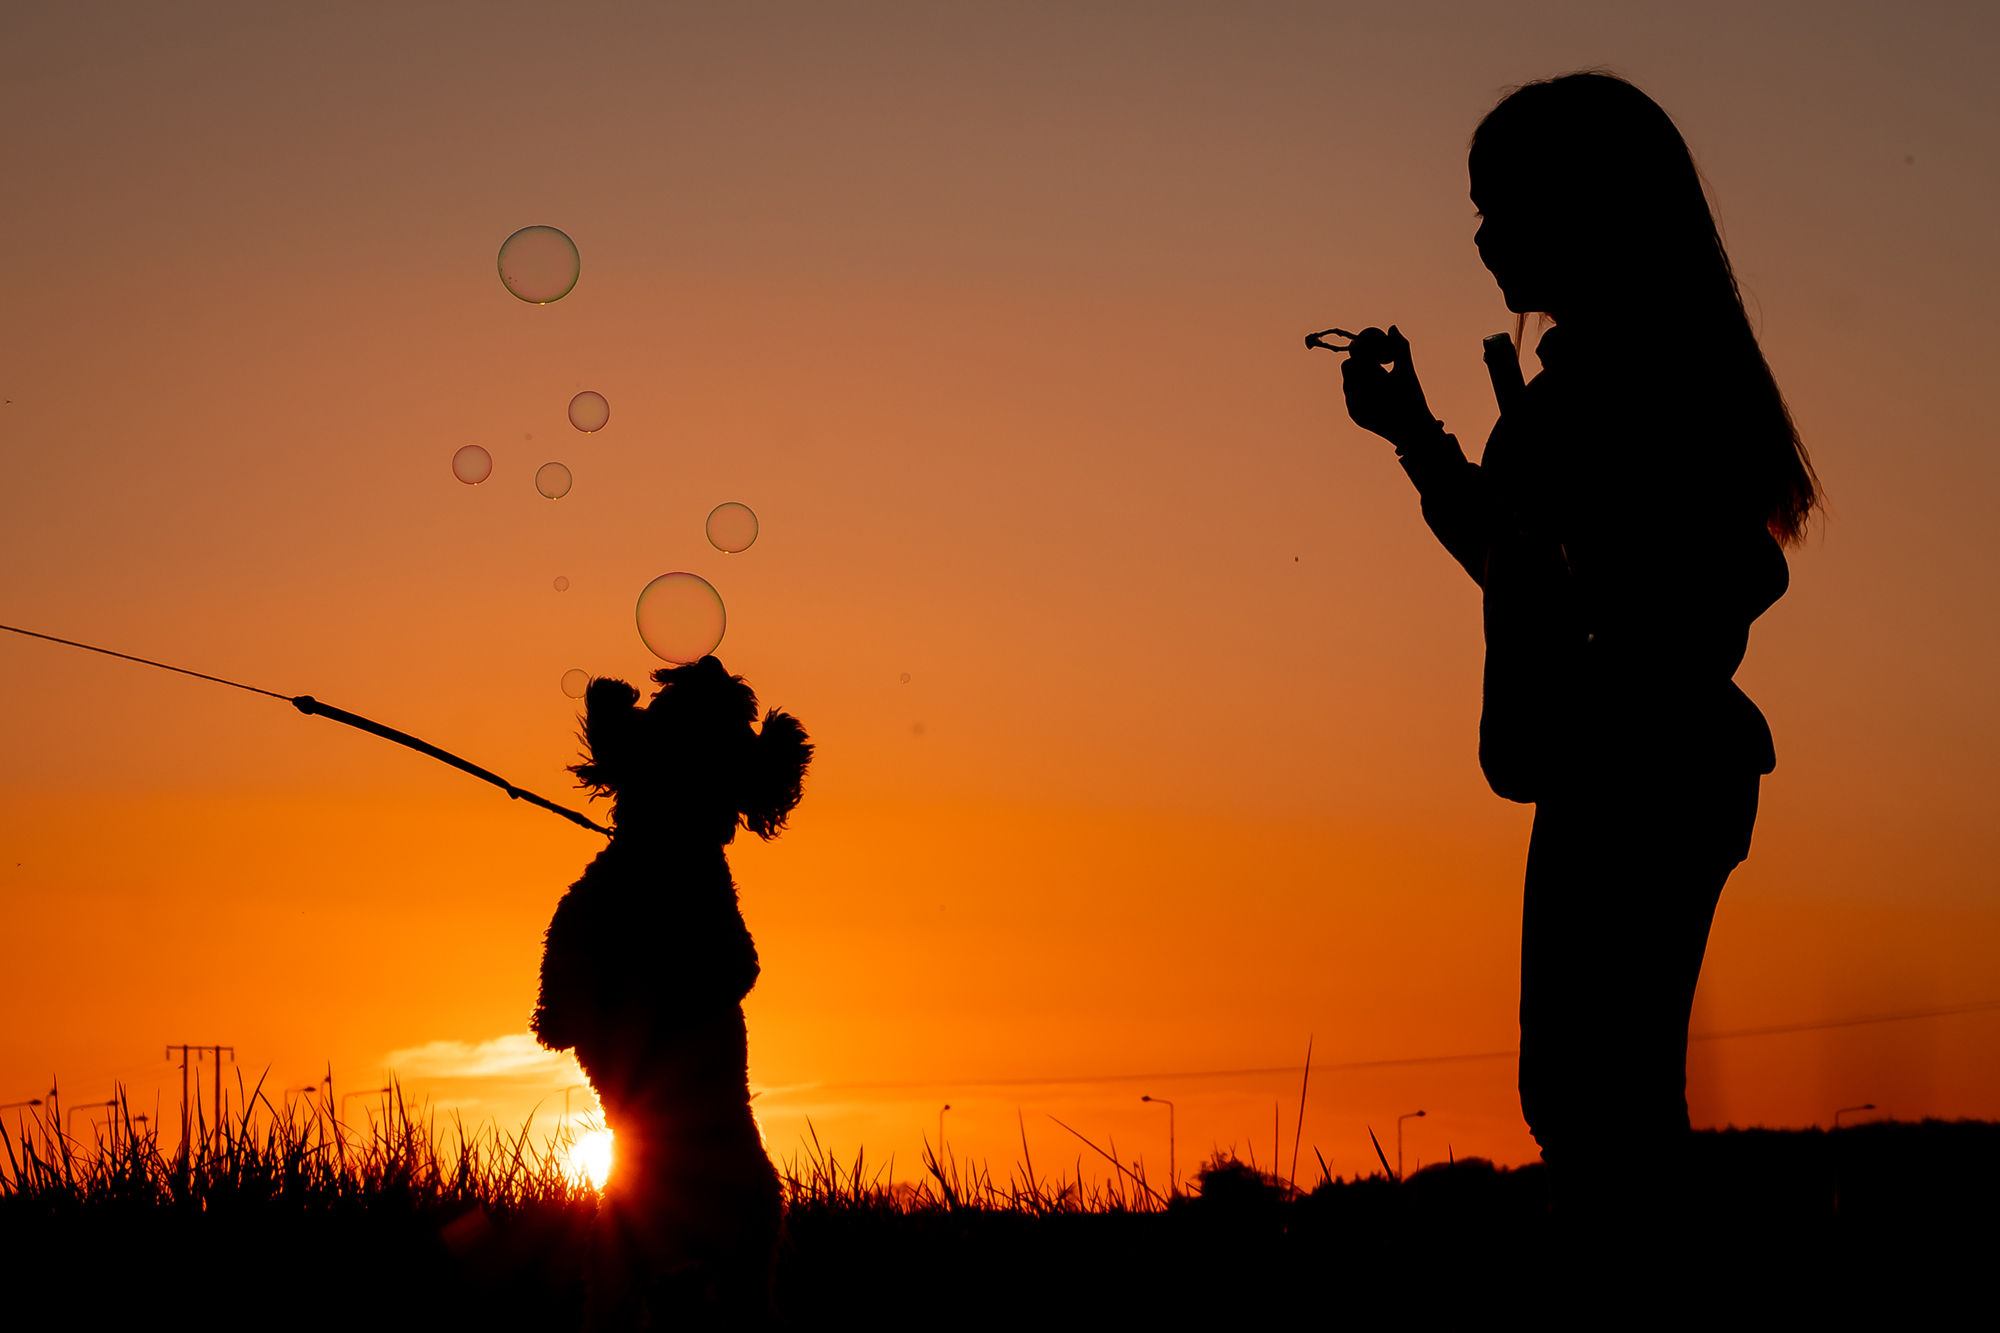
It got to the stage that we would plan a shoot before we left the house and bring props. These shots with bubbles worked the best. Even the dog got involved. The one thing I had to watch out for here was to use a very fast shutter speed to freeze the action. If it was too slow the images would not be sharp due to motion blur as there was a lot of movement. Particularly with the dog.
There are a couple of additional things to bear in mind when trying this type of photography. All of the photos here are backlit which means the light source is behind the subject. Apart from the shots where the kids are pretending to hold the sun I waited until the sun was close to or touching of the horizon.
This meant that the strength of the light was at it’s lowest and wouldn’t overpower the rest of the image. The other thing is that I always make sure that my lenses were free of dust or fingerprints as these can cause flares as the sun hits the lens.
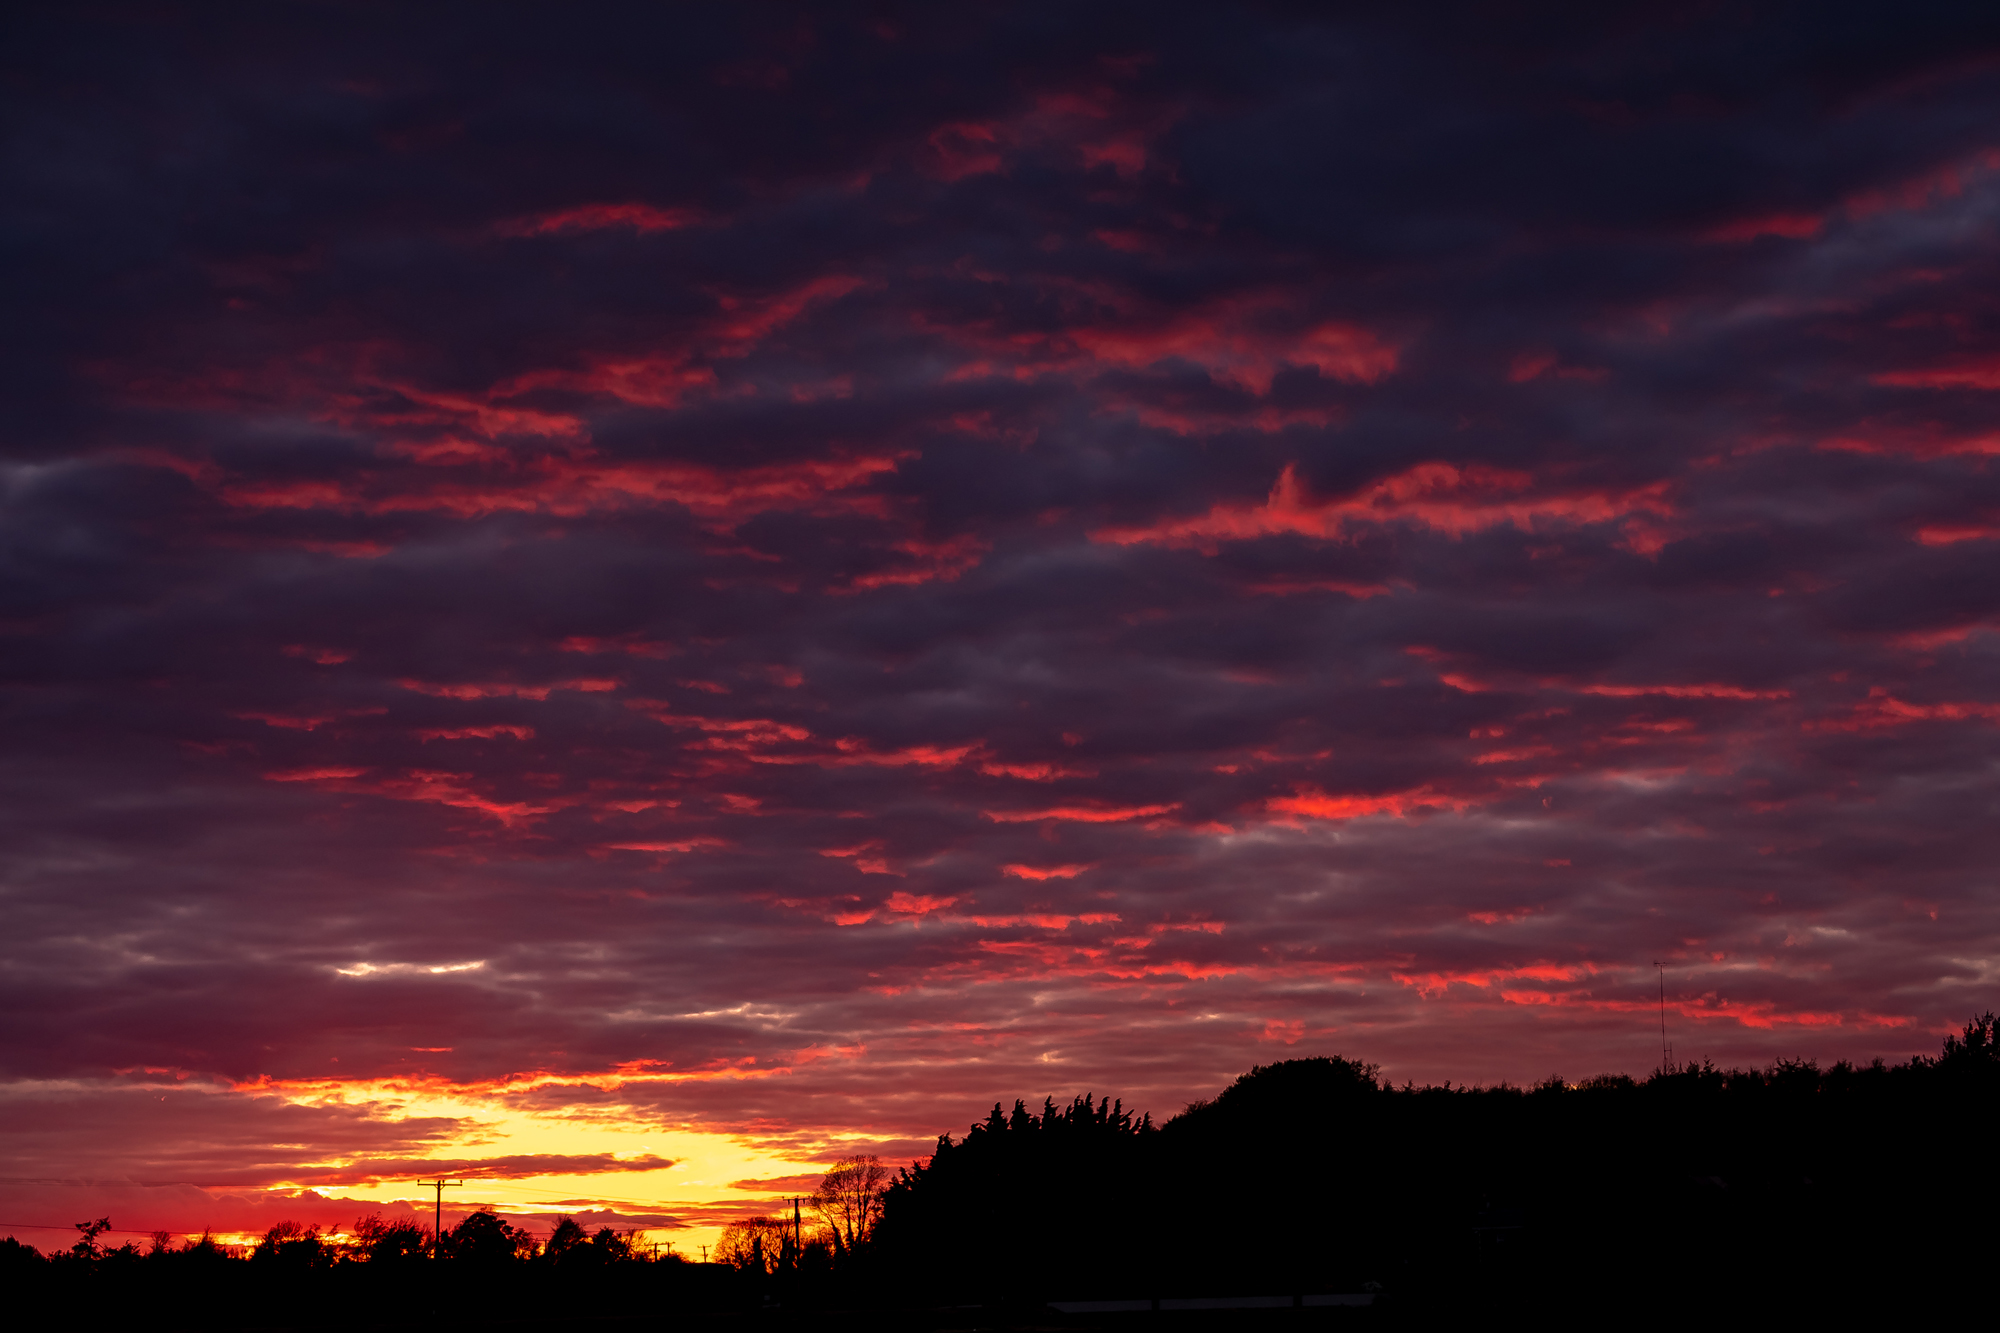
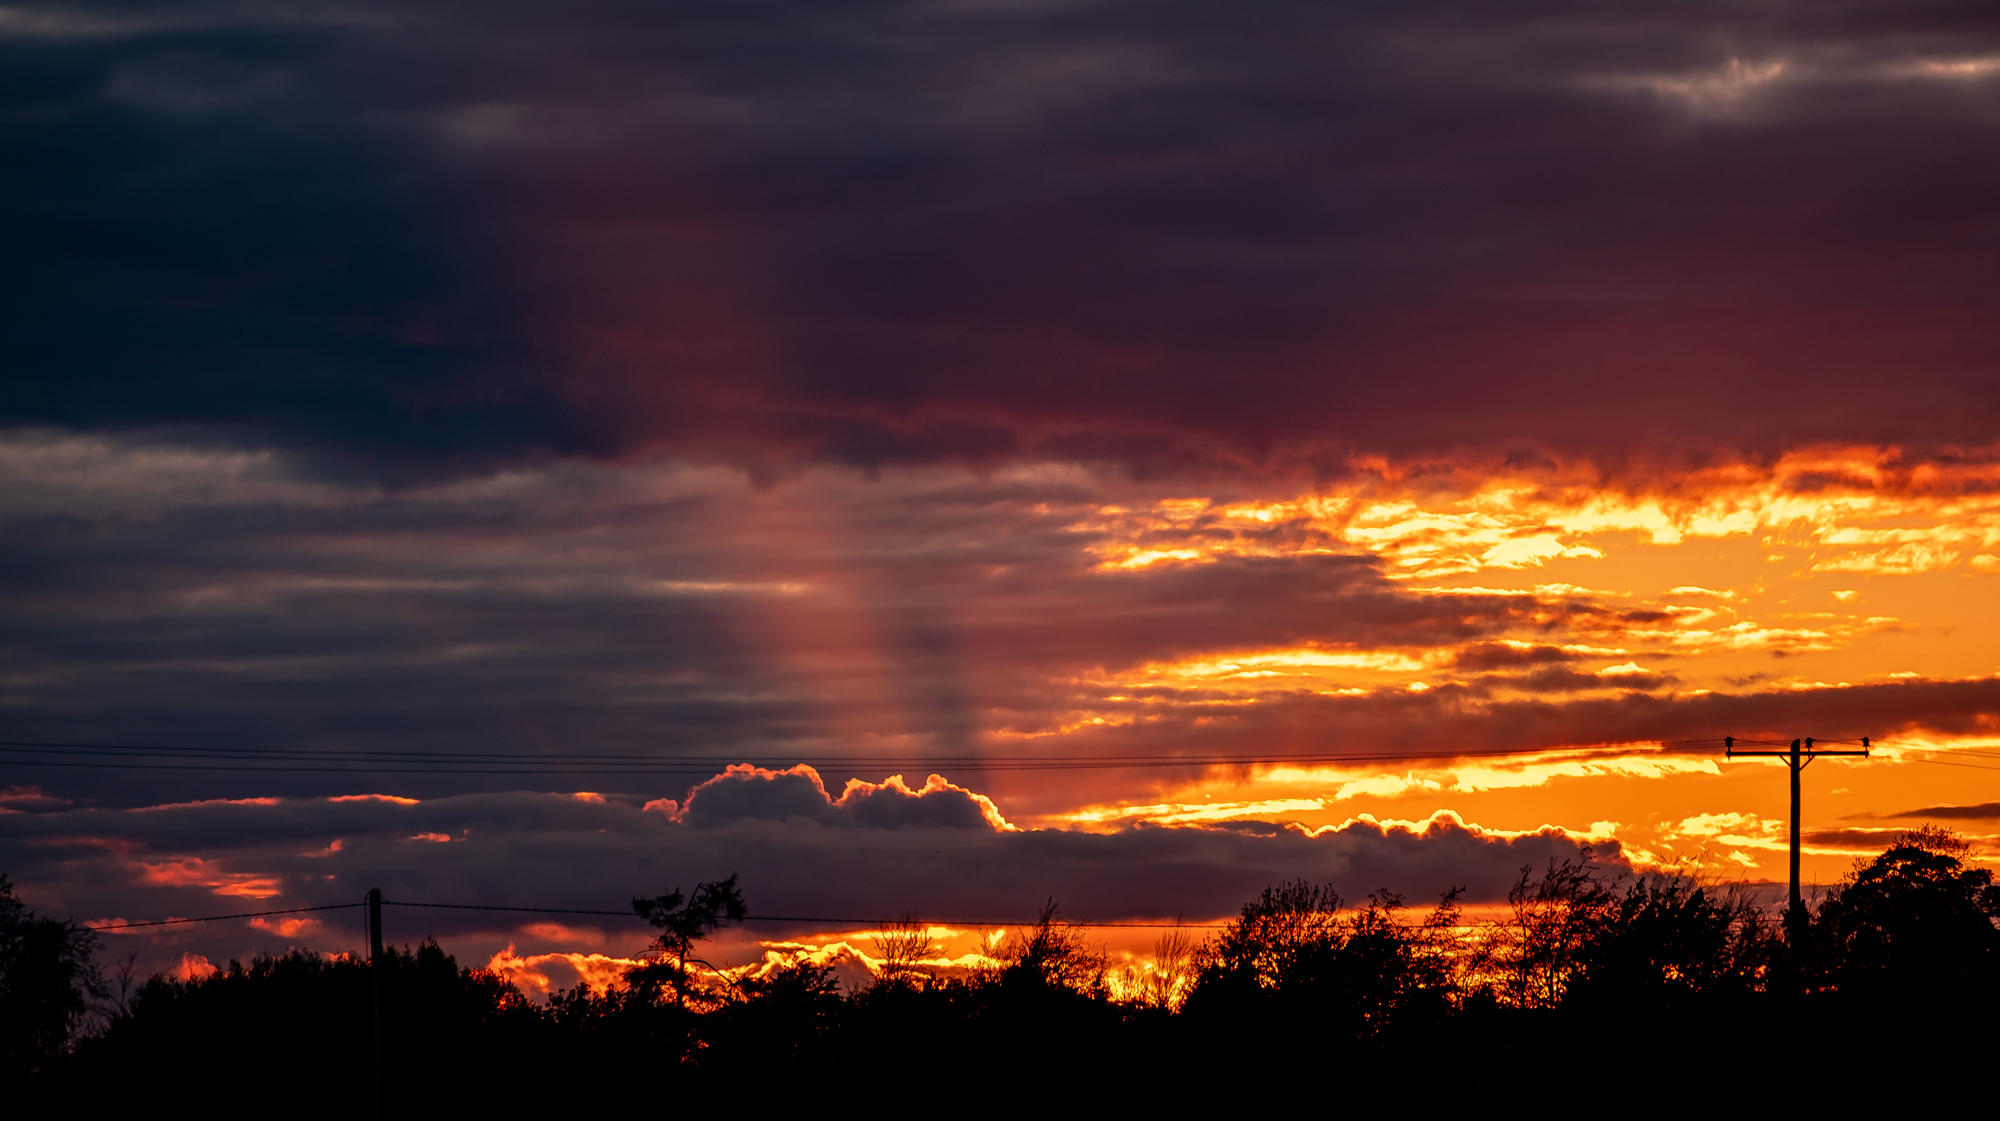
And finally, the last piece of advice applies not only to sunsets but all types of landscape photography. Be patient. Conditions and light will change as the sun is setting and you can get very different images of the same scene. These 2 shots were taken within a few minutes of each other from the same place.
Also when the sun does finally sets behind the horizon don’t leave as there will usually be a bit of a light show with the last remaining light of the day creeps over the horizon before finally disappearing. Both of these were taken about 10 or 15 minutes after the sun actually set.
As I said at the start we have experienced some amazing sunset recently. It is great to be able to capture these and share them with others.

“I am an award-winning professional photographer based in Tullamore, Co Offaly. I am also a member of the Irish Professional Photographers & Videographers Association.
My photographic journey began back in 2008 when I got my first iPhone. I started out by taking snapshots of my children. As the old saying goes ‘The best camera is the one you have with you’ and I always had my phone so I was able to capture all those candid and impromptu moments of early childhood.
I started my photography business in January 2018 and in my first year, I was accepted as a member of the Irish Professional Photographers and Videographers Association. I also won the Photographer of the Year Award at the 2018 Midlands 103 Customer Service Awards.
Photography is not a job to me, it is my passion. When I am not taking photos for clients I am constantly taking photos for myself in order to keep learning and improving. When I am taking photos for myself or for my clients my goal is to use the images I create to tell a story and give the viewer an emotional connection to the photos.”



Albert Smith
May 4, 2020 @ 5:51 pm
Some really nice shots here… I particularly like the three “optical illusions” where the children are holding the sun.
Just one more positive testimonial for the mirrorless finder and its ability to show the effects of exposure compensation. I have grown so use to it now that when I do go out with my DSLR and dial in some compensation, I half expect to see the finder change. Of course it doesn’t and I often bracket several shots for insurance.
With my Fuji cameras I get the shot on one frame after viewing and adjusting the well placed compensation dial. It is hard to understate this advantage with mirrorless finders.
Again, nice work here!
Paul
May 4, 2020 @ 7:18 pm
Thanks very much Albert. Good to hear that you enjoyed this.