Passion made me do it
If you read this, I want to say thank you! I’m really grateful that I have the opportunity to share with you my story, my life experience and the most important: My journey through the art of photography and life, in general.
I’m a 24 years old photographer born in the beautiful capital city of Romania, Bucharest.
First things first. I want to introduce myself, how I decided to walk on this path, where do I come from, what is my ritual in order to achieve my shots and the final products, what gear do I use, what software help me achieve the desired results and what inspires me to wake up everyday and create.
My name is George-Daniel Cristea and this is my story:
I was born on 20th November 1995 in Bucharest, Romania. Growing up, I realised that the creative field is my thing.
All the time that I spent in my childhood was creating things, playing around with different devices, discovering how things work, I even had only one “toy”: a set of LEGO brought to me by my uncle from the United States.
On a daily basis, I used to draw, paint, sing and do a lot of other kid’s crazy stuff, but this is the moment when things got really serious and the moment I made my first contact with a camera: My father’s Sony Cassette Camera: The Sony Handycam CCD-TRV96.
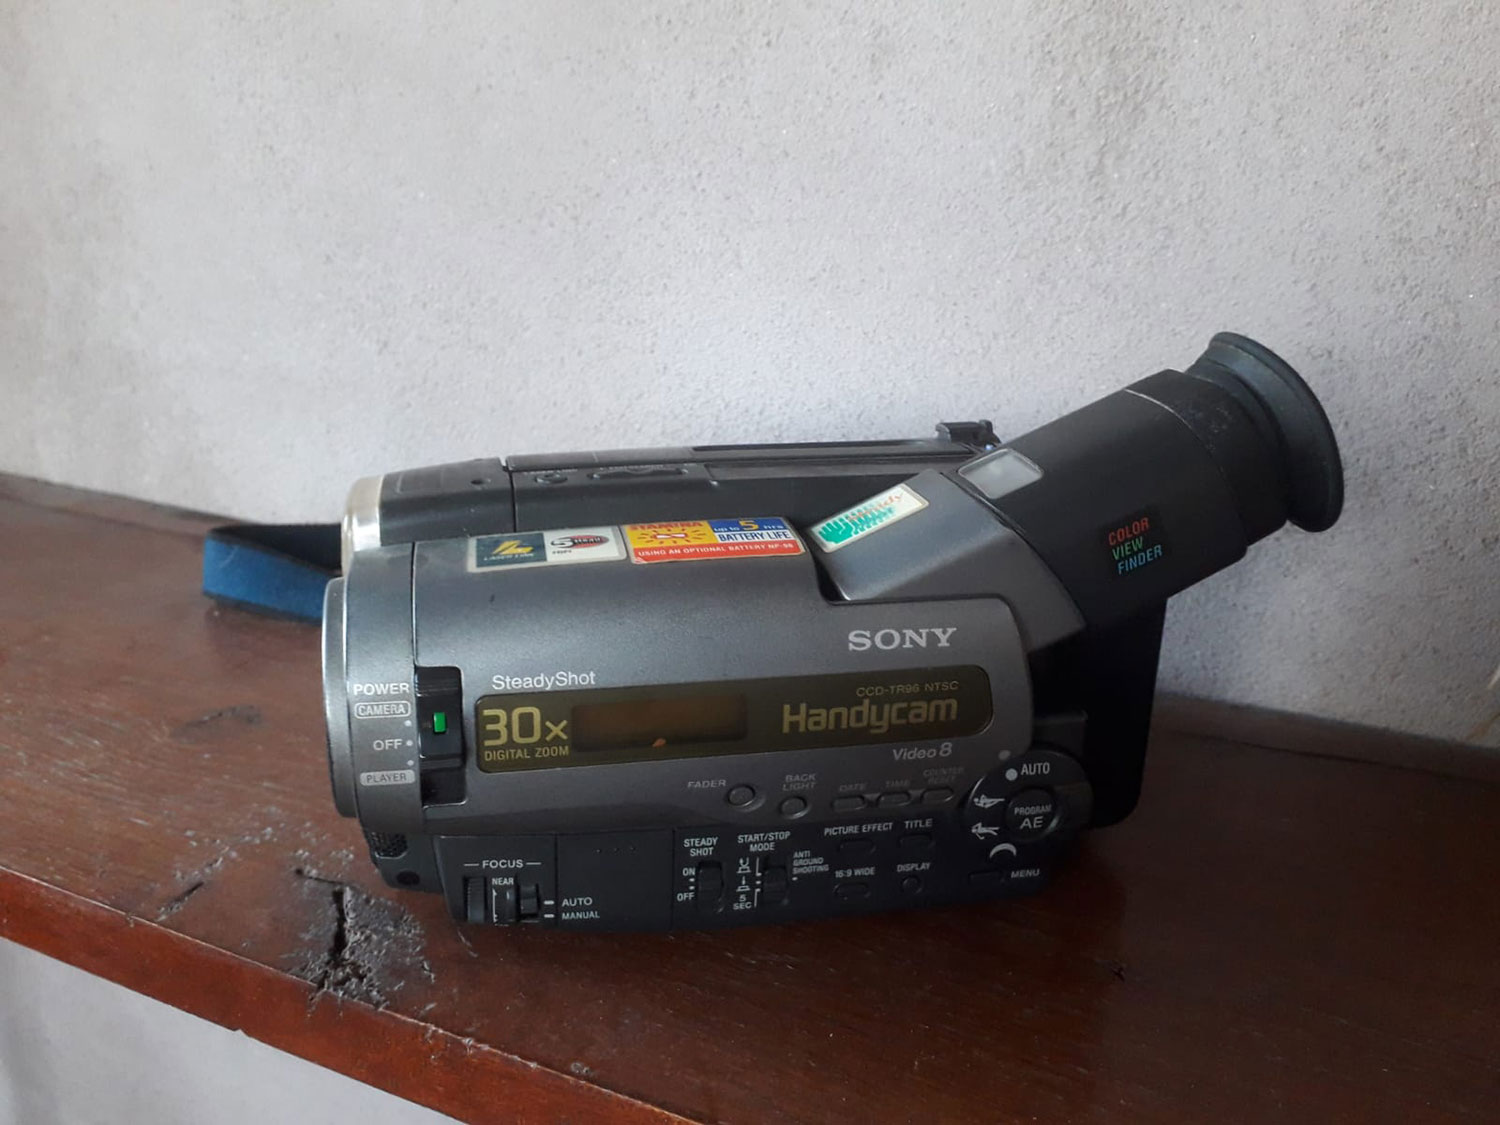
The first contact with this camera (when my father actually let me shoot my first video footage ever with his beloved camera) was really epic: I shot a rare tornado at the age of just 10 years, at the seaside of Romania (this kind of natural events are not common in my country).
Some years later, I kind of lost the direction in this field, maybe because of the age I was just switching things and see how different activities suit me the best and I pursued my other passion which is Design.
I studied architecture, design and composition in the National Architecture and Design Highschool “I.N. Socolescu” in Bucharest.
In my second year of highschool, I converted my father’s old cassette tapes to DVD and watched mostly all of the footage that I shot back in the days and my inner voice was like: “Maybe you need to study this field more and pursue this photography and videography thing also, since your first shot was so epic, at the age of 10, filming a tornado.
I remember a funny story from that period of time because with all the money that I saved (not eating all day at school to save the pocket money that my mom gave me) and what my family gave me as a gift, I bought (exciting moment, drums, drums, drums) … The Fujifilm Finepix S1500 and yes, FUJIFILM was the first camera I ever owned.
I got so excited because I finally had my camera and I was feeling kind of like my own boss not depending on my father’s camera like I used to do in my childhood.
By that time I was so excited that I wanted to shoot everything: school, street, what I eat, what I do, landscapes, night sky photography (at least I tried), moon shots (at least I tried, again) and more importantly, I was finally able to photograph my drawings, paintings and graffiti artworks (I also used this camera to create time-lapses and videos when I was spraying the walls).
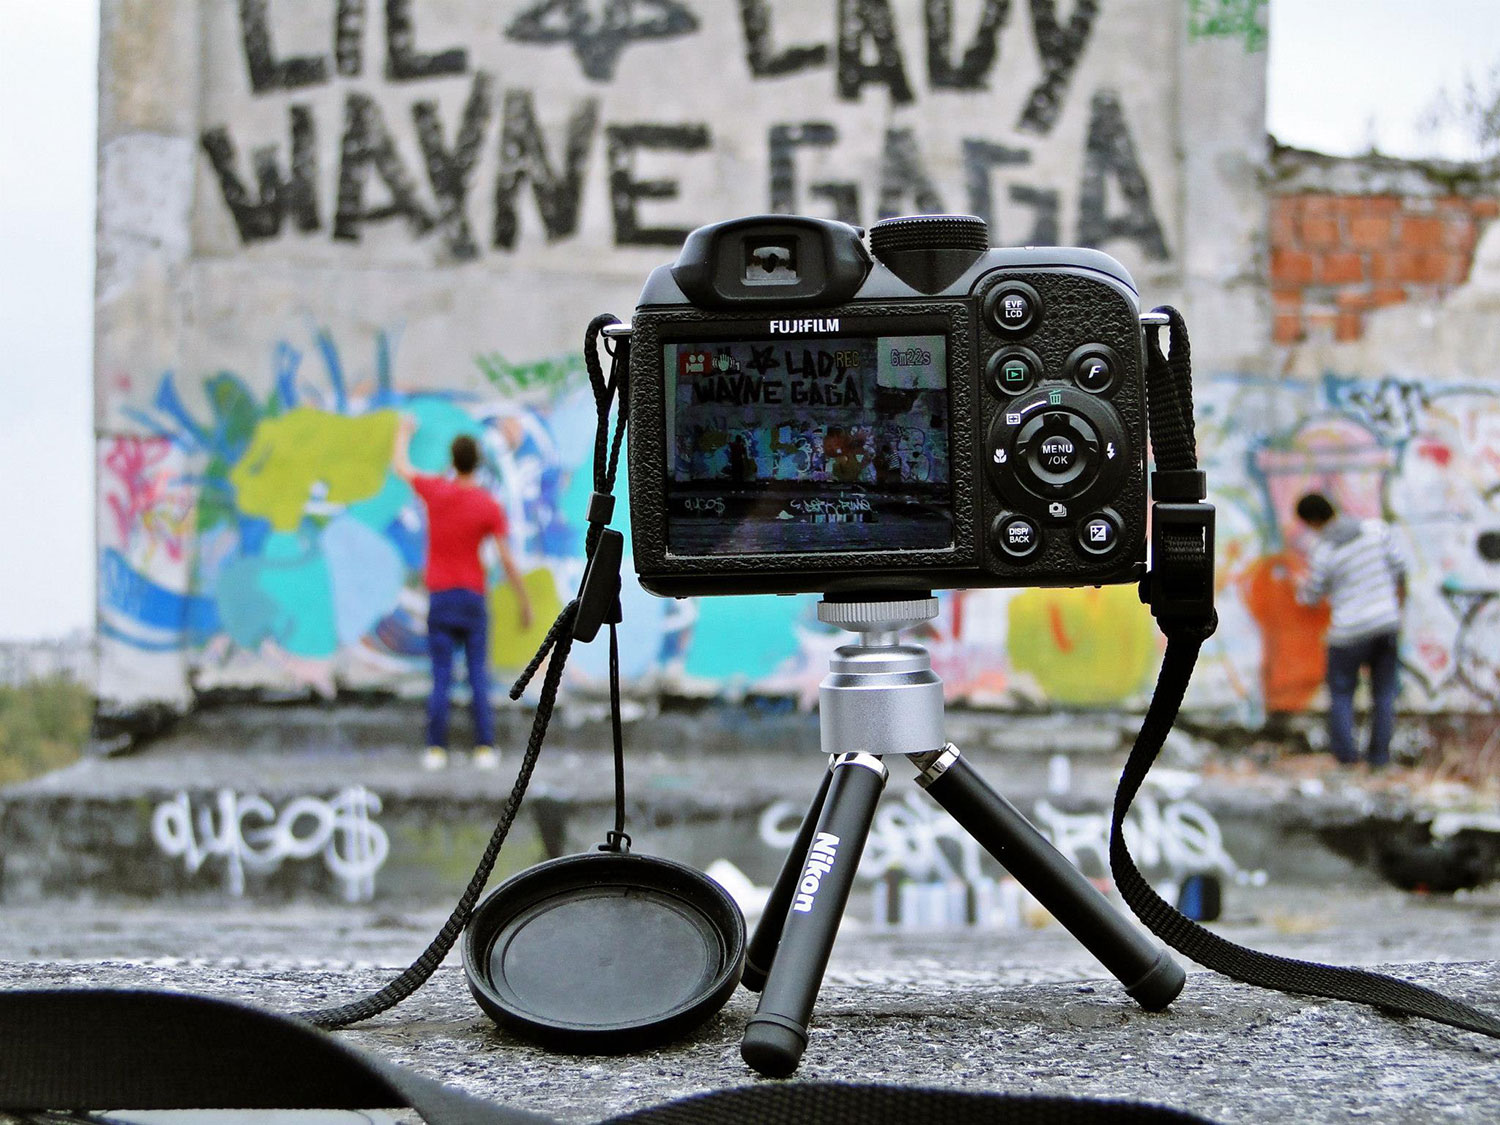
For some of you that actually don’t know this camera model, this is a fixed, not interchangeable lens system, so, at some point, you can get kind of “limited” in terms of compositions and different effects and outcomes which you can benefit from using a camera with interchangeable lenses.
So, I decided to sell my camera, I was feeling disappointed by myself for doing this but I really wanted to move on in order to grow. After selling the camera, I found myself in an embarrassing situation not having enough money to buy the new camera that I wanted. I was thinking on and on what to do, how to make more money and this is also a funny story because I decided to buy the new Samsung Galaxy Google Nexus S because I really wanted to take photos and I had 0 devices to help me doing this.
After this, I found somebody who wanted really bad this phone and gave me in exchange the new iPhone 4. I was really excited because I found myself owning the new iPhone but then I was thinking: “how all of this started?; I wanted to buy a new camera, this is why I sold my old camera, to buy a new one, not a phone…”. I looked on the Internet just to find out that if I sell my new phone I will get the exact same amount of money that I needed for my desired camera: a Canon EOS 30D.
I loved this new camera, I mean, was something totally different from my first Fujifilm. I eventually started to shoot RAW and learn more about the RAW file format, then I discovered Adobe Lightroom with all the features that are included in this software and I realised how easy things can go if you shoot RAW and edit in Lightroom and Photoshop. I knew a little bit of Photoshop from a boyfriend of my sister at that time who luckily for me, happened to be a photographer.
Taking more steps, I found myself really interested in wedding photography and videography, so, I met new people and they gave me the chance to join the team. I was so proud, I mean, everybody knew from that moment that I’m a pro since I did this for money, but also a lot of that work was awful, but sadly, I don’t own anymore that material. ☹
Fast-forwarding from now on (because I don’t want to make y’all bored), I graduated highschool, sold my Canon camera on the way, and as an all-time rap-lover, music videos were my new target.
I met NELI, a young rap artist from my hometown, Bucharest who was so good at rap battle and writing rap lyrics. We quickly became friends and he knew that I’m a designer and a photographer so we decided to create the first music video together, for his song. Since I had no camera to shoot with, I took some money from the bank in order to buy a new camera for this project, a Nikon D3200.
The Nikon D3200 was a good camera but I felt like it’s not suiting my style so I sold it and started again to film and photograph weddings with other peoples’ cameras.
I did this for a couple of years and, in the process, I used mainly all the camera manufacturers including: Sony, Panasonic, Canon, Nikon but never Fujifilm.
Meanwhile, by the time I was focused on the weddings I started again to create music videos but this time something really big happened. With the help of Andrei Maerean, I started to use the infamous ARRI ALEXA cinema camera and we created together music videos with over 30 million views in total on YouTube.
We also shot documentaries and commercials for the European Union and for the Government using this fantastic camera.
Back to the present moment:
After long, long research of personal experience and online reviews that I read about the new Fujifilm X-T3 with all the amazing specs, build quality, materials, variety of lenses with affordable prices and the most important: The final result that you get using this camera for both photography and videography.
I was thinking and finally decided to go back to the roots and give Fujifilm a new chance like I did when I purchased my first camera, which I told you was a Fuji.
I bought the X-T3 together with the “kit lens” 18-55 f2.8~4 (I cannot even name this kind of lens a “kit lens” because it’s like an insult). Why I’m saying this? Well, because my one and only lens now it’s the 18-55mm f2.8 and I’m not thinking to buy another lens yet. I find this lens amazing and suitable for almost all the shots that I take. Portrait, lifestyle, fashion, landscape, travel, commercial, videography, hiking, wildlife, product and the list can go even further. I like the build quality of this lens, it’s fully metallic and weather sealed, very good aperture for a “kit lens”, very fast auto-focus (when you need to shoot like this), Image Stabilisation and most important: Very lightweight and portable.
Believe me or not, all my recent work is shot using this combination of the X-T3 + the 18-55mm f2.8~4.
I love it!
I moved to Bali and I’m currently living here with my girlfriend Sorina and she is the amazing woman that you will mainly see in my shots from this article. We traveled a lot in Asia in the last year and we took some amazing shots in Bali, Nusa Penida, Nusa Lembongan, Gili Islands, Menjangan Island, Vietnam, Singapore, Malaysia and many more to follow.
I took it everywhere and never disappointed me. Never failed and most of the time surprised me with the incredible final quality that I was able to get using this combo. Don’t get me wrong. Use whatever combination suits your work and workflow the best, of course, you can buy the 100-400mm lens if you’re shooting dangerous wildlife like tigers, lions, rhinos and other “don’t get close to me” animals.
Of course, you can buy the 35mm lens if you want some more stops for your aperture and a better bokeh. I’m just saying that this combination + natural light + Lightroom & Photoshop, for me, is incredible.
I mean, I came to a conclusion where I understood that in photography there are no rules, no excuses and no “My photos don’t look good because I don’t have that $2000+ lens”.
Try to go back in the days when photographers used to shoot all manual, on film with a small variety of lenses, effects, and light accessories and still the results were absolutely stunning!
In my photography, I like to focus on natural light. I rarely use the flash (and when I do, I use the tiny, tiny one that came inside the box free from the lovely team of Fujifilm), or sometimes if I feel like doing it, I’m using a reflector when the subject is backlit or “with the main source of light in the back” to bounce back some light on my subject.
There are also some situations when I don’t use the flash or the reflector at all when I’m shooting against the light and I just dramatically underexpose my shot in order to keep as much as I can from the highlights and midtones because after, I can bring back the shadows to life in Lightroom.
Let’s take this shot for example:
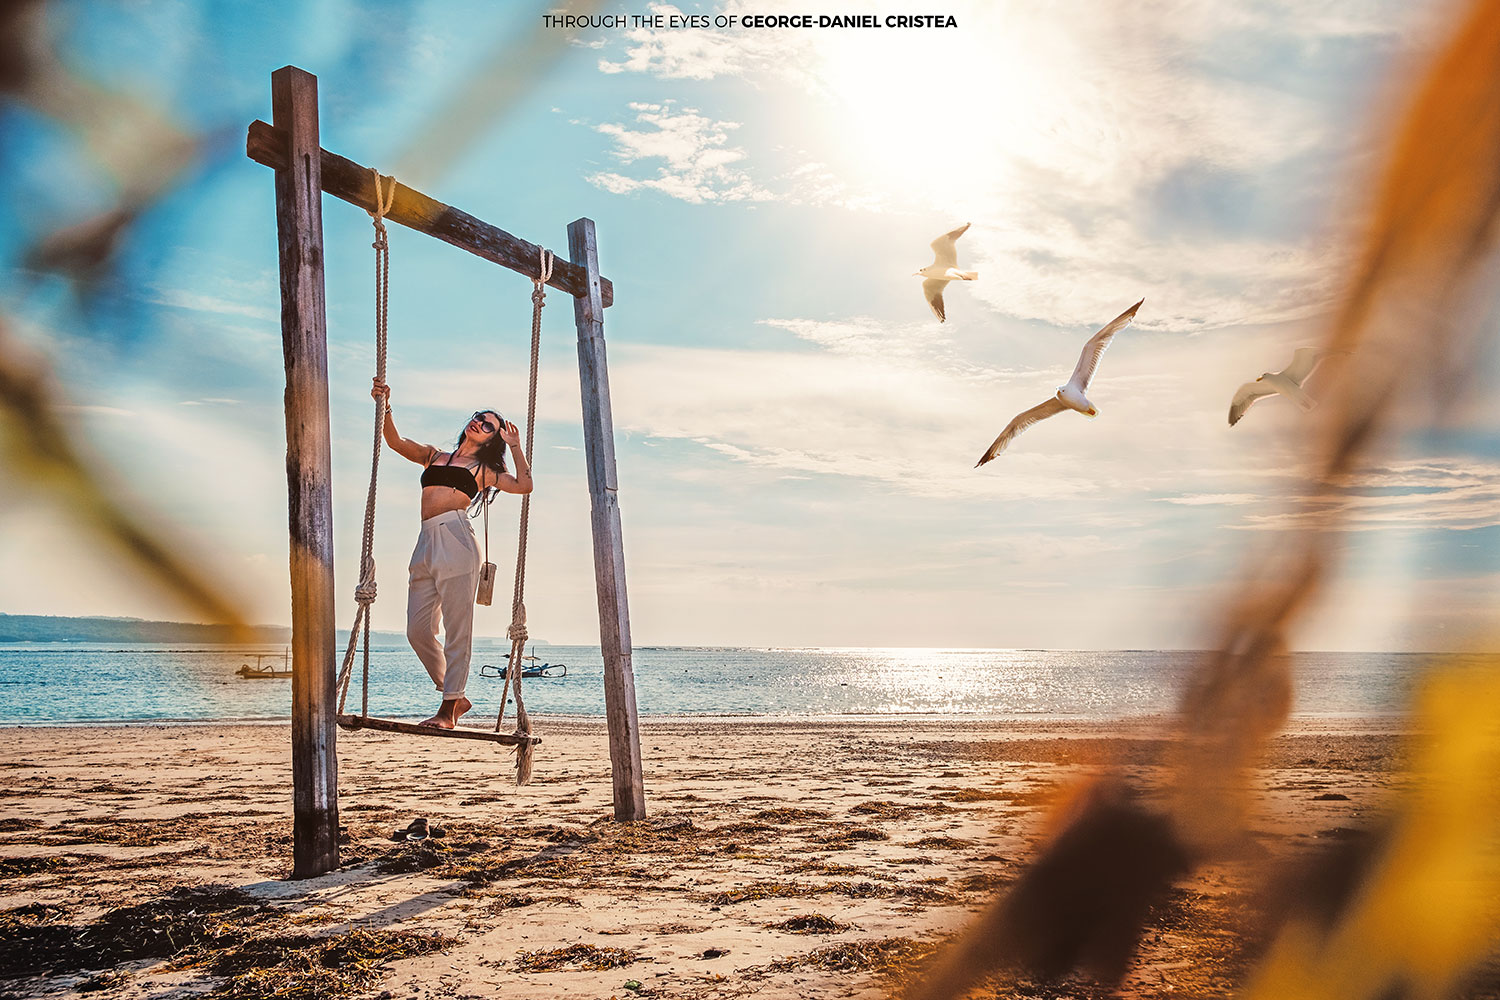
Everything is exactly in the right place. The shadows, the midtones, the highlights. But let me explain the process behind this final product.
First, I imported the RAW file into Lightroom and I put over the file one of my presets that I’ve created.
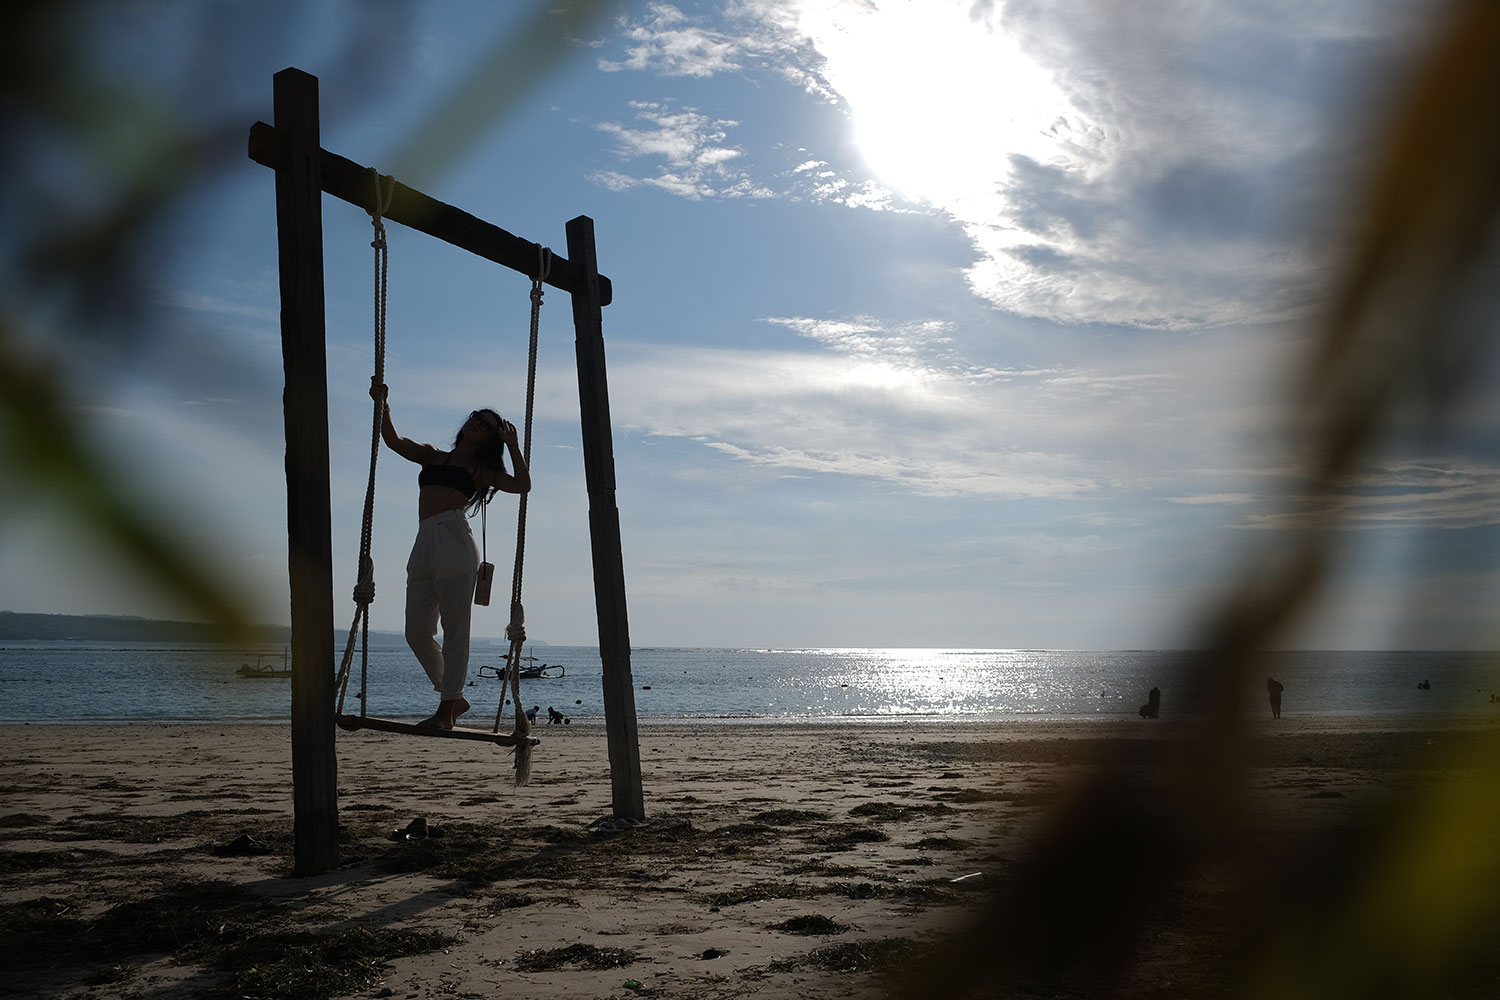
Then, I turned down the highlights a lot and raised the shadows all the way up. I edited a little bit more the colors until I felt that everything is in place and eye-pleasing. I used a radial filter over the Sun to make it glow warmer and to achieve a more organic feel.
I opened the edited file in Adobe Photoshop and I started to erase everything that I didn’t want to have in my frame. I took the clone stamp tool and erased the people from the background, I erased some trash from the sand and everything that was taking the attention from my subject.
After this, I took the Shadows/Highlights tool from Image > Adjustments menu and I raised a little bit more the shadows and dropped a little the highlights.
Mostly all the times when I have the Sun in my frame I like to look on the internet for a lens flare and blend it over the actual Sun using the “Screen” blending mode.
Then, I looked again on the internet for some seagulls because I felt that on the right side of the composition is too much empty space and some flying seagulls will help me bring more motion into the shot as well as giving a more “cinematic” look.
I found the seagulls that I wanted, I imported them in Photoshop and then I go to Select > Color Range to highlight the background sky of the seagulls’ images that I took because the images were not in a transparent background .PNG. I dragged the seagulls’ layer over the Mask icon > hit CTRL + I to invert the mask and then I switched the blending mode to HUE to blend the colors of the seagulls with the colors of my shot.
Then I adjusted more the colors, contrast, shadows/highlights, saturation and levels and then I put the seagulls layer under the lens flare layer because this way you can achieve a more organic and authentic edit because some of the “sun-rays” are actually going over the seagulls. Then I go to Filter > Blur > Motion Blur and match the direction of the seagulls with the effects provided by this tool.
I put together all the elements of my shot (the actual photo + the effects layers that I created) by selecting all the layers > Right-click > Merge layers. Then, I took the Dodge tool and the Burn tool in order to put the final detail over the highlights, shadows and midtones.
I duplicated the only one layer that resulted from this edit and after I selected the layer on the top I go to Image > Adjustments > Color Lookup and selected the FUJI ETERNA 250D Fuji 3510 (by Adobe).cube Look. Then I adjusted the fill under the opacity section to lower a little bit the contrast and the intensity of this effect. This is a trick that I discovered playing around in Photoshop and this helps me a lot for every shot to create a final organic Photo with mainly all the tones and colors of the shot matching together.
With this camera-lens combination I can also take stunning night long exposure photography using the Fujifilm Camera Remote app on my iPhone to be able to remotely press the shutter button avoiding the situation of shaking the camera and ruining the shot. Some samples from these kinds of situations:
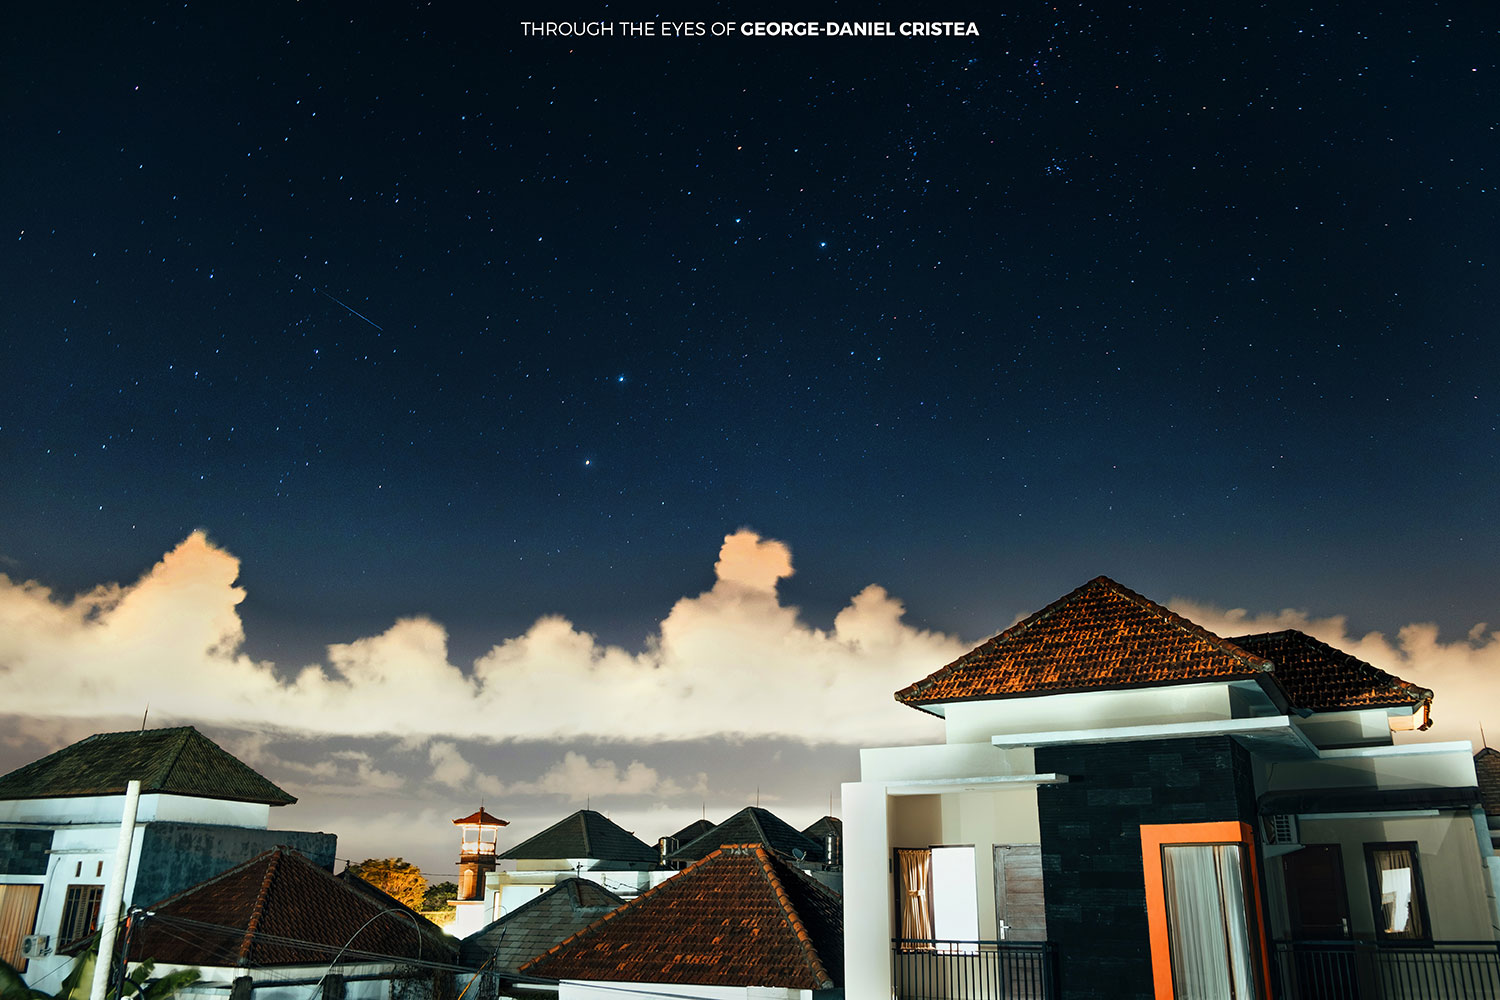
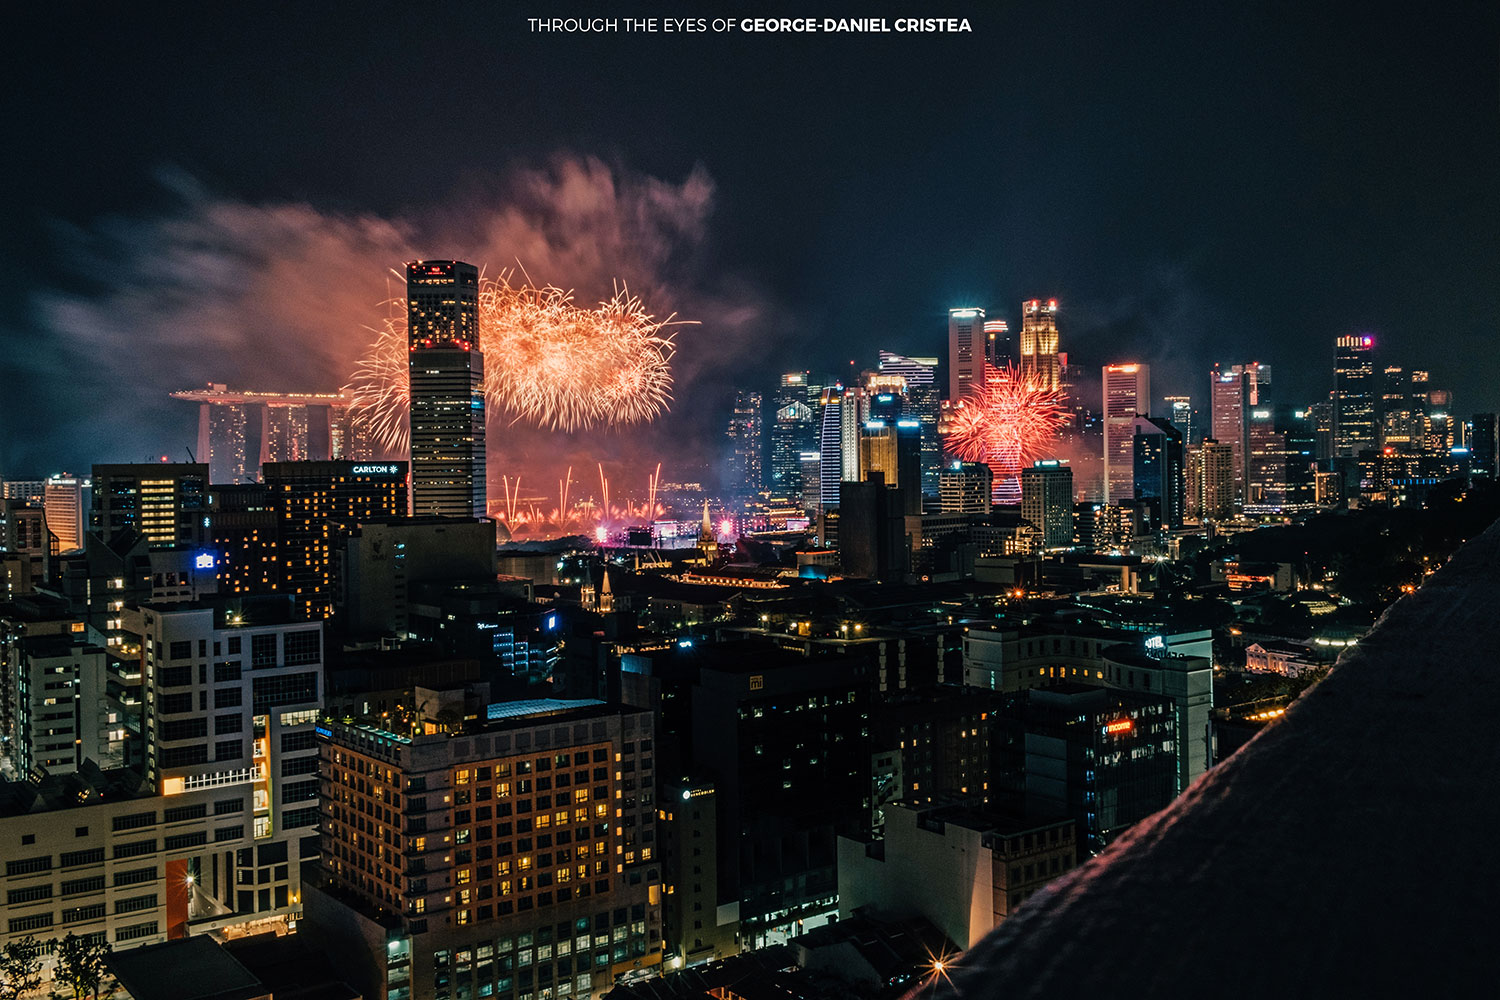
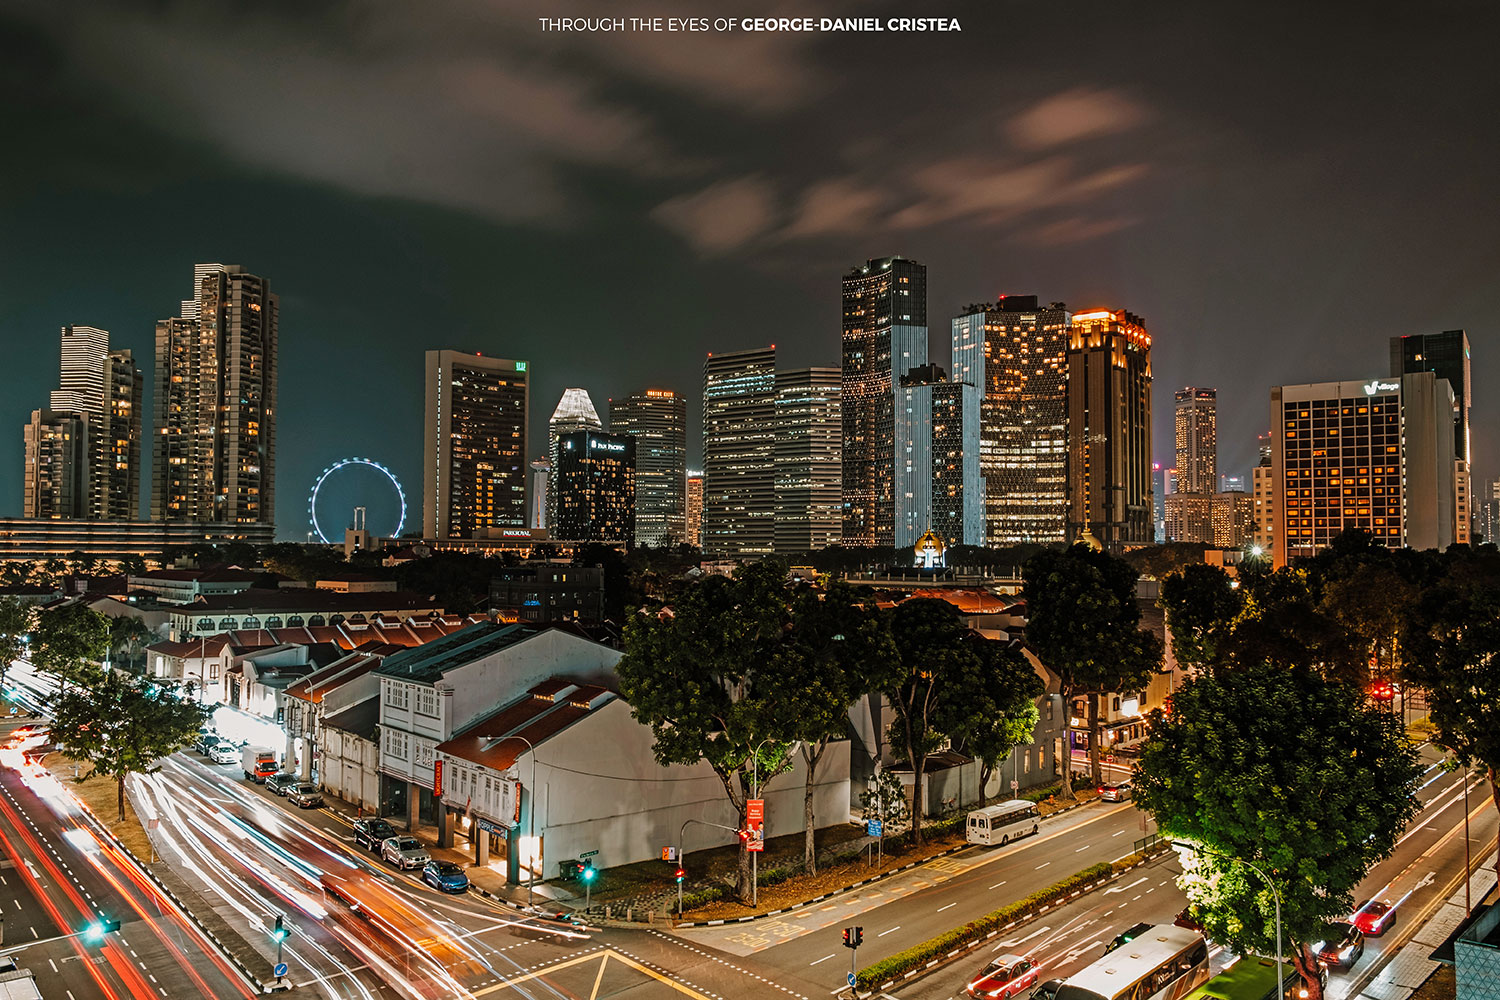
Travelling with your gear sometimes can be very difficult. Especially if you own heavy equipment and you want to carry it all the way to the top of a mountain or on a long hiking where you want to take a stunning sunrise shot.
Oh yes! Talking about hiking, if you come to Bali I recommend 100% to go for trekking on the active Batur Volcano. It’s a must that you go 2 hours past midnight in order to reach the top before the sunrise. Here are some views from this amazing place:
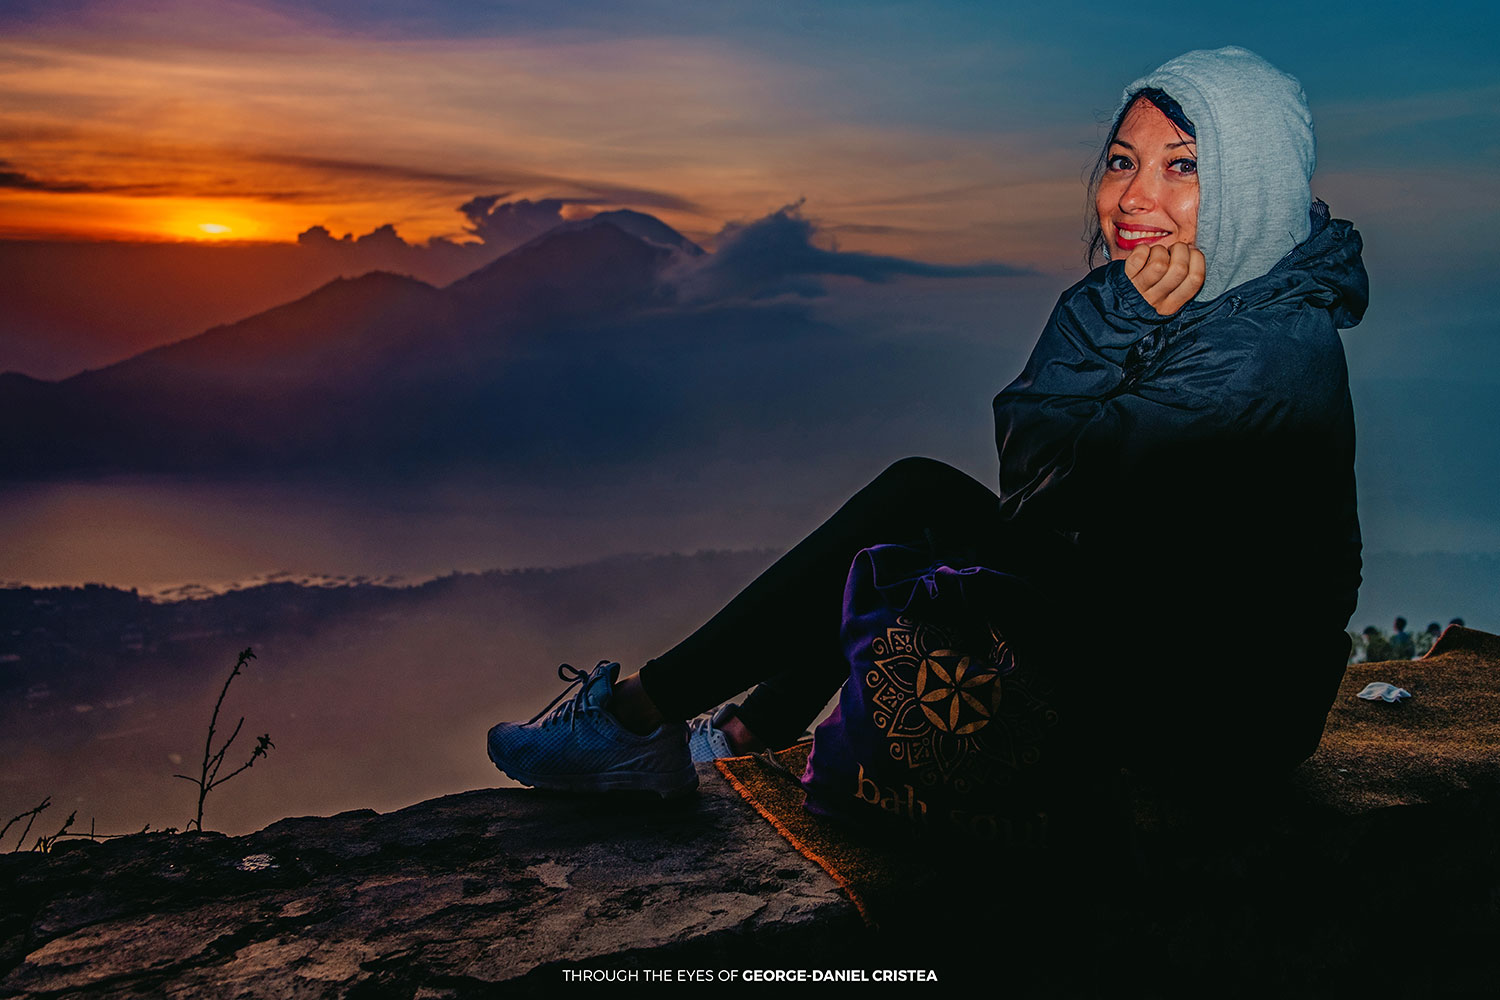

For me, I found the best combination of cameras and backpack to fit all my needs.
Let’s take a look in my Camera Backpack.
On a daily basis, I like to carry around with me the following gear:
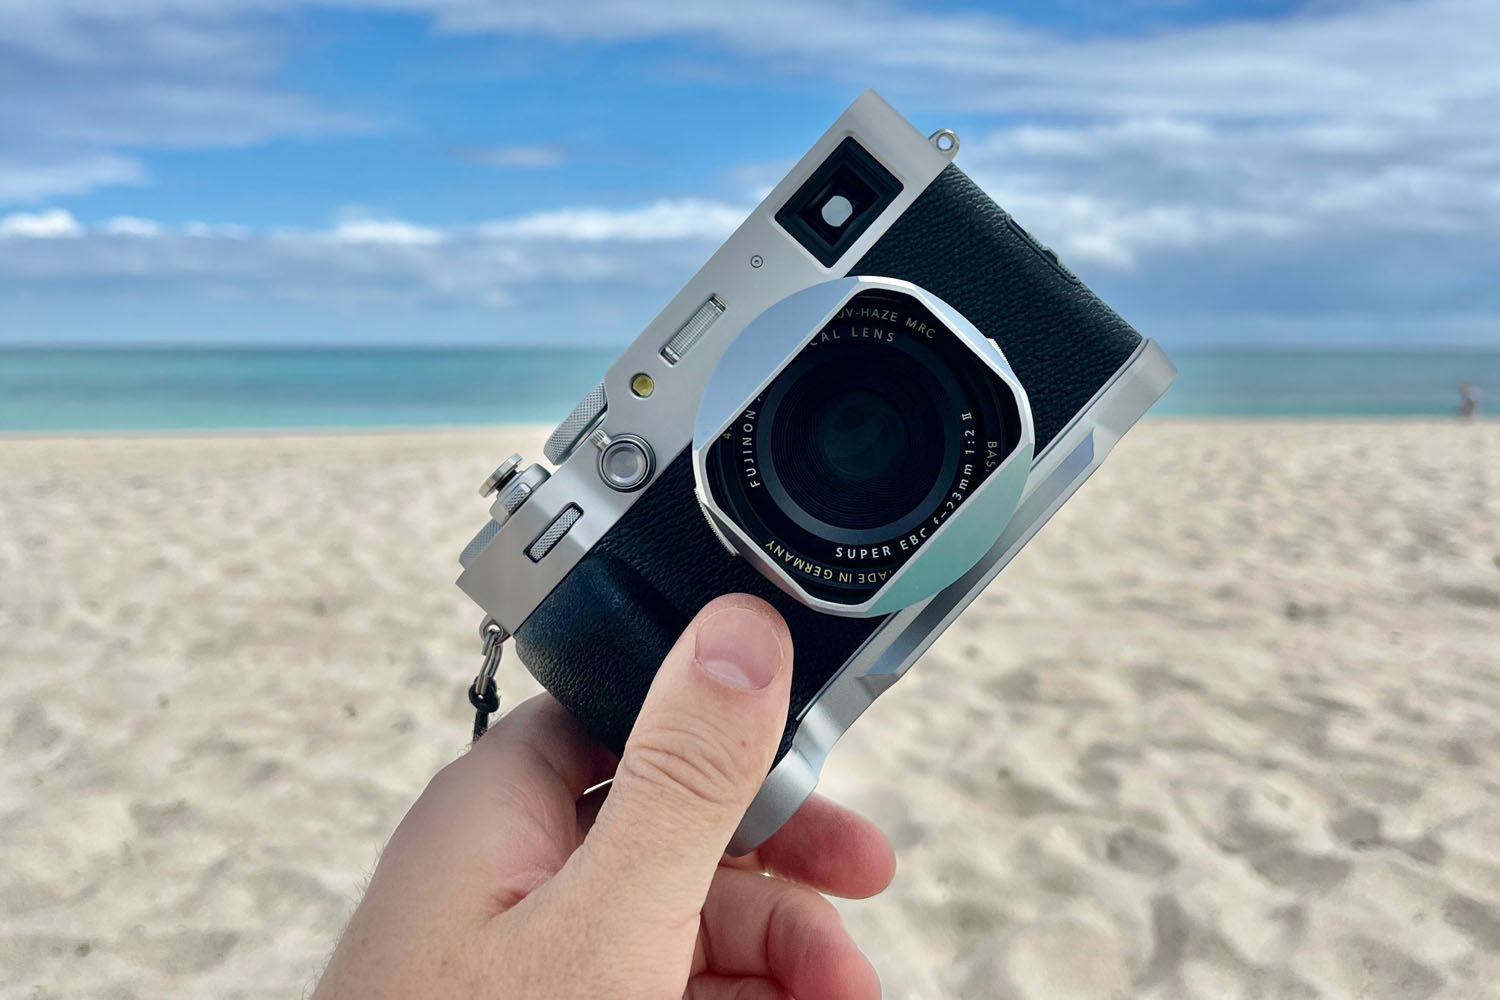
– My lovely Fujifilm X-T3 with the one and only lens I own: XF 18-55mm f2.8
– The DJI MAVIC 2 ZOOM
– The DJI OSMO POCKET
– The ASUS ZENBOOK laptop to process my work
Let’s talk a little bit about my drone. Why I choose the MAVIC ZOOM over the MAVIC PRO and how is my relationship with this drone.
First things first. I love DJI because of the performance of their products, I love the functionality of the actual product design and most of all: I love the fact that my MAVIC ZOOM is such a compact companion when you fold it and it can fit perfectly in your backpack without causing you back pain in the long trips.
I chose this product because of the following reasons: small size when the drone is folded and easy to unfold and take off; very good sensor quality (my opinion after a long time of comparison is that the zoom’s sensor is better than the one of the pro model); ergonomic remote with every control in the perfect place and very intuitive; the most important feature: the OPTICAL ZOOM 24-48mm; all these features powered by a 30 min maximum flight time battery which is incredible to me.
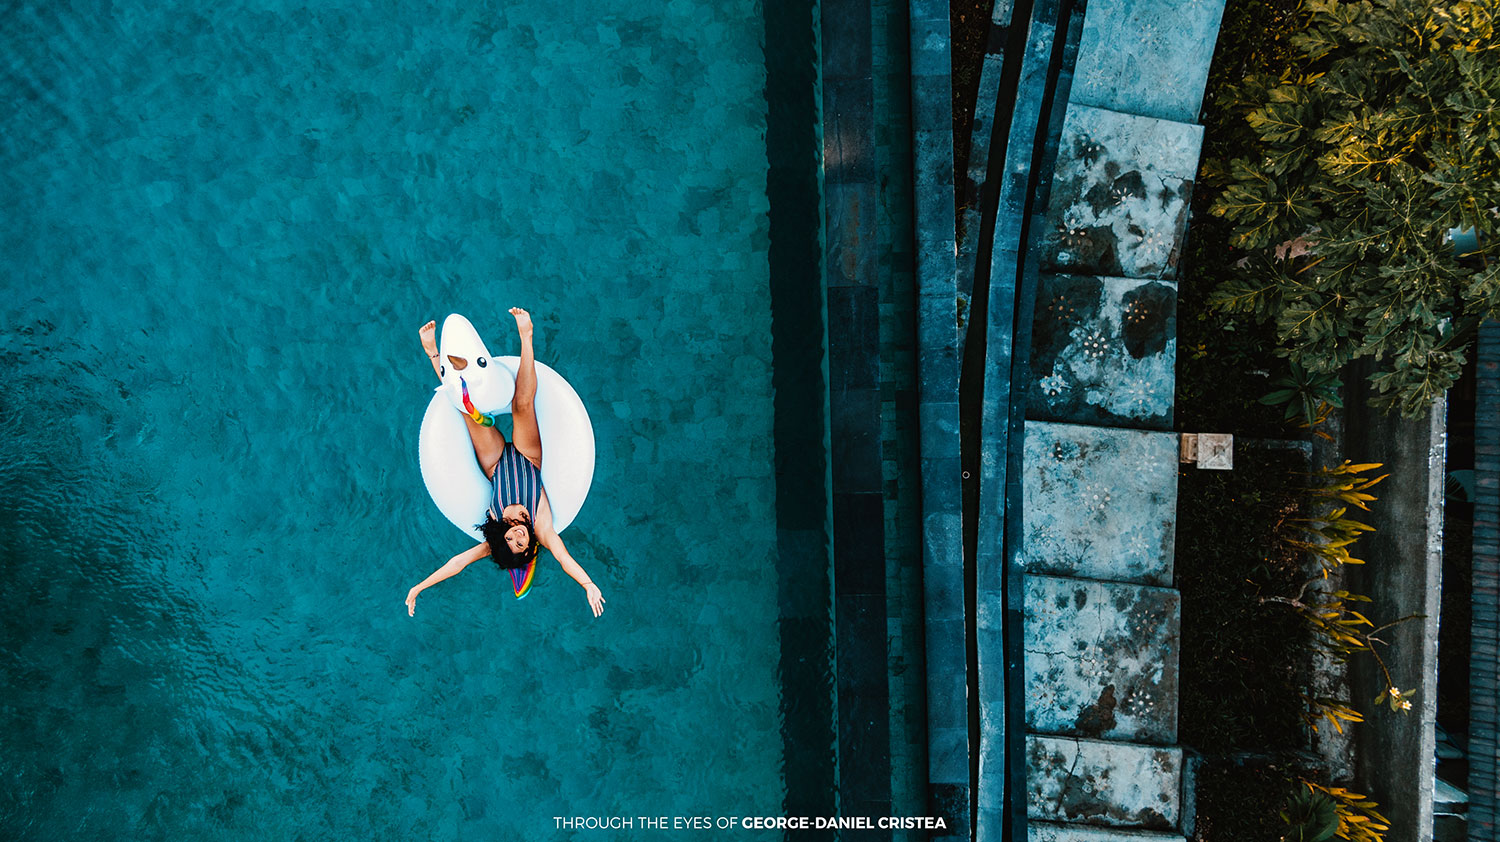
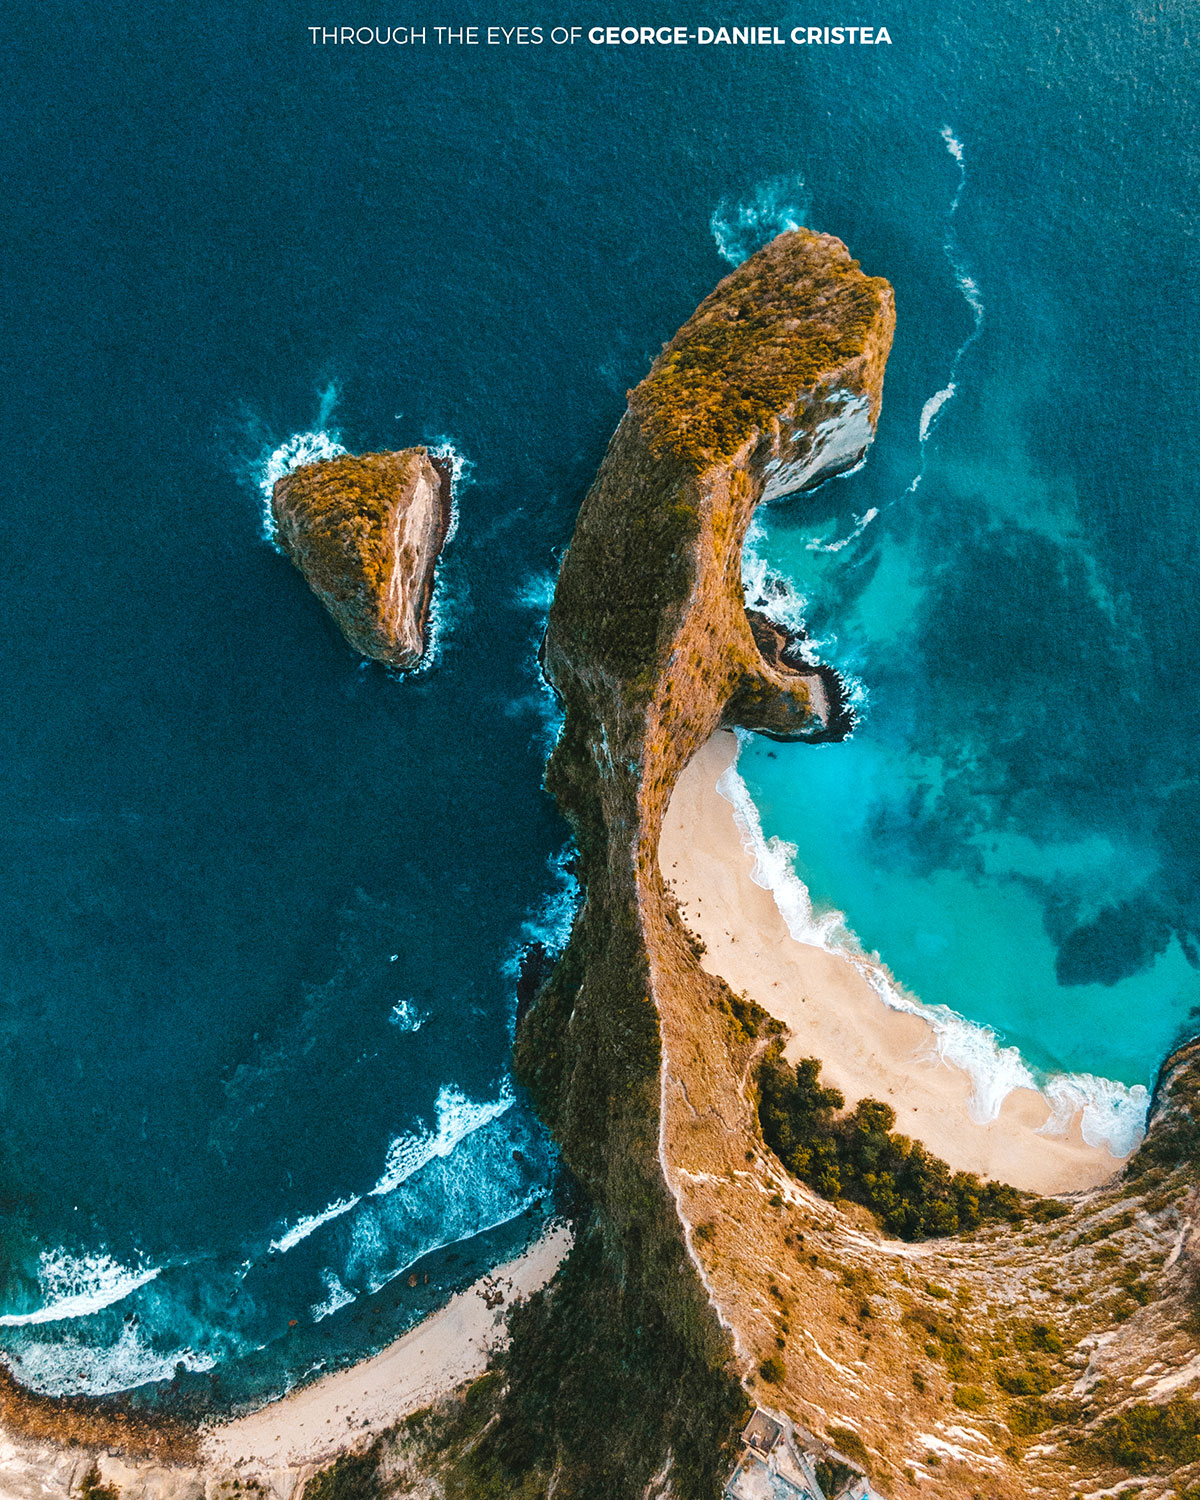
It’s an amazing drone both for photography (comes with HDR mode and a stunning super-resolution mode which is capable of 48 megapixels) and of course for videography – I love all the features that come with this drone including: the timelapse; quickshot mode (including dronie, circle, helix, rocket, boomerang, asteroid and dolly zoom); active track; point of interest; waypoint; tap fly and cinematic for a smooth and steady experience.
Take a look at some shots using the DJI MAVIC 2 ZOOM:
Let’s go back to the main reason for this article: The FUJIFILM X-T3
I want to share with you some tips for shooting on location, finding the perfect background, what to have in consideration and the best time of the day for lifestyle photoshoots.
SHOOTING ON LOCATION:
For me, when I first discover a new location and I get there, I sit down, relax, enjoy the views and look at my surroundings in order to find the best spots for my shots. When I’m searching for the best spots I always keep in mind the following main aspects:
– A spot which is well enlightened, with a fair amount of available light with a balance between not too much and not enough;
– The best point of the composition to place my subject in order to achieve a dynamic shot (usually I like to place my subject in the most interesting places. Sometimes I’m looking for spots with some structures/compositions that are pointing directly to my subject to draw more attention);
– If I go to a public place which is crowded I look for some elements and angles in my composition to hide as many people from the background as I can. If I can’t find these elements or angles I take the shot and remove the undesired elements from my shot using photoshop;
– Always place my subject a little bit turned to the light in order to separate the shadows from the highlights.
FINDING THE PERFECT BACKGROUND
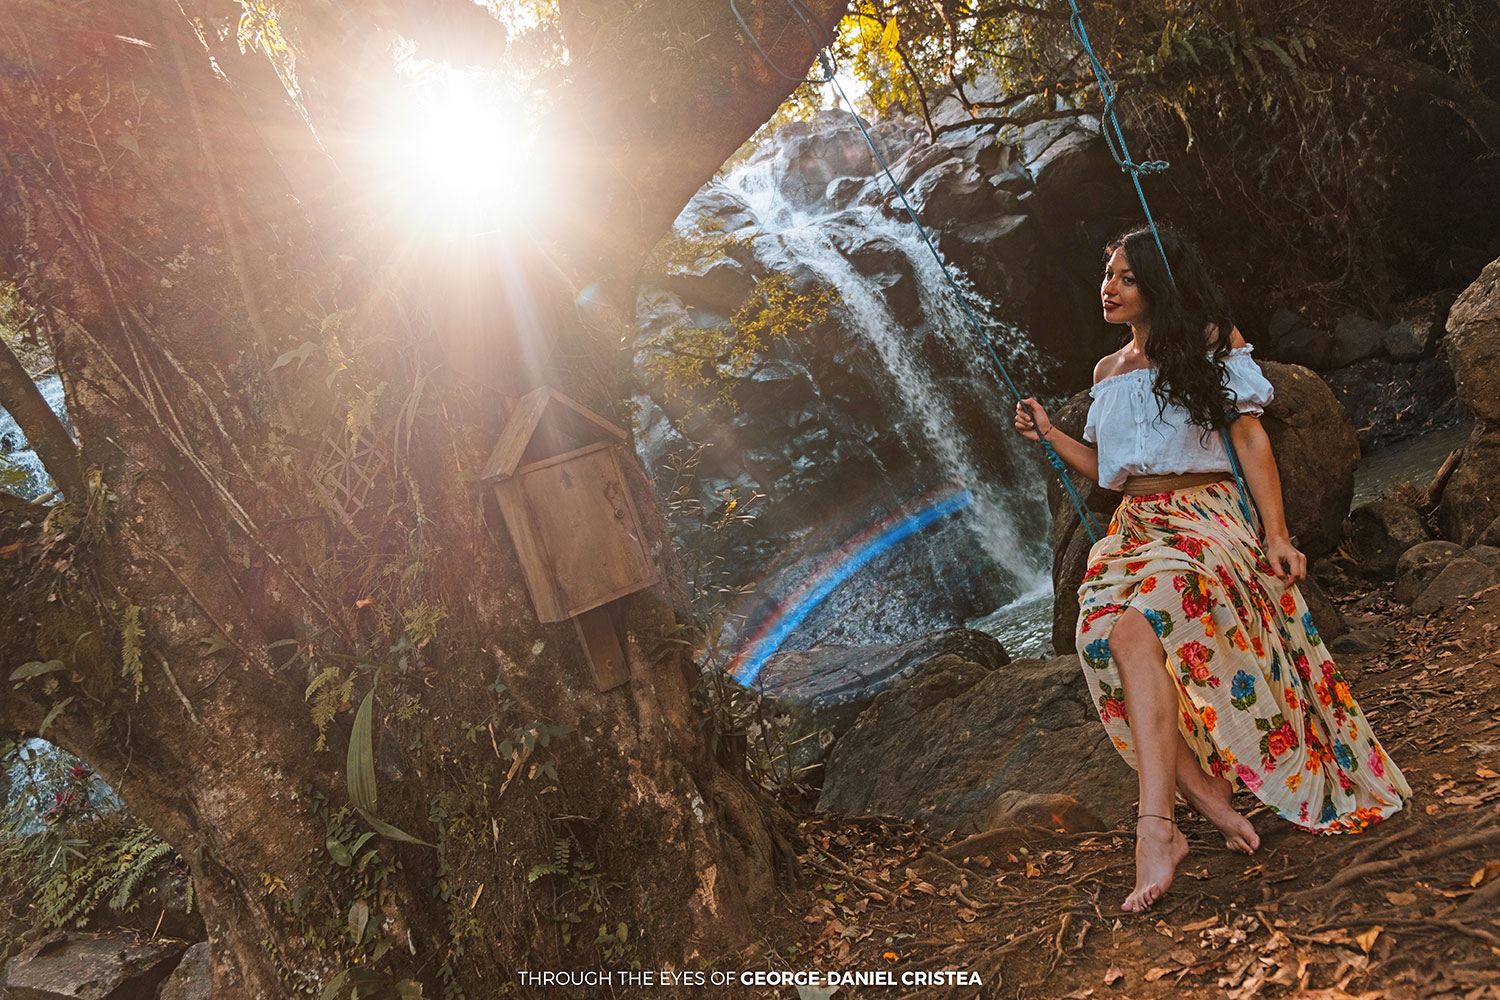
Well, when I’m looking for the perfect background I usually analyze where do I wanna go with the final shot; how open I would like to set my aperture in order to keep only the subject in focus or the whole composition and the most important thing: I’m looking for backgrounds without big distracting colored objects which can ruin your shot by drawing all the attention from the subject.
WHAT TO HAVE IN CONSIDERATION
The most important thing, for me, and the aspect where I struggled the most and didn’t saw the obvious solution was how should I place my subject in the composition.
Not so long time ago, I used to do the same mistake all the time and I see a lot of photographers doing this and now that I found out which is the problem it’s so funny for me and so obvious. I don’t understand why it took me so much time to figure this out.
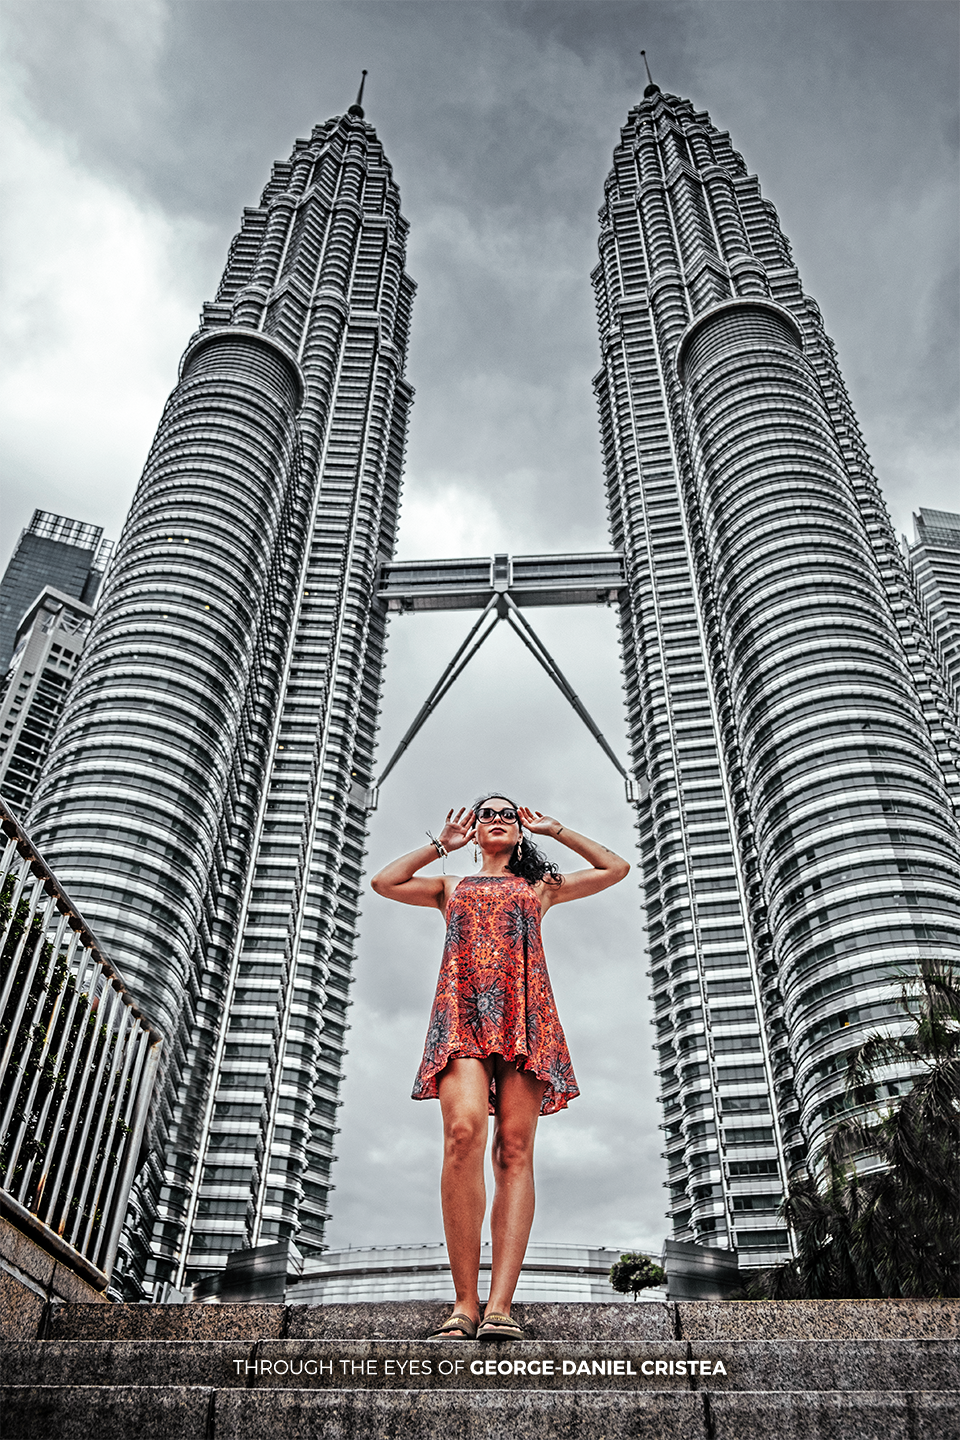
Ever happened to you to go in an amazing place with a perfect background, you put your subject there where you think is the best place, take some shots, and then you go home, import your shots to lightroom just to see that every single shot is very boring and the subject is like a tiny little ant lost in the background and the eyes don’t know where to look. At the background? At the tiny little subject lost out there incorporated in the beautiful background that you shot “in the back”?
This is the solution! This is why the background is actually called, a background. Because you have things happening right in front of the lens, in this case: the subject and what you have in the back: the background.
The easy solution is as simple as it sounds: You don’t need to be shy or afraid to communicate with your subject and give advice whether he/her needs to come closer to you or to take some steps backwards. When you do this, you’ll realize how this trick dramatically changes your shot and how better will be your future shots.
THE BEST TIME OF THE DAY FOR LIFESTYLE PHOTOSHOOTING
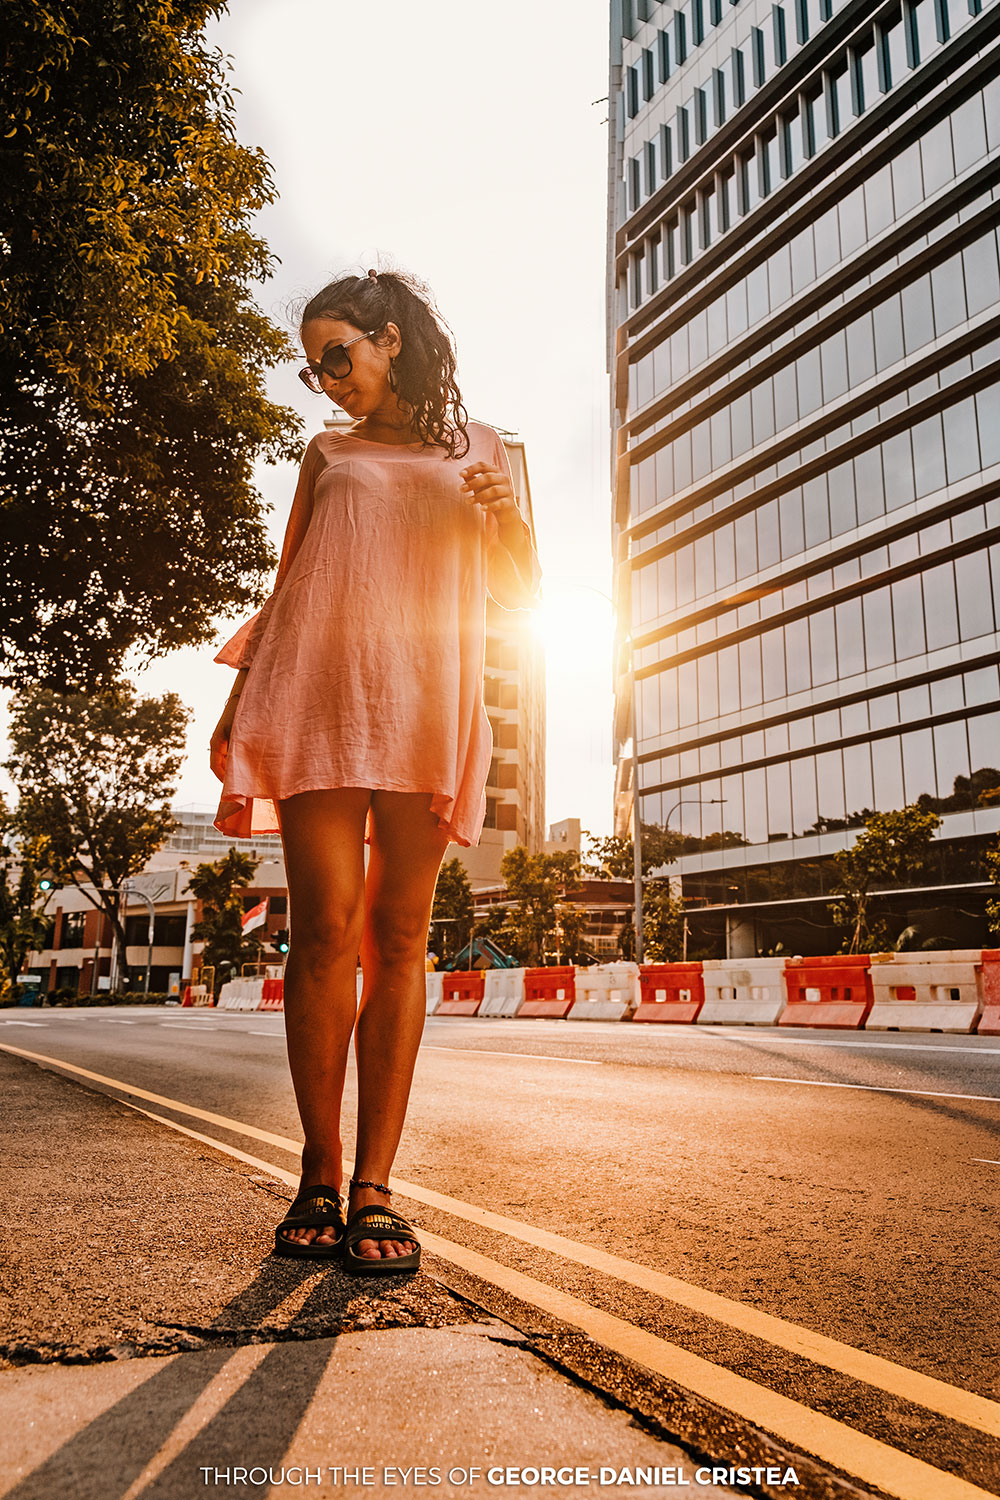
Well, the last advice from me is one of the most important if you can afford to plan your shooting when you want. The best time for me, and in general in photography, is the golden hour time.
If you don’t know about the golden hour, this is the name of a twice a day period of time (approximative 40min~1hour) that happens at the beginning of the day, when the sun rises and also happens at the end of the day, during sunset. This period of time is perfect for photography because the Sun is situated in the perfect position towards our planet and the angle of light and the light intensity are perfect.
Using this period of time you can achieve a warm, dreamy look, out of this world shot without even struggling too much.
Don’t worry! You don’t need to be a Nobel awarded scientist in order to calculate when is the perfect time and the right angle of the sun/light. We’re in 2020, we have an app for this. If you’re an iPhone user you can find this app on the app store. It’s named Magic Hour, but I’m sure you can find many more on Google Play Store if you’re an Android user.
In the end, I want to appreciate everyone who supported me and also I want to appreciate the people who didn’t believe in me, you made me work harder.
I’m grateful for this opportunity to share with you some stories and some tips that I learned throughout my journey.
The most important advice of all is not about photography, is about life in general.
If you want to achieve something or live the life that you always dreamed about, nobody can say to you that you can’t.
Create everything with passion, create a plan in order to achieve your goals, build your own wings and show to yourself how high you can fly.
Life is a journey, not a destination. Stay creative!
“My name is George-Daniel Cristea and I’m a 24 years old photographer born in the beautiful capital city of Romania, Bucharest. Growing up, I realised that the creative field is my thing.”




Remco
June 11, 2020 @ 9:30 am
George, Thank you for sharing!!! What an amazing photos and a beauuutiful model. My mind is suggesting all kinds of superlatives and labels right now; I’m going to assume you can imagine them and just skip over it.
You remind me (us) that constraints (if you can call it constraints, to walk around the world inc. Bali with an XT3, some drones, and a beautiful friend!) tend to improve the artistic skills of the artist. I particularly mean the lens choice here. I had that lens twice, liked it a lot, but moved on. More from my hiking and landscape needs that benefited from a different range/line up.
I like how you explained the blending in of the seagulls. Very tasty the way you did it, and I learned about the HUE blend mode and the motion blur 🙂
Finally I want to say that this to me is really good photography. There will be folks esp, on the internet that will critique your Photoshopping in elements. I think any artistic process with a camera in it somewhere is photography.
Pls share you Insta!
Cheers, Remco
Remco
June 11, 2020 @ 9:34 am
One question: how did you light the face of your girlfriend o top of the mountain? Seems like a pop-up flash but at 1/2000 sec?
George Daniel Cristea
June 28, 2020 @ 5:28 pm
Hello! Thank you so much! My instagram account is @georgedanielcristea