How I fell in love. Twice.
Hello everyone, I hope you’re doing well, especially in those peculiar times. After reading almost all the articles on the Fuji X Passion website, I got offered to write an article here, and I have to say it made my day.
First things first, a few words about myself. My name is Guillaume, and I’m from France. I’ve lived in many different places in France, and I still get to cross the country quite often to see my relatives. This leads to a nice share of travel photography without actually leaving the country.
I’ve always been into arts but, photography came later than the others. 3 years ago, I started to get more and more interested, going to exhibitions, spending more and more time on Instagram, following photographers, until I eventually bought a camera.
I started with a Nikon DSLR, and for about a year, I used it without really understanding it and its kit lens. It took me some time, to read, to learn, until I bought my first prime, a 35mm. The world of photography opened to me. It felt good to have a nice buffy camera.
However, this came with a drawback: as time passed, I found myself taking the camera less and less because of the weight. I didn’t want to have a burden with me. I started to look at mirrorless cameras and learnt about Fujifilm. I have to admit, I was a Nikon fan and wasn’t really aware of the other brands. For me, Fujifilm was the brand that made Instax and polaroids, nothing more. How wrong I was…
I was unemployed at the time the pandemic really started here in France, so I had time to think about my photography. From the outside, Fujifilm seemed to have a very nice community, full of very creative artists, and I loved the images I saw taken with a Fuji camera.
The colours were outstanding, the subjects were original, strong, and powerful. That’s when I decided to sell all my Nikon gear and get an X-T3, the 16-80mm F4, and the XF 35mm F1.4. Quickly after, the camera was set to my preferences, and I got out to shoot. That’s the first time I fell in love with Fujifilm.
I felt more and more inspired, and even though I was still getting used to this camera, I liked my first shots more than everything I shot before with my previous one. My style really evolved, and I could feel it. It was a thrill.
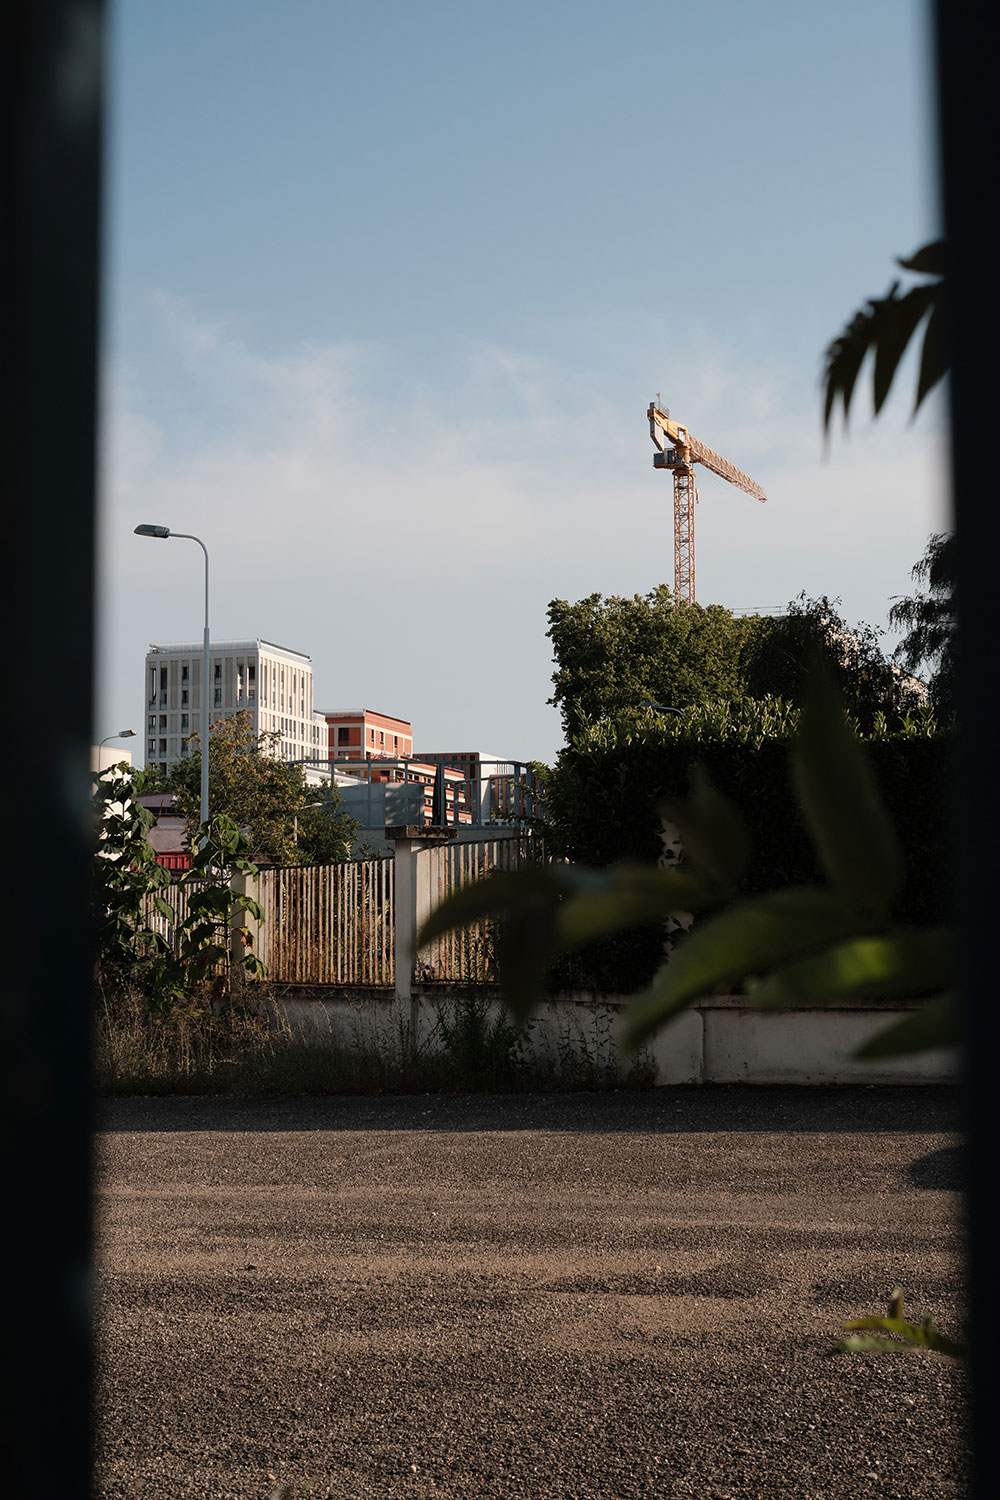
RIGHT: Fuji X-T3 . Fuji XF16-80mmF4 @22.30mm . F/4.0 . 1/1100” . ISO 320 – Kodak Kodachrome 64
Then I started to play with the film simulation recipes.
Film simulation recipes are settings you can have in your camera to shoot Jpeg that will look like (close at least) to film stocks. I’ll come to that later. For some of us, the Film Simulations and recipes that come with it are part of the reasons we bought a Fujifilm camera. For others, it’s just an unfathomable world.
For me, it was definitely a bit of both. I was definitely interested, but I was also a bit afraid to do anything wrong in the camera settings. You don’t need to have any knowledge about film photography, however, it may help to pick which film recipe to use, depending on the moment, the subject, and most important: depending on the light.
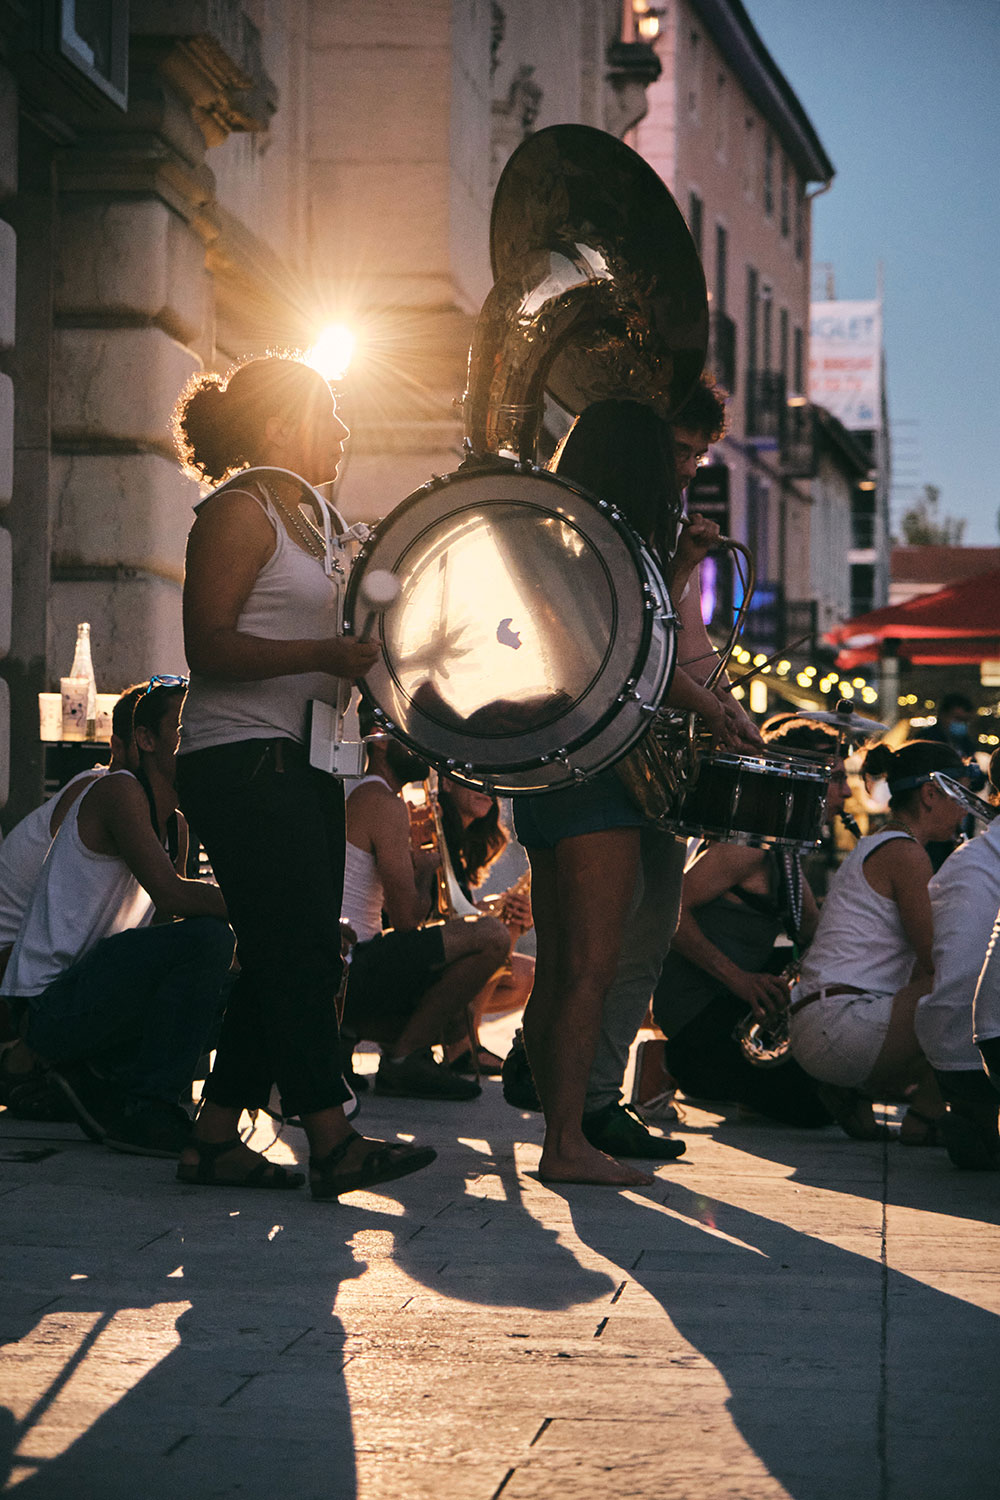
RIGHT: Fuji X-T3 . Fuji XF16-80mmF4 @80mm . F/4.0 . 1/80” . ISO 6400 – Kodak Kodachrome 64
I started looking around for film recipes and ended up on the website Fuji X Weekly. If you’ve never heard of it, you should definitely check it. R. Roesch puts an amazing effort into bringing the best film recipes you can find.
The first one I picked was Kodachrome 64 (Kodachrome 2 for X-Trans III sensors). I just love how the blues are rendered. The colours are vibrant, the shadows are deep, and it’s what pleases me. There’s a vintage vibe here, and I genuinely love it. I started using this recipe during the summer, in 2020, and I realized I was using it more often under the harsh light.
It’s a very good recipe for high contrast situations. And even though I now use other recipes, the Kodachrome is the one I pick during midday when the sun is up and harsh. As I have said before, the blue skies and the warm colours are absolutely lovely, and that’s what I aim at, usually.
It works pretty well with my workflow. All the pictures that I use are raw files that I slightly process using Capture One. It has a feature that keeps the settings used when the photography was taken, so it feels like editing a jpg, only you have more flexibility.
I’m not good at editing at all, and I only use the software to adjust the exposure and straighten my pictures. Nothing more. It is quick, and it’s easy. It might sound a bit lazy (and trust me, I really am lazy…), but it’s a very easy way to work, especially when you’re on the go.
Basically, for me, it means more shooting and less editing, and that suits me. I also think that using those film recipes is really helpful to get yourself a proper style. I like lots of different styles, and when I go out, I put the Custom settings on, and I know that all the pictures from this session will have that base in common.
When I first tried the Portra 400 film recipe, I made a few mistakes when setting it up. The results were not pleasing, and I put it aside. Plus, I didn’t know anything about film, and I had never heard about Kodak Portra 400 as a film stock. I snapped a few portraits of my brother during quarantine and hated them.
Later in the year, lockdown and unemployment had given me a lot of time to think about myself, my lifestyle, and how to focus on the essential. This led me to grow an interest in film photography, and I know I am not the only one. I’m not one of those people who had a dad, a mom, or a grandparent really into photography. I had no basement or attic to search. I read about it a lot and bought myself a film camera.
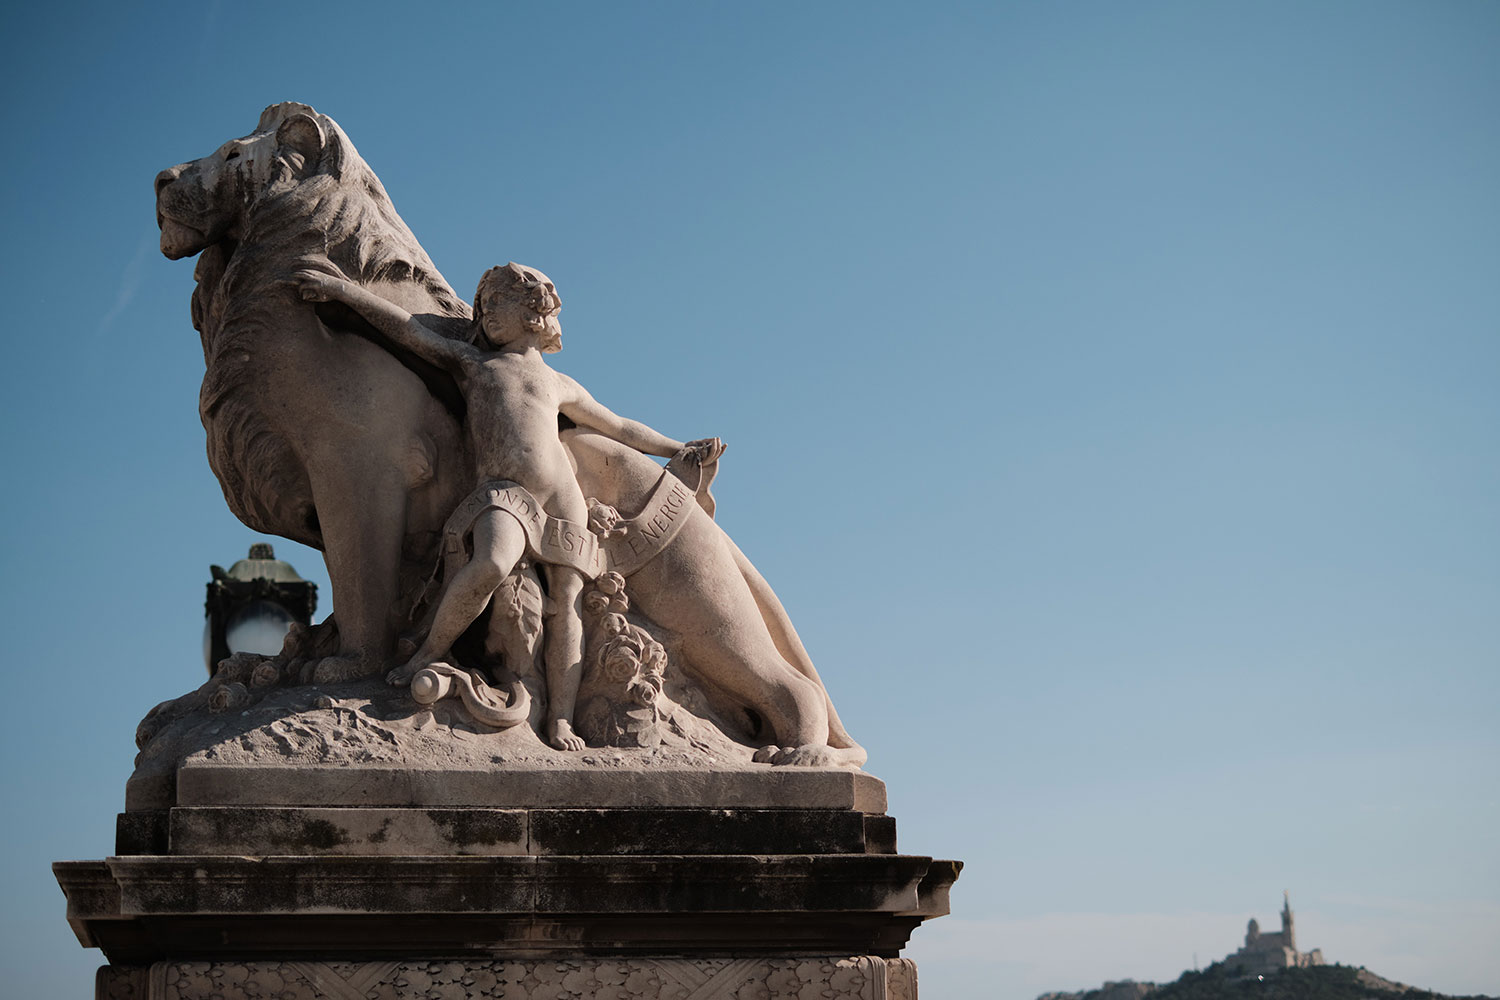
Then I read about film stocks. Do you see where I’m going? Yes, of course, I read about Kodak Portra 400 and about how good it was. I was stunned by the sample images I could find; they were just exactly what I wanted. I quickly grabbed the X-T3 and set up the Portra 400 recipe – correctly this time. O the beauty. This quickly became my favourite film recipe to use.
The colours were outstanding, especially when shot on a sunny day. I fell in love with the blues and the greens, they are absolutely vibrant. Even though I’ve always been a black and white enthusiast, for a few weeks after discovering that film recipe, I’ve only shot in colour. In fact, it changed my way of seeing the world and the scenes in front of me: I went for the colours.
RIGHT: Fuji X-Pro2 . @25mm . F/1.8 . 1/3800” . ISO 800 – Kodak Portra 400
I’ve always been looking for lines, and shadows in my scenery, but for the first time, I discovered the beautiful world of colours. Since then, I’ve been reading more and more about colour science. For some people, it might seem easy, for me, it’s definitely a whole new world, and I am grateful for that.
As in this article, I mostly talk about those two recipes and how I use them. Here’s what I could say: for me, Kodachrome (64 or II, they are similar) is the one I use under the harsh light. Shadows are a bit more intense, and it emphasizes the harsh light, which I quite like. When the light is a bit softer, say in the Golden Hours, for example, or under a duller light, I tend to use the Portra 400 more.
It gives the scene a warm tone that I really love. That’s when I shoot outside, and as a “street main” that means most of the time. However, under artificial light, Portra 400’s white balance gives an orange tone that doesn’t seem right. I think that’s its limit.
At the end of 2020, I had a bad bike accident, and as a result, my X-T3 and the XF16-80mm F4 were completely broken. I was quick to buy a new camera, only this time I went for the X-Pro2. That’s when I fell in love with Fujifilm for the second time. That thing is so beautiful I spend my free time with it in my hands.
2021 seems to be the year that I really slow down and get an analogue approach to photography. The time I took writing this post shows how much I slowed down recently… In terms of photography, that means using manual lenses more and more. I found my way with either recent Chinese lenses or old vintage lenses. It also opened a whole new world of lenses to me, and there are a lot. They’re fun to use and inexpensive.
RIGHT: Fuji X-T3 . Fuji XF16-80mmF4 @48.50mm . F/4.0 . 1/2400” . ISO 640 – Kodak Portra 400
I’ll end with a more technical part, and if I may, give a few tips – personal experience at least. In the Fuji X series, you can save up to 7 custom profiles. I usually have 6 custom and 1 that stays standard. That’s the case until the X-T3, I don’t really know about the most recent models. In these profiles, you can save the Film Simulation you want to use, the shadows and highlights, noise reduction, sharpness and the white balance (that’s called the recipe).
White balance is the tricky point, because when you set an auto WB, it’s going to be the same for other recipes that use the auto WB. For example, I use the Kodachrome 64 which is a warm WB (+3 Red, -5 Blue), and the Agfa Recipe is -1 Red, -1 Blue, but when I change between the custom profiles, the White Balance stays the same, and you have to be careful with that. If you’re struggling against that, here’s a little tip: put the white balance in the custom profile’s name so that you can switch to the right one easily.
I’m just a user here, and the last shout out should go to the guys who made those recipes. They are the real heroes!

“My name is Guillaume, and I live in France. I’m the head manager of a big music school in Brittany, and I’ve always been into art. I’ve been a musician, a painter, a writer, and three years ago, I dived all the way into photography. It’s my main passion. Even though I get to cross the country quite often, I live in a quite boring area, and that’s my everyday challenge: trying to get the boring things worth your look. “


Fran Velasco
December 14, 2021 @ 3:26 pm
Thanks for sharing your journey! I’ve enjoyed the article and now I have a couple questions:
1. This is the most awesome usage of the Portra 400 recipe hands down I’ve seen. The pictures have even better tones than the ones in the Fuji Weekly website. Any tips? I have an X-E3, so same sensor as the X-Pro2, can’t wait to hear from you!
2. Does C1 really apply the settings from the recipe to the RAW file? Highlights, shadows, sharpness, WB… I can only apply the camera profile (Velvia, Astia…) in Lightroom, so maybe C1 would be a better option if it indeed does that to the RAW file.
Thank you, Guillaume! Keep shooting!!
Guillaume
December 16, 2021 @ 10:32 am
Hey there !
I am sorry for the quite late reply, I’ve been having issues to load the comment and had to reach the owners of the magazine, who suggested that I open the article in another browers and Eureka, it worked !
So now I can answer,
1. Thanks ! So much ! For those kind words.
I found myself twitching more and more the white balance, sometimes going a bit colder than it’s written in the recipe. The two keys, I’d say, is to really pick the simulation depending on the situation. I use Portra under softer light, grey-ish days, it works better. And Kodachrome under harsh light / golden hours. Also I try to always aim at the blues with both, and Portra for greens, Kodachrome for warmer colors.
Now I kinda miss the Kodachrome blues on the X-Trans IV sensor, I think they looked better than on the III sensor. But what I’d say, to get better tones, is to use those recipes how they are not supposed to be used… I mean, it’s suppose to replicate film, so you pick your recipe, and then shoot. When I used to shoot jpg (yeah this has changed too..), I picked my subject, and then chose the recipe.
2. C1 doesn’t apply all the settings by itself, but there’s a way to cheat. You can actually parameter how you want to import your RAWs (or jpg if you import jpg in C1), and have some kind of an auto output setting when you import your files. I had created a few, depending on the recipe, but with those two it’s quite easy : contrasty, and warm white balance.
This meant the files were imported with the film profile used by Fuji (C1 replicates them, but I think Lightroom does it too) and the contrast, the WB, etc… It’s like a preset, applied directly when importing the files, which felt like it was imported “as is”.
However, I think it’s quite a weird process, and I’ve moved passed that, as now I only shoot Classic Chrome RAW, and then tweak everything I want in post.
Sorry if this isn’t clear, I’m not a real tech guy, but I hoped it was useful. Have a nice day !
Fran Velasco
December 16, 2021 @ 10:51 am
Thank you so much for the answers! I’ll play a little bit more with the settings to finally nail that Portra 400 look.
Have a nice day!!
Uwe Matzke
December 14, 2021 @ 8:15 pm
Hello Guillaume,
very interesting article. Thank you. I also use Capture One. Where do you set so that the settings are also written into the RAW file? That would also interest me very much. Good luck for the future.
Uwe Matzke (Germany)
Guillaume
December 16, 2021 @ 10:36 am
Hey there Uwe (I’m curious on how would you pronunce that, as a non German ? Ouveh for a French nitwit like me ?)
Thanks for your kind words. I’ve replied just earlier to Fran Velasco on a quite related question, so here’s what I wrote to him (sorry; it’s definitely copy paste)
C1 doesn’t apply all the settings by itself, but there’s a way to cheat. You can actually parameter how you want to import your RAWs (or jpg if you import jpg in C1), and have some kind of an auto output setting when you import your files. I had created a few, depending on the recipe, but with those two it’s quite easy : contrasty, and warm white balance.
This meant the files were imported with the film profile used by Fuji (C1 replicates them, but I think Lightroom does it too) and the contrast, the WB, etc… It’s like a preset, applied directly when importing the files, which felt like it was imported “as is”.
However, I think it’s quite a weird process, and I’ve moved passed that, as now I only shoot Classic Chrome RAW, and then tweak everything I want in post.
I don’t use that anymore since I moved to C1 Pro, but I guess you can still find it in the importation settings
Sorry for not being a straight and useful answer guy ahah…
Hope to see more from you ! Wish you the very best.
Uwe Matzke
December 16, 2021 @ 1:00 pm
Hello Guillaume,
many thanks for the answer. I’ll try it.
I always wish good light.
If necessary, excuse the english (google translate)
Uwe
Guillaume
December 16, 2021 @ 1:22 pm
Don’t worry about your English, mate !
It’s hard to find good light, and it’s genuinely the biggest pain as a photographer (and also the biggest joy !)
I recently find myself more and more confronted to this issue : how to shoot under “grey” light, when the sky is grey, with no shadows anywhere… If you have any answer, don’t hesitate to reach me by mail !
Also for good light, I recommand this book : Michael Freeman – Capturing Light
Alex
December 15, 2021 @ 12:04 am
Beautiful pictures and beautiful writing. I enjoyed every detail. Talking about detail…I‘m French yet I‘m replying to you in English.
Guillaume
December 16, 2021 @ 10:38 am
Et bien merci beaucoup Alex ! Moi je ne vais pas dans le détail… alors je réponds en Français !
Have a nice day 😉 (je mixe..)
Doug
December 16, 2021 @ 3:46 am
I’m like you, when not actually shooting, i catch myself staring at my X-Pro3! 2 questions: what strap is that in the product shot of your equipment, and how do you like the Kamlan 50 1.1?
Guillaume
December 16, 2021 @ 10:48 am
Yeah those cameras are just… wow ! I bought an X-H1 as a second body, and now I just think of going dual X-Pro 2 instead.. This will be another story ahah.
If you meant the strap on the X-Pro 2, it’s made by Simplr. Beautifully made, light and solid, I quite like it !
The other, on the Pentax, I can’t remember that well.. Bought it on etsy, from Greece, I think.
And the KamLan.. oh my oh my. It’s such a nice lens ! I just got it at the time I wrote that article, so there’s actually no pictures taken with it ahah… But it’s really nice ! Heavy and beefy, it feels solid in hand. The aperture isn’t clicked, but damp enough not to move that easily. I’ve started portrait shooting since I have it, and when you can master your manual focus, it really is good. That 1.1 aperture means some really nice shallow depth of field, and the bokeh is amazing. What I love the most about this lens is it’s flaring. When you don’t use the hood, it flares like crazy, but when you understand and master it, it’s amazing. It gets a purple-ish color, and I love how it renders. There’s some on my instagram, but I kinda intend to write another article focused on flare and how I use and like it. It’s sharp enough for what I do with it, but I’m not that much of a sharpness-crazy guy.
Although I would say that this lens is quite heavy, and on an X-Pro, I don’t use it that much without the grip (on the picture).
Also note that I have the Mark II version, and apparently the Mark I isn’t really that good, and some say it’s even pretty bad. I haven’t used it, so I can’t really say… but my word would be to go with the II, directly !
Thanks again for reading, and taking the time to comment ! Wish you the very best
Guillaume
December 16, 2021 @ 10:49 am
Oh I can add some pics soooo…
Guillaume
December 16, 2021 @ 10:50 am
Here you go
Abdul Mannan
December 18, 2021 @ 5:56 am
Very good writings on Fuji film and is is also a true story. It natural that one will fall in love when once seen the beauty of it, the more one goes in depth will explore more specially playing with colours, light and depth of shadows.
Guillaume
December 18, 2021 @ 5:16 pm
I totally agree with you ! It’s been such a nice and rich adventure so far
rafael slovinscki
December 23, 2021 @ 10:31 am
Thanks for sharing!! 👏 👏👏
Gordon Ovenshine
June 26, 2024 @ 9:43 pm
Great pics. There are lots of Kodachrome 64’s around. Do you recall the settings for yours?
Gordon