The Process
Photography, or any creative venture for that matter, should never be a closely-guarded secret. No one should have to jump through hoops, play the game, or reach a certain level of ability before wisdom and knowledge is passed on to you. When I first started out on my journey into photography, it took the longest time to get to grips with both the technical aspects of taking a photo, but also some of the more confusing and ethereal topics of ‘finding your voice’ and knowing what you want ‘to say’ with your art, and this was in large part because more than a few photographers at the time felt that if you wanted to understand something, you had to go and put the hard work in yourself. There were to be no ‘freebies’.
We need to be better than that. We SHOULD be better than that.
That is my manifesto. I want to give back what I’ve received and learned over the years. I don’t want you to feel like you have to make it before you can move forward. So, below you will find a number of my more well-known images. I’ll try and break down why I took the image and how. I hope that this glimpse ‘behind the curtain’ helps you in some way in your journey. If you have any other questions about technical things, or even locations I’ve shot images, then drop me a message. If I can help, I will.
Sheep on Mere Downs
Nov 2016
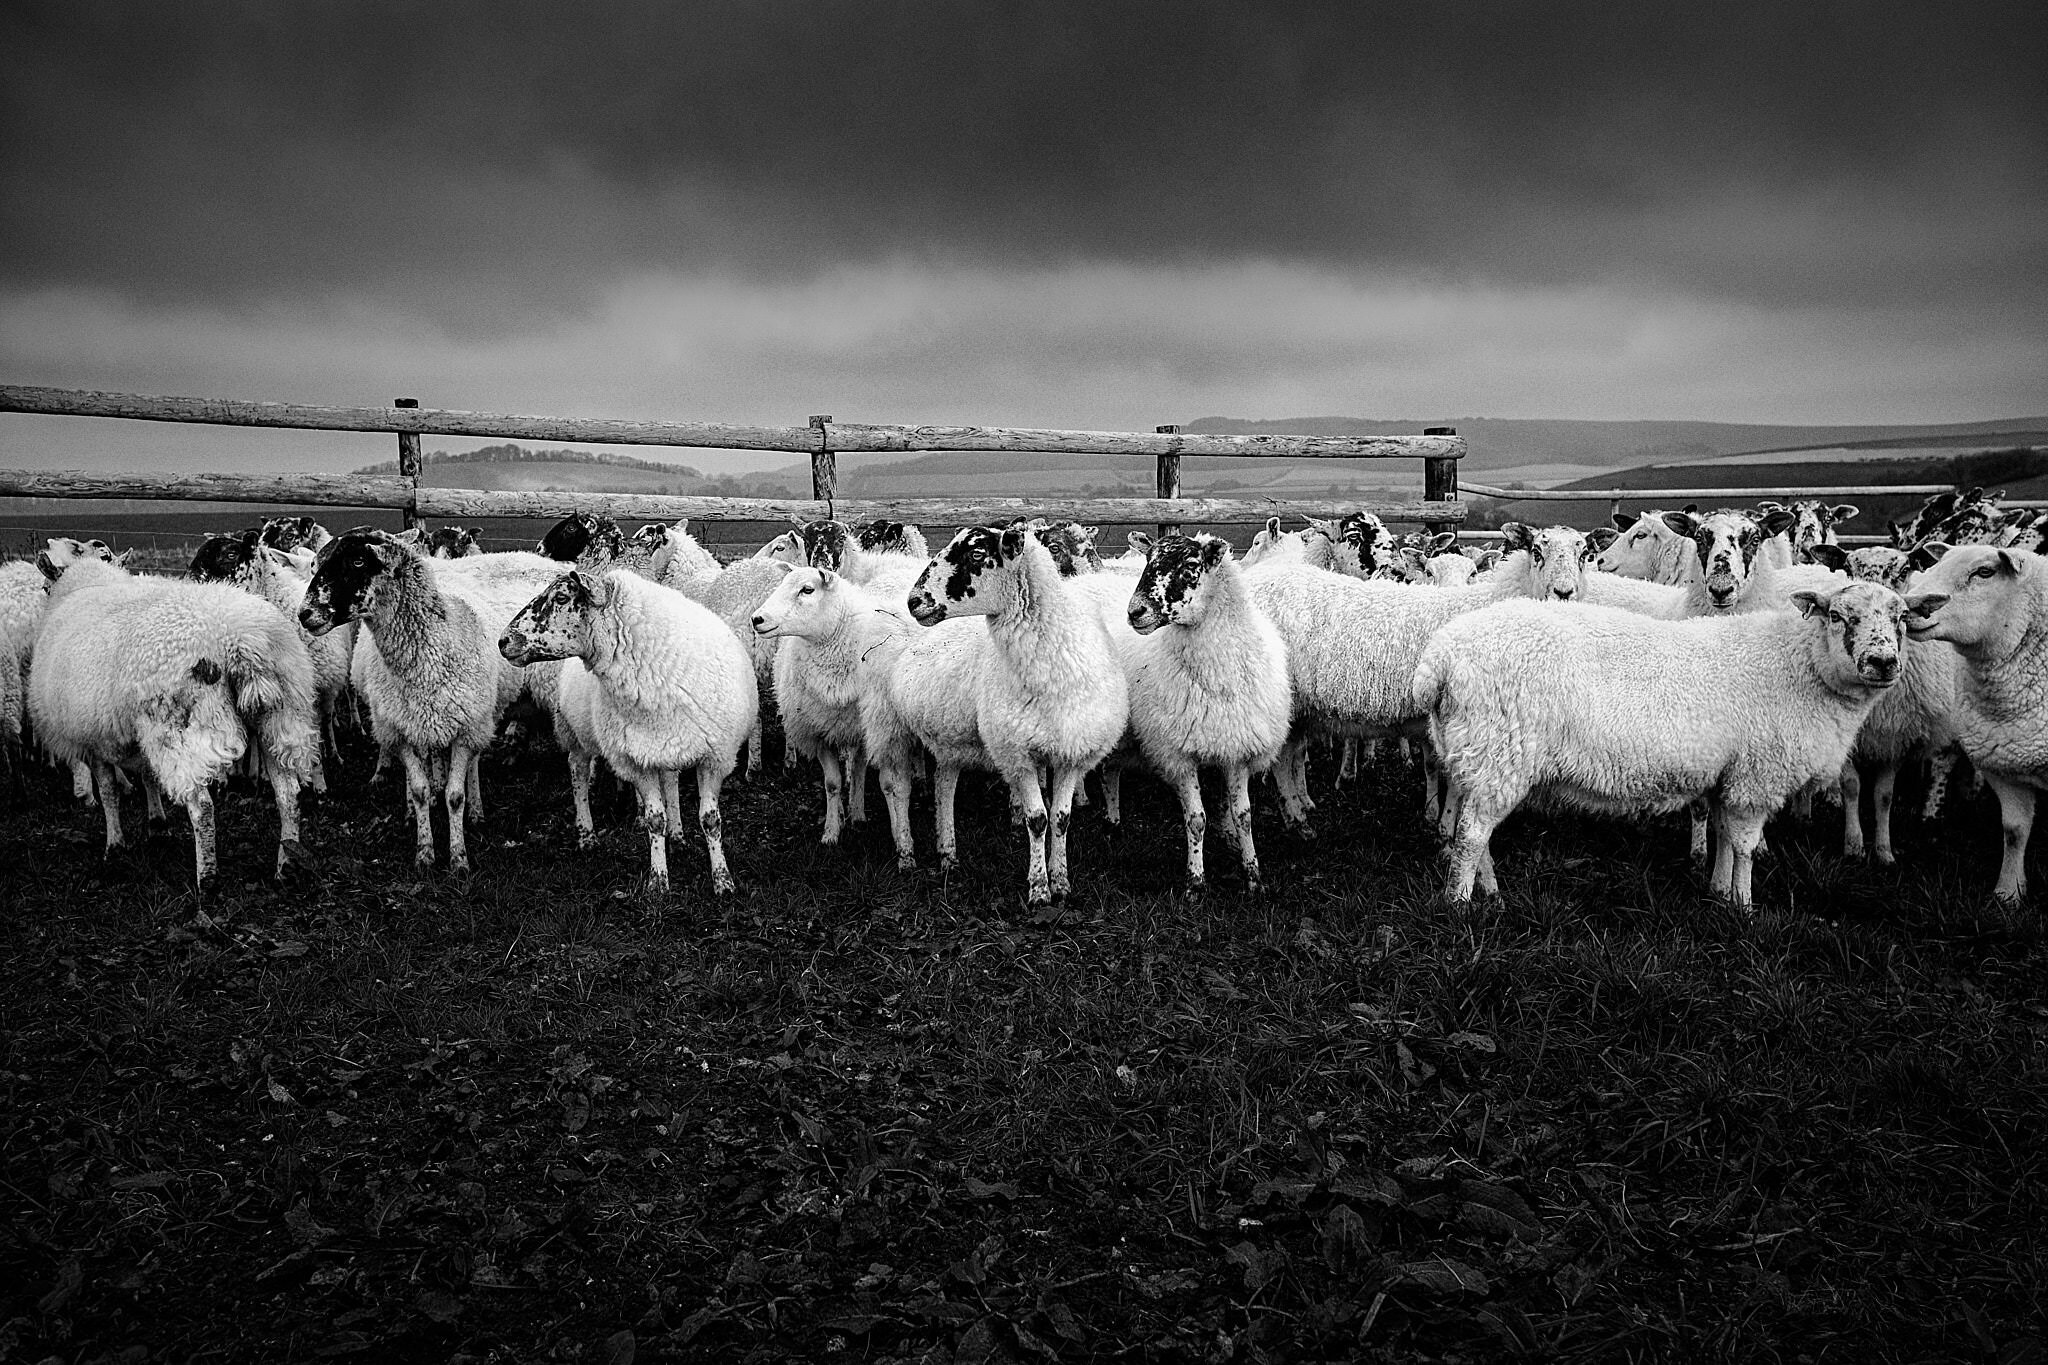
For this image, and because there was a fence between myself and the sheep, I was able to approach carefully and quietly to get close enough to feel part of the scene. I wanted to get a ‘sheeps eye’ view, so I’m using the fence as a tripod and, getting down low, I was able to take the image as if I’m with them where they are.
I want enough depth of field, so the background is less sharp than the sheep, but still provides context. The sheep are definitely the focus of the image though, which is why I chose F4.5. It brings the focal point into sharpness, but retains enough of the environment to place the sheep where they need to be. The sheep need to be sharp, as they’re definitely the focus. I’m framing the image so you can see the fence and hills behind them, but I’m orienting myself, so you get a sense of freedom. Fences to the left and right are obscured, giving you a feeling that the sheep could run at any time.
I’m underexposing the image slightly, as I want to capture the drama in the clouds, but this will make the sheep darker too. I already know that I’ll bring up the white of their wool in processing, so I don’t mind this. Texture also plays a part here, particularly in the ground and sky, so I bring these up in post-processing as well.
I’m going for a darker, brooding image, so underexposing feels the right decision for this image. All in all, a very pleasing shot, and was eventually the image which led the two exhibitions in 2018.
Gold Hill, Shaftesbury
Dec 2019
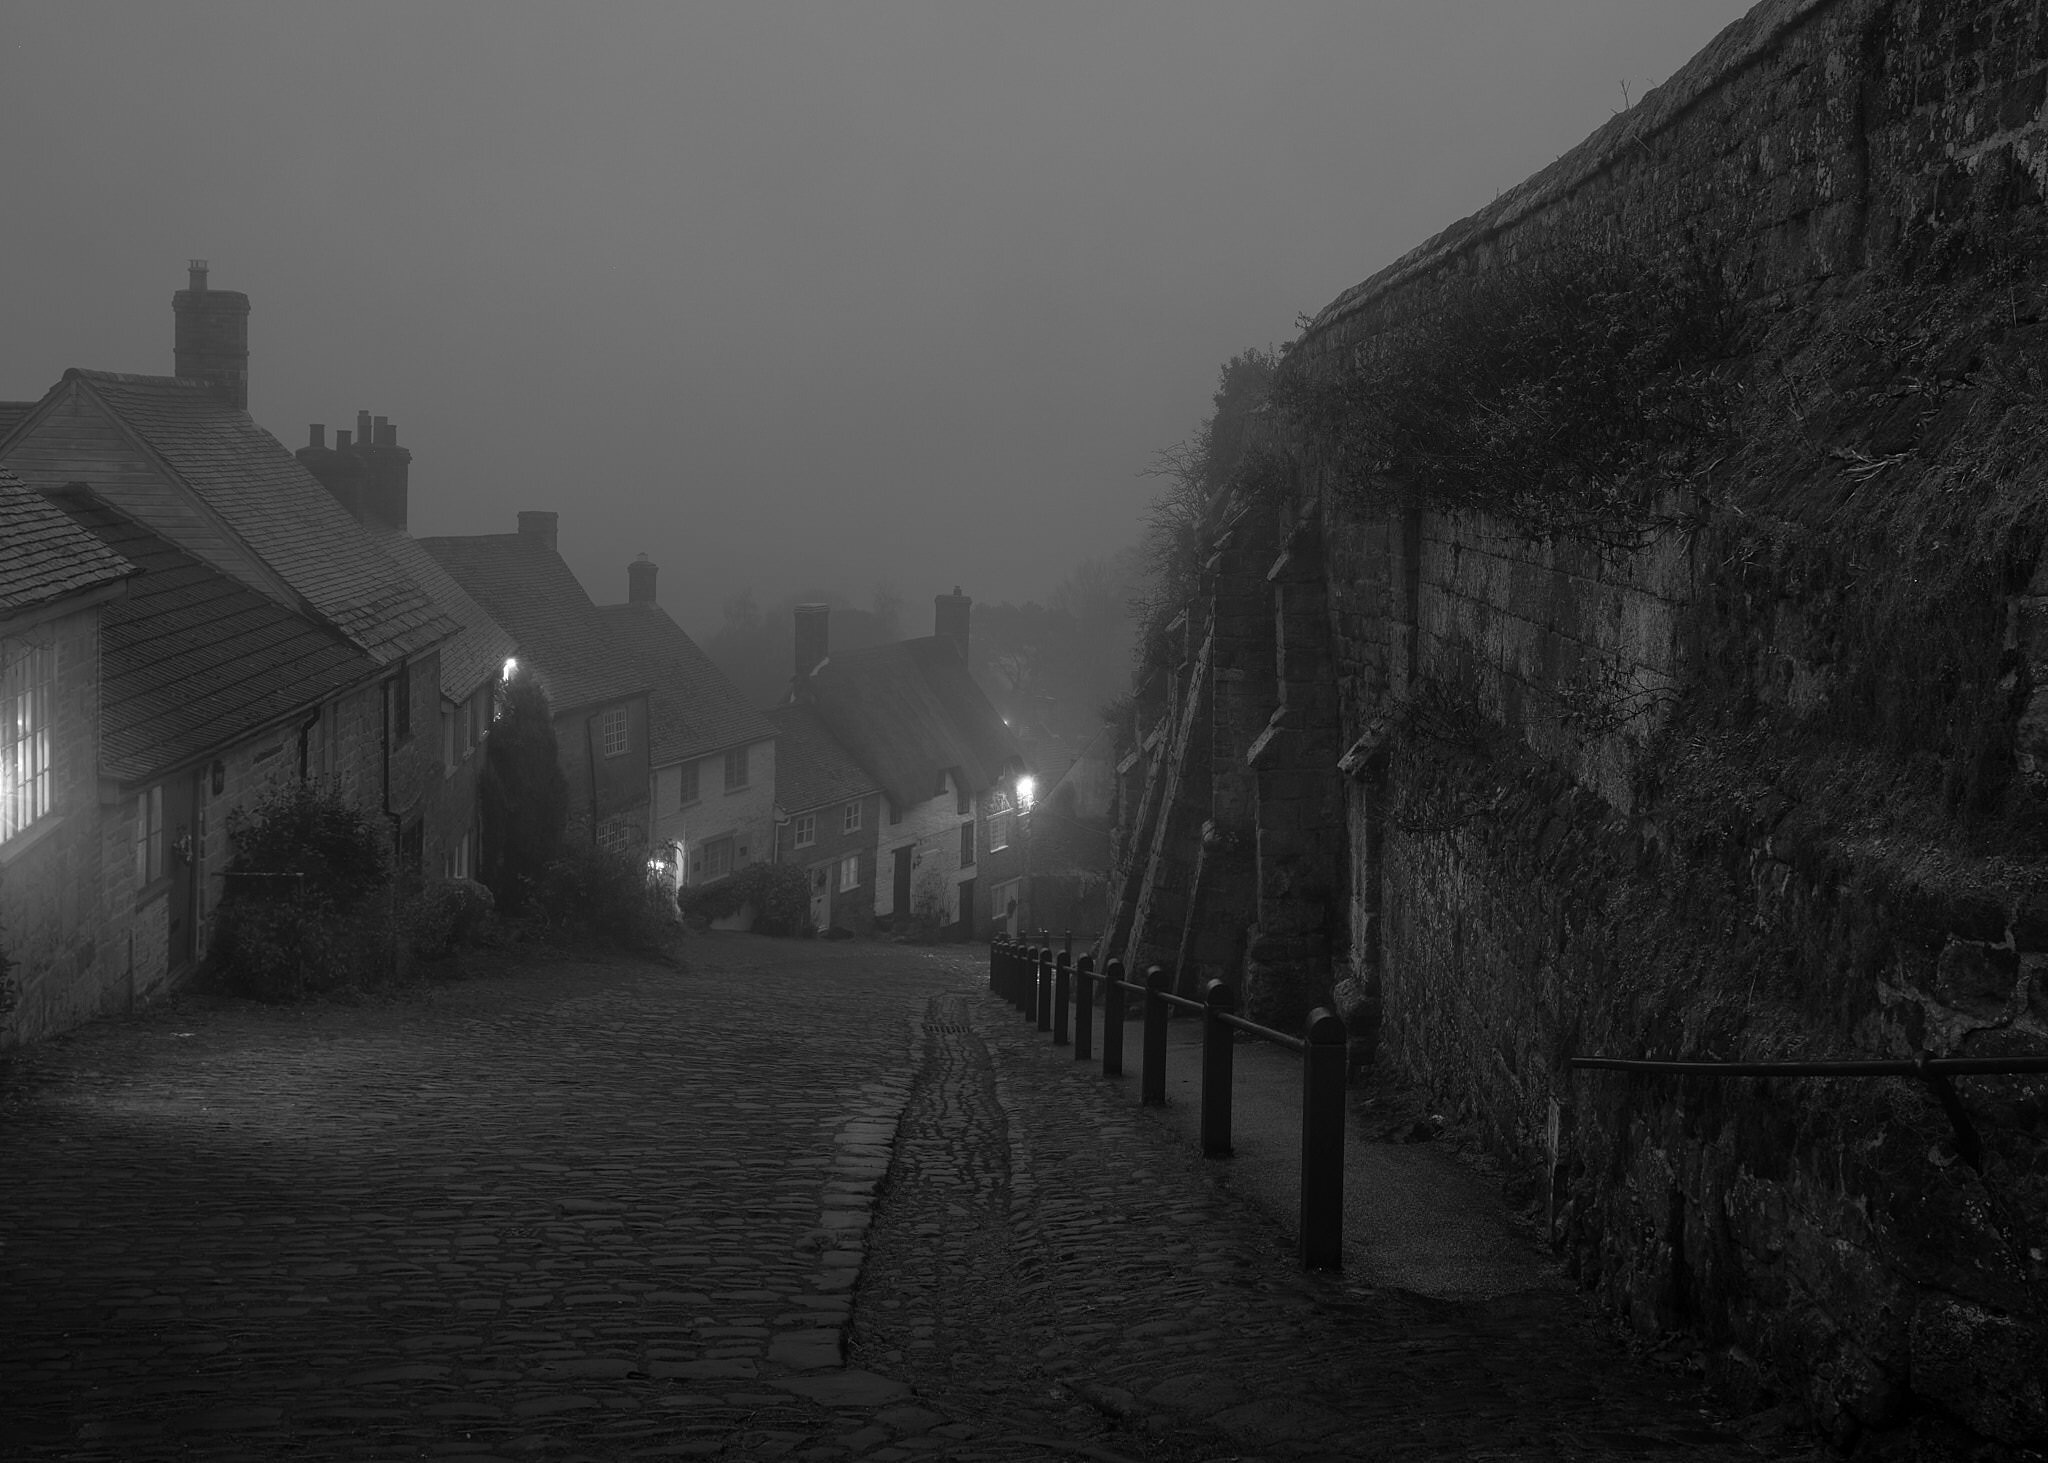
This scene of Gold Hill is possibly one of my favourites. I knew the fog was heavy on this particular day, and that it wasn’t going to disappear quickly, so I had time to plan my image. It was later in the day when I arrived, and I started making images soon after unpacking my gear. I took a shot, then started tweaking the composition each time, checking the image, then tweaking again until I was happy. Generally, my last image of a sequence is my final shot, as I’ve worked towards this image, little by little.
As the ambient light started to fade, the lights of the cottages came on. I knew that these would provide a good anchor into the image, and so focussed on including these into the shot. I’ve composed the image so that the metal fence and the straight edge of the cobbles act as a leading line into the image, providing depth. The fog would obscure a lot of the distant features anyway, so I wanted to make sure that I closed down my aperture enough, in order to get everything in sharp focus. I bounced between F9 and F10, but this image was taken at F9. I was on a tripod, so leaving the shutter open for a long time was perfectly fine.
Into processing, and I actually dropped the exposure down a little more, as I really wanted to pick up the effect that the lights were having on the scene. In Capture One, I used a little dodging and burning to bring out the light where it was needed, and hide some detail where I felt it was drawing the eye too much away from the focus of the image, which were those lovely cottages.
Dropping the detail where it was not needed, but bringing the light up from the cottages gave the scene a nice dusk feeling, and I’m more than happy with it.
Twins – Western Estate, Wiltshire
March 2019
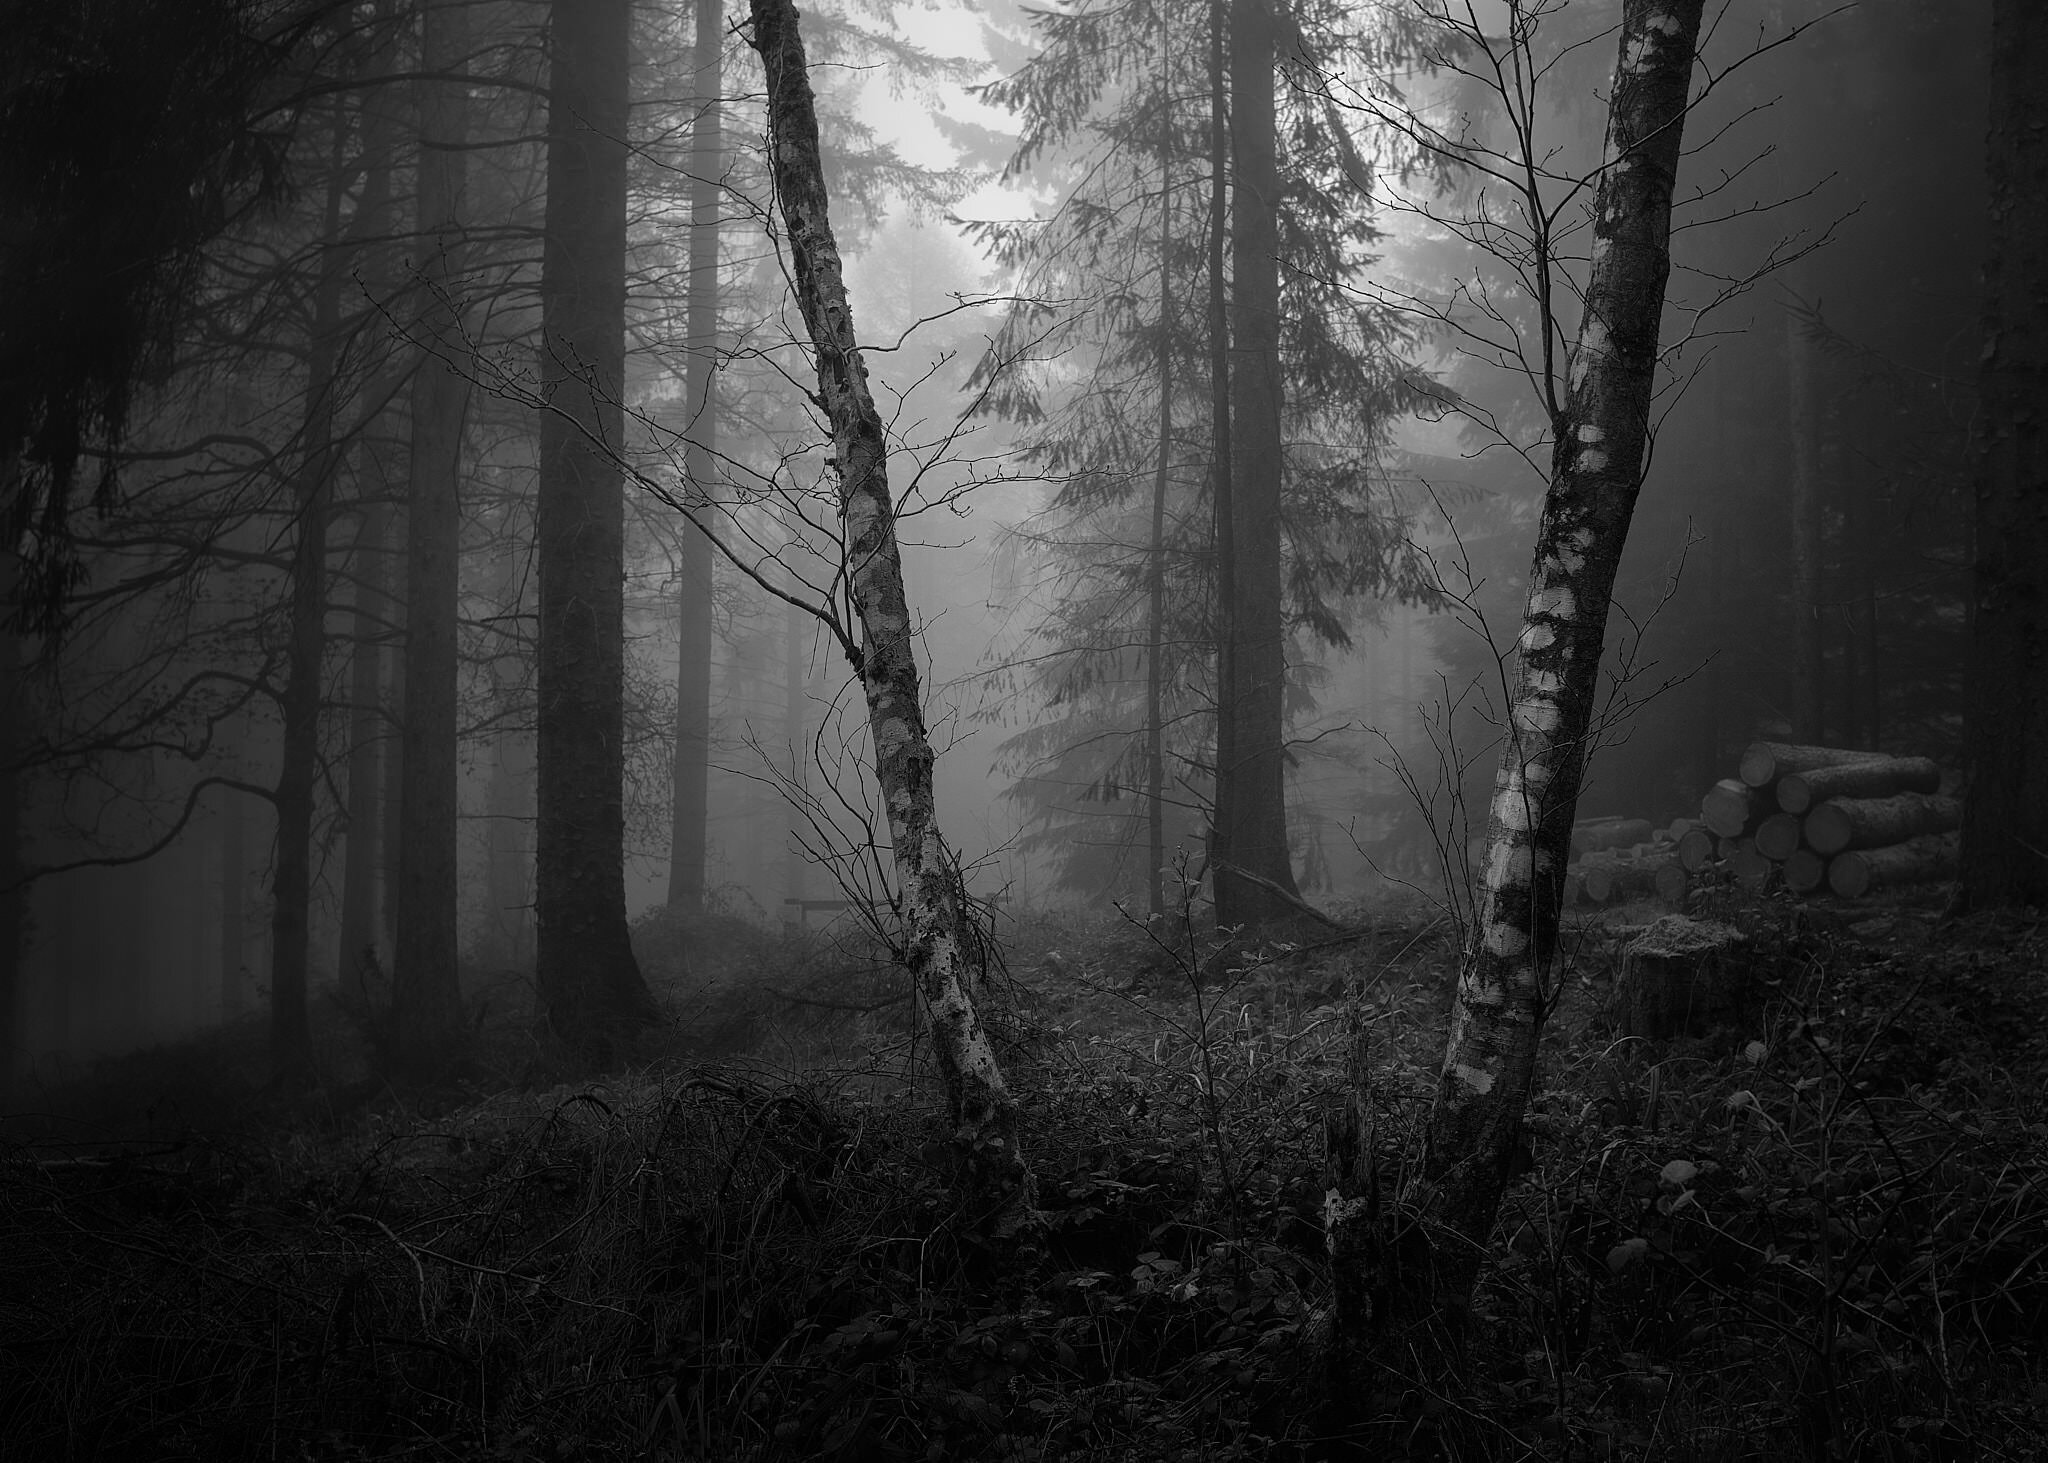
In the scene, with the fog removing a lot of the distractions, I’m immediately thinking of two things here.
1 – How can I frame this image, so that the focus (the two trees) is front-and-centre, and;
2 – Is there any way I can compose this shot so that every tree in the background is in its own space, so not touching each other.
It’s not fully possible, and it takes time to position yourself and tweak the image. But it’s time well spent to get the composition as good as you can get it. Preparation here, as with all things, is more important than the actual taking of the shot.
Here, I know that the mist will obscure a lot of the detail in the background so, just like the Gold Hill image, I want to focus on what I CAN see. F5.6 is a good aperture, as it will retain the important foreground detail, but still provide context in the background. I’m underexposing the scene again (I do this a lot!) so that I can get a real sense of claustrophobia in the image. I know at this point that the image is dark, but I’m probably going to drop it down again in processing. I have my tripod in place, so I know I can take the image without any shake. However, a shutter speed of 1/250s would have been good for a sharp handheld shot anyway. I just didn’t want to take any chances here.
Once into processing, I’m enhancing the details a little, reducing the overall exposure, whilst increasing the exposure in the lighter background mist in the middle of the image, and also adding a small radial mask outside of the two trees, so that the eye is drawn to the mist in the background and the trees in the foreground. I’m also dodging the light spots on the tree to bring those details up, but burning out some of the ground, to help keep the eye focussed on the focal point.
I came into this scene knowing that it was going to be a darker image, but I knew that the misty break in the trees would provide enough light to draw the eye where I needed it to be.
A Meeting of Minds – Stourhead Estate
Nov 2018
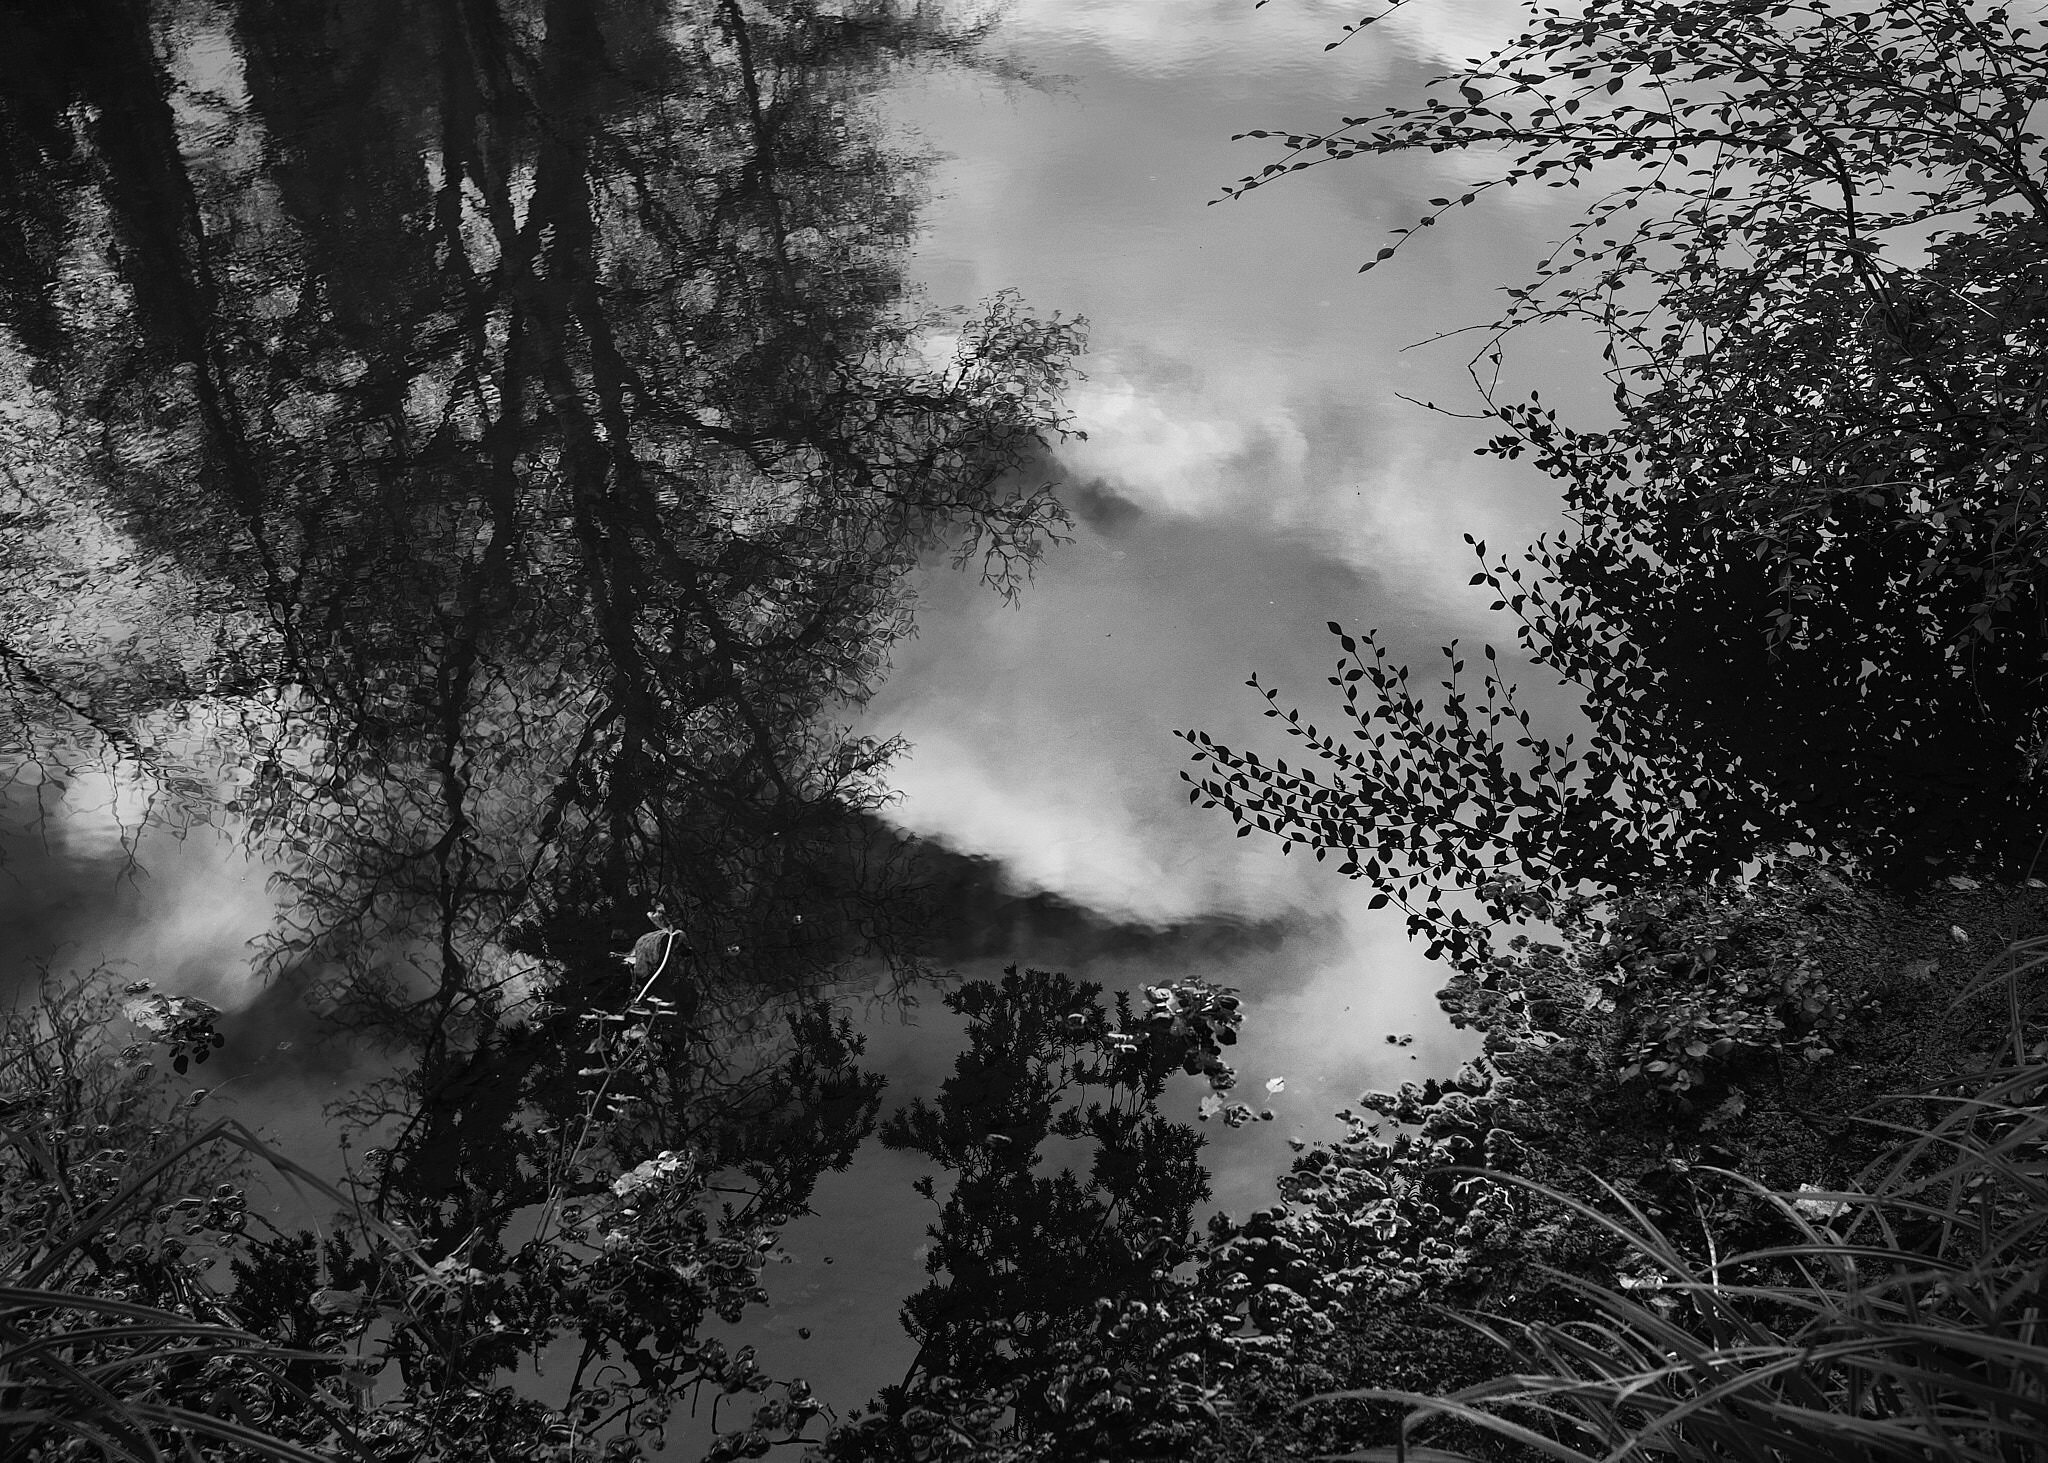
OK, so this image looks really complicated, but shooting something like this really isn’t. What I CAN say right off the bat, is that it’s not a multiple exposure. The ‘Deep Longing’ project which this image is part of, was shot entirely by photographing into bodies of water, particularly around the edges where vegetation can get messy.
This image, really, can be broken down into 3 parts. The vegetation on the right and bottom edge, the tree in the top left, and the clouds. The tree and the clouds are simply reflections in the water. As with nearly all of my images, composition is really important, and moving your feet an inch to the left or right can make or break an image. Here, I positioned myself in such a way as to ensure that nothing cutting into the frame made it obvious what was going on. I wanted a multi-layered sense of depth, but one that was confusing.
I couldn’t use my tripod here, as I need to bend and pivot my body into weird angles to make the image work, so 1/250s helped to keep the image sharp. But, because the higher shutter speed made the image a little too dark, I increased the ISO to compensate. F4 is a great aperture here, as I didn’t need everything to be tack sharp in focus…really just the vegetation on the edge.
Once into processing, I dodged the edges of the clouds to make them a bit lighter, as well as the edges of the vegetation, and then burned the corners to draw the eye to the centre.
—
I hope that you’ve found the breakdown of these images helpful and that, maybe, in some small way, it’s helped move you on in your own journey. Let me close by saying this. Don’t allow yourself to be constricted in any way. Be creative, try things out to see if it’ll work or not. Sometimes it will, sometimes it won’t. When it comes to the creative journey, there is no success and failure. There is a lifetime of discovering lots of different ways to make lots of different things ahead of you, so embrace the creative challenge of making.
Here’s a little secret (It’s not really a secret!), my entire ‘Sanity in the Stasis’ project was shot at home over the course of the first UK lockdown in 2020, and every image was shot by wrapping cling film over the lens. I tried it to see what would happen, and an entire project (which is going to be exhibited in 2021) came out of that experiment. I really couldn’t be happier with it. So…
Shoot because you want to.
Shoot because it’s fun.
Shoot in a way that you want to shoot. I absolutely guarantee you that the way you shoot now isn’t the way you’ll shoot in a year’s time. You will change, and grow, and experiment, try things, try other things, and what you make out of your experiments will be glorious, and we’ll all benefit from what you do with a camera, or a paint brush….or some cling film.
Enjoy.
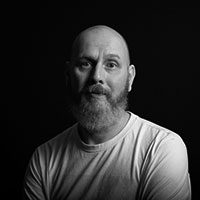
“Just a guy, standing in front of the internet, asking it to love him. Also takes photos of things.”


Brian
July 10, 2022 @ 10:50 pm
I really enjoyed your images and your clear communication about how they were made. This is not the only type of article I enjoy here, but I agree that sharing some strategies can help the viewer understand some of the basic creative choices taken and why those were made. Your approach to your reader encouraging her/him to explore is a delight! Looking forward to more posts here from you!
Matthias
August 16, 2022 @ 6:58 pm
Hi Michael,
thanks for walking me through your thought process on these pictures. Really enjoyed it and I’ll take your thoughts with me on my next trip
Lazar Lalic
October 15, 2022 @ 7:16 pm
There is a saying: it is not knowledge that you know something, but knowledge if you pass it on to others. Thanks for sharing the knowledge.
PS. I hope I expressed myself well in English
Liliana
January 13, 2023 @ 7:03 pm
Ho letto l’articolo e ho apprezzato la descrizione minuziosa di come sinovstati eseguiti glibscatti e i relativi sviluppi, ne farò tesoro!