How to set up your Fuji camera for street photography
Welcome along to another blog guys. Today I want to make a few suggestions as to how to set up your Fuji camera for street photography. These settings will hopefully allow you to walk the streets and focus on watching the world and looking for interesting people or interesting scenes to shoot, rather than worrying what your settings are, fumbling around the camera and missing the shot. Lets dive in guys.
So I’ll start by clarifying what I mean by suggestions. These settings I share with you and no guarantee to better street shots, there are far to many variables for that. The settings I share with you are simply what I use to make sure that I can focus on whats happening around me and be sure that the camera is ready to go as soon as I see a shot.
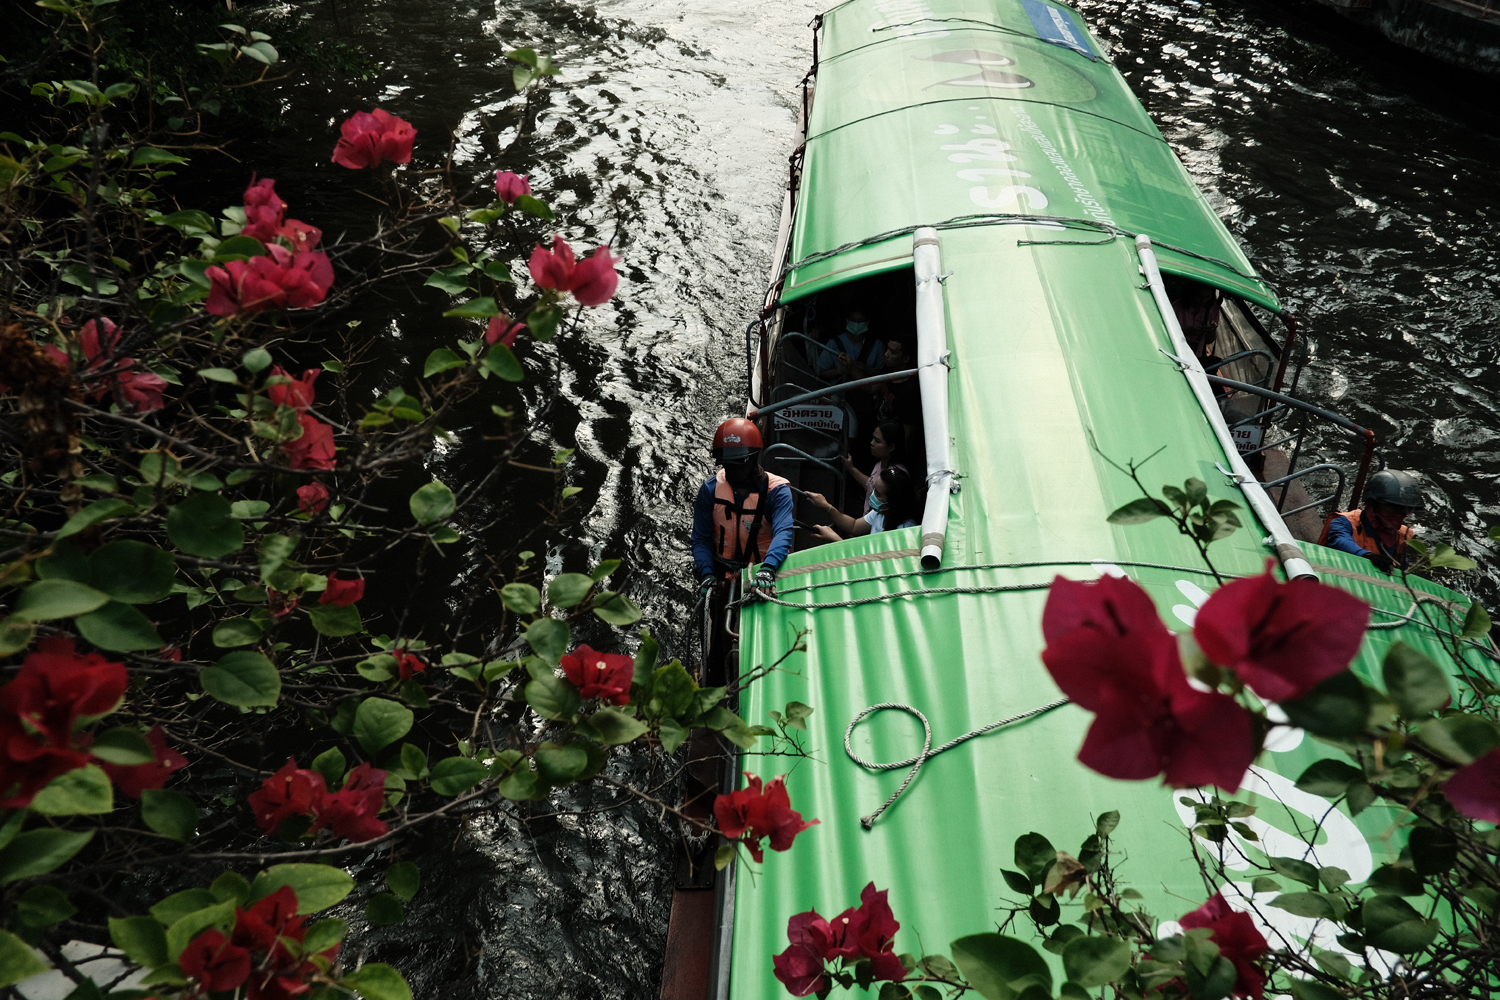
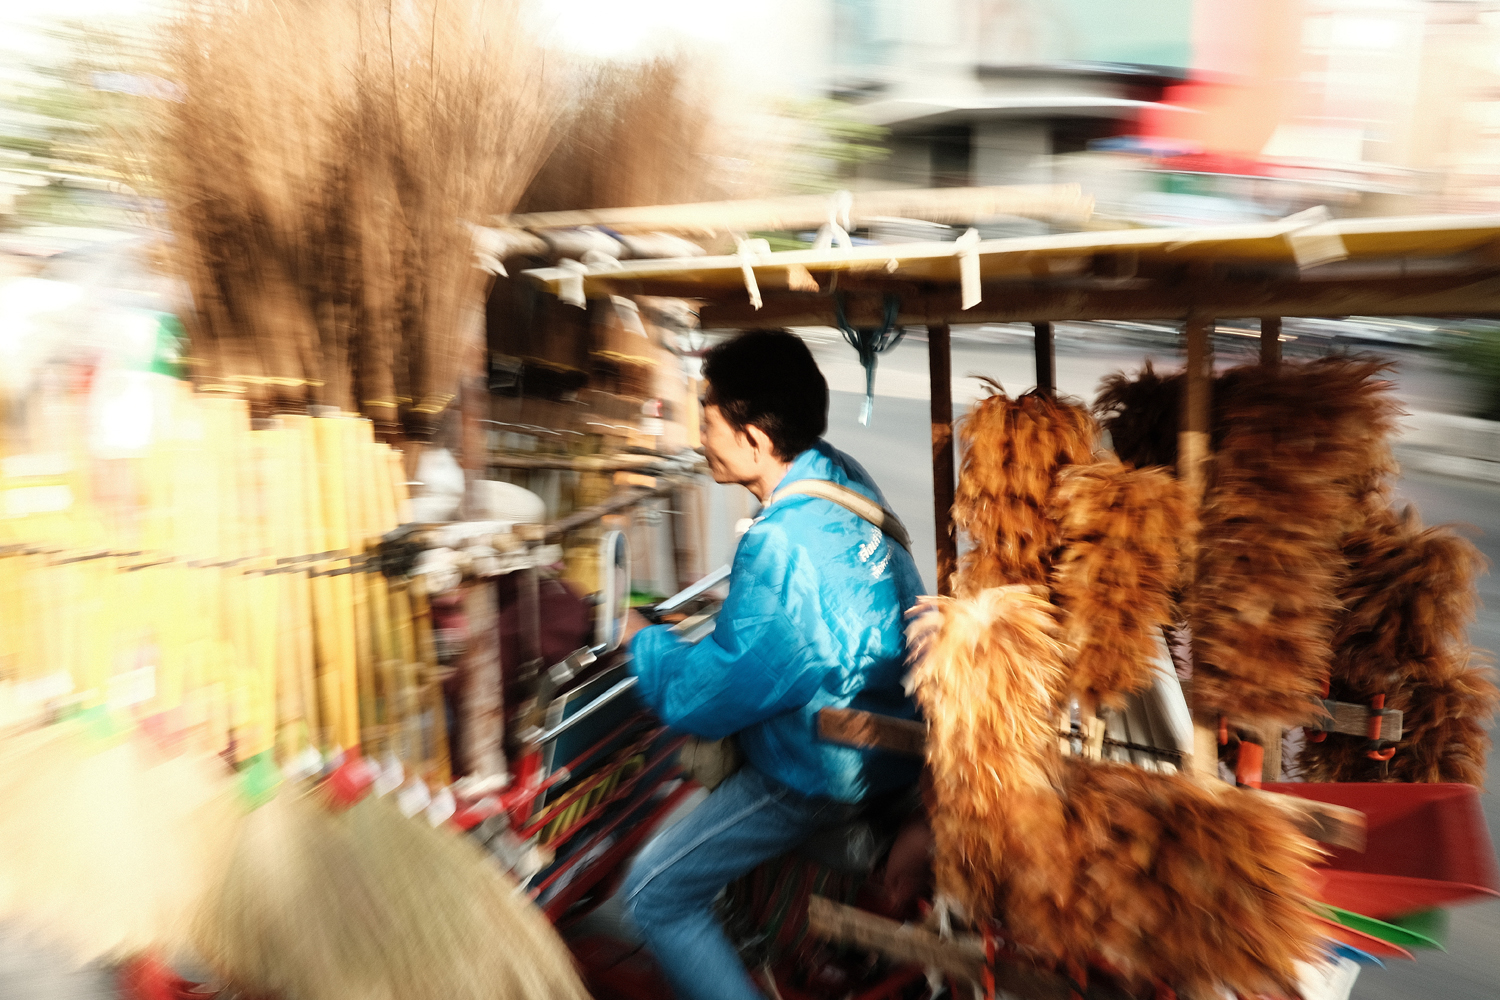
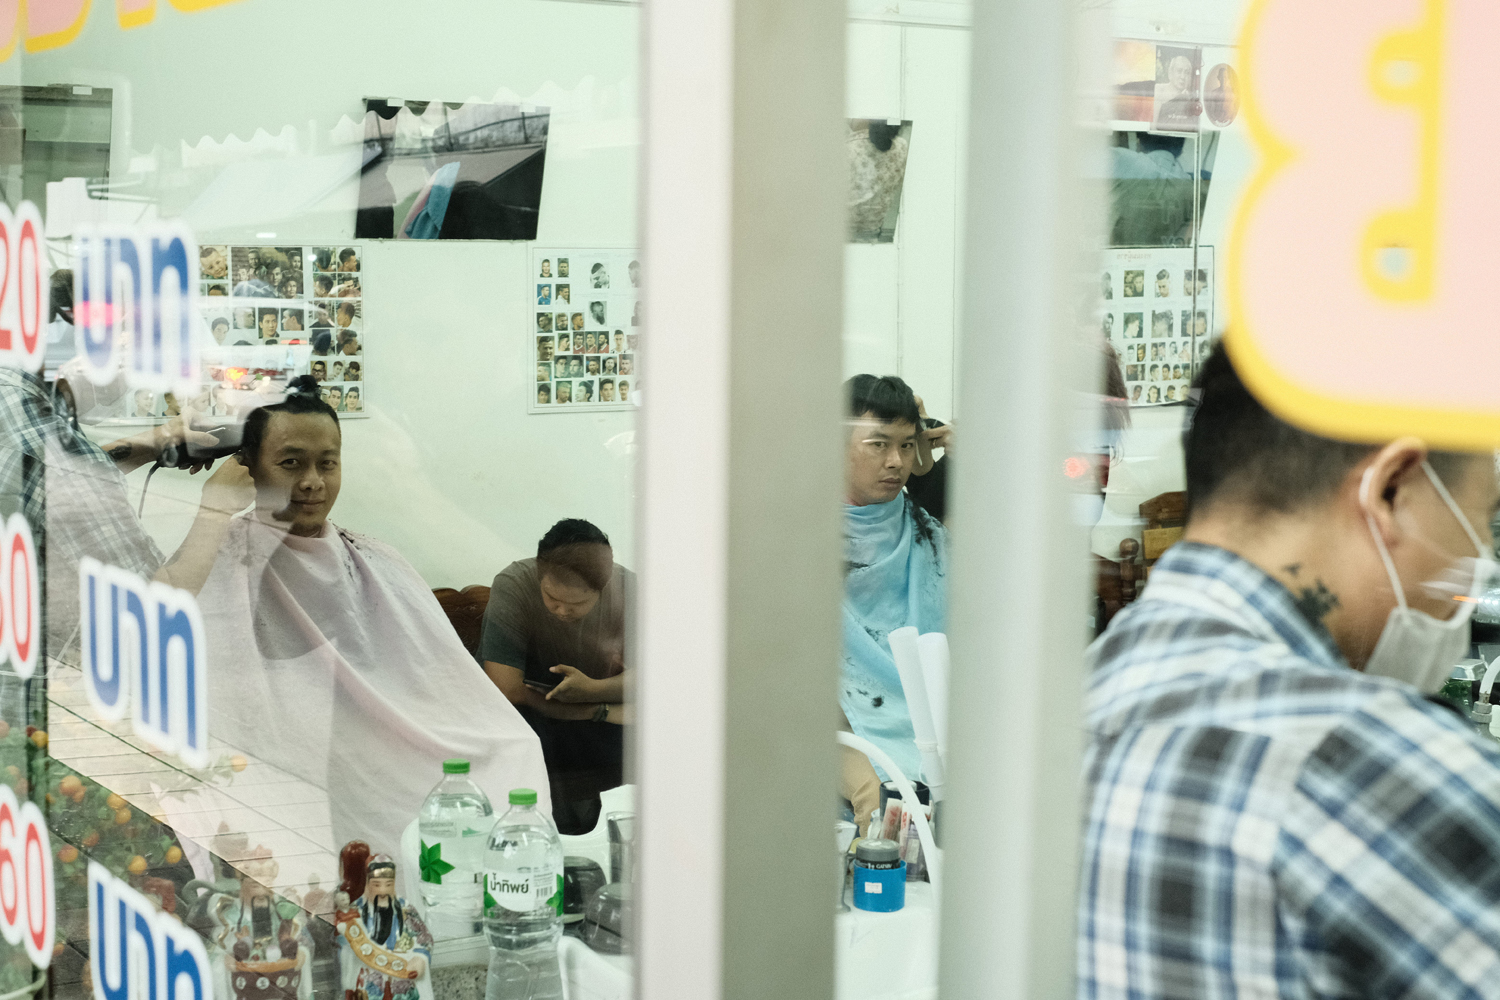
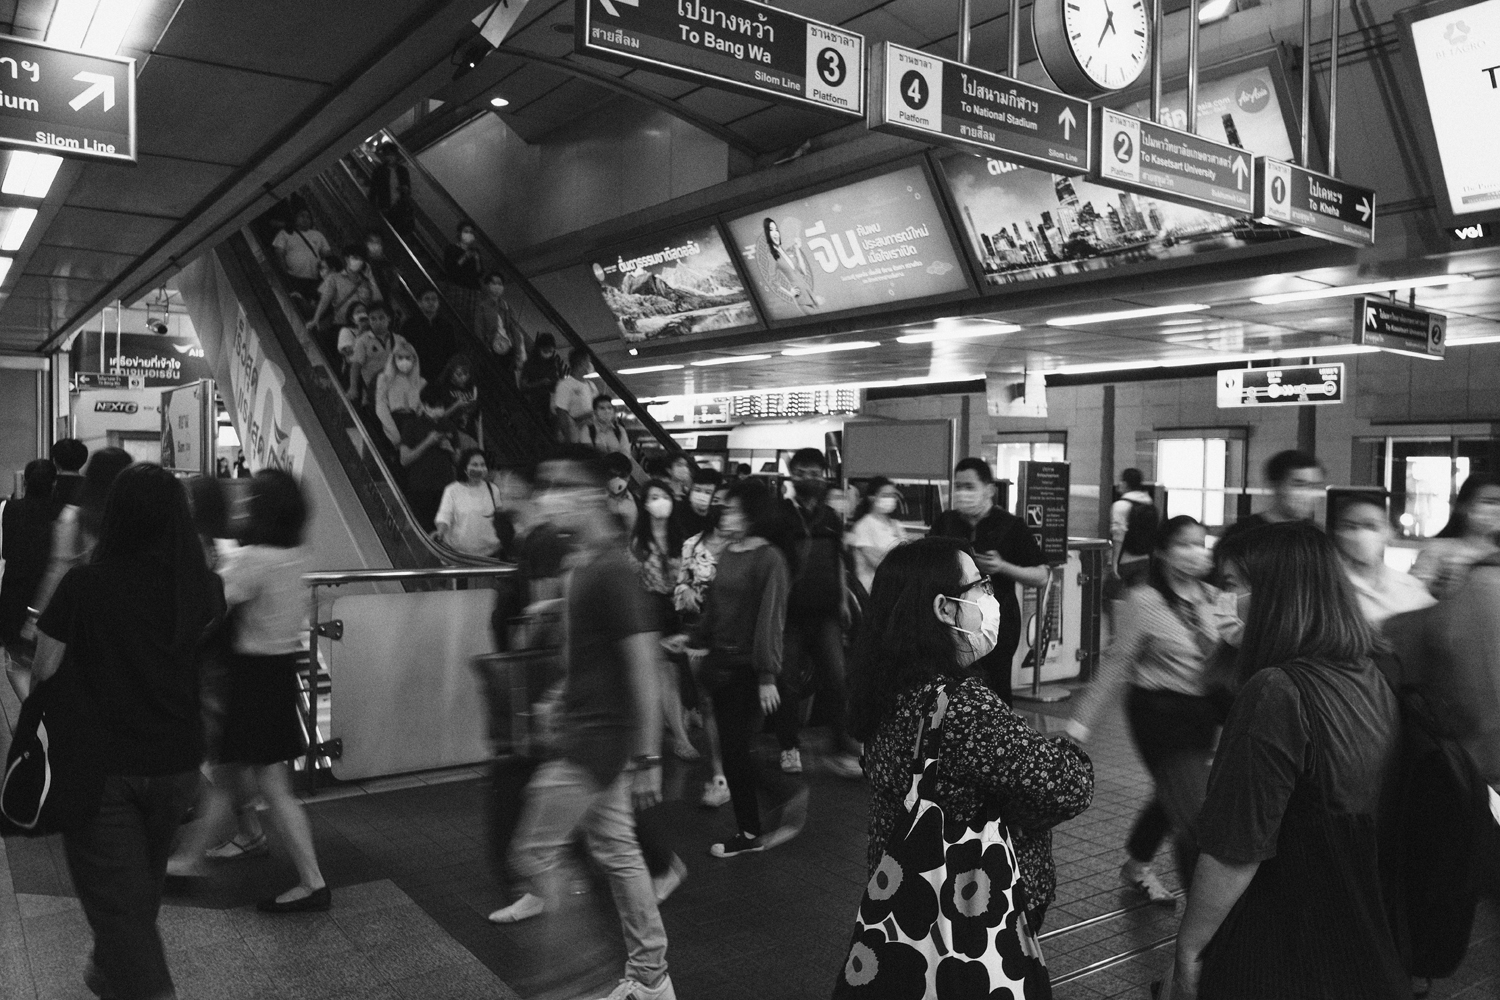
Street photography is usually very reactive, well for me it is. I don’t like to sit in one place for a long time, waiting for the correct person to enter the scene; don’t get me wrong, I have done this in the past, but its not what I find enjoyable. I would much rather hit the streets and just keep walking and shoot anything interesting that I see along the way. That method of street photography plays a huge part in the settings that I use.
Ill break this down to a few different sections and explain the reasoning for each setting in each section. I hope that will make for a slightly better layout and more fluent reading experience for you guys. Anyway, Im rambling on again, so here we go.

Auto Focus
Im a firm believer that if your camera has autofocus then use it. Almost any camera made in the last 10 years has autofocus that is fast enough for 90% of the situations you’ll encounter on the street. Coupled with that, if you understand a little bit more about how autofocus systems work, or rather when they work their best, you can over come any issues you may face.
AF-C is my go to on the street. It works perfectly and keeps the camera sharp and responsive for those subjects that may be walking towards you or away from you. The worst thing is when you see a subject approaching and you shoot a few shots in AF-S. The first shot is sharp, then as they approach the light or composition the shots become soft due to the focus locking in the position of the first shot.
Trust me, when I first started street I’ve missed so many shots due to this issue. The recent fuji cameras allow you to fine tune auto focus speed and sensitivity, but I find the factory setting is more than good enough. So I suggest trying AF-C!!!
Next in the AF section is the focus mode. Fuji cameras have a few options, Single Point, Zone, Wide/Tracking and ALL. I almost always use Single point and I’ve found the larger the single point box you use, the faster the AF speed will be (just my findings, I haven’t tested this thoroughly). If I’m shooting at F5.6 or higher, I will set the single point to a large size.
If I’m shooting at F2.8 or lower ill set it to a small size. This is because at a narrow aperture, F2.8 through to F1.4, I need the focus to be very accurate due the shallow depth of field. A smaller focus point allows for greater accuracy. Shooting at F5.6 or higher means that you have a lot more depth of field and so can use a larger single point to allow for faster focus.
Another AF setting to bare in mind is Face Detection. Again I rarely use this for street photography so I would suggest turning this off. I find that my XT3 is very, very good with face detection now, however you just don’t want to run the risk of the camera focusing on something it thinks is a face and completely missing your subject! Turn off face detection guys.
Some added knowledge to assist with autofocus when in the streets. Almost all cameras on the market will focus much better when the focus point has some contrast within it. What do I mean by that? So, picture a silhouette shot, if you had your focus point on the pure black area of the subject the camera may hunt for focus.
If you move the focus point to the edge of the silhouette, the outline of the person if you like, the camera will much more likely lock onto the focus. I have found this to be the case in almost every single situation I have tried this in so it really does help me! Remember that your camera wants/needs contrast to acquire autofocus quickly so make sure you give the focus point contrast and your good to go.

Shutter Speed
Okay, this may be where people start to say things like, ‘oh dude, your not a pro if you don’t shoot fully manual’. Well, guess what, I don’t care! Sorry! For me, photography is about the image. Anything I can do to make sure I get the image, like using certain settings, then I’m going to do it. I will say this, I know how to, and can shoot fully manual.
When Im shooting professionally on commercial shoots or if Im shooting a personal project and have more time to slow down, I will shoot manual. BUT, on the streets, the way I shoot doesn’t give me time. I want to move quickly and I need my camera to keep up with me. I set my camera to auto shutter speed. If this makes me an amateur, then so be it.
The only thing I control is the minimum shutter speed I let my camera select. You do this within the Auto ISO settings. Spoiler Alert! I never let my shutter speed get below 1/100th. This means I can shoot anything between 18mm up to 50mm and maintain sharp images very easily.
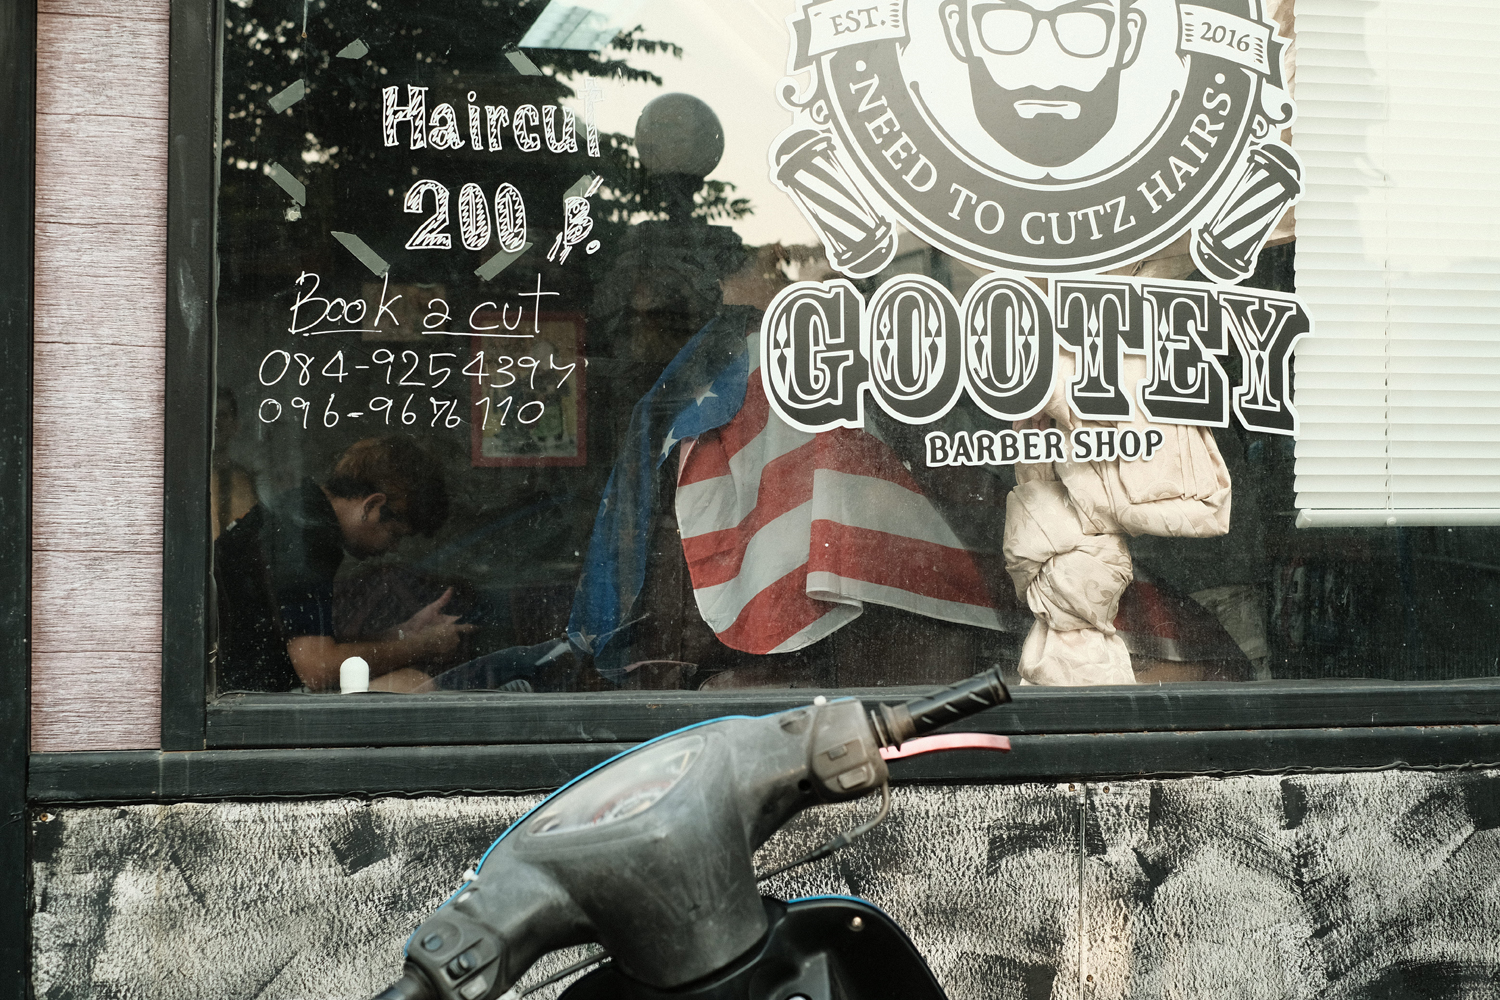
There is one exception however. Motion blur. I don’t use this technique often, but I do like it when the time calls for it. The way I set up my camera allows me to do this very quickly. I simply turn my shutter speed dial to the appropriate speed, usually 1/15th or 1/30th, my aperture is usually okay and the auto iso sorts the exposure out for me. DONE. You shoot either panning or holding the camera as steady as possible and you catch the motion within the frame. Job done, NEXT!
ISO
I let it slip in the last section that I use Auto ISO also. ‘Arran dude, you just don’t know what your doing’, if you think that then hey, congratulations, I still don’t care. The same reasons apply for me using Auto ISO as with Auto Shutter Speed. I move quickly and need to be reactive, so my camera is set up in a way that allows me to shoot in that way.

The difference here is that I have a few different Auto ISO settings dialled in. Each one is aimed at different lighting situations. I have a setting where ISO is capped at 3200 and a minimum shutter speed of 1/200th. Ill use this during the middle of the day, outside where the light is nice and bright. I then have a setting that ISO is capped at 6400 and a minimum shutter speed of 1/100th. I use this for most of my night time street photography.
When using a wide aperture this is usually enough light sensitivity for any night time street photography. Finally I have an ISO setting that is capped at 12800 and again a shutter of 1/100th. This is if I’m in a very very dark situation. The lens will be wide open, F2 or wider and I’m still needing more light, hence the 12800 setting. This is very rare though.
A side note to the ISO section is this. Do not be scared of grain! Once upon a time, digital grain produced by cameras was horrendous! Messy, mushy and generally ugly. Now though, grain is actually pretty nice, especially in Fuji cameras. I have used images at 12800 ISO without any noise reduction and it looks absolutely fine. So let that ISO climb guys, its okay.
F Stop
I hinted at this a little earlier on, and again it depends on the time of day I’m shooting. When on the streets, I’m technically set up in Aperture Priority mode. This means that I’m using my aperture more than any other setting. Having said that, if I am shooting during the day with good bright light, I will almost always be at F8. Ive found F8 to be a sweet spot for me and I suggest you try it too. F8 means I can set my focus point nice and big allowing super fast auto focus. Second to that it means I can get a large depth of field, perfect for telling stories on the street with front to back sharpness.
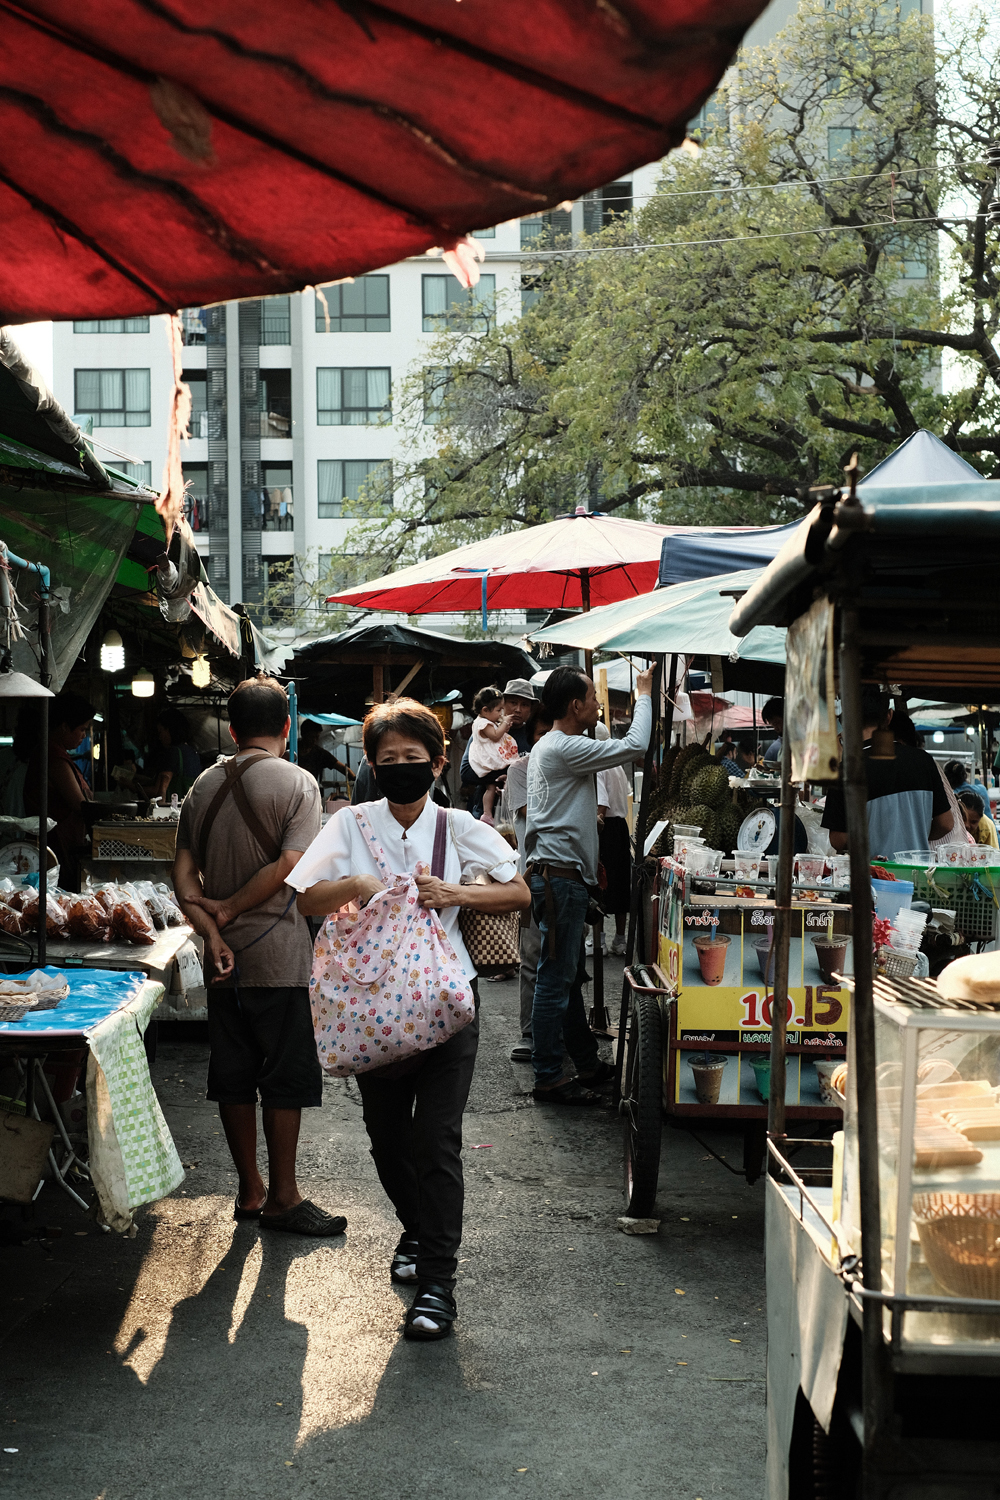
The only caveat to that is if I see a shot that I know I want a shallow depth of field, purely artistic preference. With the settings I have dialled in, its as simple as twisting the aperture ring to F2.8 or wider and away I go, the camera looks after everything else. Super fast and easy!!
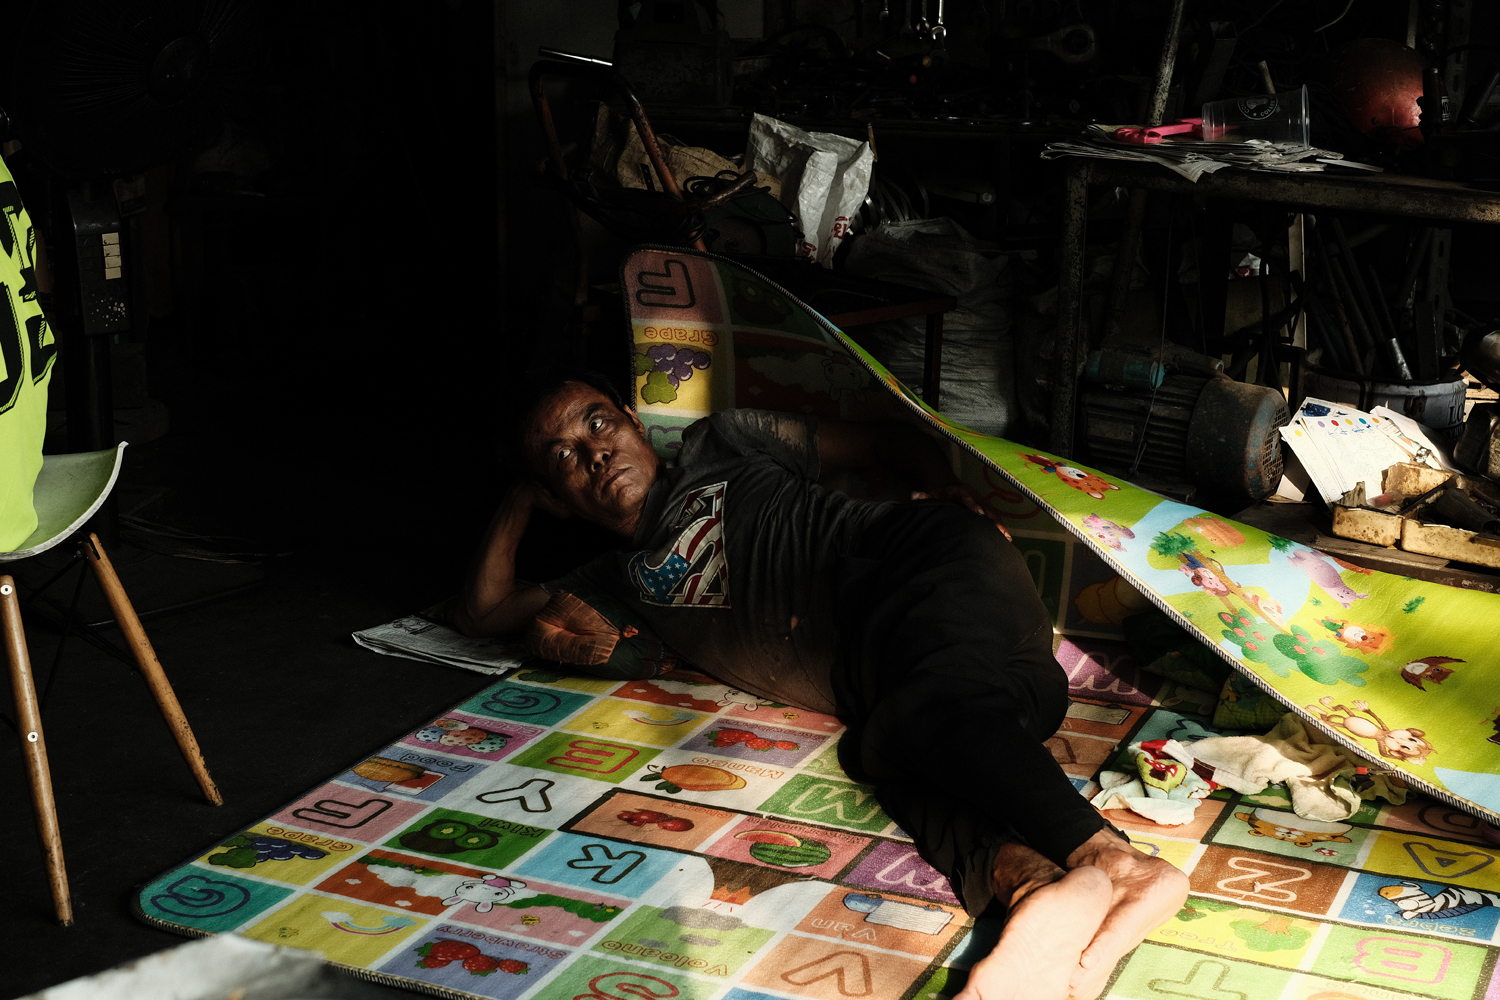
Night time street photography differs slightly. I will usually be between F2.8 and F4. Purely to allow a little more light onto my sensor along with using the higher auto ISO setting of 6400. This is almost always fine. Again, just remember the focus point settings if you open the aperture up, you don’t want the camera focusing on something you didn’t want it to.
Exposure Compensation
This may just be my most used adjustment when shooting street photography. I use this in my own way though. Fuji cameras have a dial specifically for Exposure Comp. I turn this dial to C setting. This means Command. I then enter the menu and set my rear command wheel to exposure compensation. This allows me to very quickly spin the rear command wheel to either over expose or under expose the shot I’m looking at.
All without having to take my hand off the shutter button. Again geared towards speed and the ability to react to situations. Plus side to an EVF, I can see what my exposure looks like, so a quick adjustment and my shot is as I want it. I tend to shoot 1/3rd to 1 full stop over exposed when shooting with my colour film presets. You can view my post about those here. This is my favourite setting I have dialled in for myself.
Metering
This is easy, set it to multi metering. The camera reads the full frame and sets a technically correct exposure for what it can see. Thats where your Exposure Compensation comes in, and you adjust it either over or under exposed to what you want. Super quick and super easy, next.
Drive Mode
Fuji cameras offer 3 settings, CH, CL and S. Continuous High, Continuous Low and Single shot. I use CL for all my street work. I then just decide what speed I need the shutter to be, I find 3 frames per second is more than enough for me most of the time. If I feel like action will be very fast I up it to 5 frames per second. I also use 5 frames per second for panning shots. I feel CH is over kill, 11 and even 8 frames per second is crazy fast and you will end up with thousands of shots of the same thing shooting at these speeds. No need on the streets guys.
Now, I will show you what settings I have assigned to each function button on my XT-3. These buttons can be used on the XT-2 plus, almost every fuji camera has the option of customising the button layout with the D-Pad and other function buttons. The customisation that fuji cameras allow is phenomenal. Doing this allows for a much more enjoyable experience when shooting with the camera, along with making the camera feel much more personalised. I have been able to assign certain settings to different buttons that allow me to access these settings very quickly without ever having to lower the camera from my face. I would like to add this before we dive in. These suggestions are purely based on what works for me. I do think its definitely worth trying this button layout and then potentially changing certain settings to suit what you want or need.
FN 1
FN 1 is situated between the shutter speed dial and exposure compensation dial. This is set to drive setting speed. Like I mentioned in the last post I spend all my time when shooting street photography in CL drive setting. I have assigned this button to drive speed as I find it useful to be able to quickly change my drive speed between 3, 4, 5 and 5.7 frames per second. I shoot mostly in 3 frames per second, but if I need to shoot a panning shot to blur motion I will hit this button and set my shutter speed to 5 or 5.7 frames per second. Then once I’m done with the panning shot, I hit the button and take the drive speed back to 3 frames per second. This means that when I hit the shutter, the camera doesn’t rattle of millions of frames, I don’t like to over shoot when its not necessary. I can always select CH if I really need a super fast shutter speed, but thats almost never going to happen when shooting street photography.
FN 2
FN 2 is the function button the front of my XT-3. I have this set to face detection on/off. I have this setting on this button for when I am shooting people close up. If I have clear sight of a persons face, I will tap this button to quickly enable face detection, grab my shot then when I move away from that subject I can quickly tap the button again to disable face detection. This works so well for me. I don’t have to fumble through menus to find face detection when shooting people, one tap of a button and I am ready to shoot.
FN 3
FN 3 is the up button on the D-Pad. I have this set to AF Mode. This allows me to quickly change between Zone and Single Point auto focus. As mentioned in the last post, I almost always use single point AF. I am yet to find a situation in street photography that Zone or any other AF mode offers an advantage over single point. It is nice to be able to press one button and have the option of different focus modes should I ever be struggling to acquire focus on my subject.
FN 4
This is the left button on the D-Pad. This is set to Preview EXP/White Balance in Manual. Because I shoot quite a lot of commercial food photography here in Bangkok, most of that is shot with flash. For flash photography you need a neutral display from the screen and EVF. I press left and it gives me a neutral image of the scene rather than showing what my exposure will give. Due to the flash, the screen and EVF would almost always show an extremely dark picture, because until the flash fires thats what the exposure would look like. Anyway, thats content for a different post I think. I never use this setting for street photography, so feel free to ignore this.
FN 5
FN 5 is the right button on the D-Pad and I have this set to Select Custom Setting. As some of you will know, I use a few different colour presets and a B&W preset for my street photography. One press of a button and I can change between these three presets nice and easy. However, I do usually choose what custom setting ill be using before I head out and shoot, for example I will select my B&W setting before I even leave the house. Occasionally I will change to a different setting if I’m in B&W and see a scene that lends its self to a colour shot, that is why I have a assigned a button to allow me to do this quickly.
FN 6
Down on the D-Pad is FN 6. I have this set to Shutter Type. If I am in a situation that is very crowded or people are a little nervous of my camera I am able to easily change from mechanical to electronic shutter. This is completely silent because I have turned off any artificial shutter noise. This is really helpful when shooting on trains or buses. You can pretend to be playing with settings or viewing images and fire off a few shots without people knowing your shooting due to the silent shutter. When walking freely on the street I usually stay in Mechanical+Electronic, that means that if my exposure reads a shutter speed over 1/8000th, the camera will automatically change to electronic shutter, that allows the camera to shoot at 1/32000th. Thats crazy fast and allows you to shoot wide open (F2 to F1.4) even when its super bright outside.
AE-L
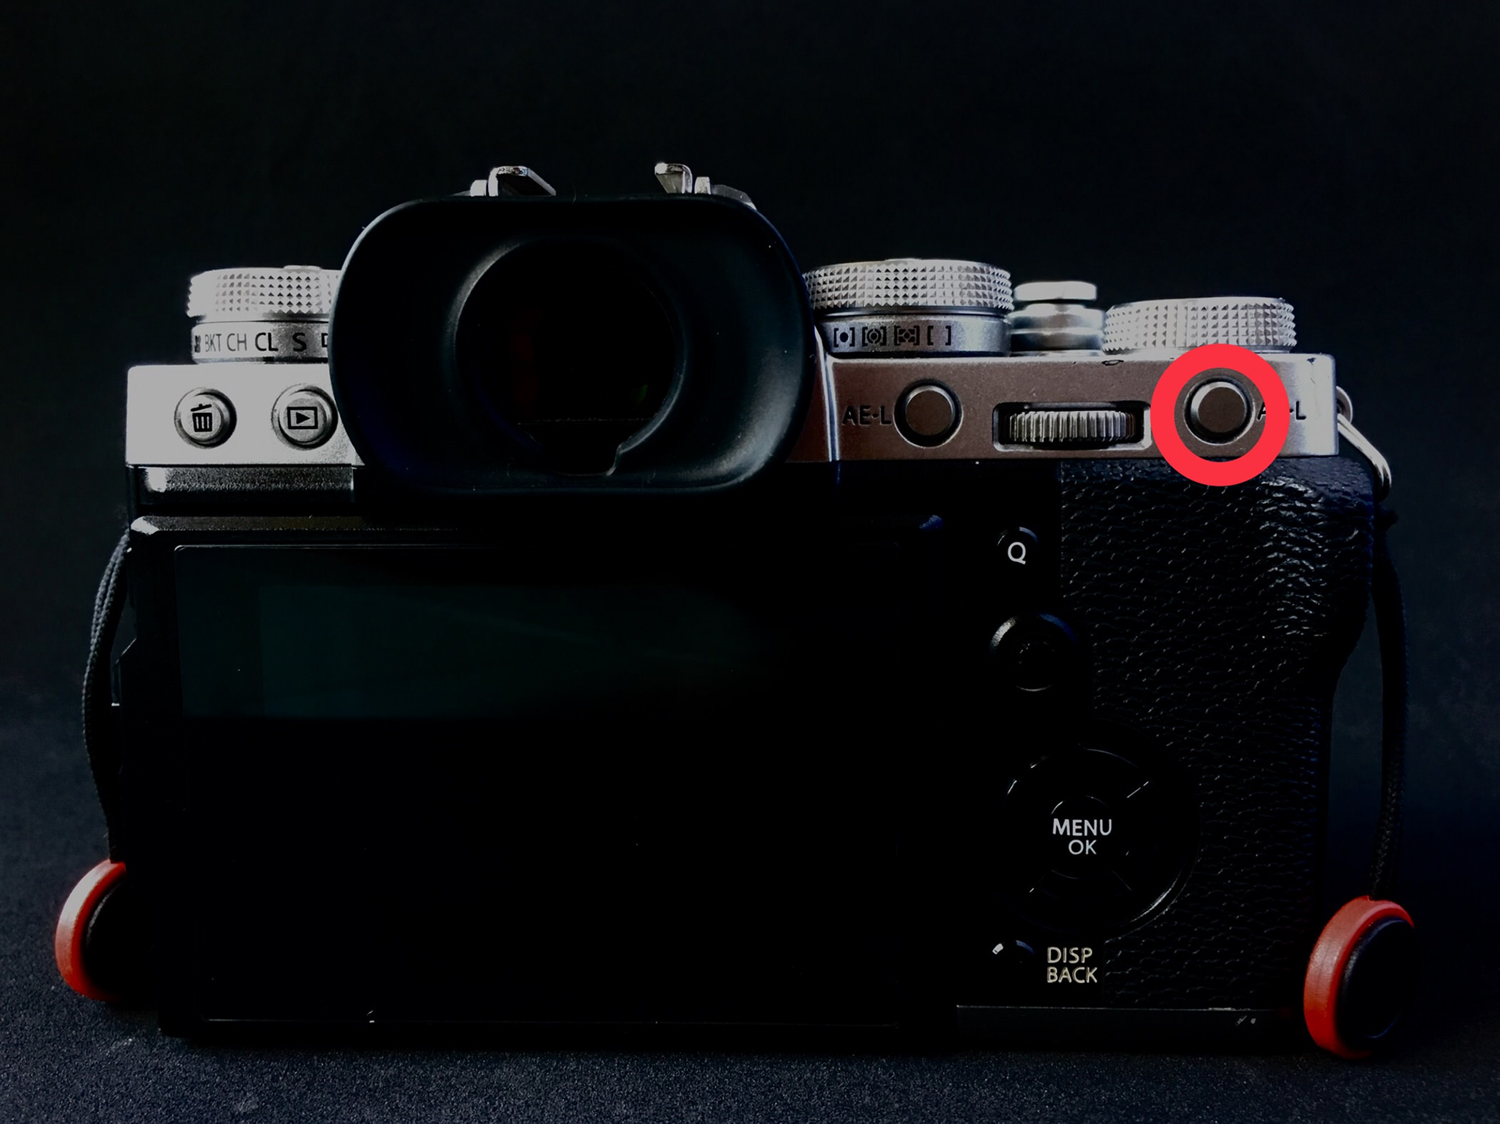
Okay next is the AE-L button. This button is nicely placed near my thumb and very near to the rear command wheel. This button is used for my Auto ISO settings. When I hit this button, my three Auto ISO settings are displayed. I can quickly change from my daytime settings to nighttime settings if I walk into somewhere dark, or if I am in a place that requires a little more light sensitivity. I find it nice to be able to quickly alter the ISO limit that my camera will go to. As I mention in the last post, I shoot with Auto ISO on the streets, so having control of the ISO limit quickly is beneficial to me.
R-Dial
Next up is the rear command dial. This can be pressed in and used as a function button but I very rarely use this. I have it set to activate the large icon setting on the LCD and EVF. Sometimes if its really bright outside, you can struggle to see what the screen is displaying and its good to be able to tap a button and see all your settings nice a big. Tap it again and they go back to normal. Like I say I don’t use this very often but its there if I need it.
AF-L
This is the AF-L button. I have this setup for back button focusing. I am not one of these people who say that back button focusing is the best and everyone should use it. I developed a habit of using it when I was shooting weddings on my Nikon D750’s. The focus points didn’t cover the whole screen so I used back button to allow me to focus then recompose then take the shot. You don’t need that with mirrorless cameras because the focus points cover the whole screen. I still like to use it purely so that my shutter button is separate from my focusing. If you do find a nice scene, you can compose the shot and acquire focus where you want, then when a subject walks into shot you can hit the shutter button without any lag or focus acquisition at all. It makes for a much faster and more accurate way of shooting, I would urge you to try it, but its not completely necessary.
Joystick
The focus joystick is used for selecting AF point. You can also press it in and this allows you to quickly change the size of you focus point. If you read the last post, you’ll know my reasoning for changing focus point size, this allows me to do so nice and quick.
Q Button
Okay, the Q button is actually very helpful. This allows you to select 16 of the most important settings you use and have them all accessible with the press of one button. That is so useful, trust me. I have mainly the colour adjustment settings displayed in the Q menu just incase I want to tweak a few settings for a desired look. You can select whatever you want for the Q menu by holding down the Q button. You can then configure this exactly how you want it. You can see exactly what I have selected in the image below. I mainly use the Q menu for my 2 second timer when using a tripod.
To finish off there is a few little minor settings that you may be interested in. You can change what you’d like the front and rear command dials to control. I mentioned in Part 1 that I have my rear dial set to control my exposure compensation. I have my front dial set to control shutter speed in 1/3rd stop increments. Also, if the shutter speed dials set to T, I can then control my shutter speed completely with my front dial. My aperture remains on the lenses them selves, I love that about fuji lenses.
Okay so I think that covers it. You now know exactly what my camera is doing and also how I make it do it (does that make sense?). From settings that the camera controls to settings that I control. Its all geared towards making my photography as enjoyable and as smooth as possible. There are days when I challenge myself to shoot completely manual, but 90% of the time, the settings and button I have explained in the last two blogs, are what I am using.
I hope some of what I have shared is useful guys, and that you can take at least a few ideas or snippets of inspiration to apply to your own camera when heading out shooting street photography. I urge you all to set up your cameras so that they become an extension of you, a tool to help you create better images. If that means shooting manual then learn how to shoot manual, if that means copying the settings and buttons that I’ve shared here, then do that. Just makes sure you enjoy your photography and capture some awesome photos along the way.
Thank you as always
Arran

“I’m Arran, creator of FUJIFEELS and general photography addict. I carry my camera pretty much everywhere I go. I shoot all sorts of things but, professionally I’m a wedding photographer and my main personal work revolves around street photography.”




Albert
March 13, 2020 @ 5:34 pm
I just want to corroborate your feelings and experiences with auto ISO. I came from decades of film shooting with fully manual cameras, some without built in meters, and I too use to be one of those that ridiculed shooters that turned basic functions over to automation.
The fujifilm auto ISO, while “auto”, allows enough override that even a purist like me has embraced it. I use all three auto ISO banks (each set up with a maximum shutter speed and maximum ISO), selecting the best one depending on my lens used or the anticipated movement of the subject. The results have made me stop agonizing over “control” and therefore I can just get on with shooting what I see.
If you haven’t tried auto ISO, give it a try like the author of this post recommends.
FUJIFEELS
March 15, 2020 @ 3:01 am
Hey Albert!
Awesome to know that you to use the auto iso controls on your Fujifilm. It really is very good and massively helpful. As I said, if need be, I can quickly go into manual mode for very specific exposures. It makes shooting so much fun.
Thank you for reading through the blog, I hope you gained some inspiration or maybe even a few new ideas. I really appreciate it.
Arran (Fujifilmfeels)
Khürt L. Williams
March 20, 2020 @ 6:37 pm
That’s great to hear, Alber.
I think that taking great photographs or being good at photography has absolutely nothing to do with one’s ability to use manual mode. It’s just garbage thinking that people with inferiority complexes make up.
Professionals and other experienced photographers use just about every shooting mode on their camera.
PornDodo
March 16, 2020 @ 4:53 am
You’re great. Learn from you!
Marc Cabuy
March 22, 2020 @ 10:52 pm
Hey Arran,
So far for street photography I was putting shutterspeed on 1/125, diaphragm on auto, and fiddling with ISO and with exposure compensation. But since I am used on diaphragm priority from my film days, your advice of using auto-iso and auto-shutterspeeed is great. I needed to adapt your settings for my X-E2 (basically 1 stop lower for the maximum ISO’s) and cannot fully implement function button settings. I have put everything (translated in my mothertongue) in a table and printed it on a small card to keep with me.
Thank you again,
Marc.
Brenda
June 1, 2020 @ 12:05 am
Very useful! Thank you!
Nicolas
June 7, 2020 @ 1:06 pm
Hey Arran
Thank you so much for your information on how you go about your street photography!
Almost 99% is common ground with my own settings and approach!
I find your point in terms of AF and the size in single point quite interesting, which differs from mine, therefore I will try your way!
As a side note I can fully subscribe to your statement about “grain” at high iso, I actually love it and it was a nightmare years ago.
I think Fuji is doing a fabulous job here with their APS-C sensors!
Thanks for sharing!
Cheers Nicolas
@neglectedloves
Richard Slack
June 21, 2020 @ 12:32 am
Thanks, I love the Shutter custom button idea! Never crossed my mind to have it so accessible.
Richard
July 26, 2020 @ 12:25 pm
Great, easy to follow advice. Thank you.
Michael Dreese
February 27, 2021 @ 1:26 am
This is hands down the best article I have read on setting up a Fuji camera for street photography. It took me about a year to figure out a system and setup that works for my style. I would have saved a great deal of time if I had discovered your article earlier. Very clearly written and illustrated!
David
April 25, 2021 @ 3:51 pm
Hi Arran,
you probably won‘t read that but a quick question about the dial setting and exposure compensation. In which mode are you shooting to use it?
Kind regards
David
Margo L
July 19, 2021 @ 8:19 pm
Hey. Which Focus mode would you recommend for street photography with FUJI camera (X-T4 in my case)? M, C or S?
Beno
February 6, 2022 @ 1:58 pm
Autofocus C drain my battery on X Pro1 and focus is very slow.
I don’t know what setting is best for this camera for the street photography.