Premium/ When “comfortable” means “creative stagnation” – Switching to Capture One
Last winter I hit the stage with my photography where I was comfortable. I had it all worked out for the choice of camera bodies, lenses, editing suite and client delivery method. And it worked flawlessly in tandem with one another. However as happy as I was with having things “worked out” for a long time, I felt I was being complacent and comfortable with the workflow and, as result, I started to lack the creative drive. (Lockdown anyone?) Enter December and I came across an update to Capture One 21 (, editing software I had tried before twice but couldn’t quite grasp the change in its way and workflow,) with new features such as quick editing shortcuts and dehaze tools among others.
The timing coincided with another event – acquiring the 4th generation sensor based camera, Fuji X-T3, which has proven to be a workhorse ever since. Having formerly shot on the X-Pro2 line of cameras together with Adobe Lightroom Classic and Photoshop I decided I wanted to compare results, especially that many had praised CaptureOne for treating Fuji files differently and potentially opening a new zone of opportunity. It might be my personal experience but when using the X-T3, the exported results showed imperfections in photos I wasn’t able to ignore.
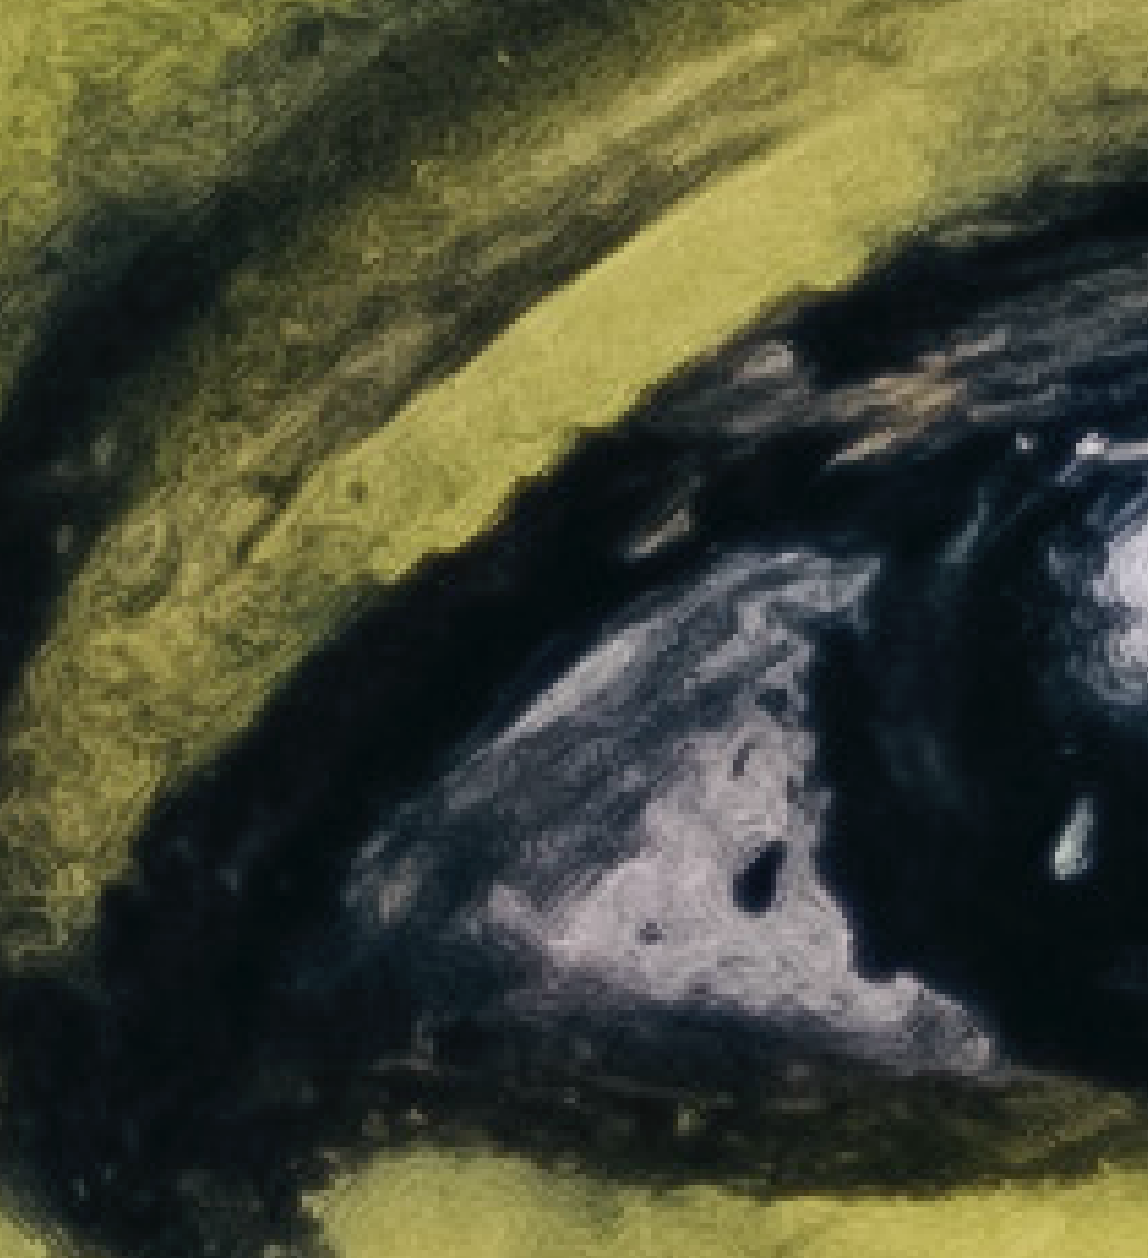
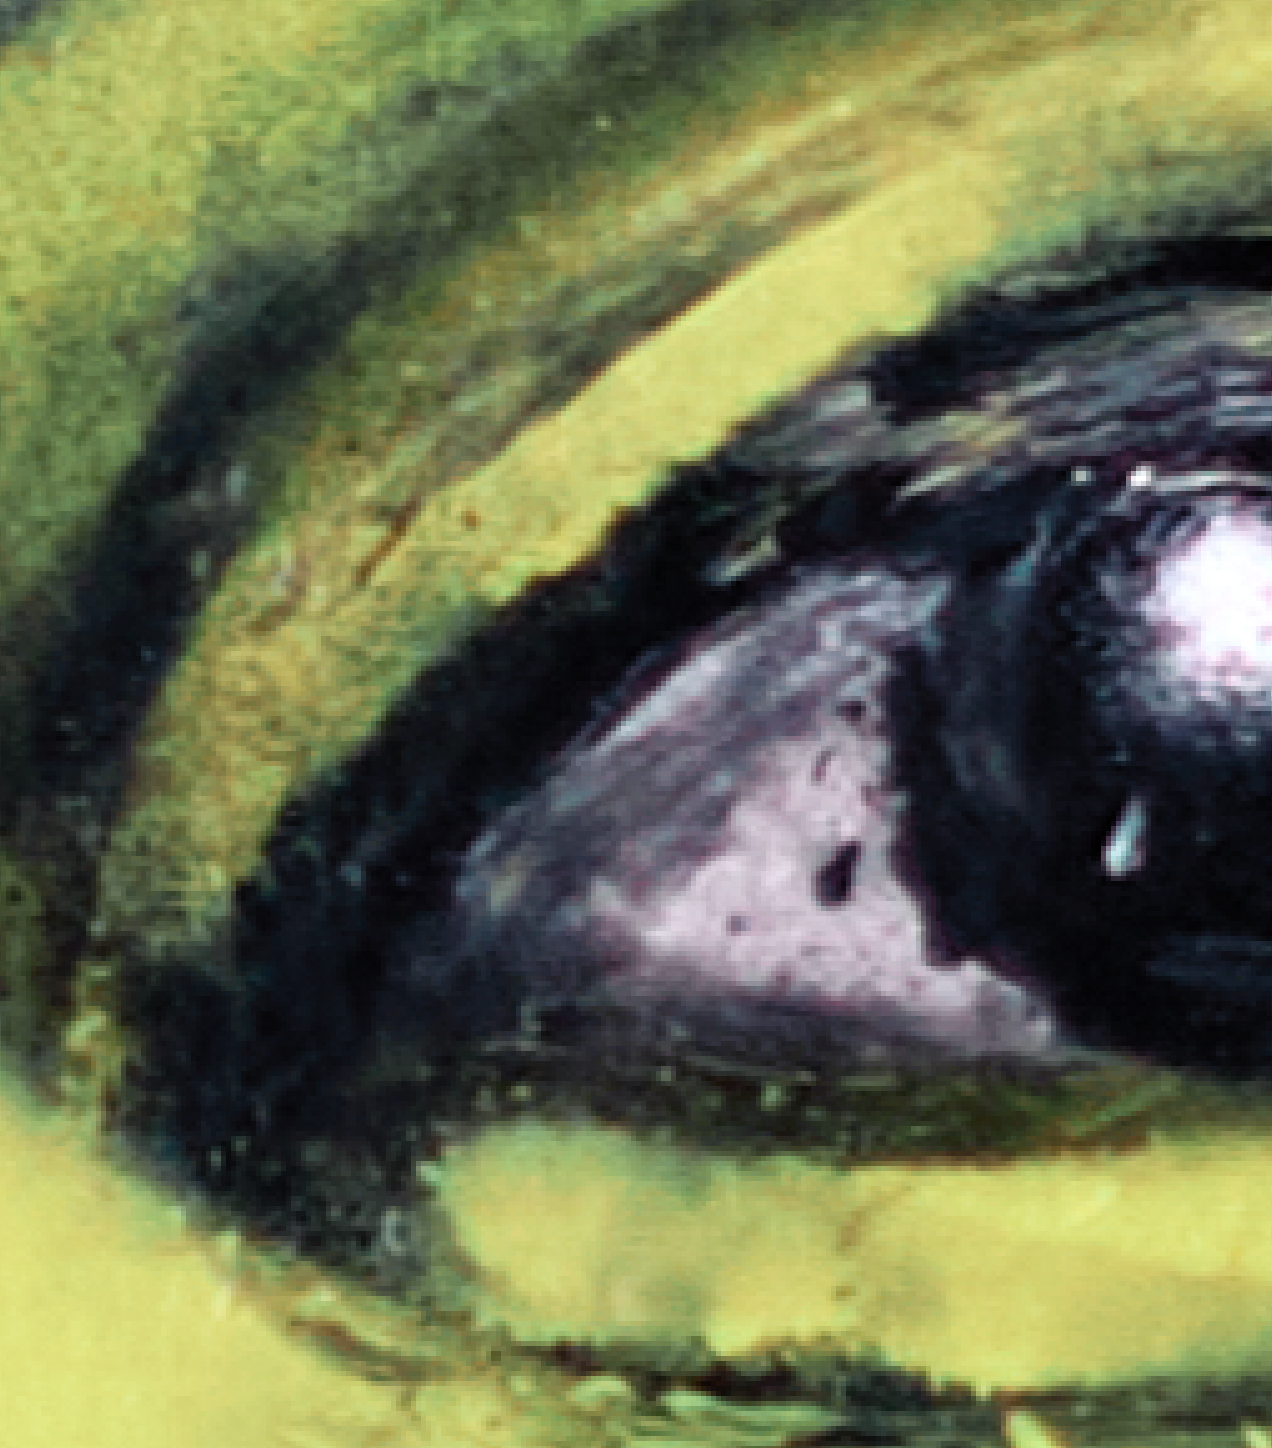
So I started to experiment with both the X-Pro2 files, just as comparison and the effect was similar. I’ll say it; I experienced the “worms” effect present on the exported jpegs and wasn’t happy with some renders of the dynamic range strangely in some, not all, number of photos. I must mention as well that prior to switching to CaptureOne, I was always adding my recipe of 35mm grain, which covered the unwanted effect.
So I started considering switching to what I think is the ultimate Fujifilm raw files editor, Capture One 21. And boy was I up for a ride! Strong words, I know. But bear with me. Spoiler alert, my creative drive is back!
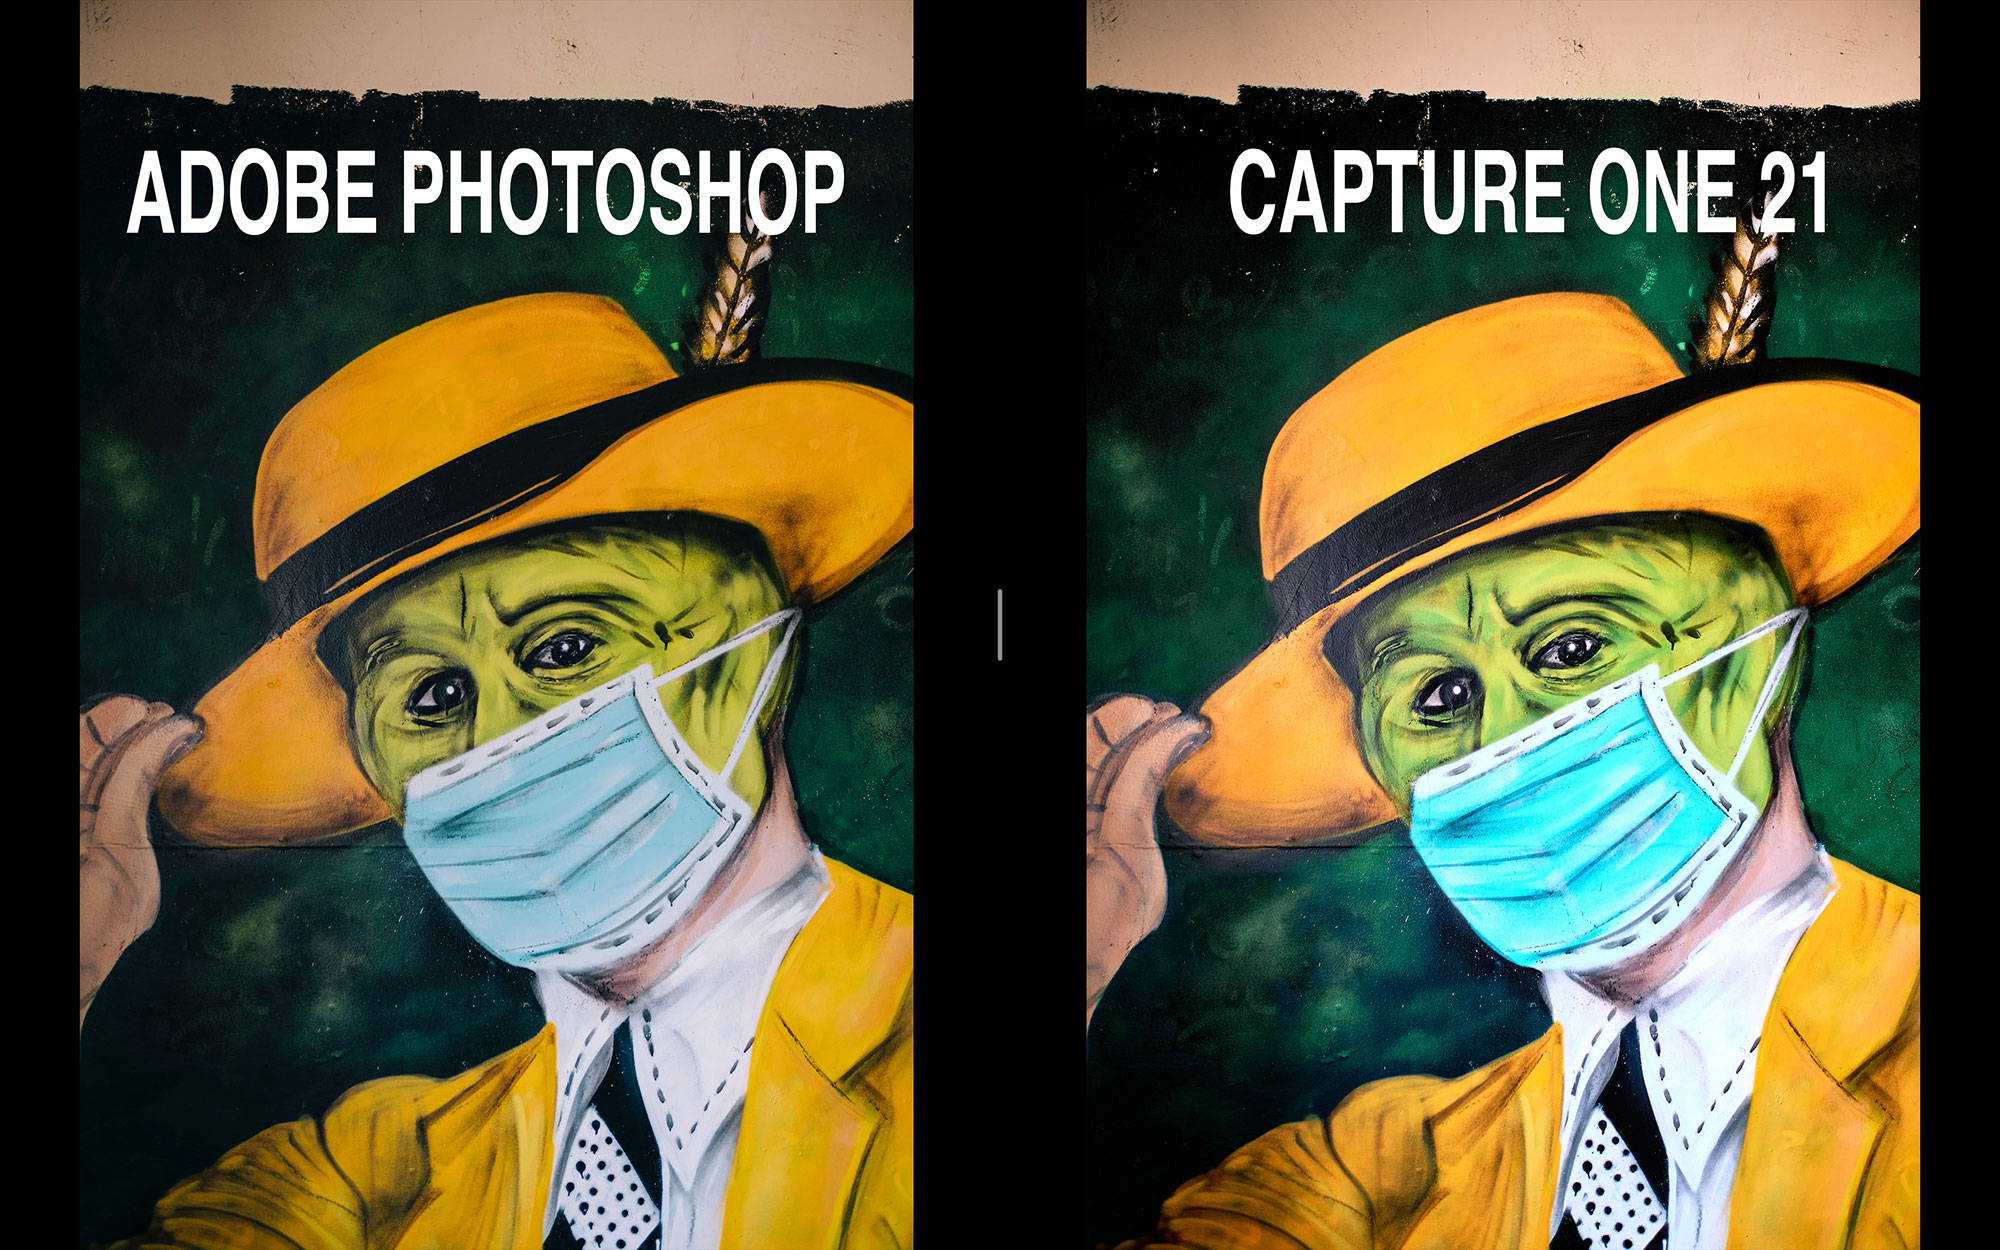
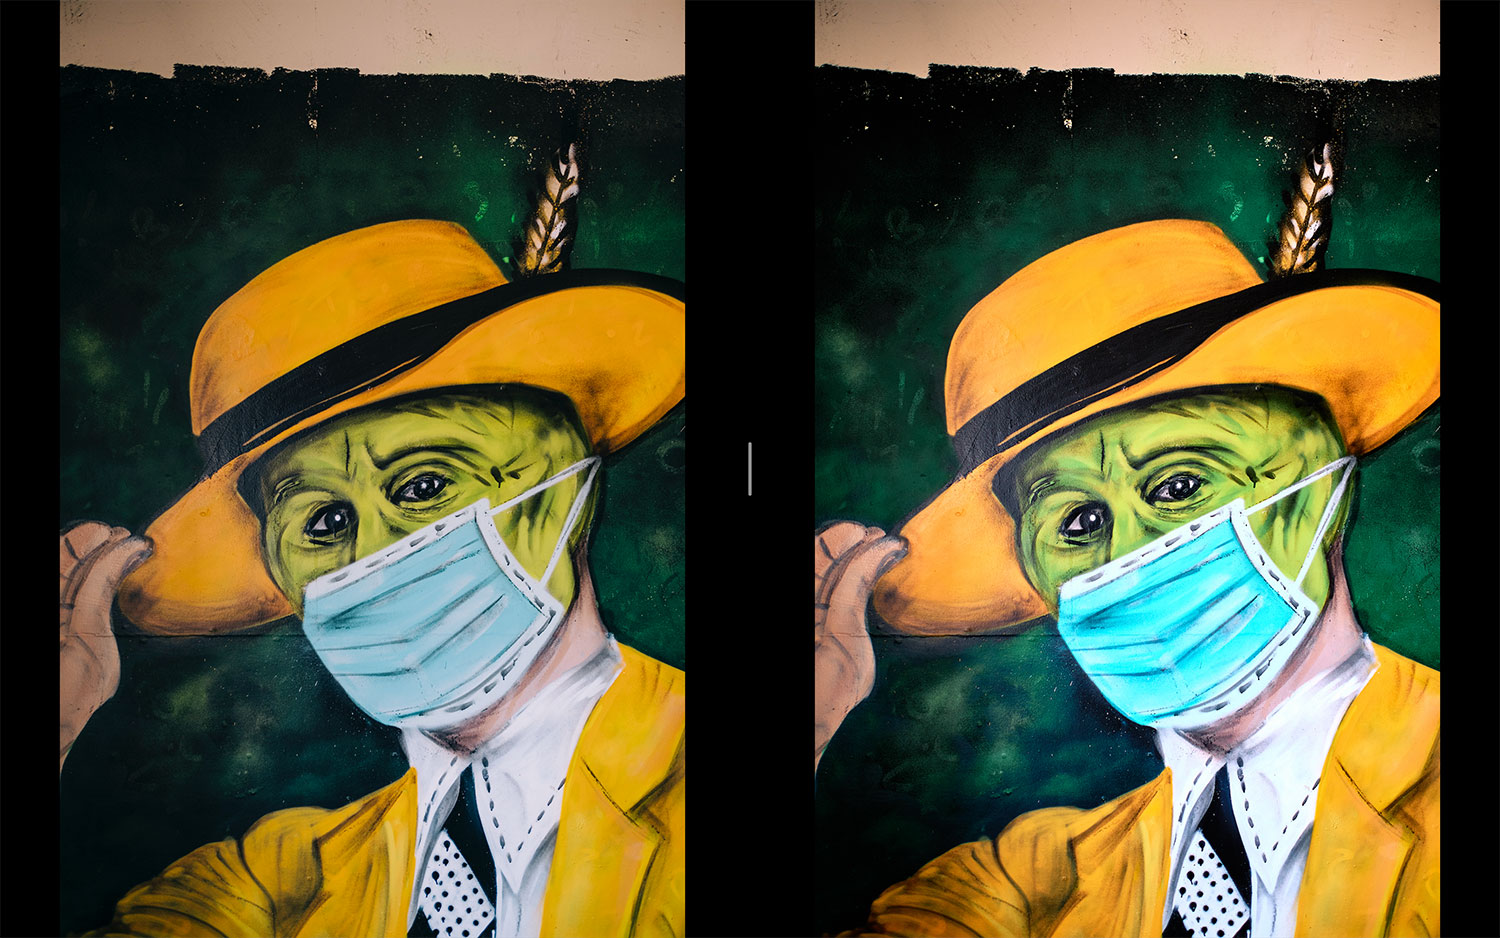
We are pixel peeping here, I do realise, and I’m certain clients hardly ever do. However, it’s noticeable that the exported file from C1 has more punch in terms of micro-contrast and overall sharpness or should I say, perception of sharpness. Colour is interpreted differently, too however that is down to the white balance selected by the software and can be of course manipulated to match a need and preference.
The variation in interpretation is definitely there, though. I think that the controls for manipulating colours actually deserve a separate article and I’m sure these are already in the works. In short, I feel there is much more control over what one wants to do or perhaps the way, the method, and approach is more intuitive and once mastered, it’s difficult to go back to even to the newly updated colour tools in LR Classic.
Embracing the change and gaining in return
One of my favourite quotes ever comes from “Fight Club” and it goes like this: “Only when you loose everything you’re free to do anything…”. Now, I wouldn’t ever go as far as to abandon absolutely everything I’ve learnt and acquired over the years of photographic experience, especially focusing on professional work and product delivery to a client. This is still THE most important aspect of any professional’s work and I’m really happy to say that also here Capture One covered preparation and exporting of work a breeze.
What I’m referring to is a cumulative approach to exporting your photos with baked in recipes for output. Capture One 21 has the following baked in; JPEG 2048 for web use and full size. I change the first one to actually export in 2500pixels ling edge to better suit higher end displays. Then, TIFF 8 bit, suited to round trip to Photoshop at a later stage perhaps. JPEG optimised for Instagram, which is actually quite usable.
JPEG “QuickProof” follows and then TIFF for A3 print at 300 dpi. Best part is, you can of course modify each recipe and also add your own! Within the recipes we get quite often overlooked but very useful setting for either respecting the crop or ignoring it and then we can optimise the file for sharpening either for screen or print. In my personal experience with the 4th generation X-trans sensor files, I set this to 45. This is changed from the default 65, which I find too much for the files which are already sharp.
You see, in Capture One the approach to sharpening is at a 3 stage process. You can sharpen the files at import (, I usually let Capture One do this as I find the default setting by the dedicated engine doing a great job interpreting the files,) and then of course edit the detail, clarity and structure to your liking – this is stage 2. And then we have the aforementioned output sharpening by the recipes.
Great approach if you ask me! Lots of control, the details pop and the outcomes do provide a unique character. I did try to replicate this in Lightroom classic and struggled to get there. It’s like there is some magic going on behind the Capture One editing engine in the way it interprets the files.
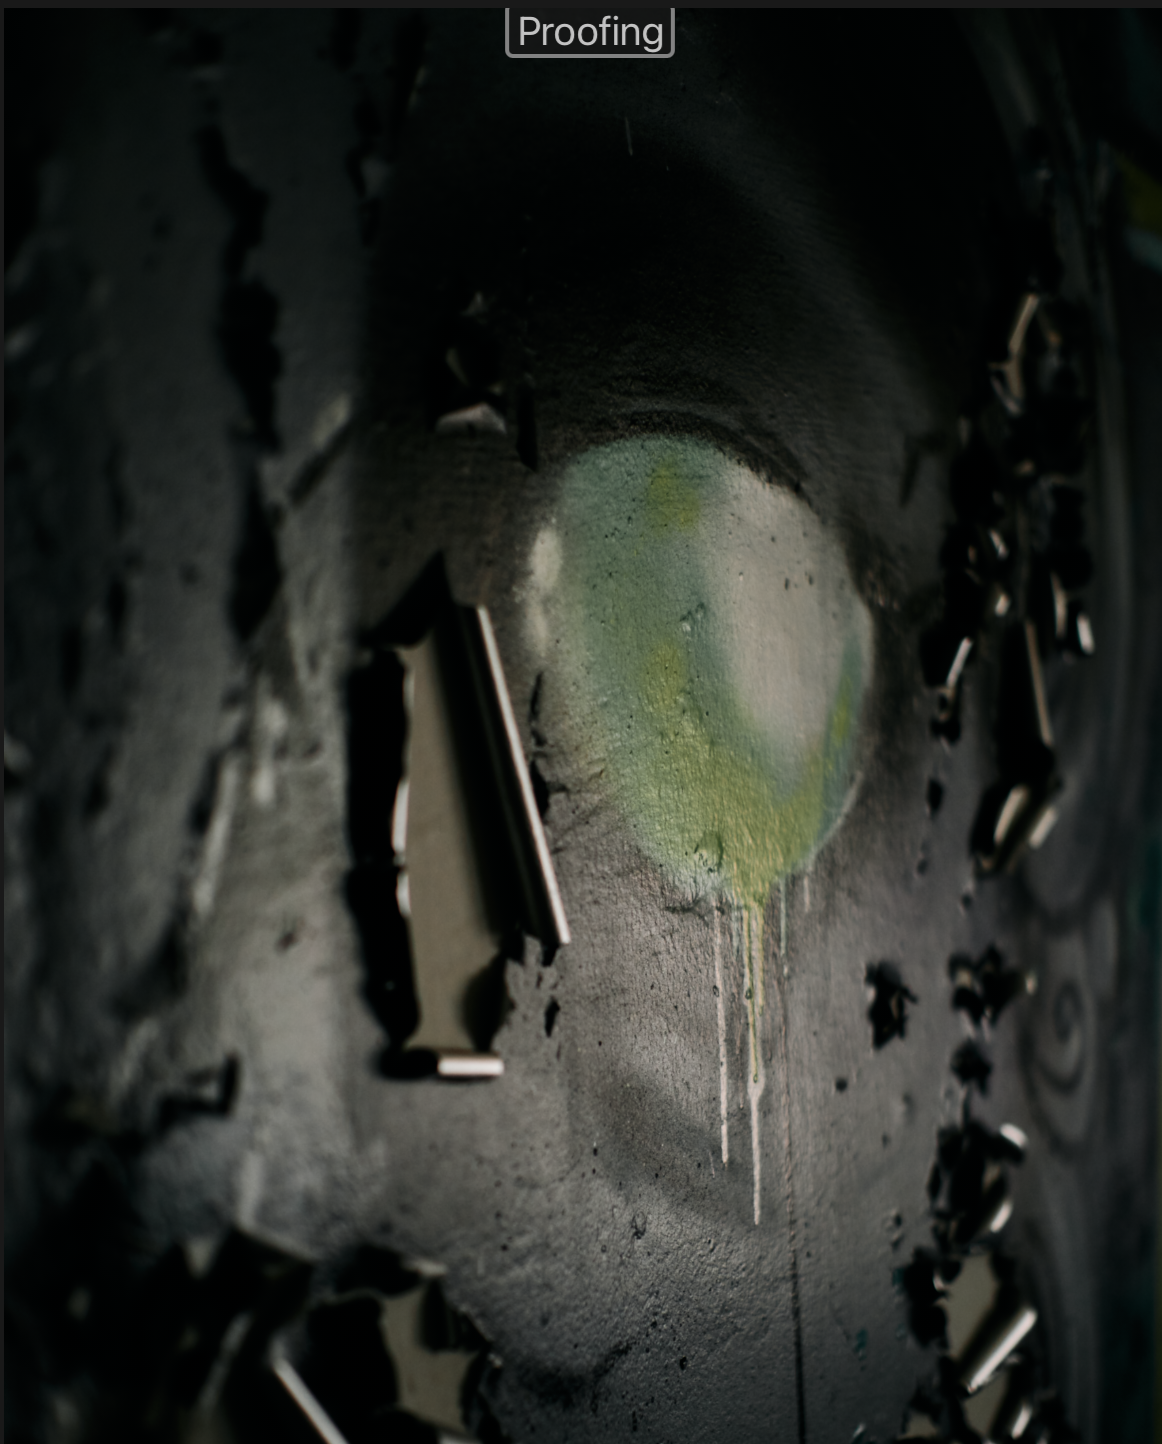
But wait, I haven’t mentioned one of my favourite features! It’s called “Proofing” and upon clicking you are basically looking at what the image will look like when exported. Ask me how many times I used to export a file from Lightroom, inspect it then delete it, make adjustments, export again, you know the drill… How refreshing to see proofing saving all this time! This is my 2020/21 MVP. Period.
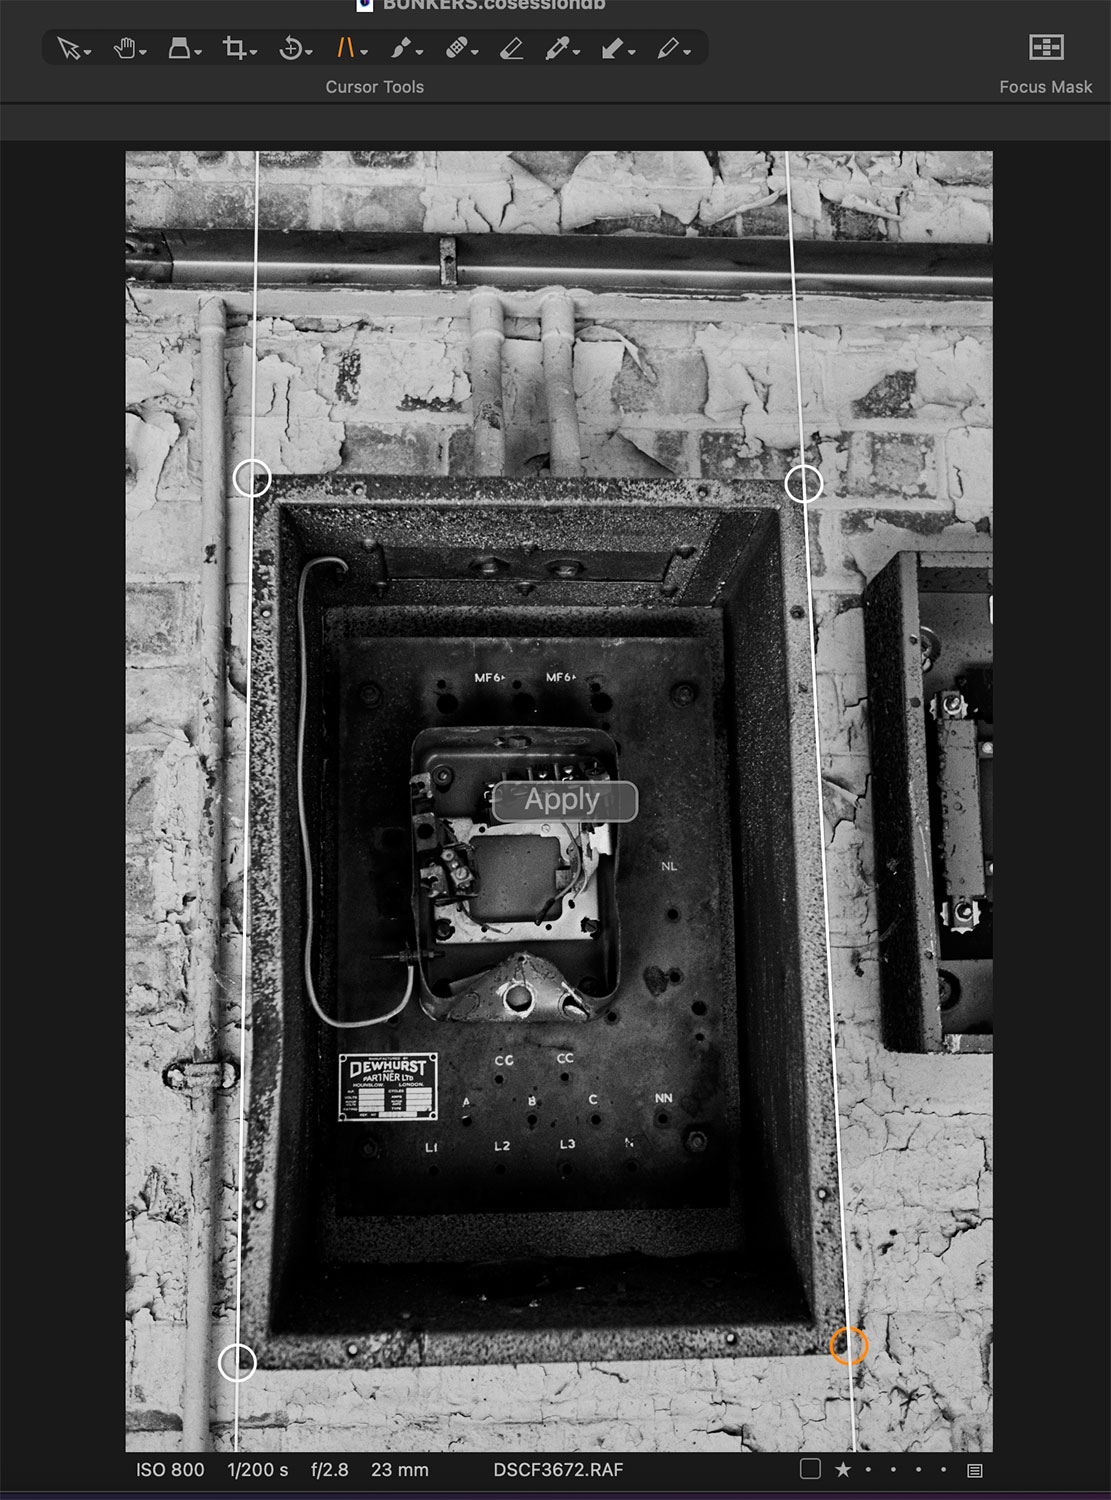
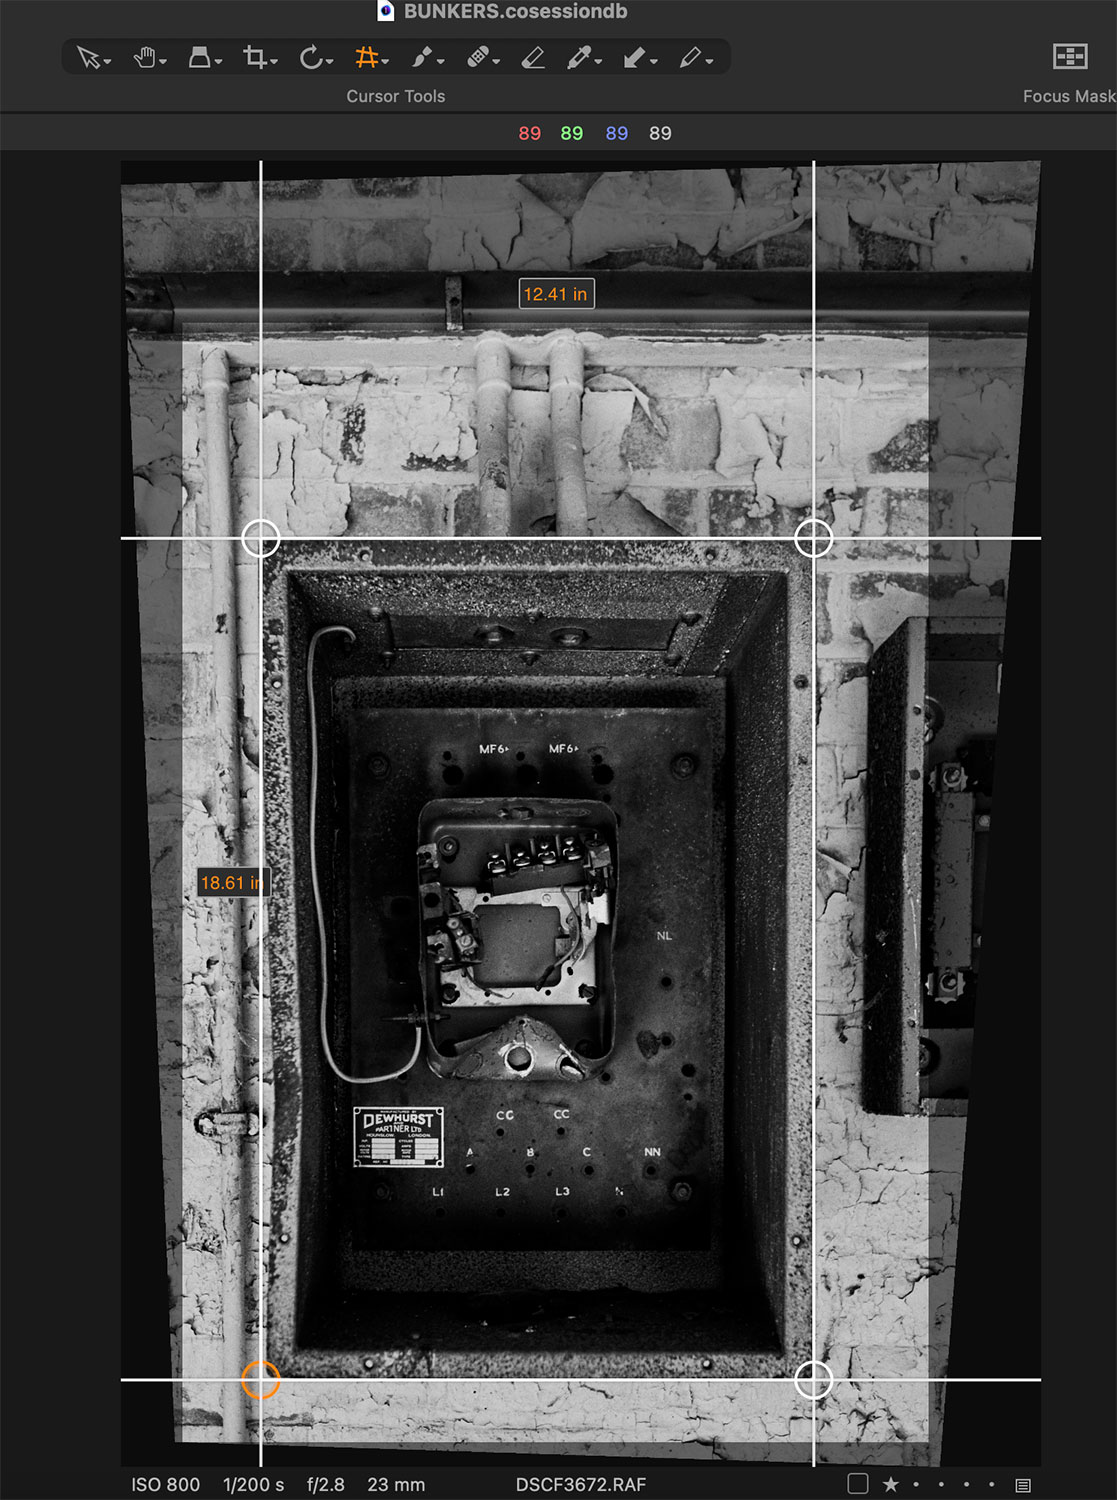
If there is one tool that I think serves better in Adobe suite, either Lightroom or Camera Raw, I’d say it’s the “Upright” auto tool. Capture One approaches it differently and I get it, you get more control with detailed adjustments of the Keystone Vertical tool where you align the lines alongside the edges of a structure in the image. You then click “Apply” and the image is shifted for you. It works great however, more times than not, I spent some time using it whereas Adobe sorts it out with one-click “Upright” action. Something to consider for future updates in Capture One for sure.
IMPORTING PHOTOS, CREATING AND USING SESSIONS, C1 CATALOGUE
CONTINUE READING…
Only for Premium Subscribers!
To access these articles you must be a PREMIUM subscriber to Fuji X Passion.
SUBSCRIBE NOW and get instant access to all Premium articles, all prior and upcoming magazines, all special editions, all previous videos, discounts and offers. If you are seeking relevant information about this camera system, or useful tips from photographers using the Fuji X system, this is the most valuable place for you.
BASIC Plan subscriber? Upgrade to PREMIUM!
- Access your account HERE and sign in with your email address and password as always
- In this step click the ‘Subscriptions’ tab and then ‘Change plan’
- Now you can change from the BASIC plan to the new PREMIUM PLAN
- Finally, the system will only apply a proportional value to the remaining charge and change the plan immediately.
Already a Premium Subscriber?

