Long Exposure Photography with the Fuji GFX50s
Introduction
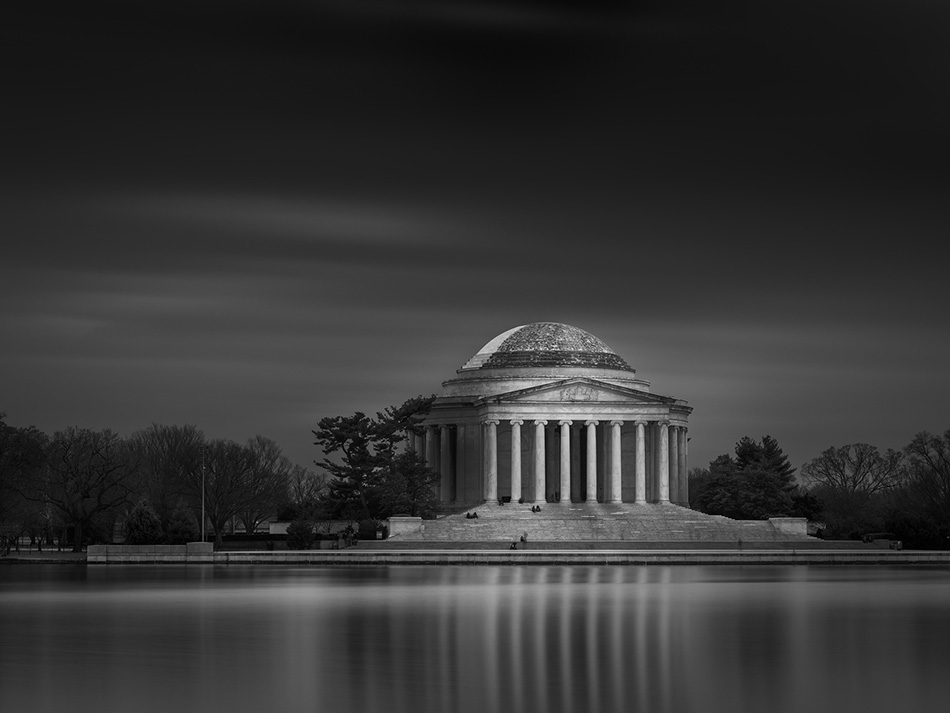
Let me start by saying that I do not intend for this post to be a giant primer on long exposure image making. Nor is it a justification for the techniques over a more traditional approach to capturing a scene. A great deal of my current landscape or architectural work is not specifically long exposure. But in the right conditions – environmental and type of light – I appreciate how it can bring a kind of hyper clarity to the subject that is uniquely contrasted against the soft rendering of sky and water.
When I am photographing waterfalls I am certainly using long exposure techniques. But most of these images are shot in the 1/2 of a second to 8 or 16 seconds, and generally not over 30 seconds. For the images in this post I am referring to captures that exceed 60 seconds and range up to, and over 240 seconds.
For all of this work I use a Fuji GFX50s setup with three lenses – the Fujinon GF23mm f4, the Fujinon GF32-64mm f4, and the Fujinon GF110mm f2. It is a simple kit that provides a 35mm equivalency of 18mm to 87mm. More often than not I primarily employ the 23mm or the 32-64mm. The focal length range from super-wide to normal is excellent for the work I do. The GFX is a perfect machine for this kind of work sporting a maximum resolution of 51.4 megapixels with a 43.8mm x 32.9mm medium format sensor. The large sensor, big pixels, low noise, ability to capture a huge dynamic range of light, and general camera controls all make for hi quality image capture, excellent RAW files, and just a sheer amount of enjoyment in using the system.

My Basic Camera Setup
My camera setup is quite simple. I shoot only in RAW format and completely in manual mode. All my shots are framed using Live View with several important information features turned on. The first is the Histogram. And really this should be turned on, in the EVF and Live View, at all times. This is THE key piece of exposure information that gives you the overall distribution of values of light striking the sensor. I have always been a proponent with my workshop students that they understand the exposure triangle of ISO, aperture, and shutter speed. And I stress this as well when it comes to understanding the histogram. Any changes made to the basic exposure triangle alters the histogram.
My Shutter Speed Dial is set to “T” and my Front Command Dial is set to change shutter speed. “T” is one of the most brilliant concepts on Fuji cameras. The “T” stands for Time, and while Fuji bills this as a setting for “slow shutter speeds” in the manual, this setting actually allows you to set shutter speeds from as fast as 1/16,000 (with Electronic shutter engaged, 1/4000 max with Mechanical Shutter) of a second all the way down to 60 minutes. In the slow shutter speed range the setting allows for 1 second incremental times up to 60 seconds. After 60 seconds the time increments change to 1-stop values – so 1 minute, 2 minutes, 4 minutes, 8 minutes, etc, all the way to 60 minutes. If you think about this, once you set aperture and ISO, and with the Shutter Dial at T, all you have to manipulate is the Front Command Dial for exposure. Now, go back up to what I said about the histogram. As you are changing the shutter speed the histogram will reflect your changes in real time on the LV screen. It works in any shooting condition (I wrote it about extensively HERE in my Fuji Camera Set-Up Blog). Brilliant and simple.
Once I have my composition set I am working the command dial, reading the Histogram, and just watching the light. I also have the Level Indicator turned on. It gives me a green glow when the camera is level. Sometimes I bypass this indicator, depending on my camera position, and with complete knowledge that I will come back in post processing to correct for any parallax issues. The last important setting I have turned on is the Distance Indicator. This is another piece of brilliant Fuji engineering and it is indispensable, for landscape and architecture, as it indicates where your focus is placed and the actual hyper focus coverage in your composition. I use this in combination with Back Button Focusing and the Joystick to place my focus point. I can see in real time how much of the shot is in focus and where it is not. Additionally I have Focus Assist turned with on, with Peaking, and can make subtle adjustments by simply turning the focus ring on the lens. The last thing I will mention is long exposure noise reduction. For the GFX I have this turned off as it is not necessary (I would recommend it to be on for cameras like the X-T2 however). I do not use a shutter release and prefer setting the Self-Timer to a 2-second delay. I have nothing against a shutter release device but it is just another cable attached to the camera that can get in the way. All of these basic components offer complete control and an intuitive shooting experience where the camera gets out of the way of the process.
Basic Settings Recap
ISO: ISO is 100, File Type: RAW Uncompressed, Shutter Speed: Dial is set to T, Front Command Dial: Set to change shutter Speed, LE Noise Reduction: Set to off, Live View Screen: Set with Histogram and Distance Indicator on, Focus: Manual with Back Button Focus engaged and Focus Assist on and Focus Peaking set to High and Red, Shutter: Mechanical, Film Simulation: Acros +Red. Note that film simulation with not effect the RAW files but as most of my work is converted to B+W I can get a sense of the final rendering without the distraction of color. Color Space: Adobe RGB, White Balance: Auto. I can correct any color balance issues in post. Self Timer: Set to 2-second delay.
Filters
To achieve such long exposures filters are important. I use a NISI V5 Filter kit that includes a V5 Holder, a Circular Polarizer (CPL), 4 specific solid neutral density filters – a 3-Stop, 4-Stop, 6-Stop and a 10-Stop, and 2 split neutral density filters – a 3-Stop and a 4-Stop. With this set up I can balance the range of light and extend my shutter speeds well beyond 4 minutes which in general is more than enough. For longer exposures, and as required in brighter light, I can sandwich two filters together in the V5 Holder such as the 4-Stop and the 10-Stop. Occasionally I will add one of the split neutral density to balance the dynamic range of the composition. The V5 is a 100mm filter set and will not vignette on the Fujinon lenses.

Environmental Conditions
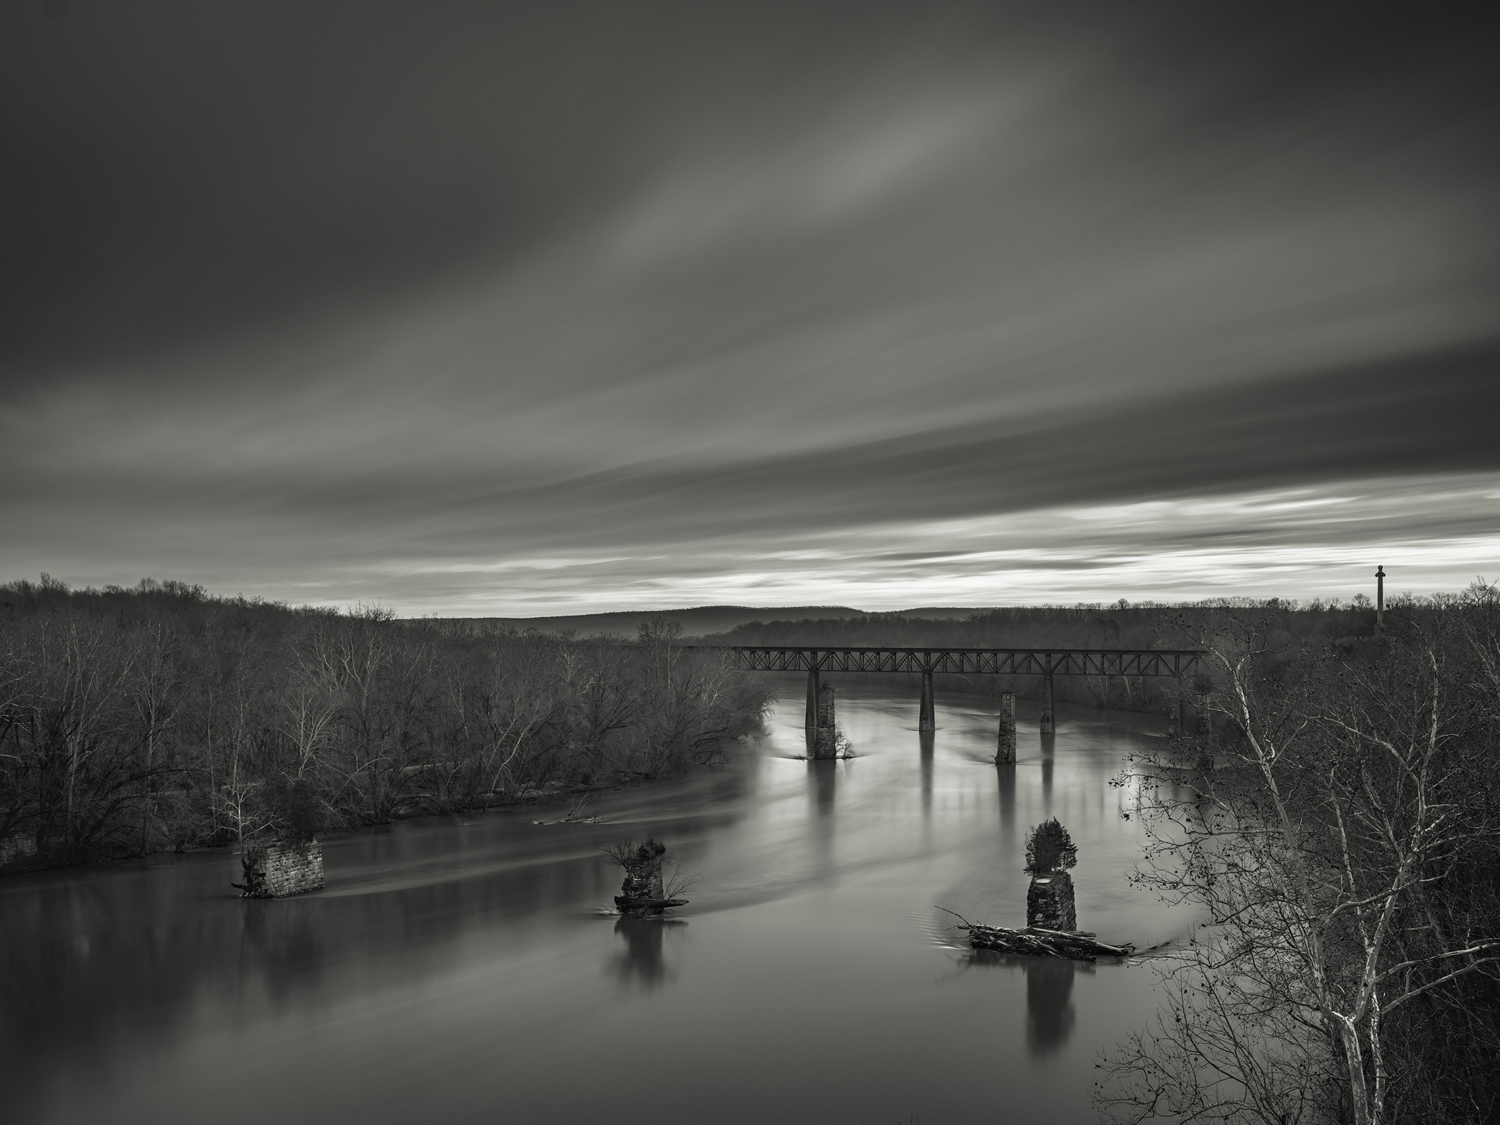
One aspect that I like about long exposure photography is the extension of shooting opportunities outside of the “golden hours” of morning and evening. In the right conditions you can shoot all day. Environmental conditions are important considerations in choosing your shooting times, subject matter, and to a large degree how you plan on rendering the final image in post processing. I love to shoot in the early morning or late evening because of the sense of light that is achieved at these times. The light is lower in contrast but also luminous, as expressed in the two images above, Sunrise on the Potomac and Potomac River Bridge.
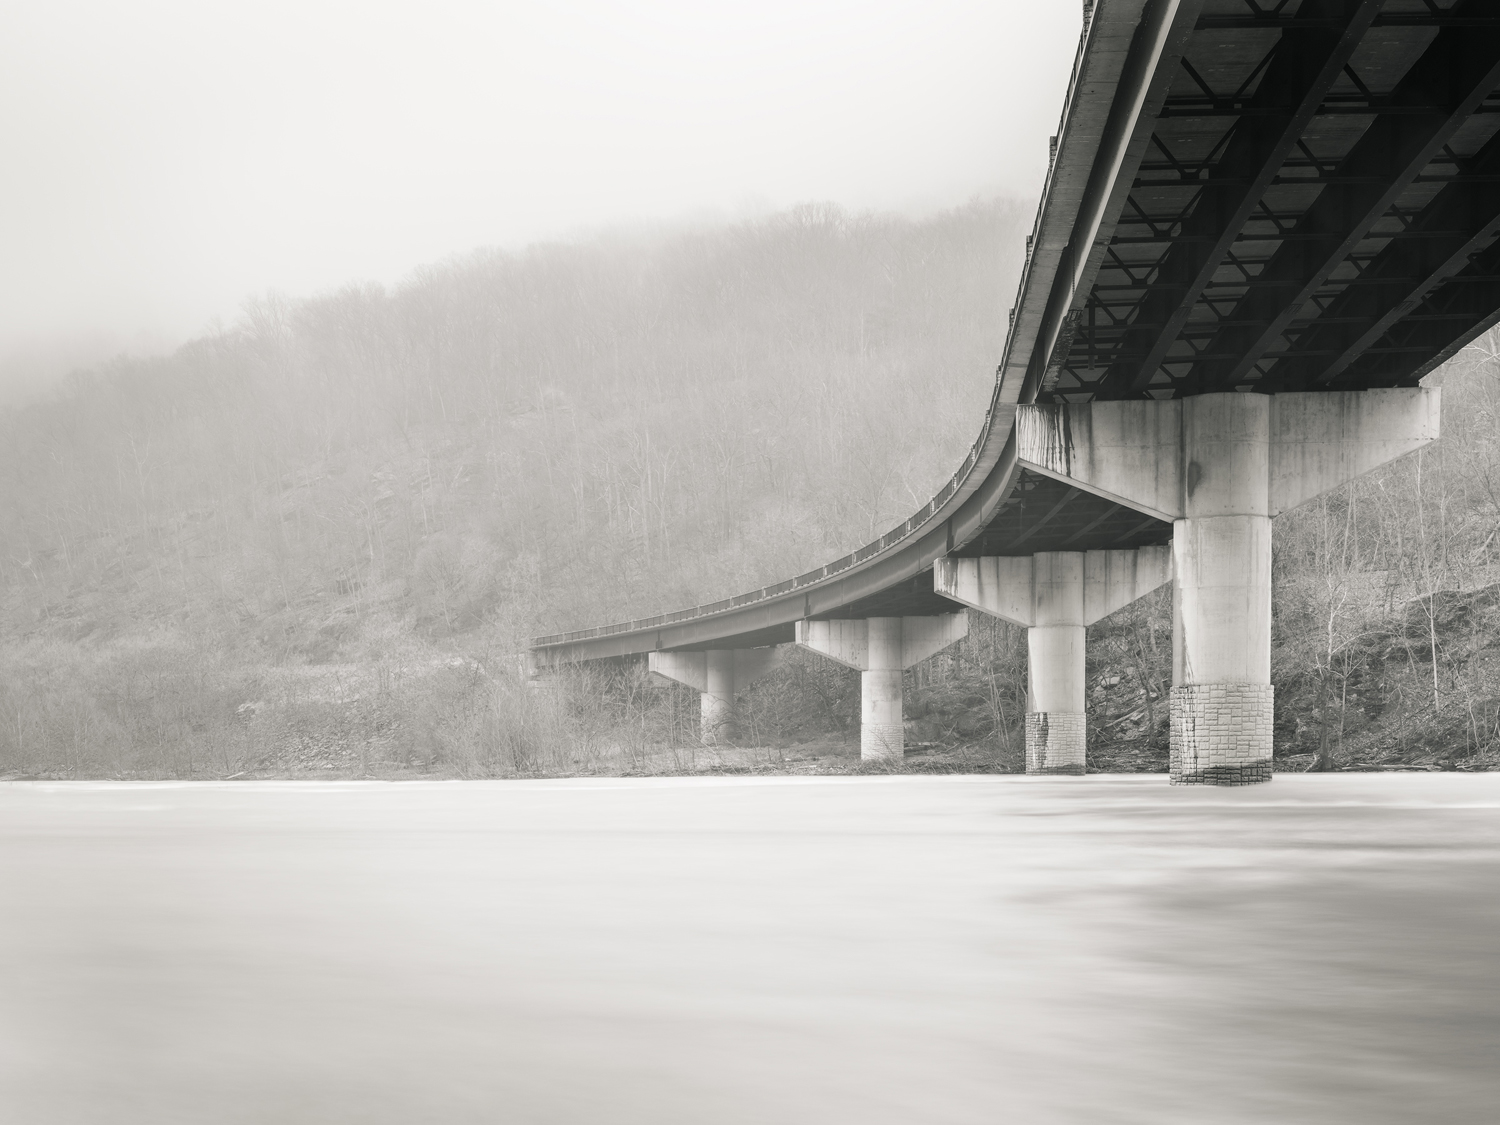
Foggy conditions are also supreme for long exposure work with subjects that include water such as the image below, Fog and Bridge. Foggy conditions alone do not necessarily require longer exposures as the light is already in a low, or medium contrast Zone 5 in terms of tonality, but is beneficial when balancing this against a fast moving river or other body of water. In such cases the object, such as a bridge or building becomes the focus, and is supported by the simplified background. And the same can be said for high/low cloud coverage that acts as if you are in a giant softbox. The light is beautiful and helps to render nice, open shadow detail.

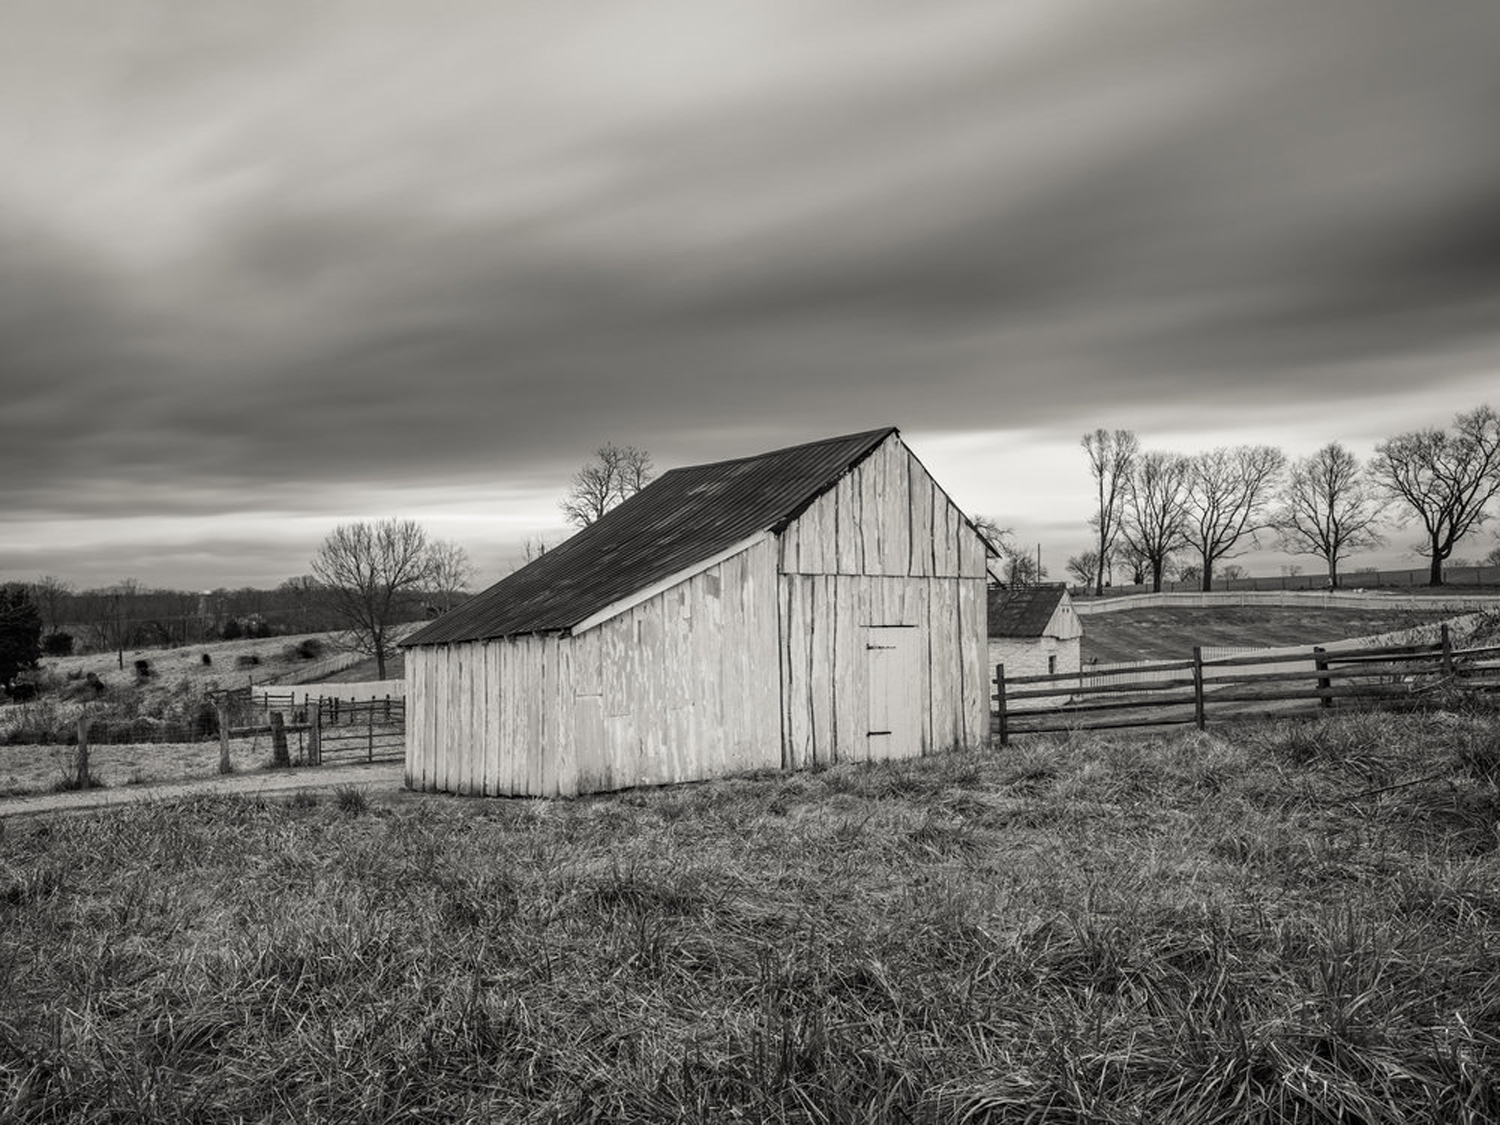
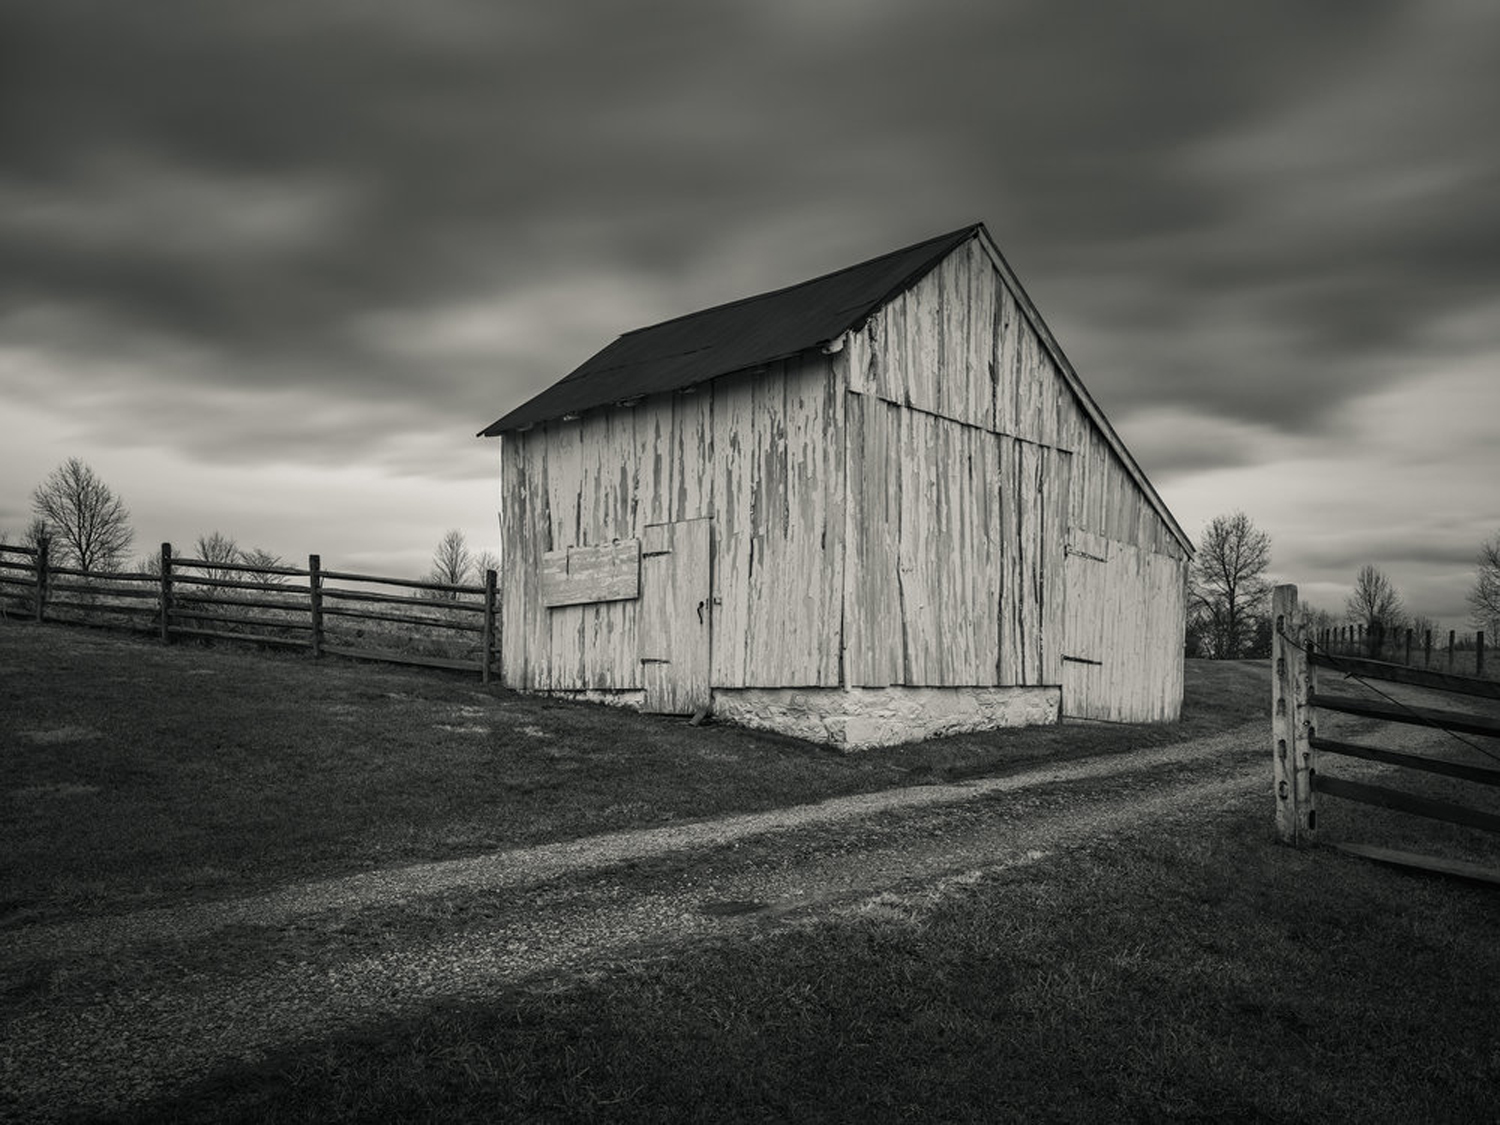
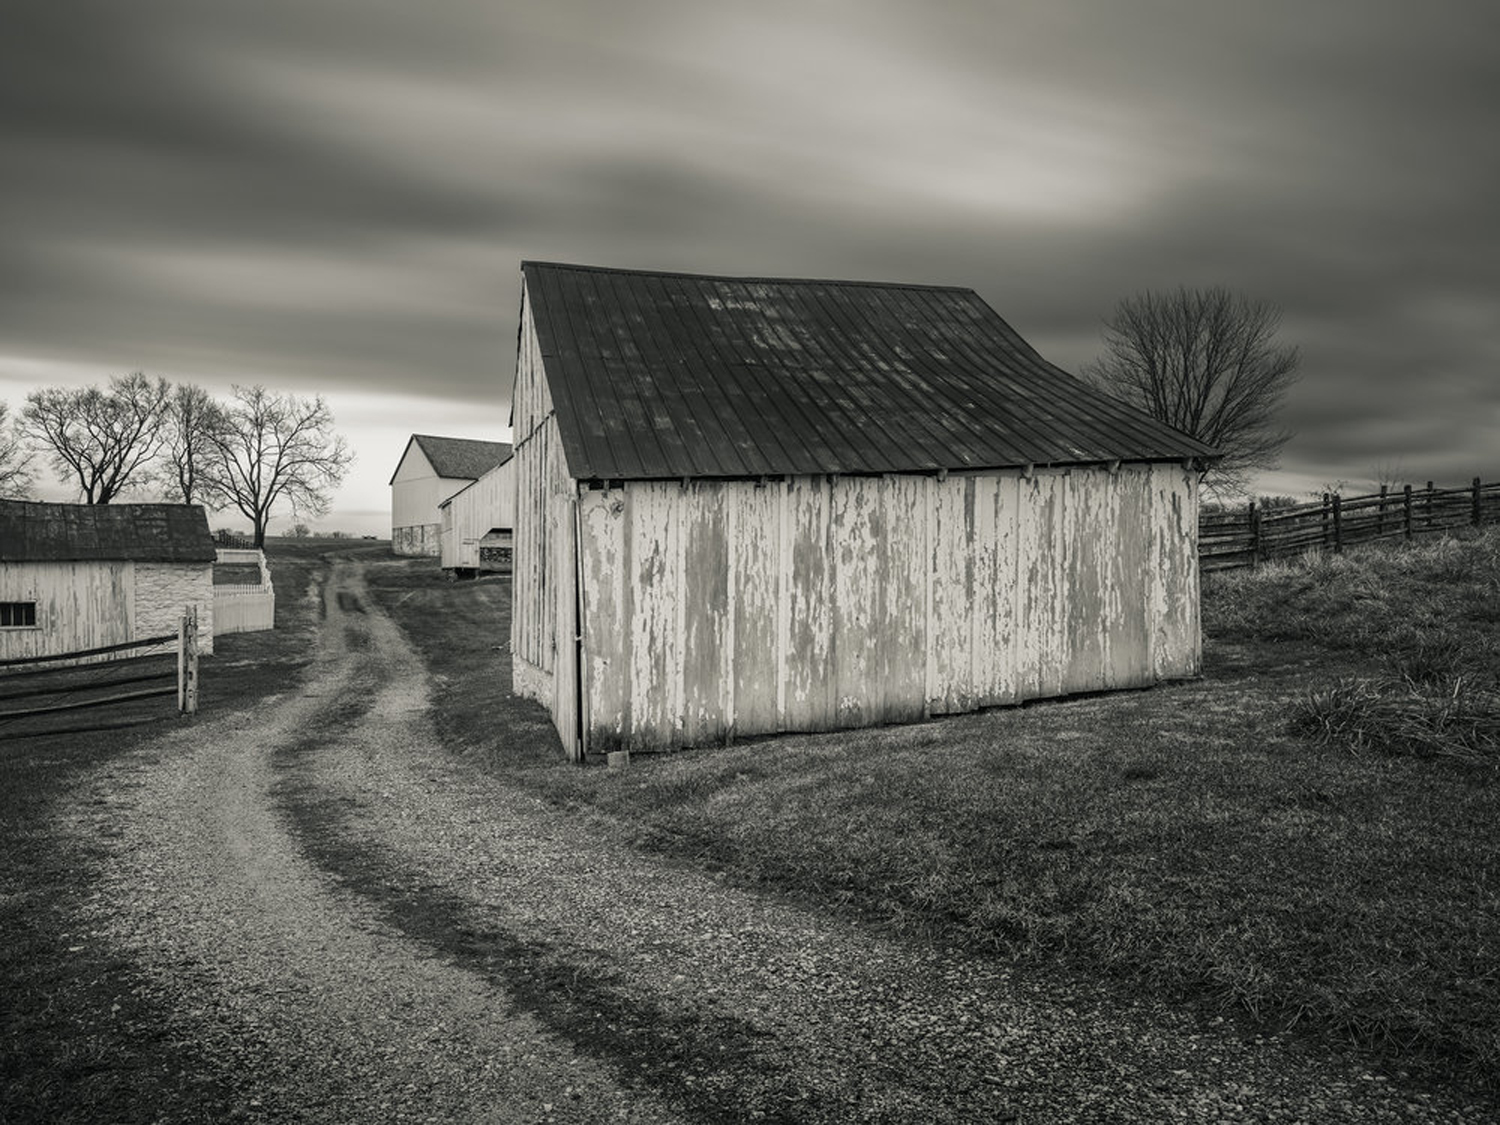
Lastly there are clouds to consider. Clouds can add tonality and texture as well as directional movement to a composition. Depending on the length of the exposure, and the movement of the clouds relative to the object, that sense of movement can be manipulated. How you plan to frame your composition relative to cloud movement is an important consideration, but at the same time it is not always something you can control and should not hinder you from making an image. In fact it is good to experiment in such conditions so that you can learn from the results. After all it is only a couple of minutes to see the results. Ideally I have pre-scouted many of my locations and if I see the right types of clouds or have the right kind of environmental conditions I know where to go. It is always good to get out and find potential locations and keep a list for future reference.
The Basic Field Process
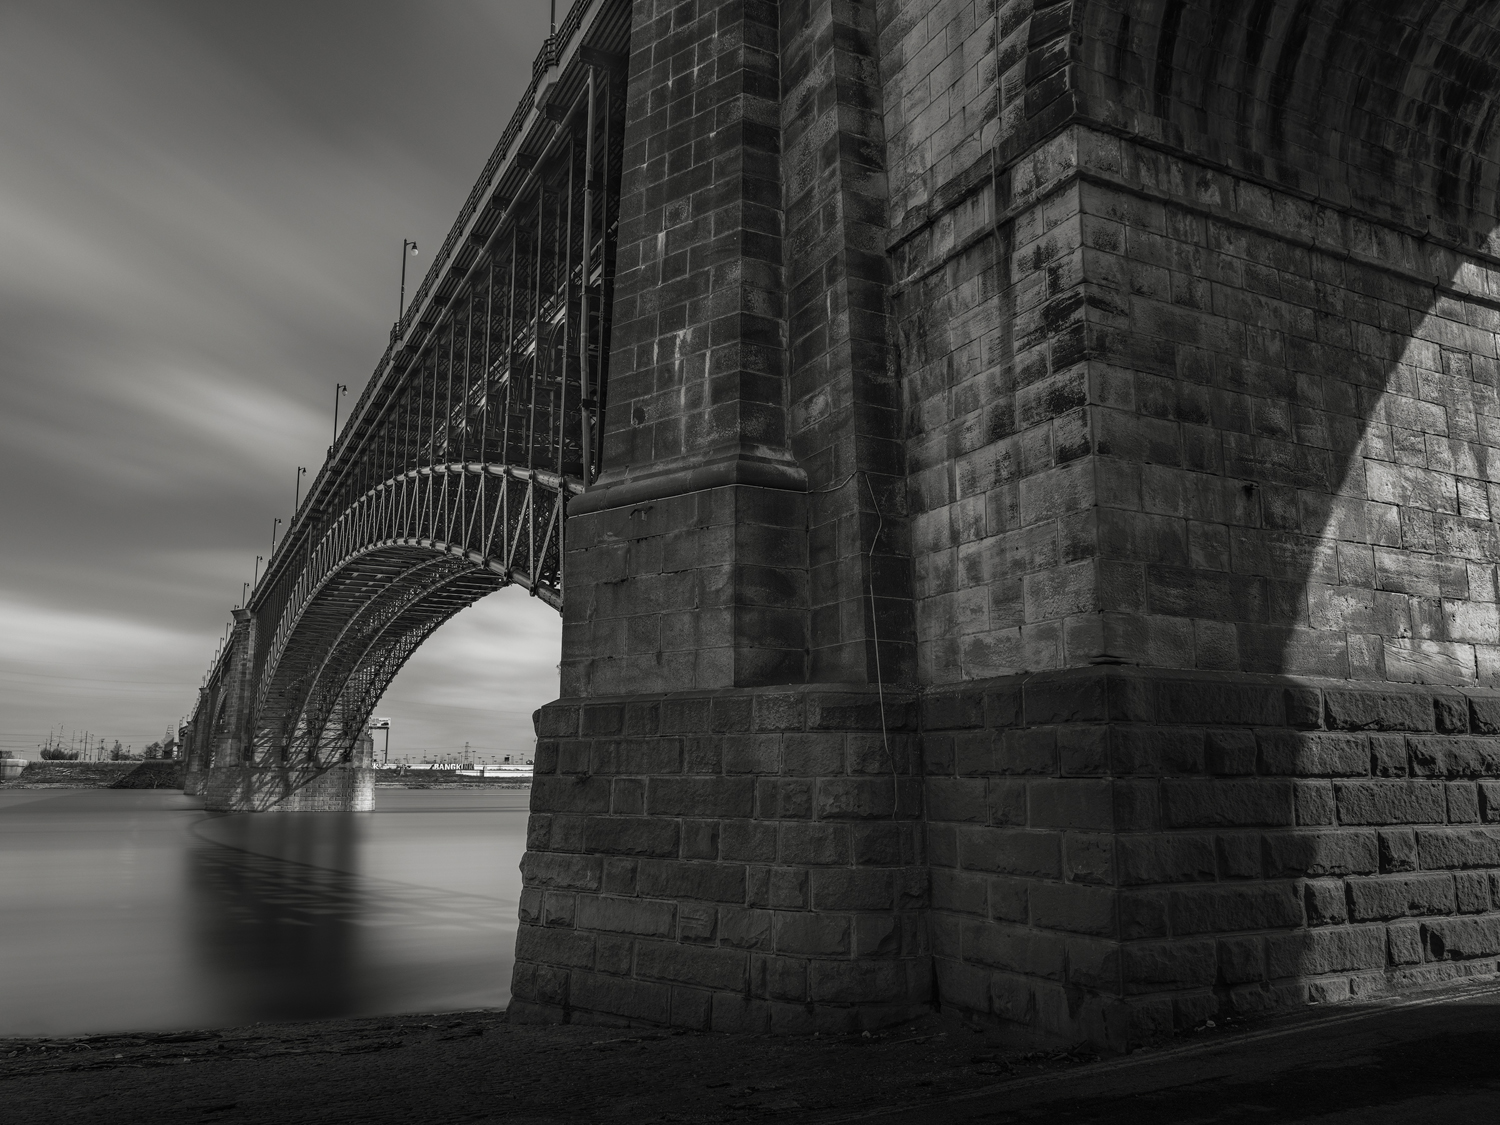
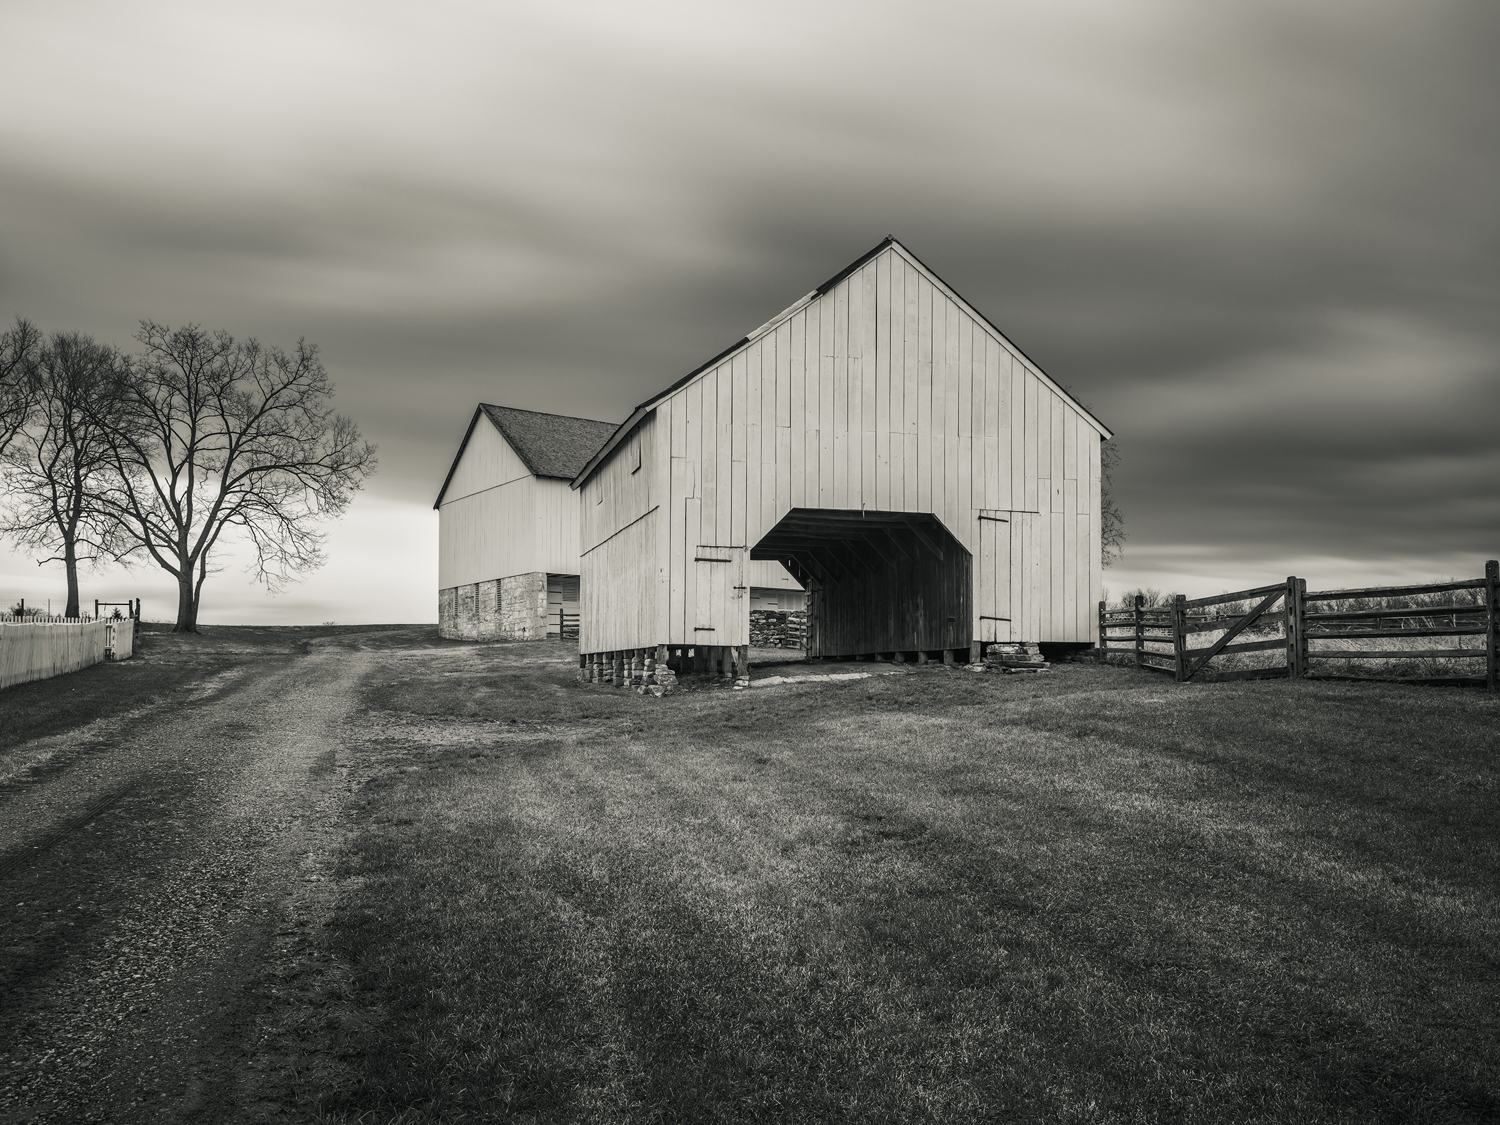
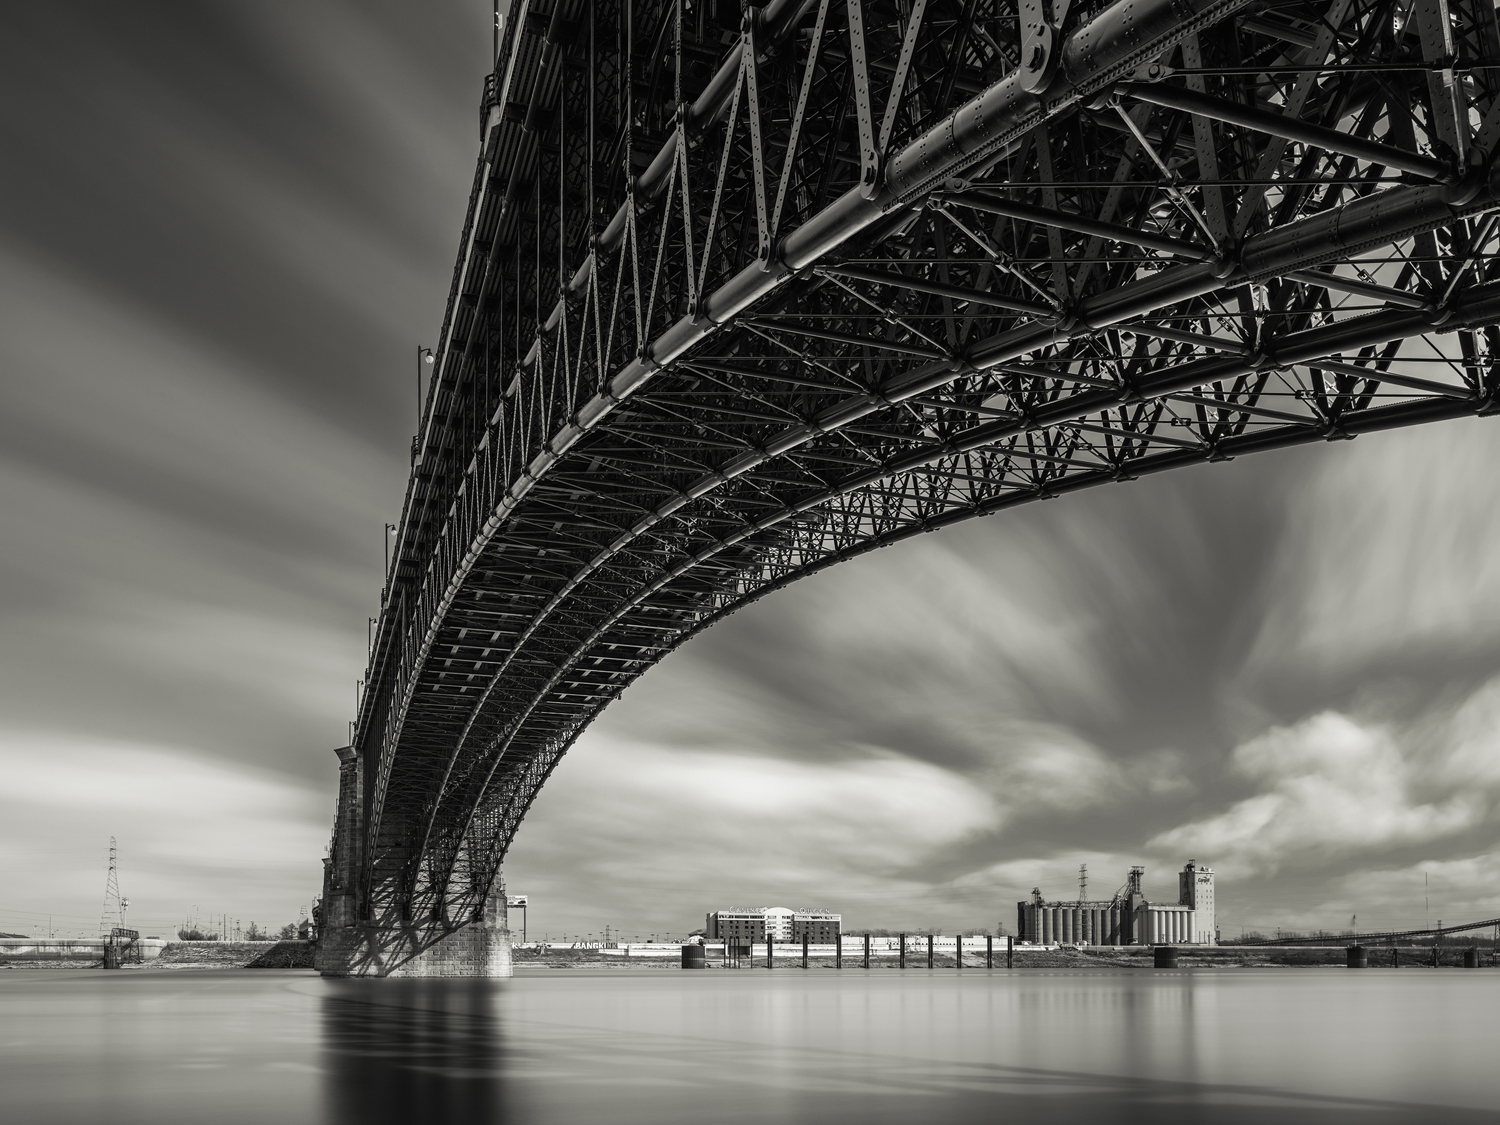
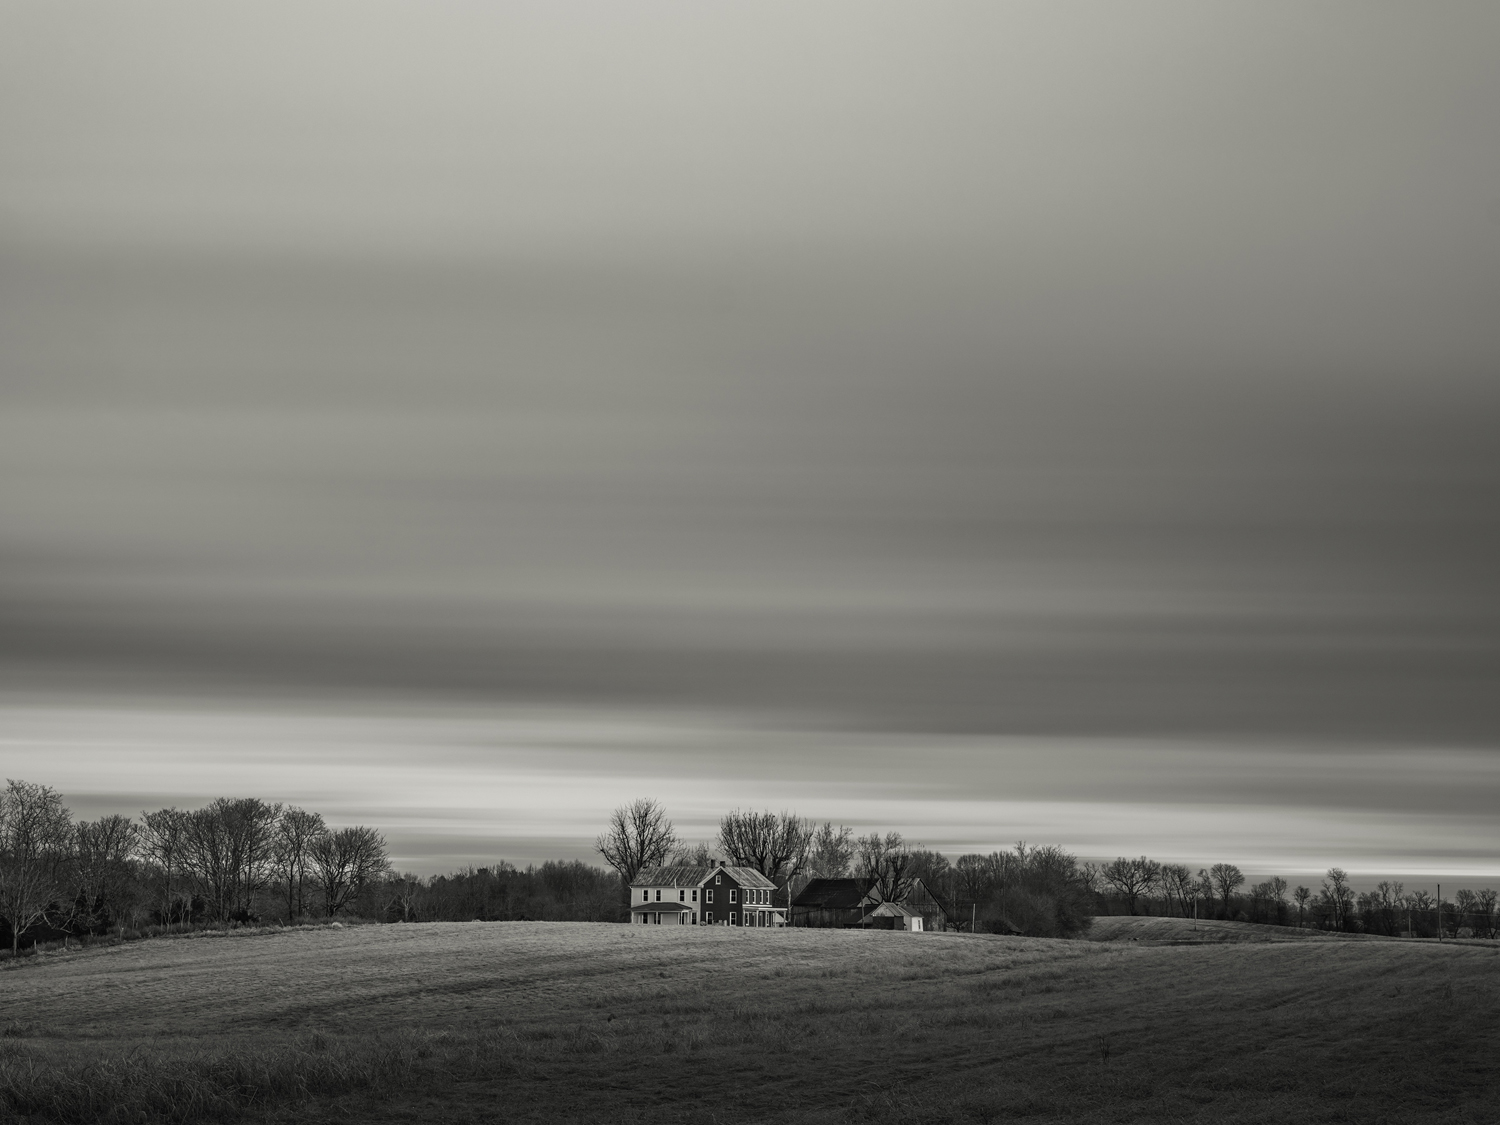
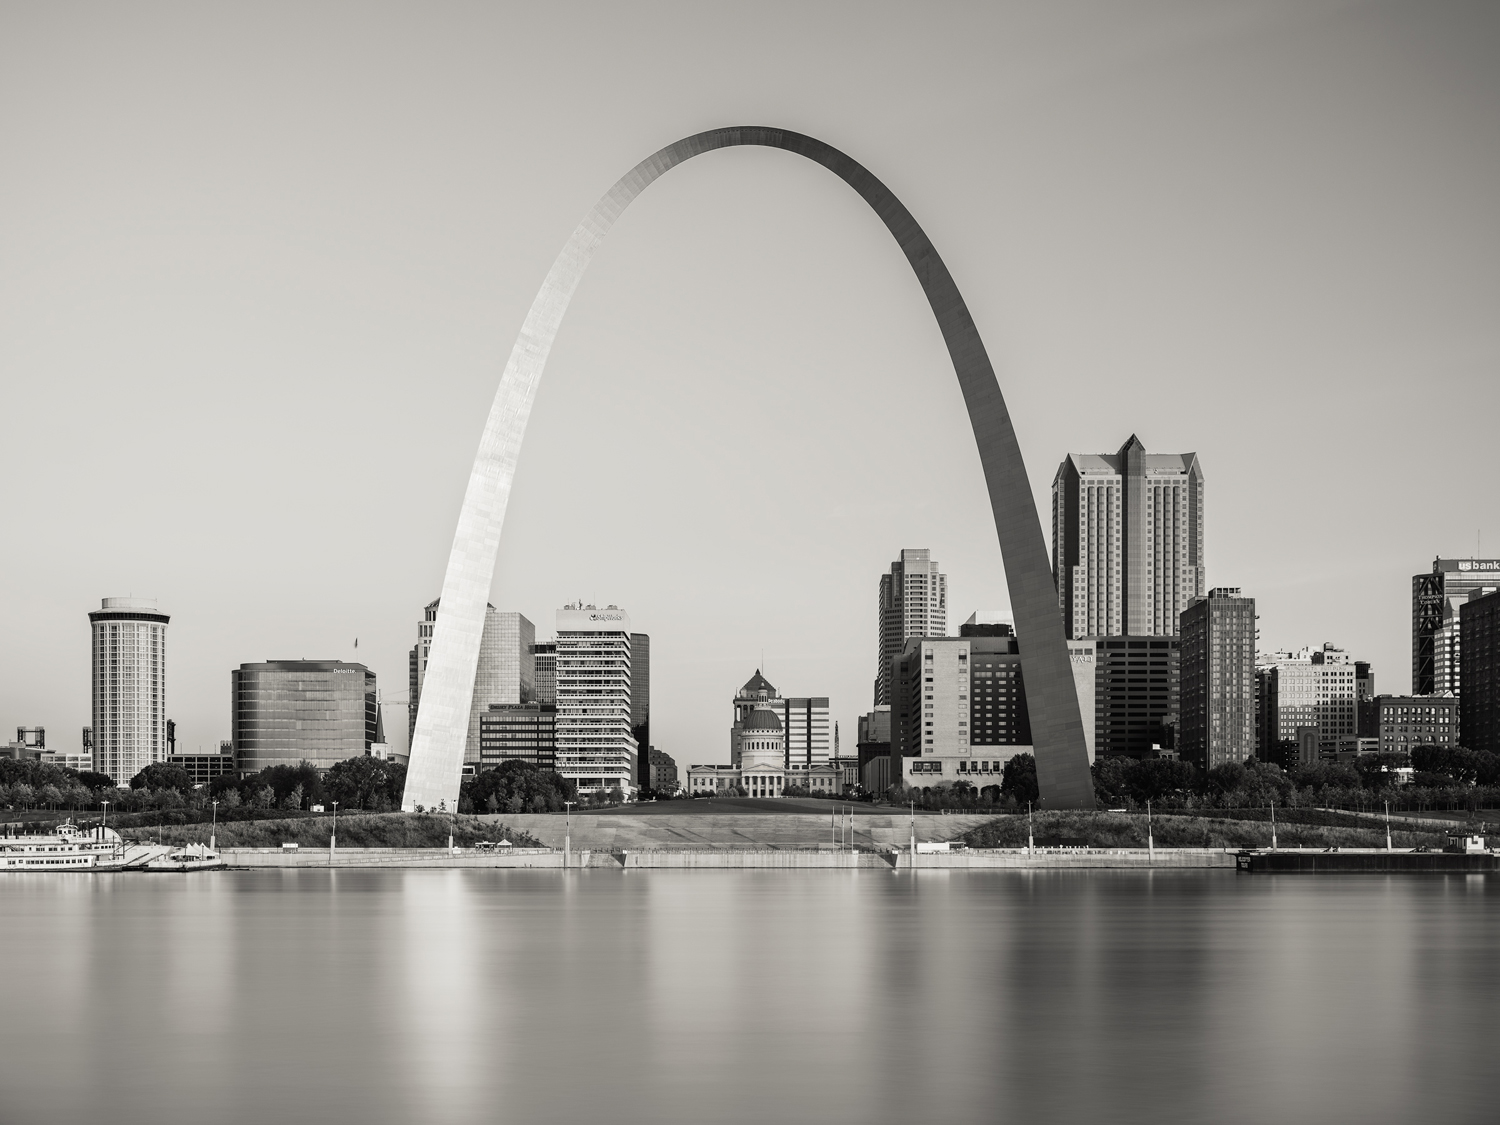
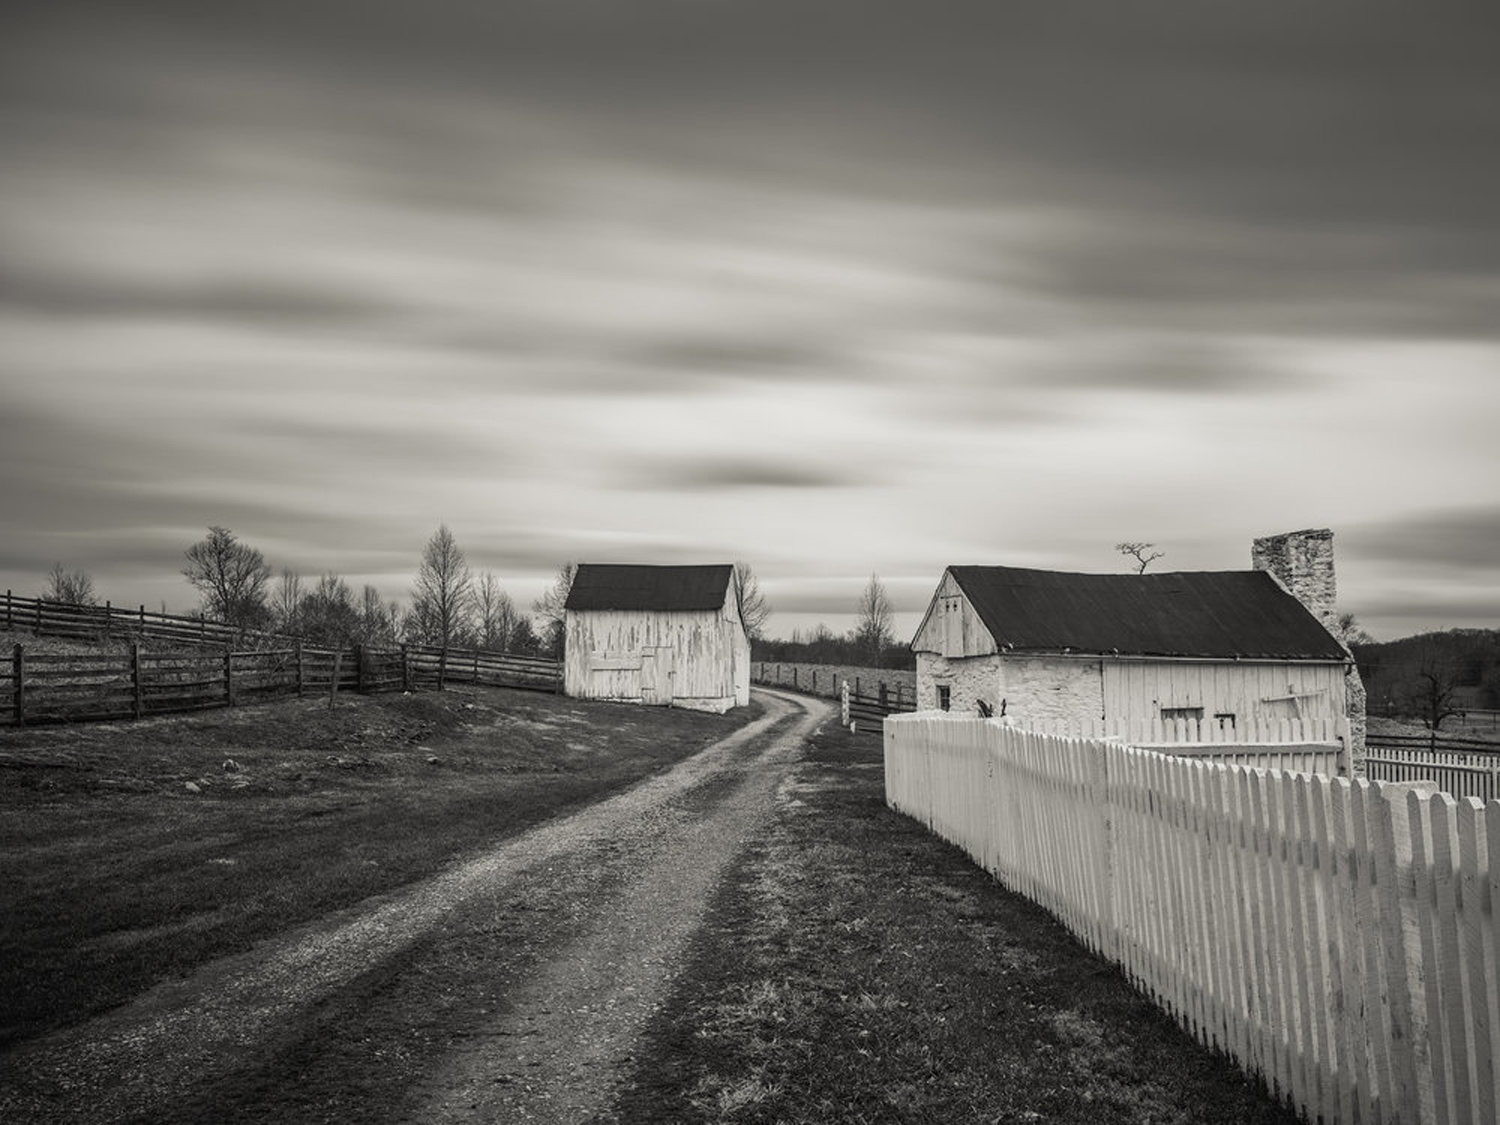
The three images above illustrate different compositional approaches to long exposures. In Eads Bridge, the strong diagonal movement expressed in the clouds is a counter-balance to the direction of the arching bridge. In American Gothic the horizontal movement of the clouds mirrored the lines of the landscape giving a place in the composition for the farmhouse to reside. And finally in The Arch image there were no clouds that morning but a nice balance was achieved by softening the flow of the river. In each case I pre-visualized the final compositions taking into account the quality of the light and the movement of the clouds and water.
So how do I determine how much exposure time is right? It comes down to what my overall vision is for the final image and the overall environmental conditions I have at the time. How fast are the clouds moving overhead, or what is the speed of the water? What direction are the clouds moving relevant to my subject? What is the quality of the light and what is the direction of the light? How much detail do I want to retain? Is there fog or other atmospheric conditions to consider? Depending on this kind of assessment I will make a test exposure to gauge the effect and make adjustments from there. I am looking for a minimum shutter speed to start of about 60 seconds for that test and will adjust that as the image begins to take shape. It is important to pre-focus the shot to determine my DOF prior to adding the filter stack. It can be difficult, or next to impossible, to focus once a dark filter like the 10-Stop ND is applied, so pre-focusing is necessary. And this is why Back Button Focusing is nice. This de-couples the focusing from the shutter button so the camera is not trying to refocus when the shutter is half pressed. Once I have focus set, and a filter applied to the lens, I simply move the Front Command Dial and watch the histogram to lock in a time.
It is possible to use an ND calculator app but I find that I really can achieve great results without one. From general experience, at the ISO and apertures I shoot, I know my exposures are going to be in the 120 to 240 second range using either the 3, 4, or 6 stop ND. At brighter times of the day I will get the same result with the 10-Stop or a sandwich of the 10 with a 3 or 4. The point here is to keep it simple and not let the camera operation or the use of filters get in the way of making images. This is one of the reasons I do not use an app as I prefer a more iterative approach. Also, think about it this way. If you use an app, and based on your ISO, aperture, and filters, the app calculates a time of 3:00 minutes, that is 1/2 of a stop between a 120 second exposure and a 240 second exposure. That difference is easily recovered in post processing. So I just don’t worry about micro increments of time in my exposures.
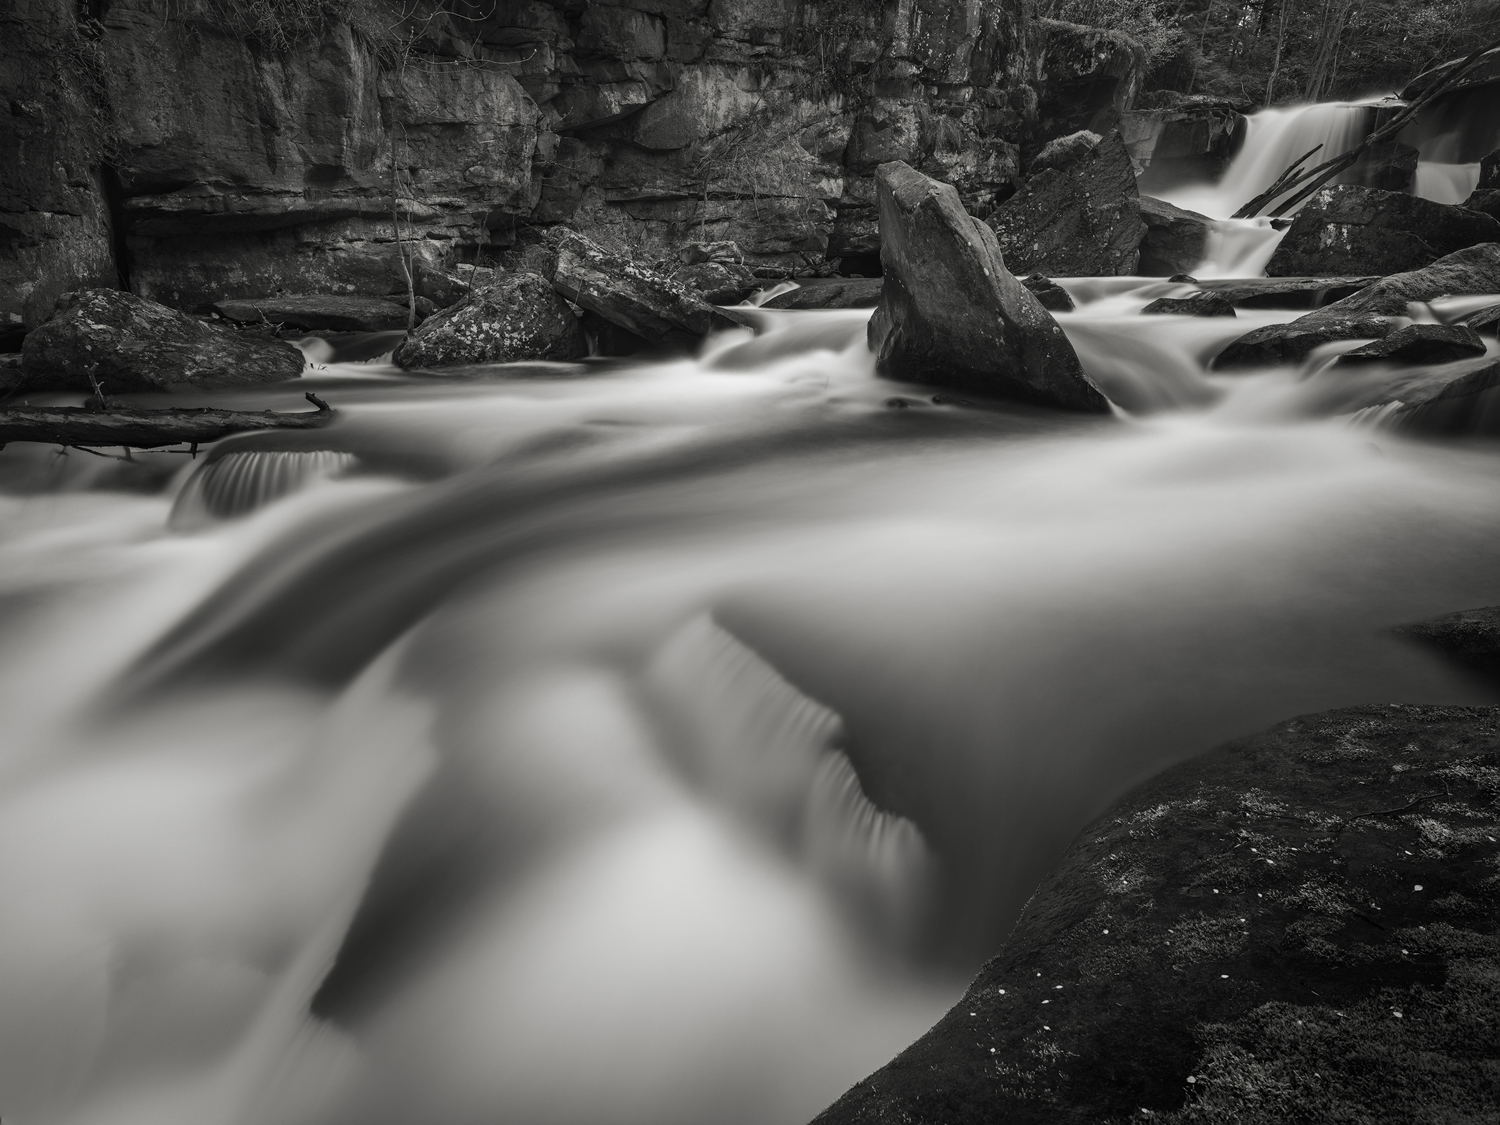
Sometimes wind can be a problem. Well to be honest wind is always a problem in long exposure work. After all if the clouds are moving then wind is the culprit. And wind in landscape based long exposure work is definitely a problem if you are trying to achieve tack sharp grasses and trees. There are times however when upper level winds are driving the clouds while the landscape is quite calm. For most city-scape shots this is not an issue. But where there are trees and grass it can be an issue. In that case I may shoot several exposures, one at faster shutter speeds (think manipulating the exposure triangle here), for trees and grass and then a longer exposure shot for the clouds and water. These shots can be combined in Photoshop to produce a final image. The waterfall shot below is one such example. Two images – one for the moving plants and one for long exposure of the water – were combined in Photoshop to create the final master.
For image processing, I utilize a RAW pipeline with initial adjustments made in Adobe Lightroom followed by more extensive adjustments in Photoshop. All files are imported “Zeroed” with no LR pre-development adjustments applied save for White Balance. I have built several LR Presets that make my B+W conversions and adjust for exposure, color luminosity, and apply a modicum of low value capture sharpening. I also make corrections for lens parallax issues to straighten lines and micro adjust the horizon lines. The file is imported to Photoshop where I begin by just cleaning up anything I may have missed in LR like spot/dust removal and any cloning corrections I need. I prefer doing this work in Photoshop as the tools are more accurate. The majority of my adjustments are made with Joel Tjintjelaar’s B+W Artisan Pro Advanced Editing Panel, which includes an incredible editing panel coupled with a quick mask panel. Where other luminosity panels are built around generating those masks for editing, the Artisan Panel is a completely intuitive workflow tool that gives you the control to not only perform B+W conversions, make global adjustments, contrast adjustments, and even tone images, but also through micro-zone adjustments, to selectively target tones using real time values, and effectively build tonal changes using 16 bit masks. That panel and tool alone is worth its weight in gold. You can quickly and simply identify a set of tonal values, activate the values, use the Lasso Tool to draw on your image where you want to make changes, and through targeted masks lighten or darken those areas. It is simply brilliant and has allowed me to make my adjustments quickly and effectively reducing the amount of time I need to spend on images. All this is done “under the hood” and I do not have to fret over which specific mask I need. I simply identify the tonal values I want to manipulate and the panel executes the mask work for me. This panel has become an indispensable part of my workflow.
After making 90% of the adjustments through the Artisan Panel I apply some targeted low radius high pass sharpening, a luminosity contrast curve or two, depending on what is needed, and then some targeted dodging and burning. The last thing I do is to apply a split tone effect which I can do using various options in the Artisan Panel. The last thing I want to do is spend countless hours in front of a computer and I can get to a final finished masterfile in about 15 minutes. A little longer if I have more complex actions to perform like blends.
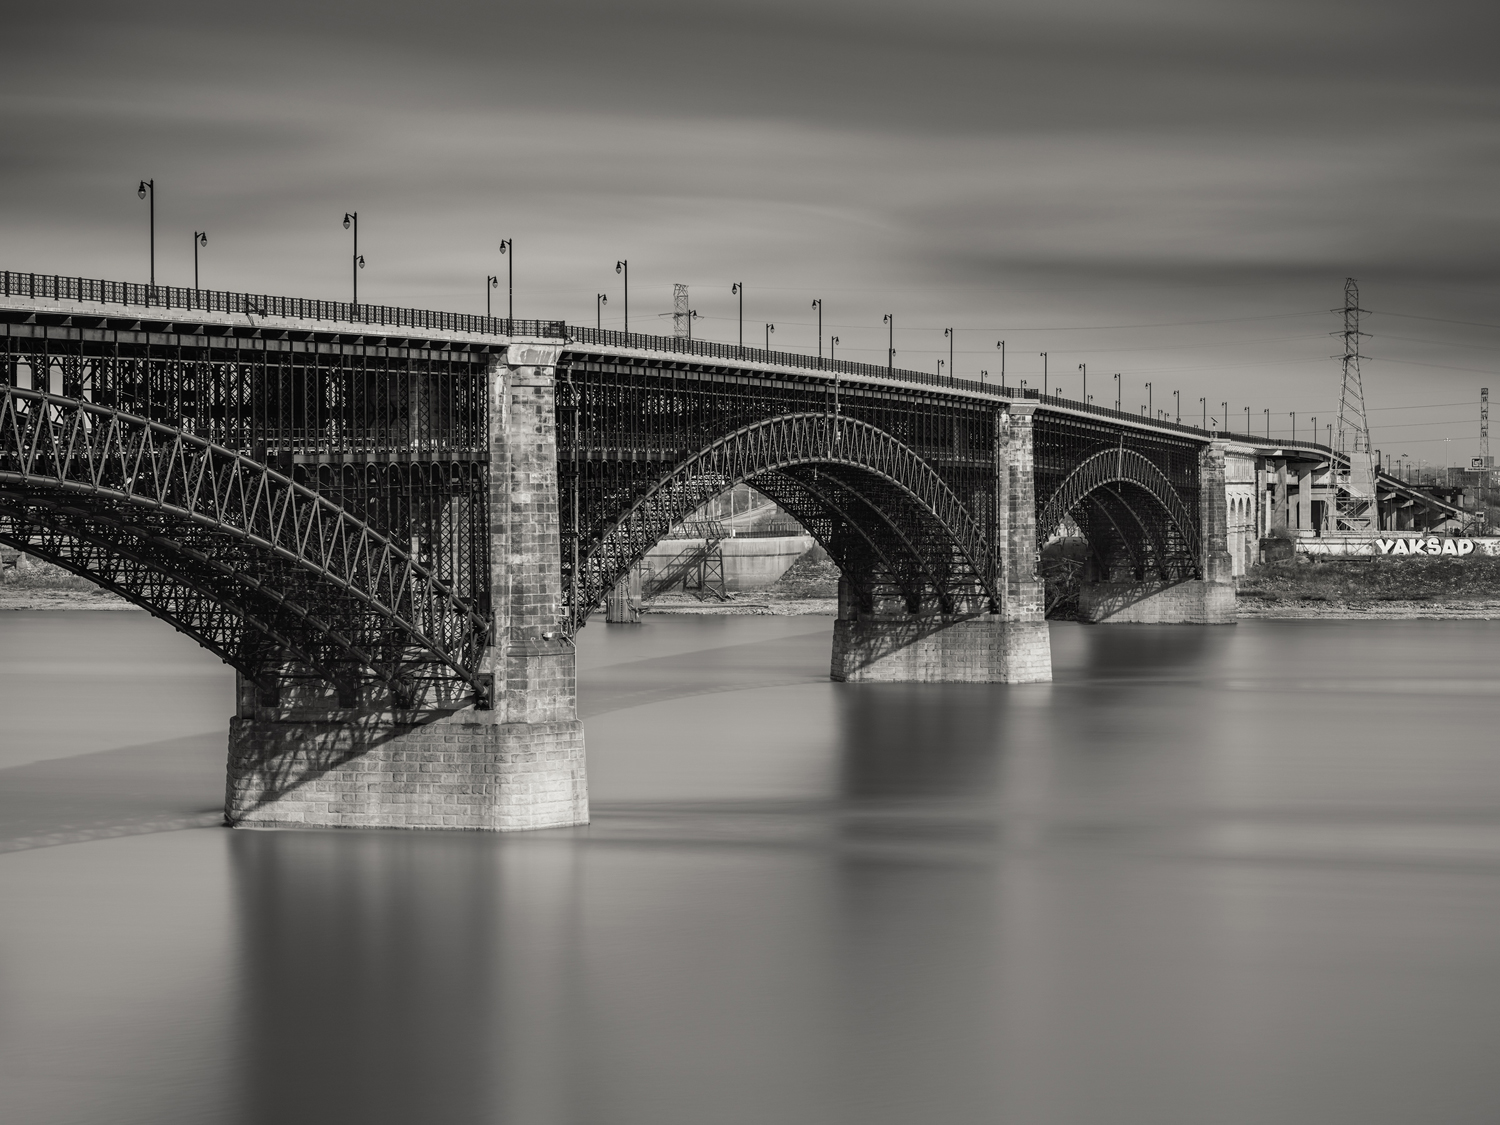

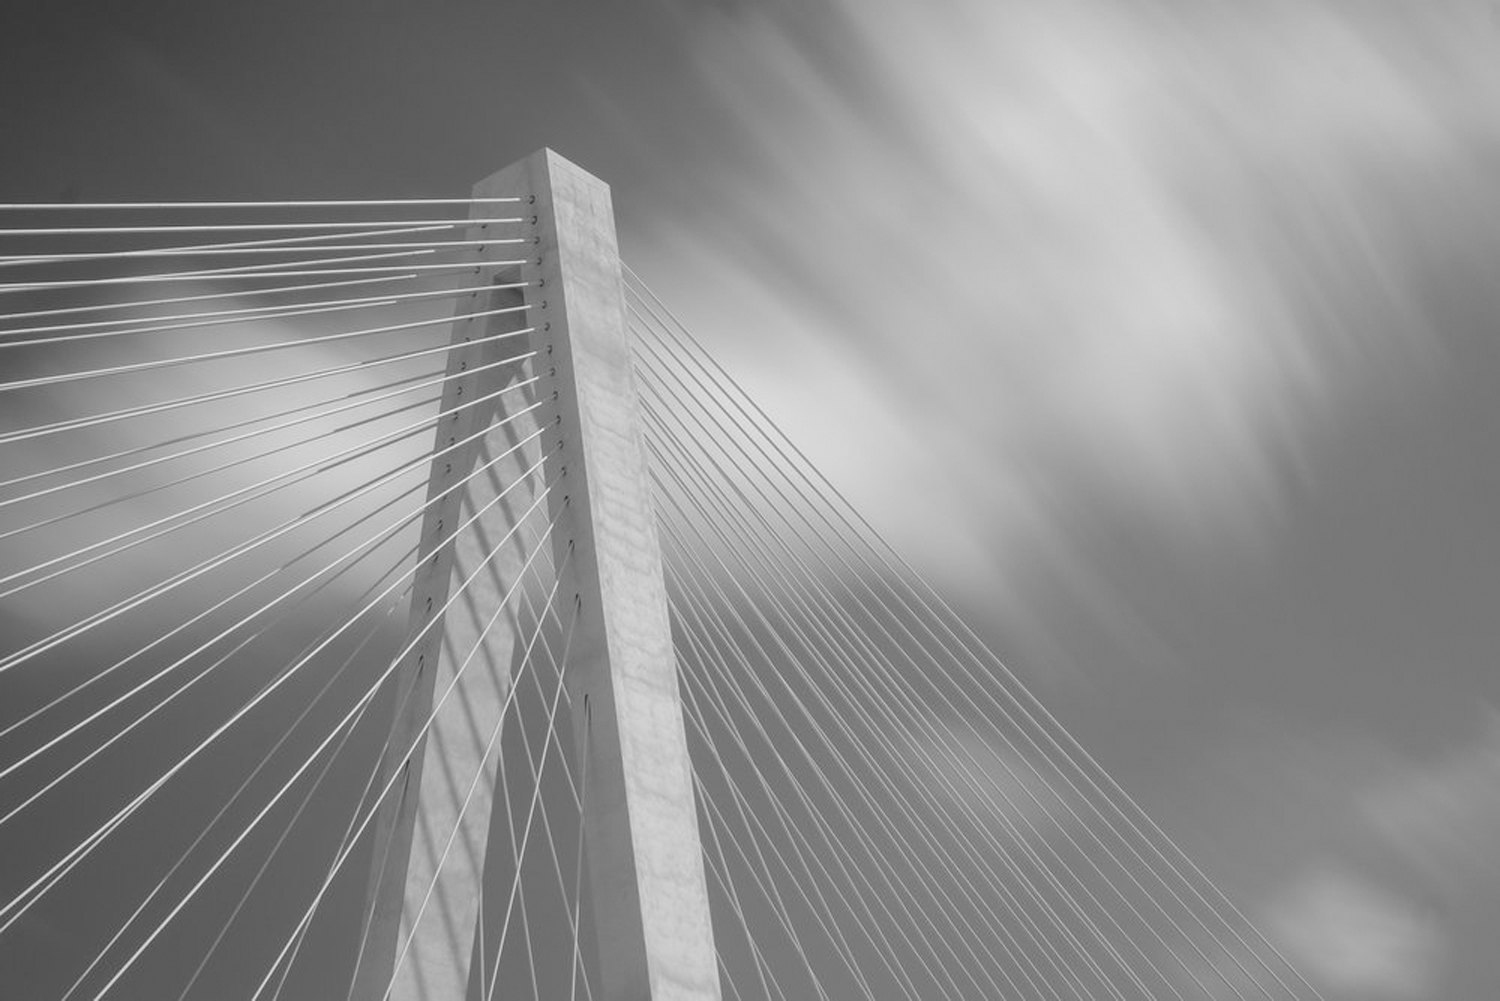
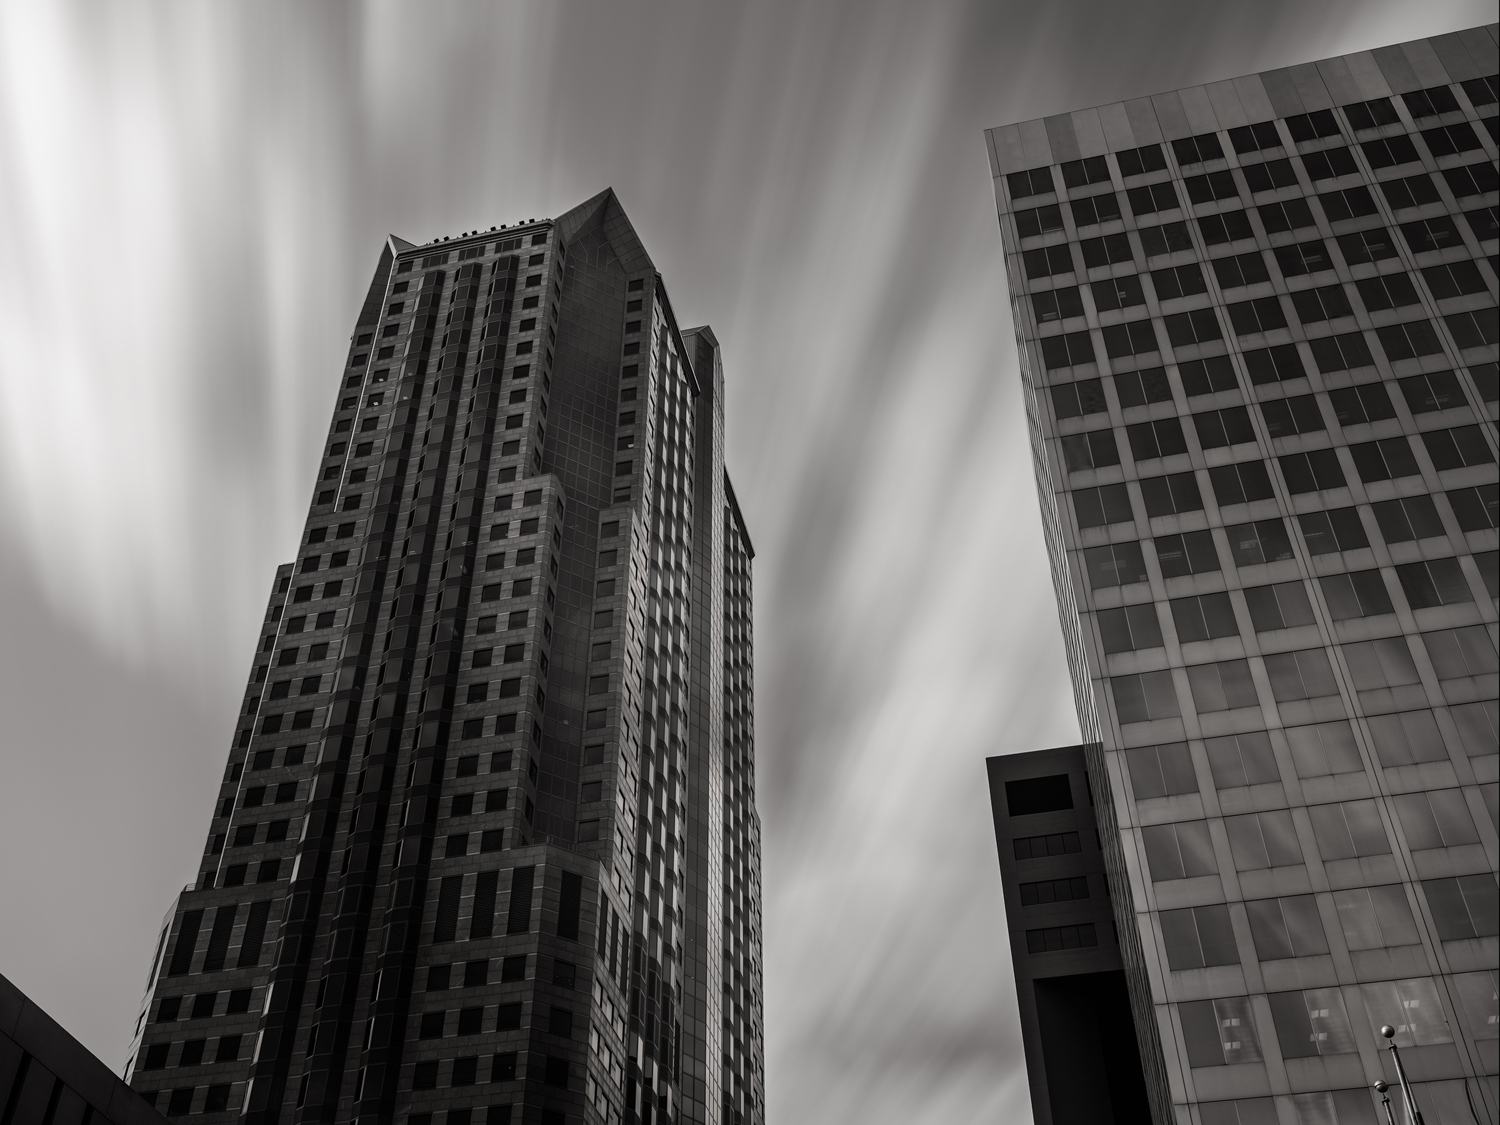
The final master file is saved and I create a web-based file for posting on my website or in other social media applications. If you have gotten this far in the write up then I wish to thank you. And though I promised this was not a primer on long exposure photography I did try and load it with a lot of information to help you. Though all this is built around my work and use of the Fuji GFX, the techniques will certainly work with other camera systems.
Lastly my work has been greatly influenced by the masters who have largely pioneered this work. If you are interested in learning more I highly suggest going to Joel Tjintjelaar’s BWVISION website for a ton of valuable resources and information. Additionally I would encourage you to visit Julia Anna Gospodarou’s (en)Visionography page.
If you have any questions then please don’t hesitate to drop me a line or leave a comment.
RHC
JOIN US! SUBSCRIBE TODAY THE FUJI X PASSION MAGAZINE
Fine art nature, landscape and street photographer. A graphic designer, architect, landscape photographer, and teacher, he works as a media designer for the National Park Service. His work can be found in private collections, exhibits and publications for the National Park Service, museums, galleries, and internationally for corporate clients.

best no pull dog leash
June 3, 2020 @ 7:54 am
I read this paragraph completely regarding the difference of
newest and preceding technologies, it’s amazing article.
Srini
August 15, 2022 @ 2:26 pm
Thanks for the wonderful article. Clear descriptions and appreciate the fact of sharing your knowledge. Cheers.
Robert Clark
August 15, 2022 @ 2:45 pm
Hi:
Thanks so much. Hopefully it will help you with your LE work.
Bob